Στο νέο online παιχνίδι καζίνο του Nine Casino, εμπνευσμένο από τον κόσμο της κατασκευής στένσιλ, οι παίκτες μπορούν να δημιουργήσουν τα δικά τους μοναδικά μοτίβα για να ξεκλειδώσουν ειδικά επίπεδα παιχνιδιού. Gracze rywalizują o stworzenie najbardziej wyszukanych wzorów szablonów, które są następnie oceniane w grze pod kątem bonusów i nagród w kasynie MostBet Casino Immediate Byte Pro

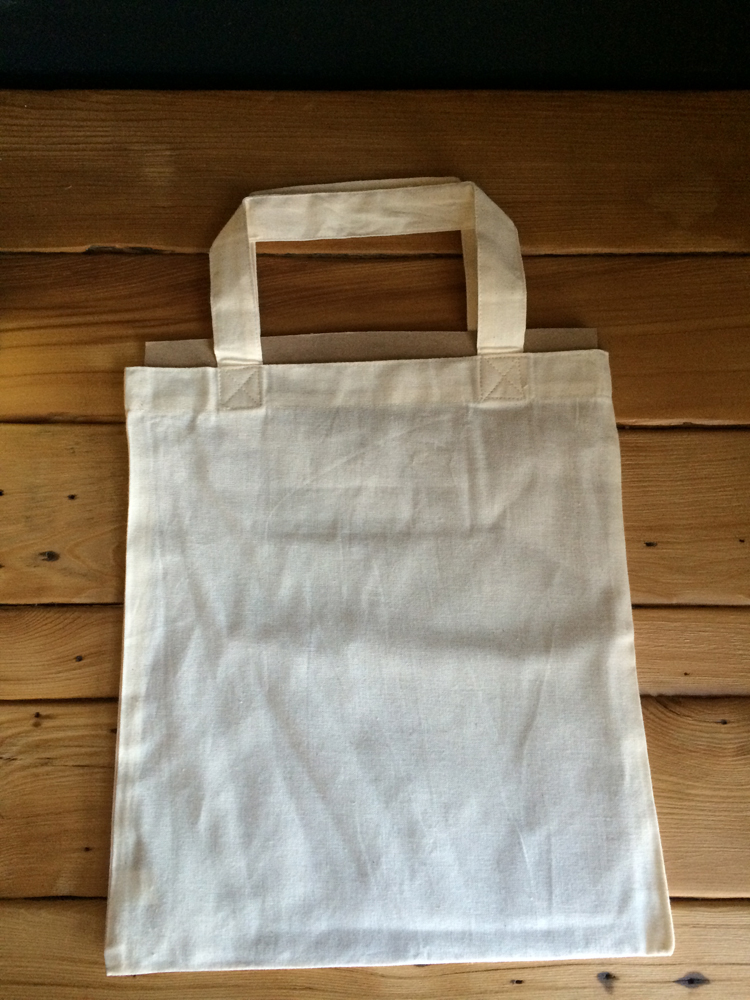
This week we’re dreaming of the waterfront. Whether you have a Yacht or are gonna party it up in Coney Island, we should all look forward to a summer party at the waterfront.  So today’s stenciling project will be a star whale beach set with a bag and hat, perfect for either scenario.


1.IMG_3852x

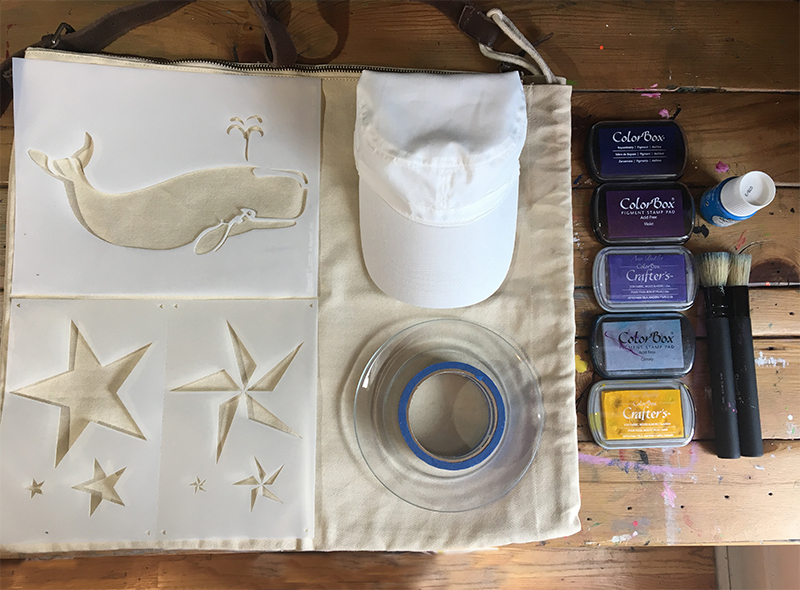
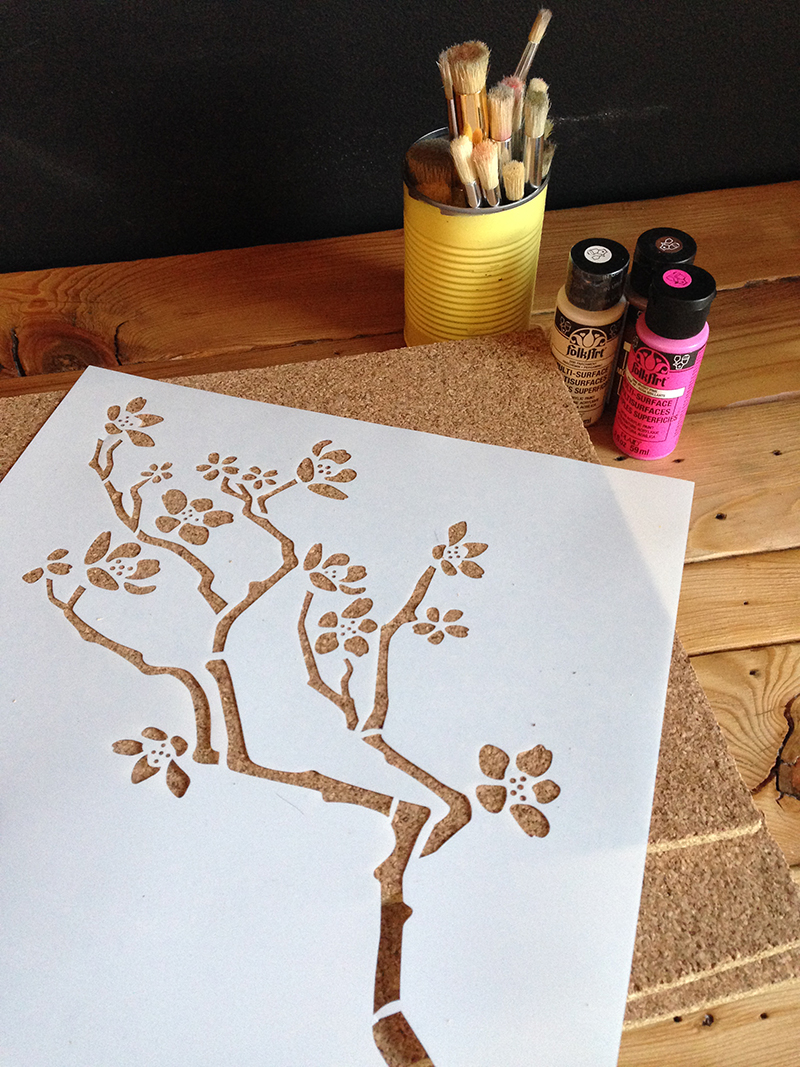
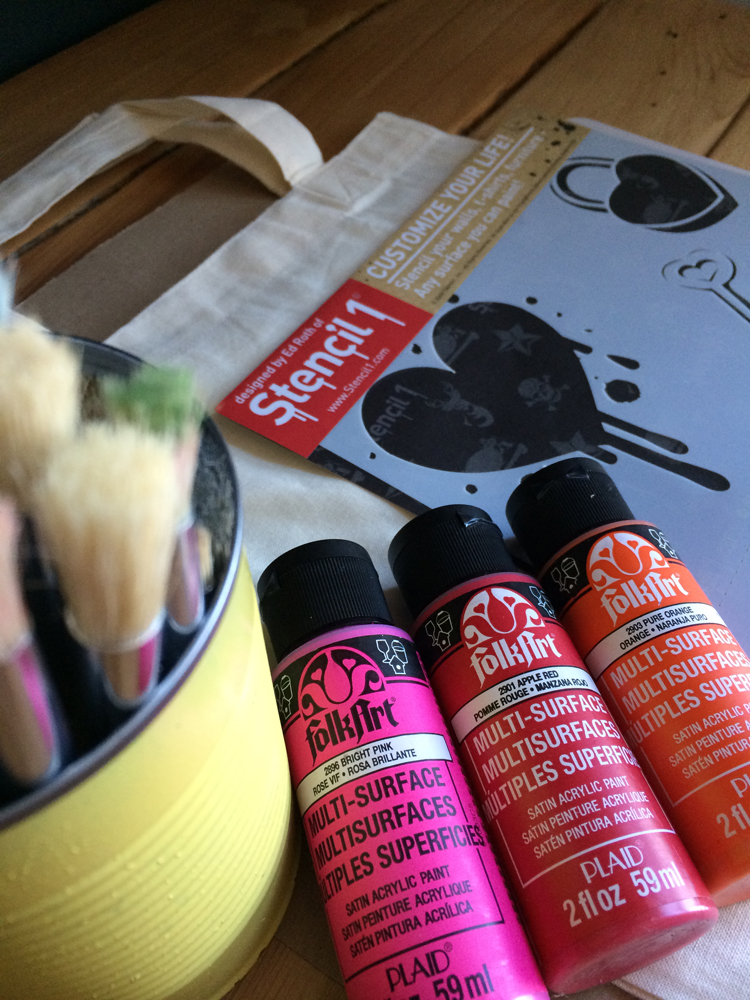
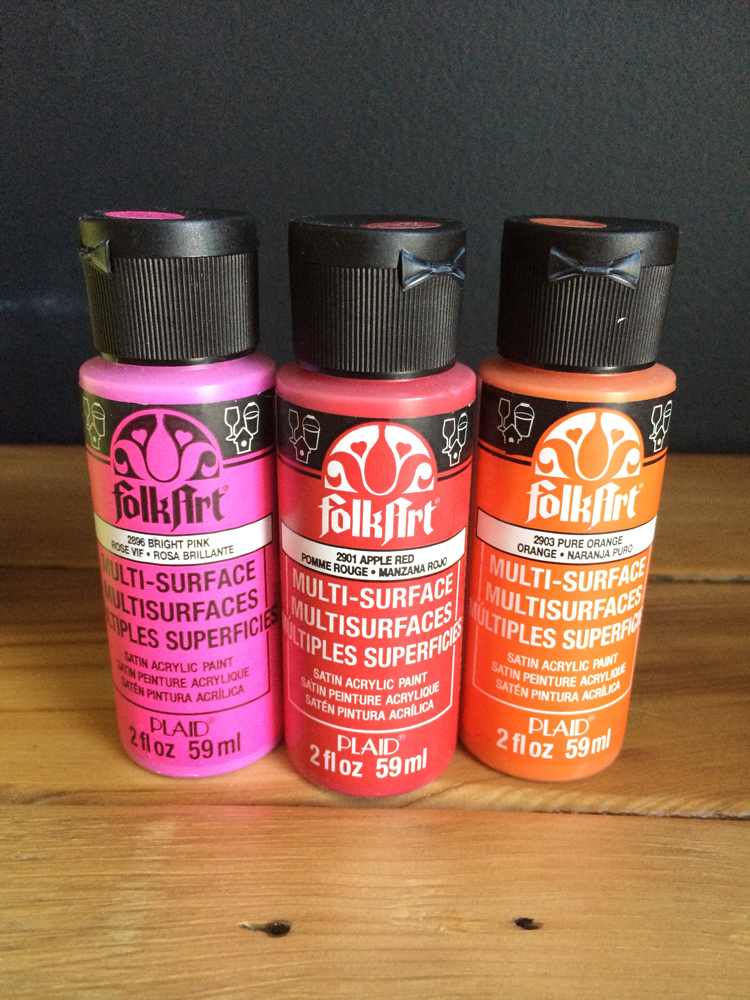
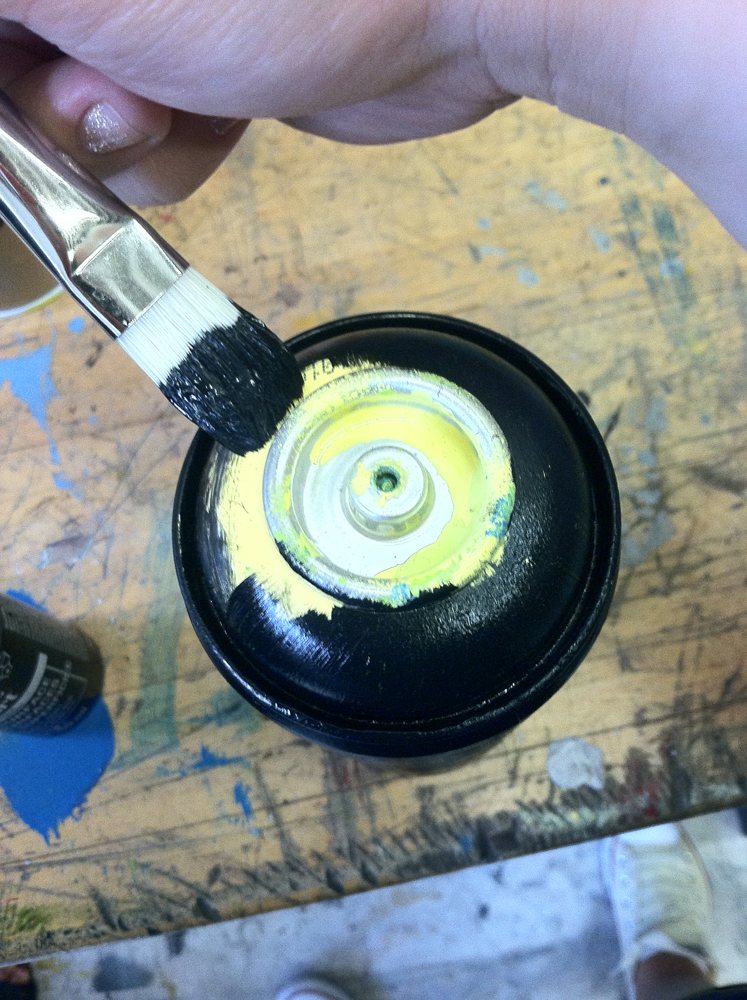
Rather than using our usual fabric paint, this week we’re using stamp pads for color application. Make sure to use specialty ink pads that are made for fabric projects.


2.IMG_3864x

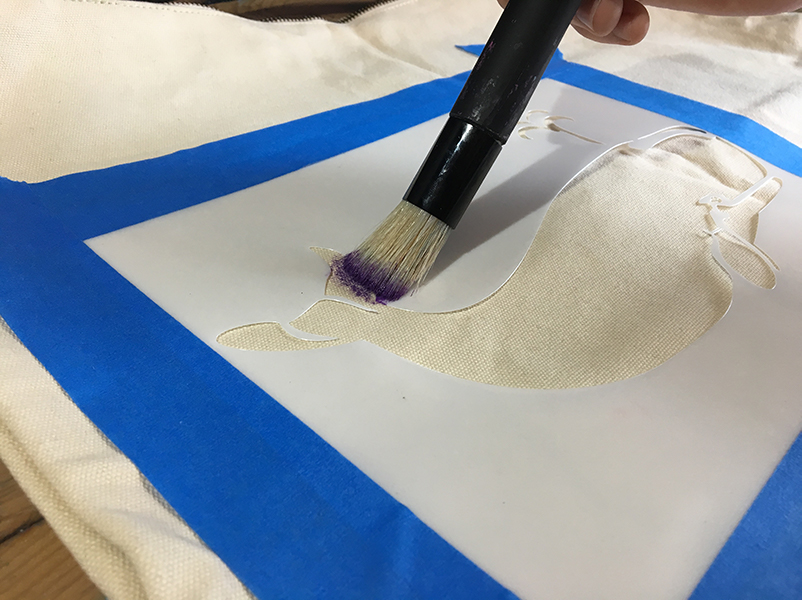
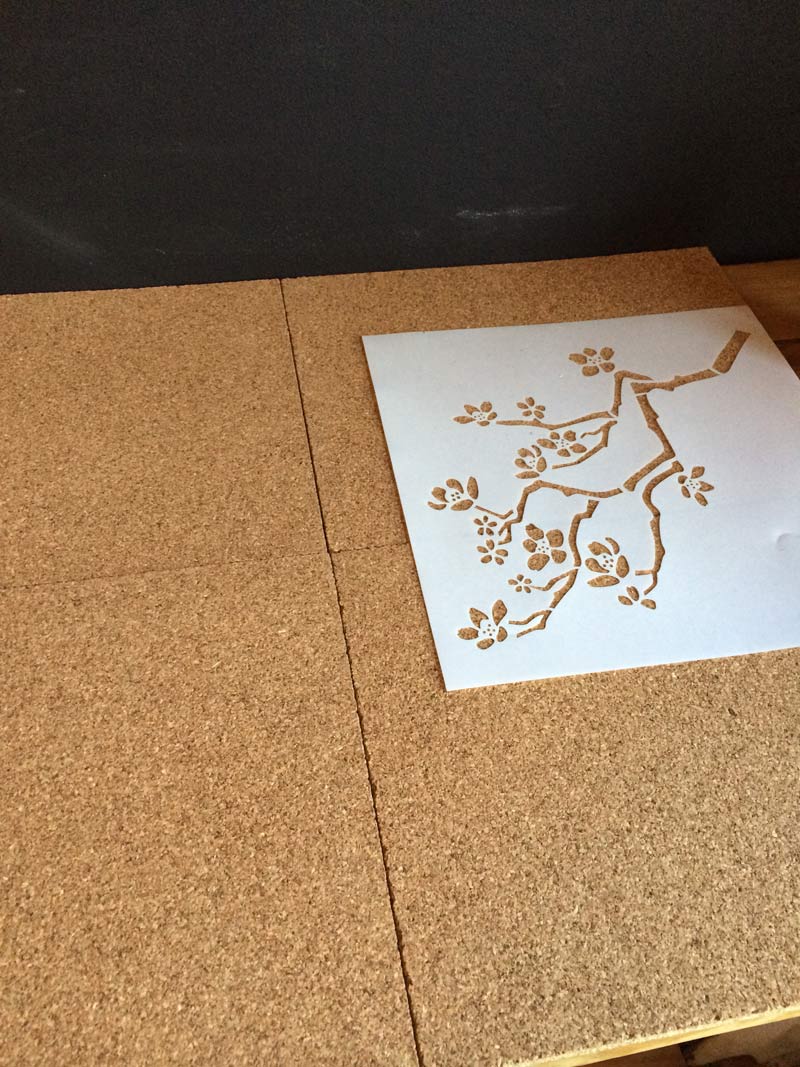
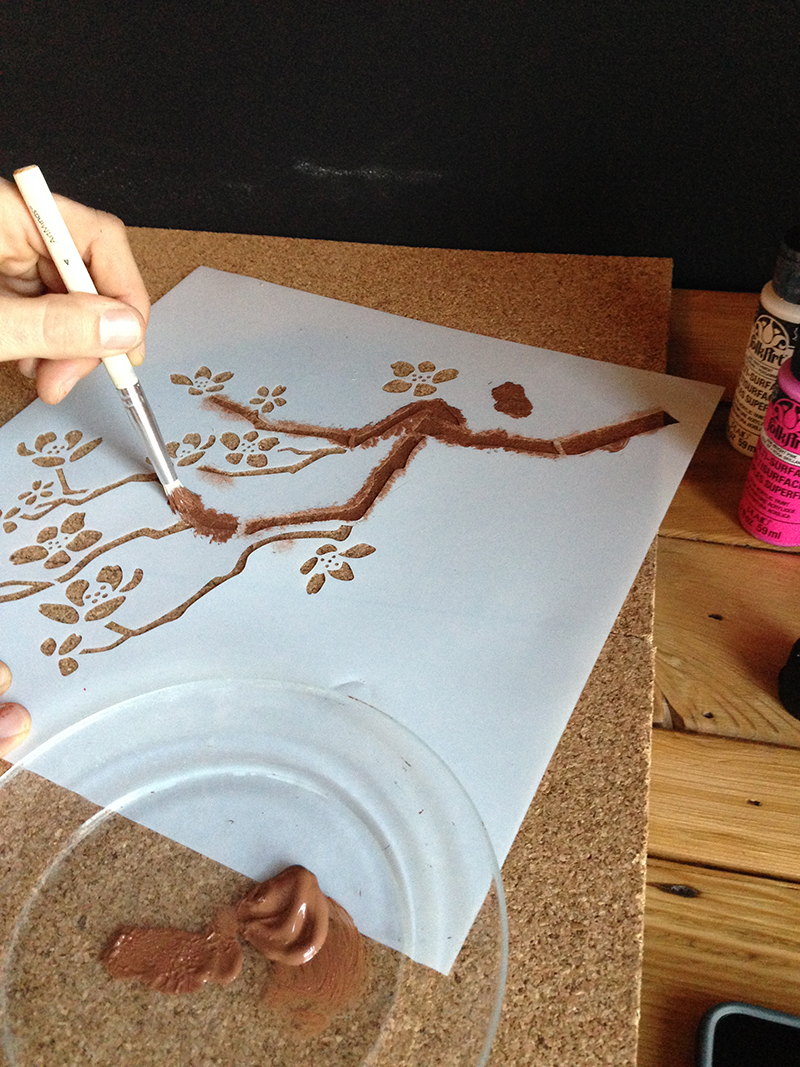
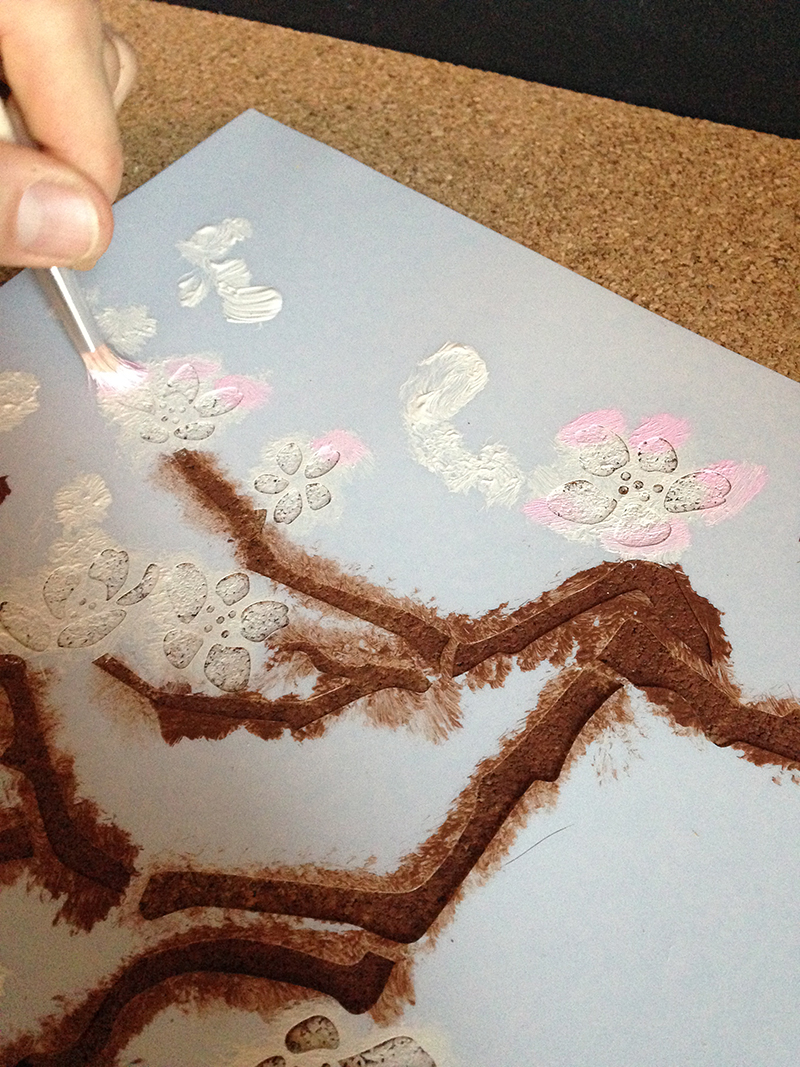
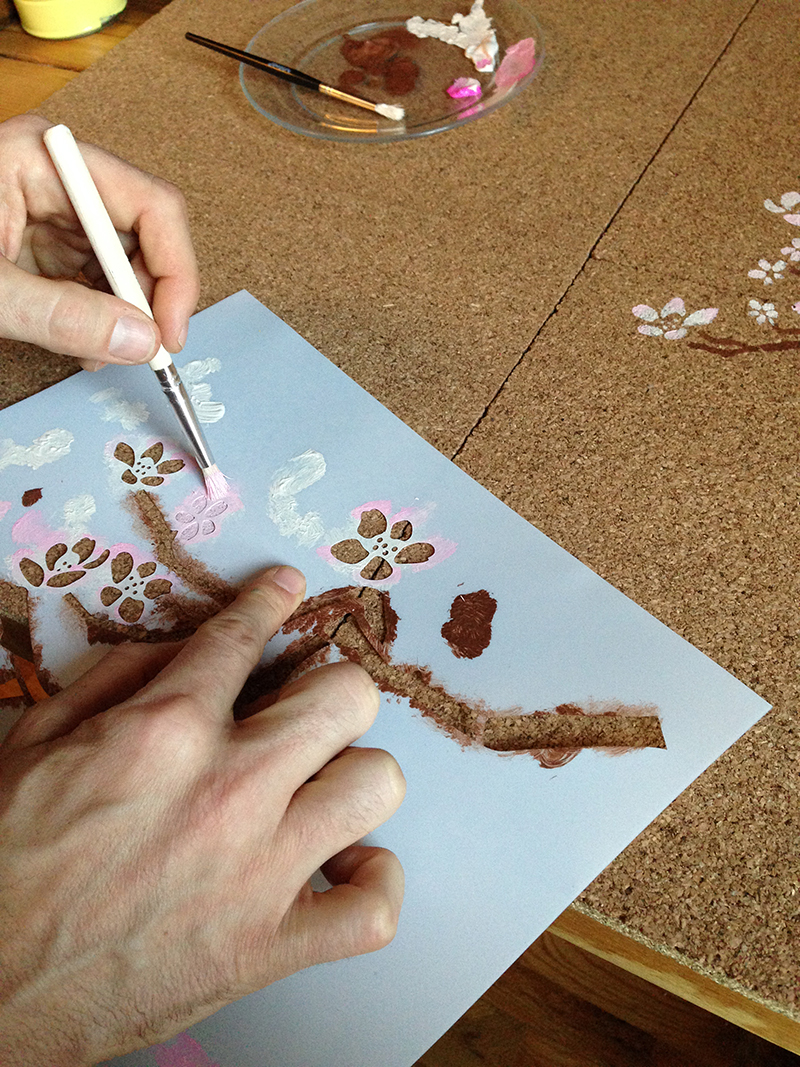
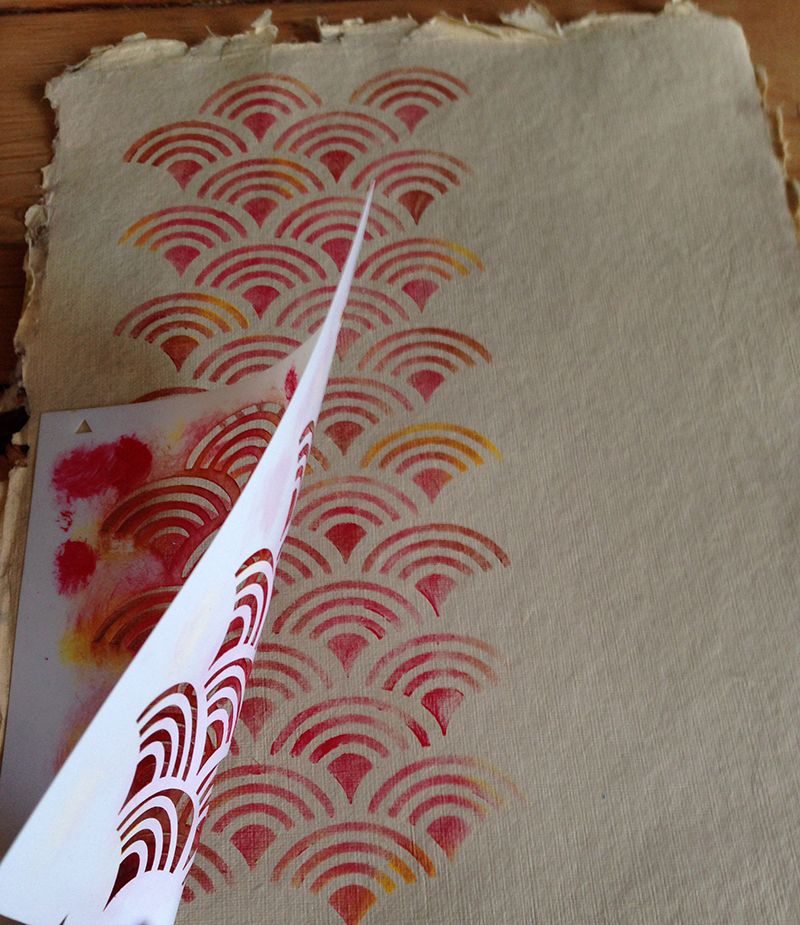
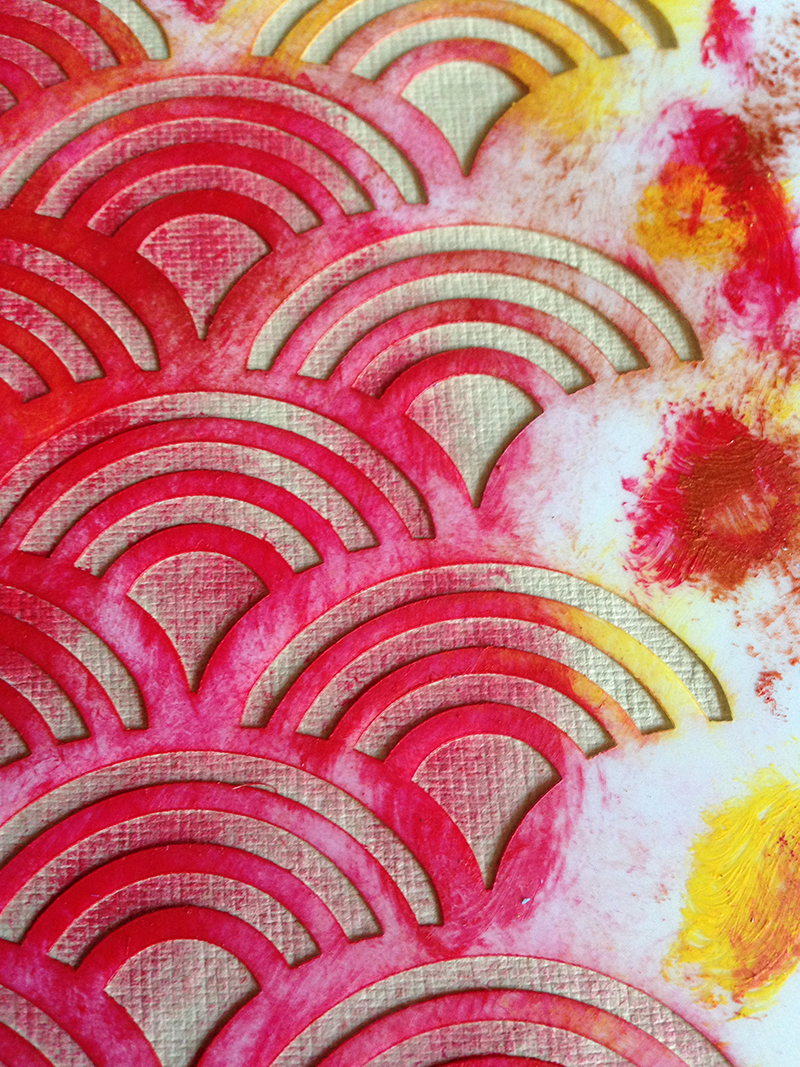
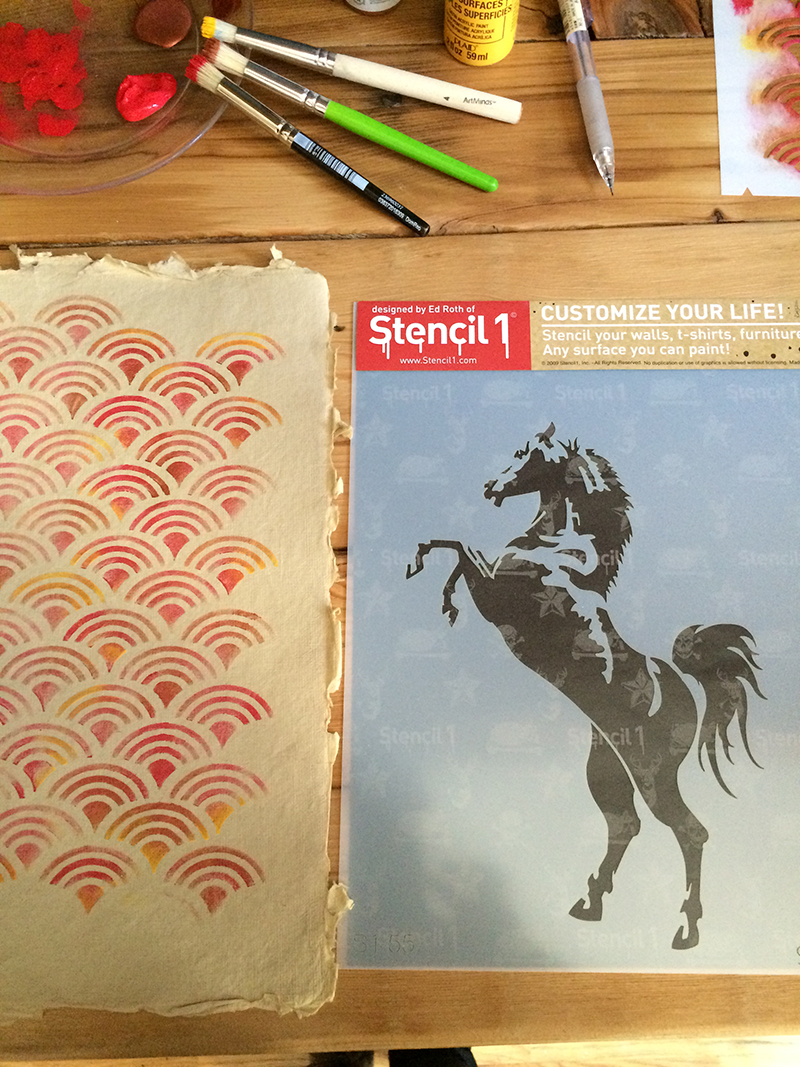
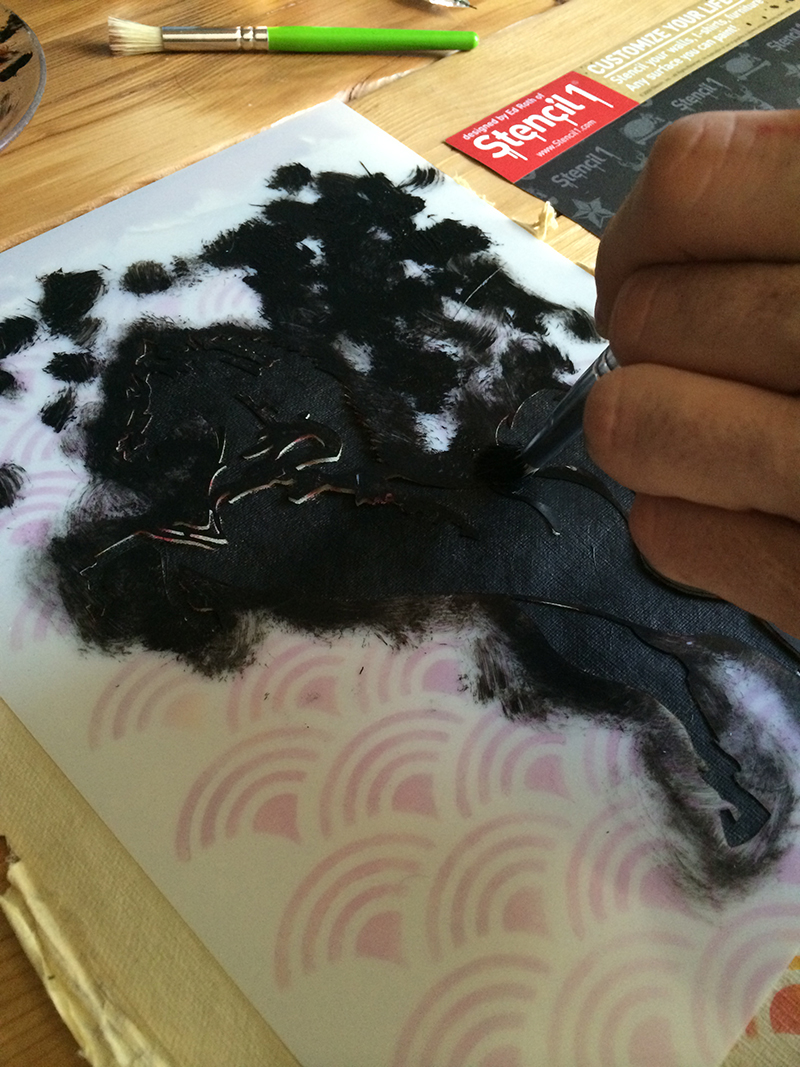
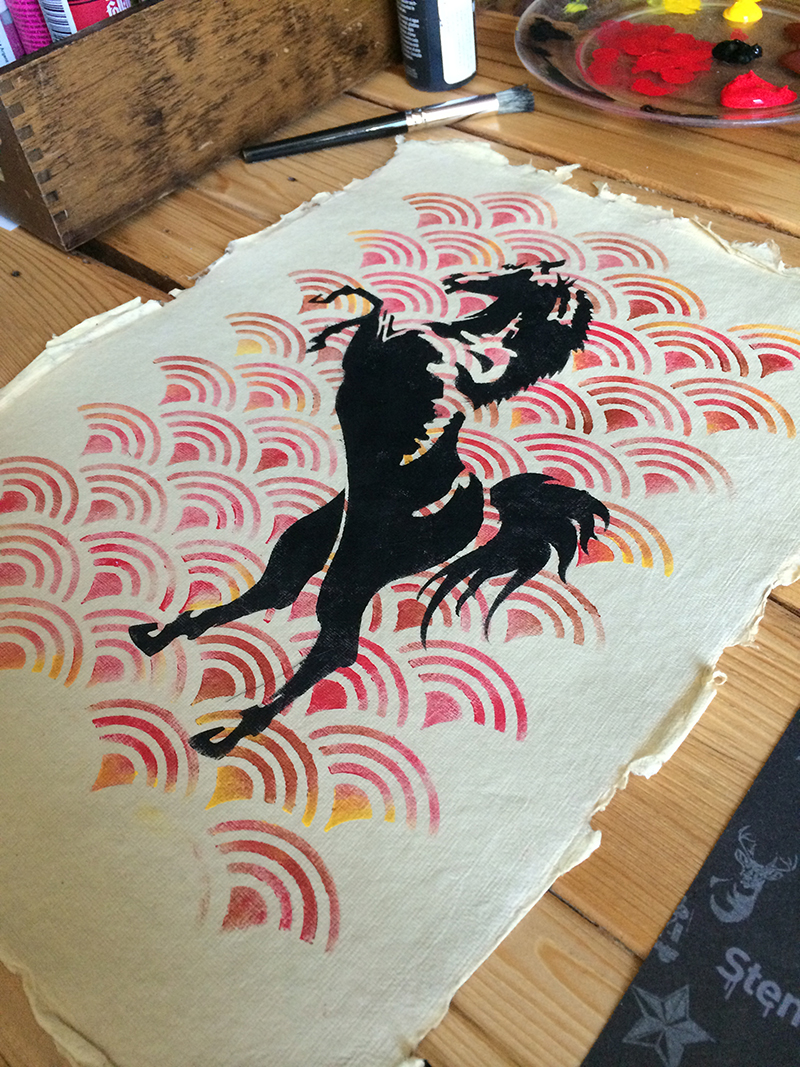
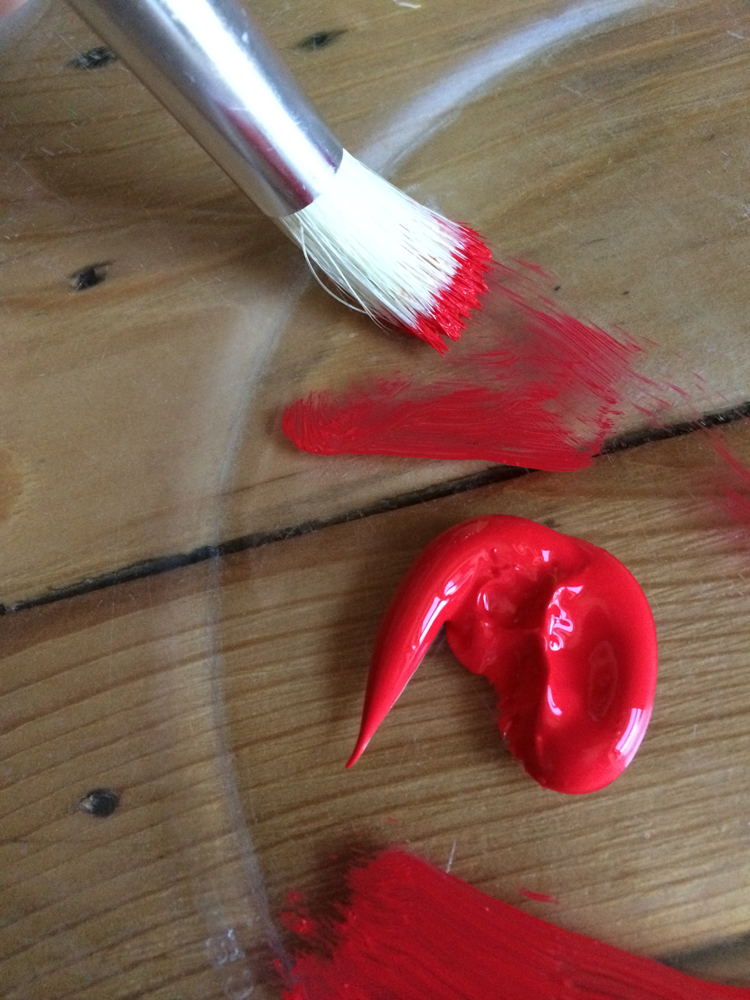
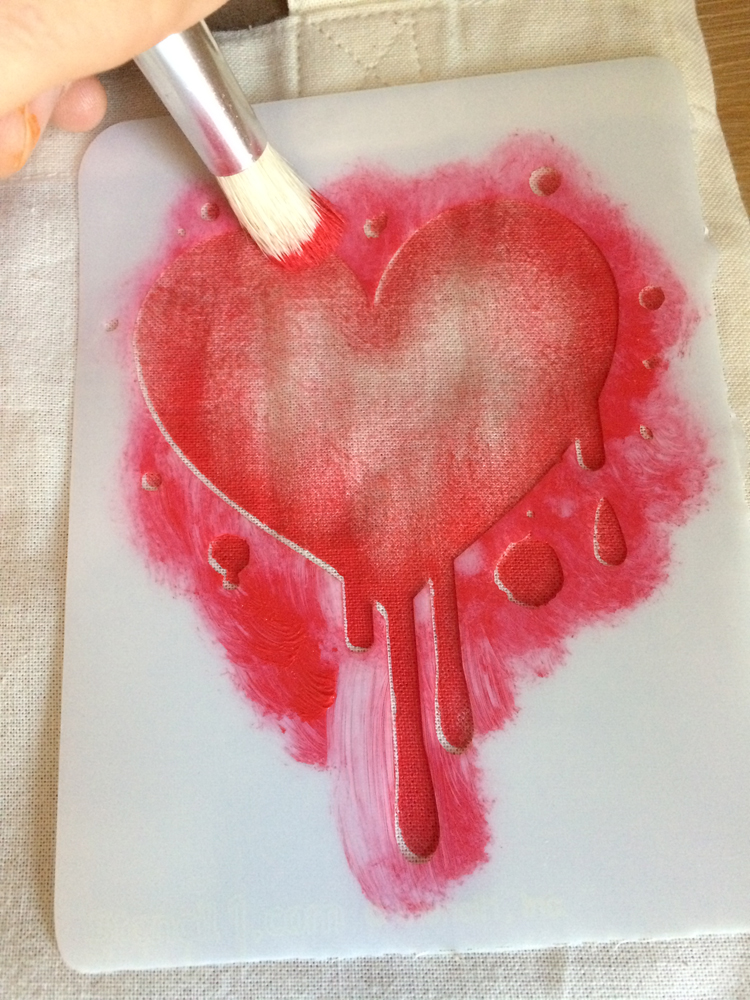
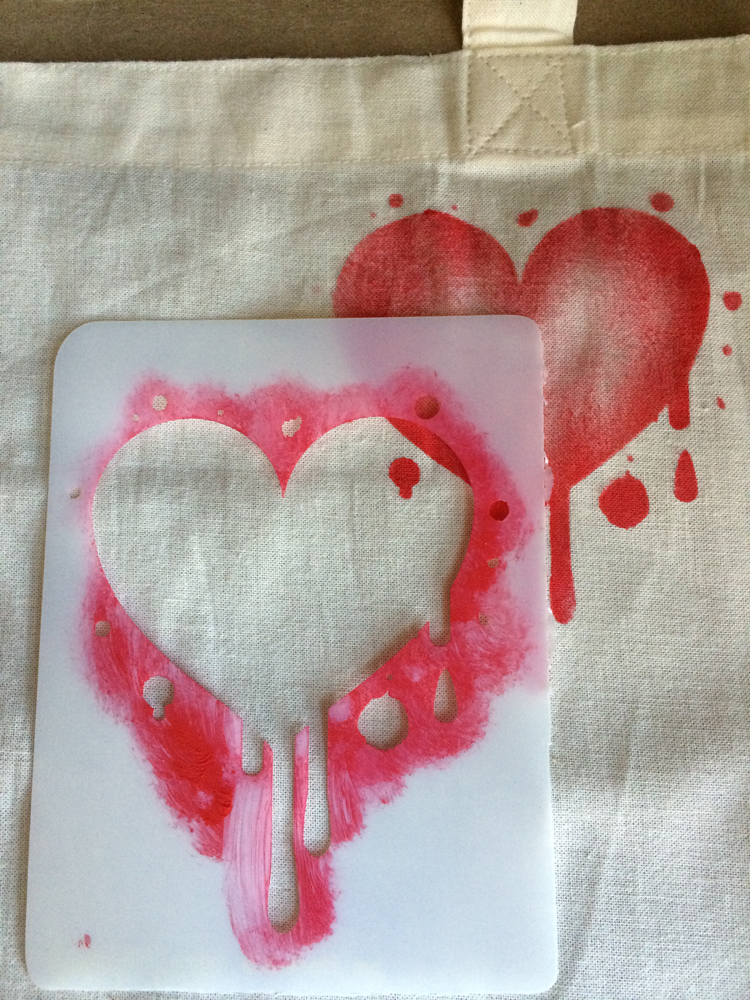
Tape down your large whale stencil. Use a wide brush and gently press on the stamp pad, then transfer your paint onto your stencil.


3.IMG_3886x

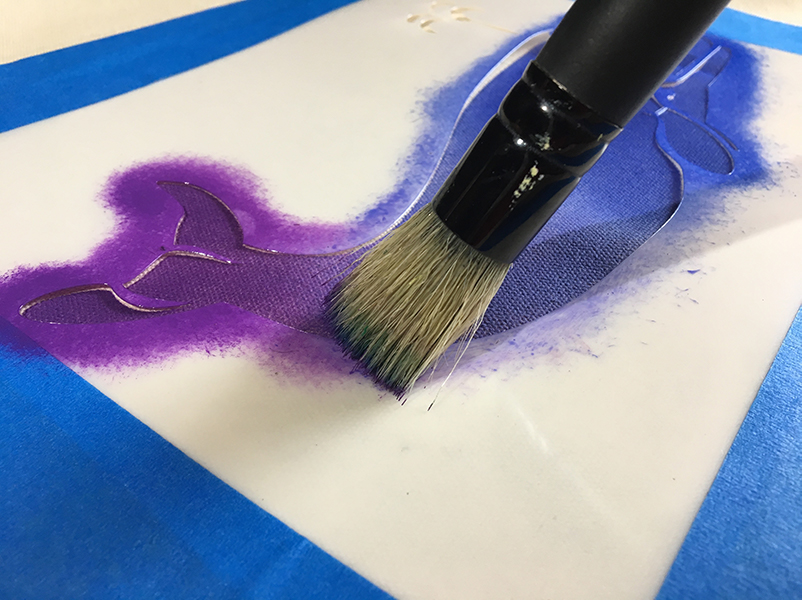
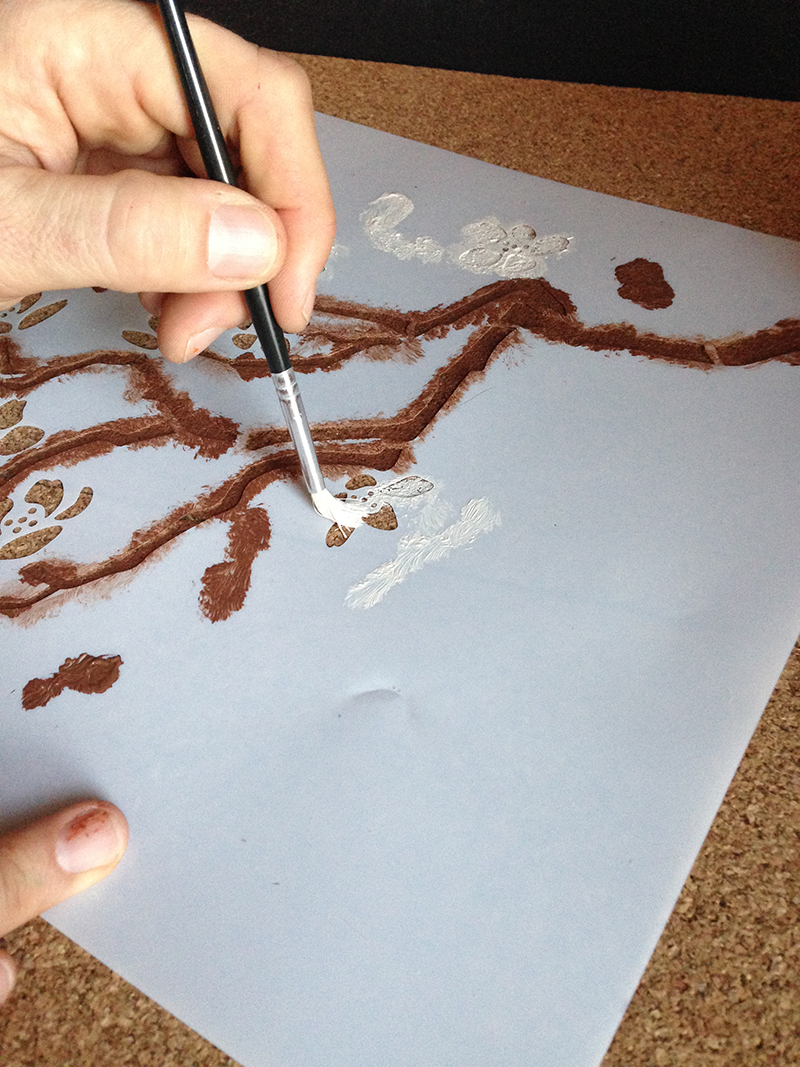
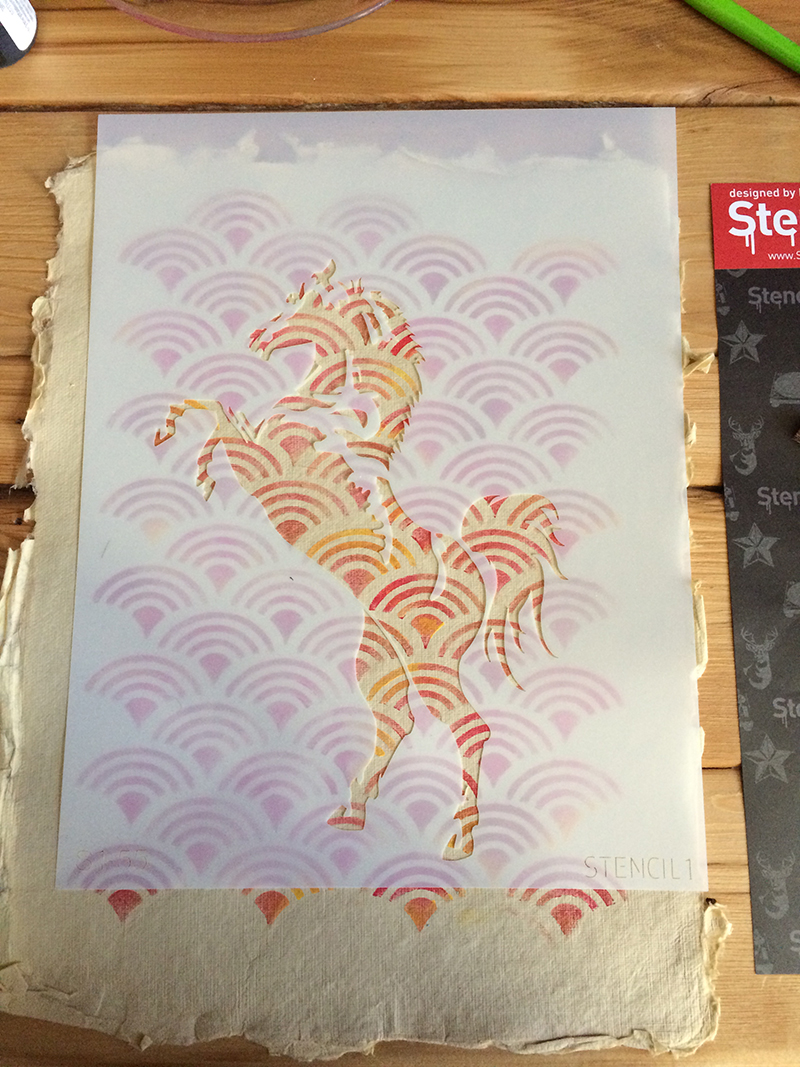
Create a gradient by adding in an analogous color. We used purple, fading into periwinkle and blue.


4.IMG_3906x

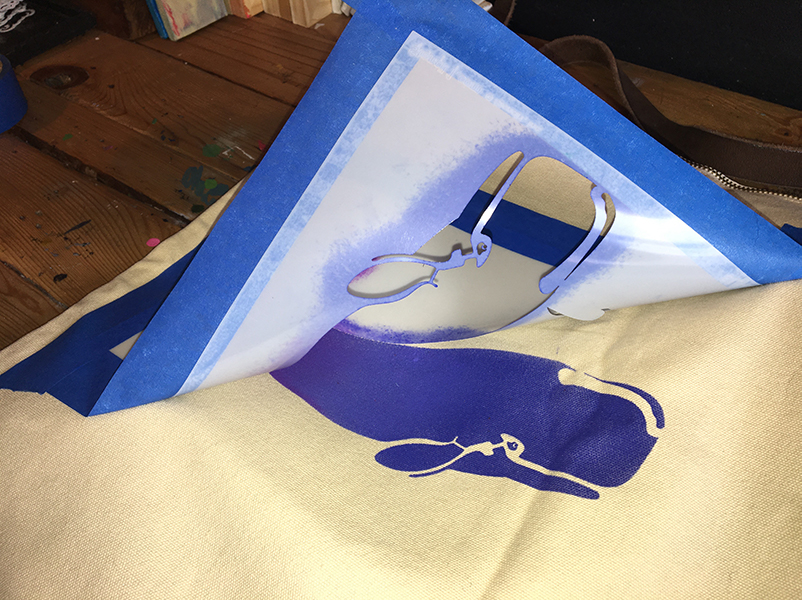
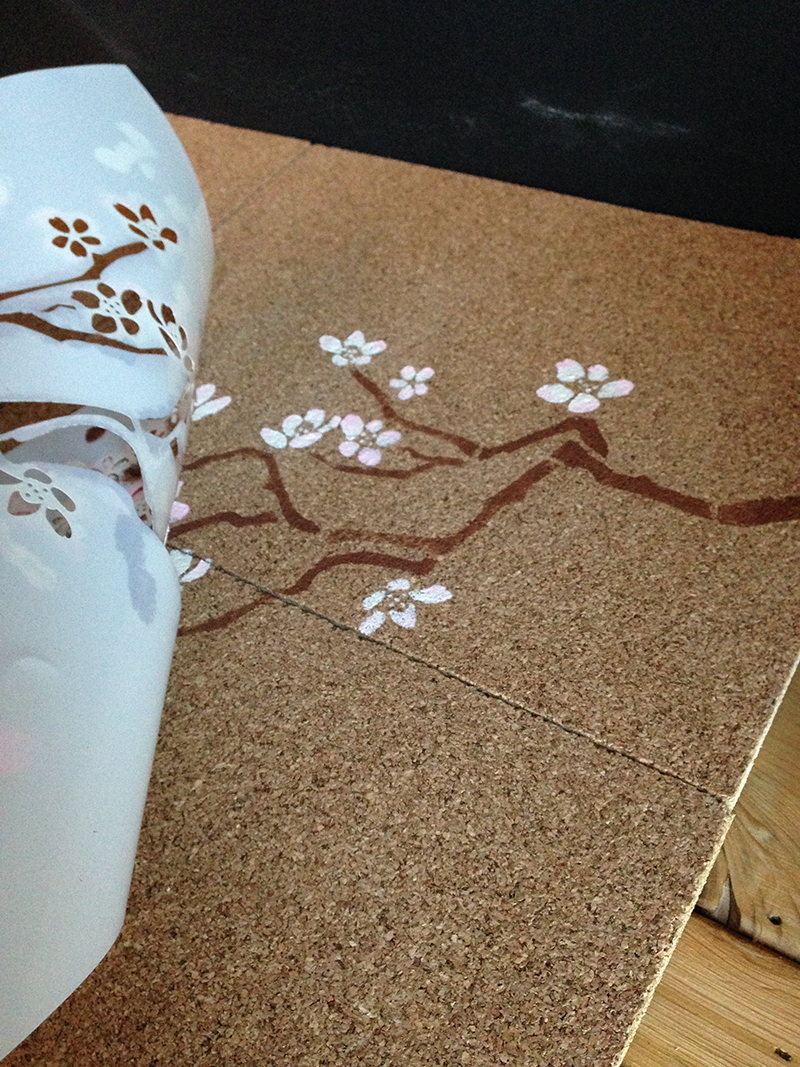
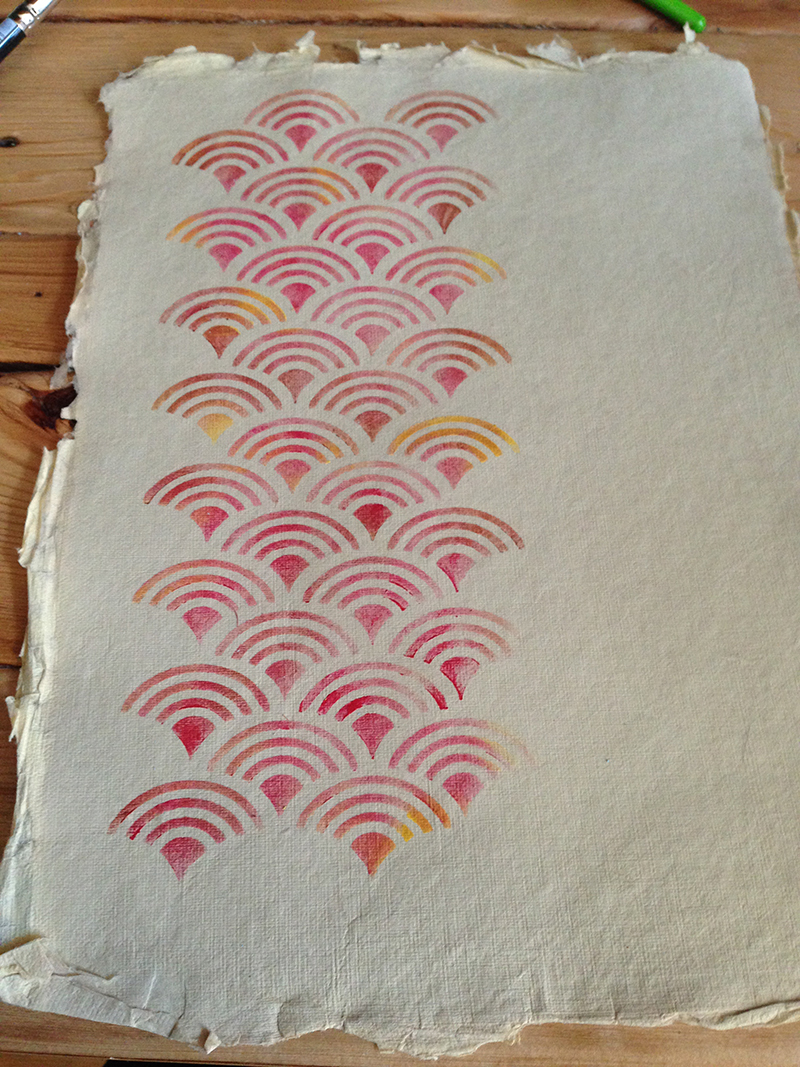
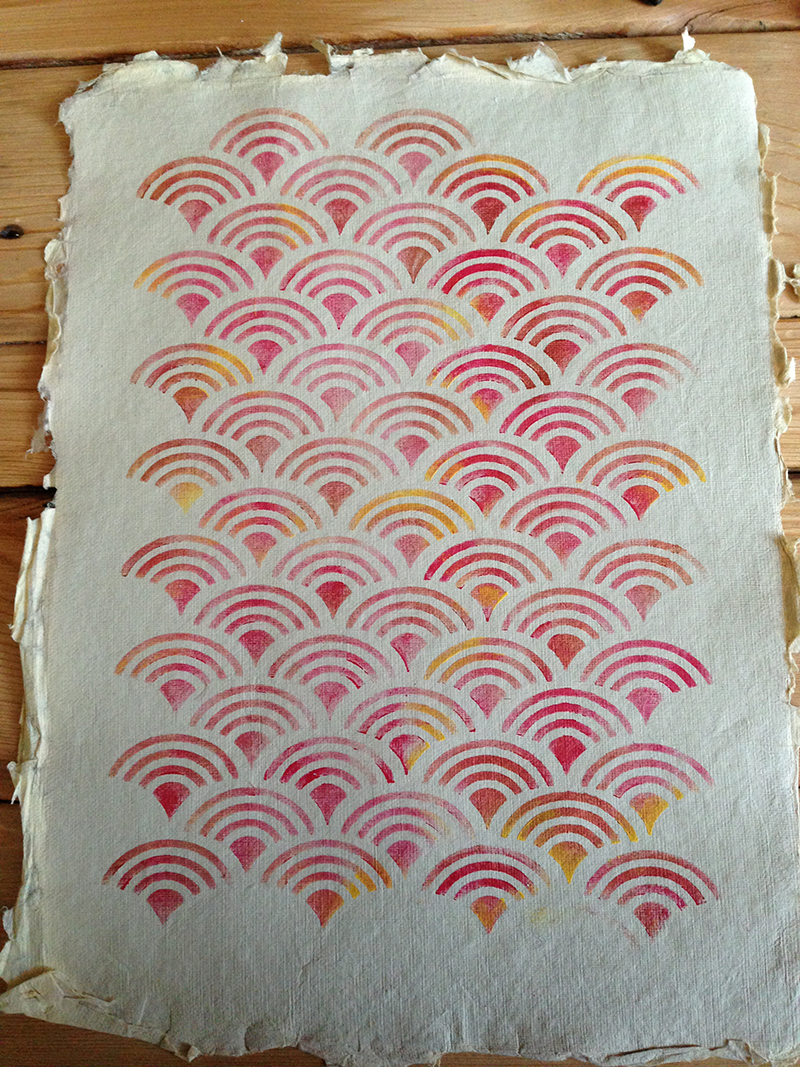
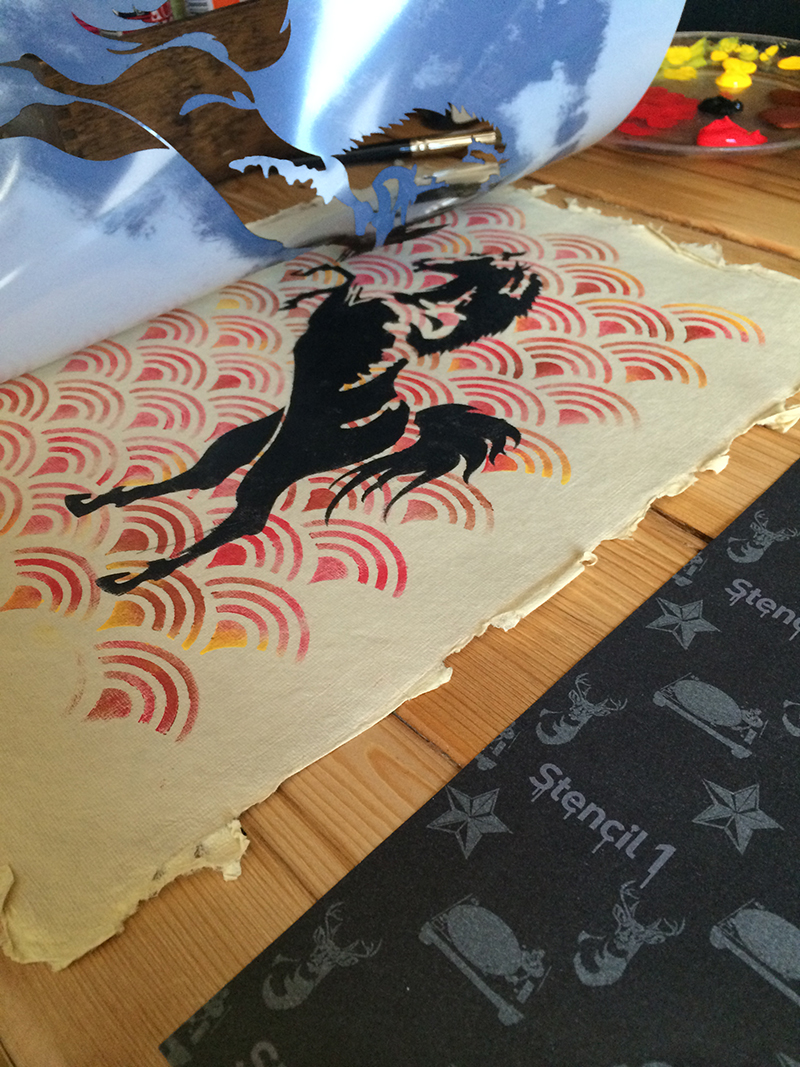
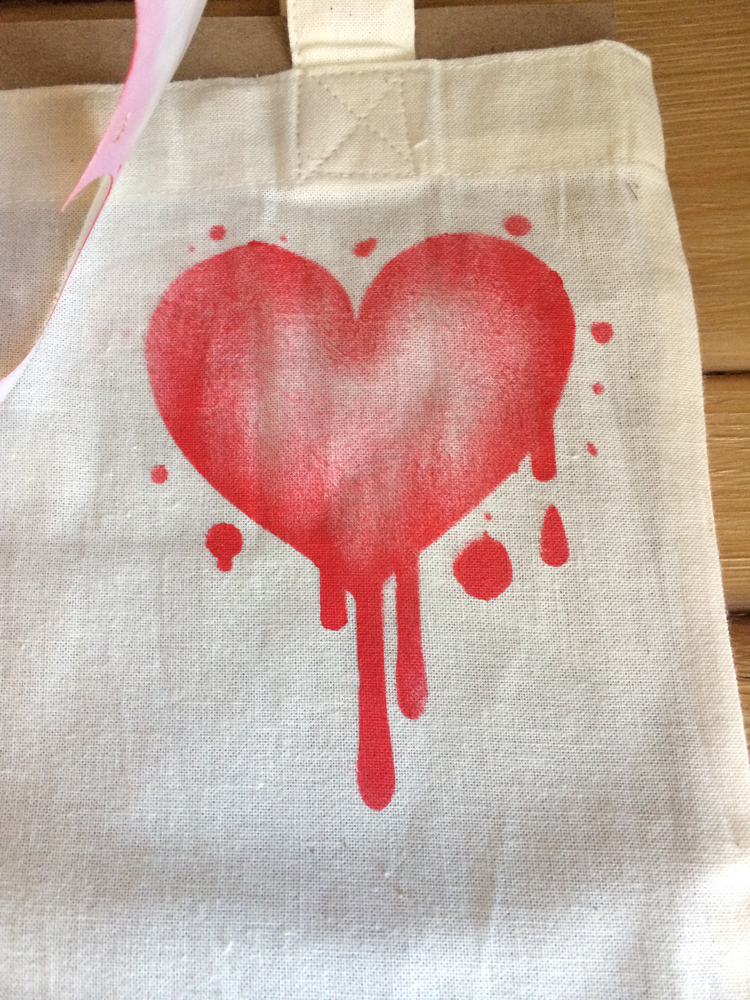
Lift carefully when complete.


5.IMG_3914x

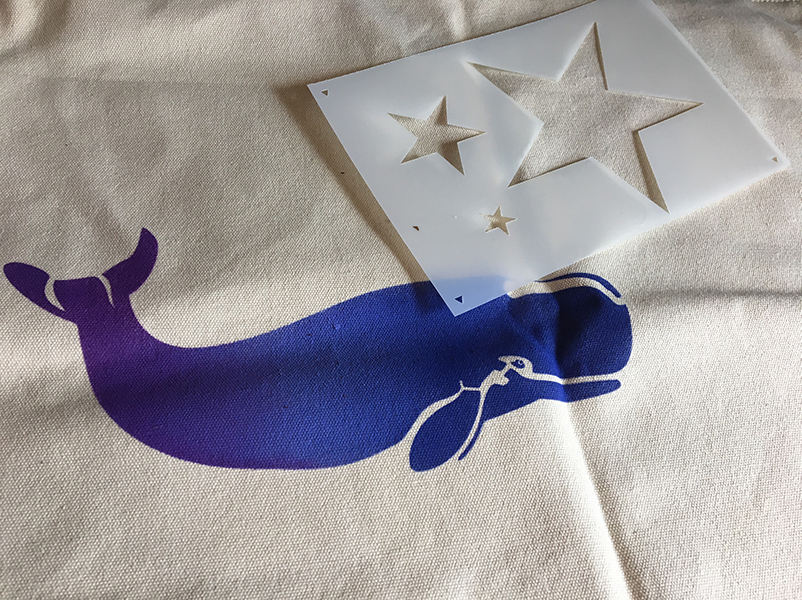
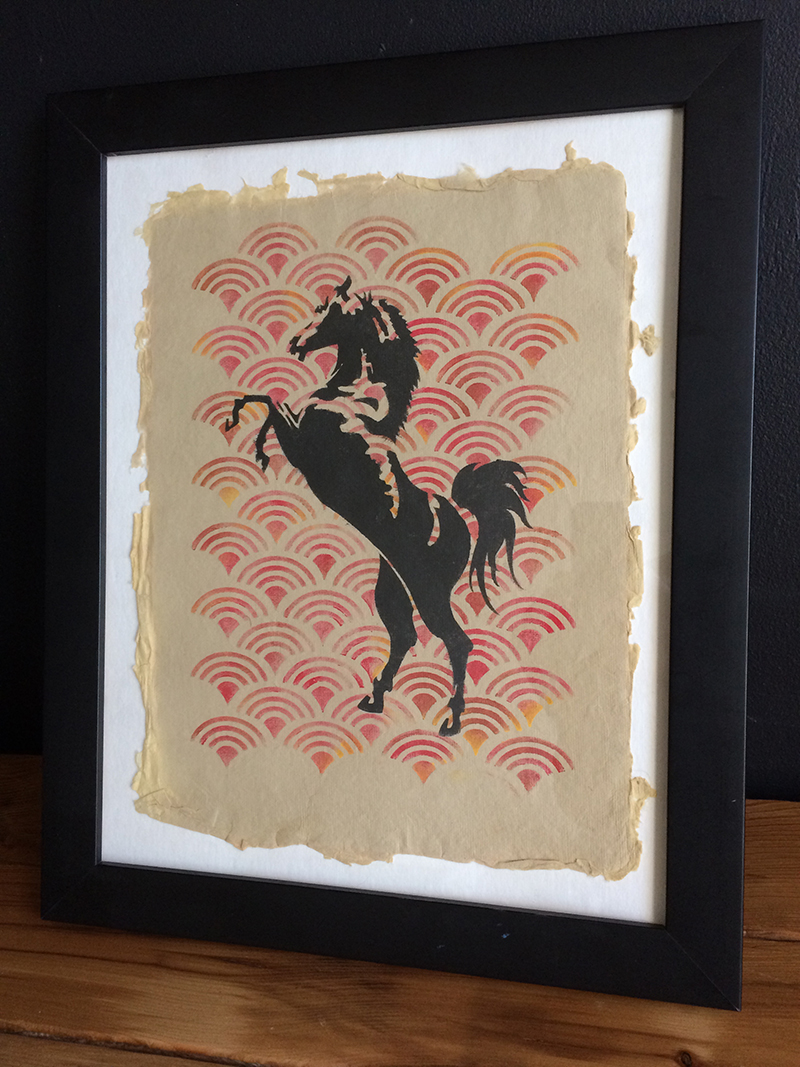
Because stencil projects are more awesome when you incorporate different items to create a unique masterpiece, we decided to have our whale shoot out stars from its spout, making our whale into a celestial creature. We used the 2-Layer Rock Star Stencil.


6.IMG_3930x


7.IMG_3938x

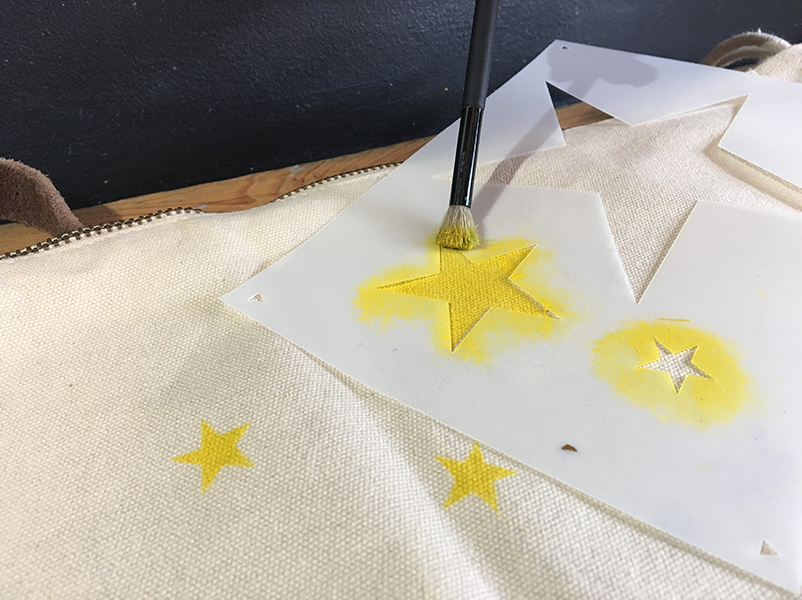
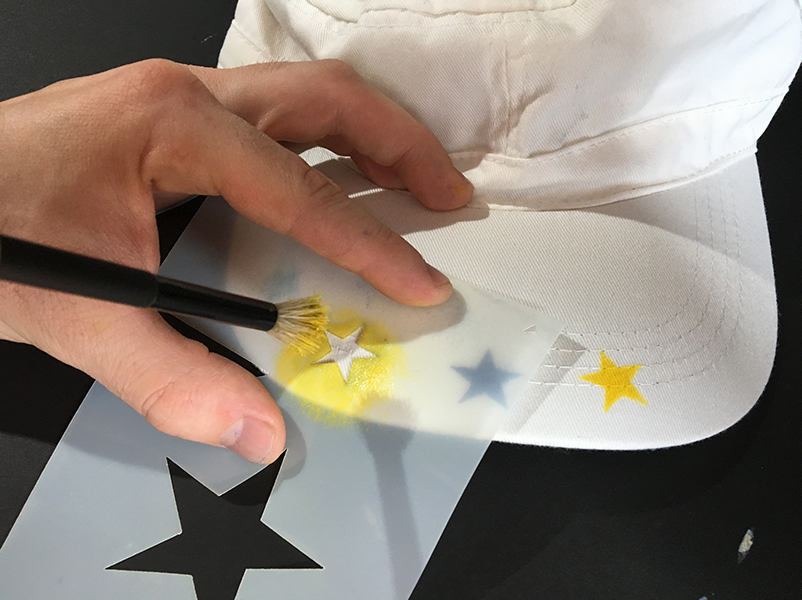
Once the bag is done, leave it to dry in a sunny spot. While it dries, begin working on the cap.


8.IMG_3940x

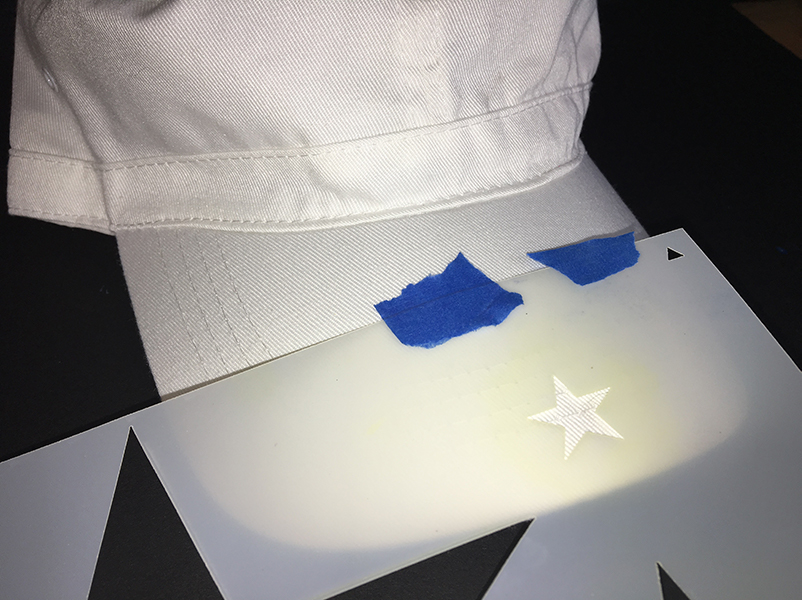
We kept it simple, just wanting to tie both items together with some stars.


9.IMG_3946x


10.IMG_3950x

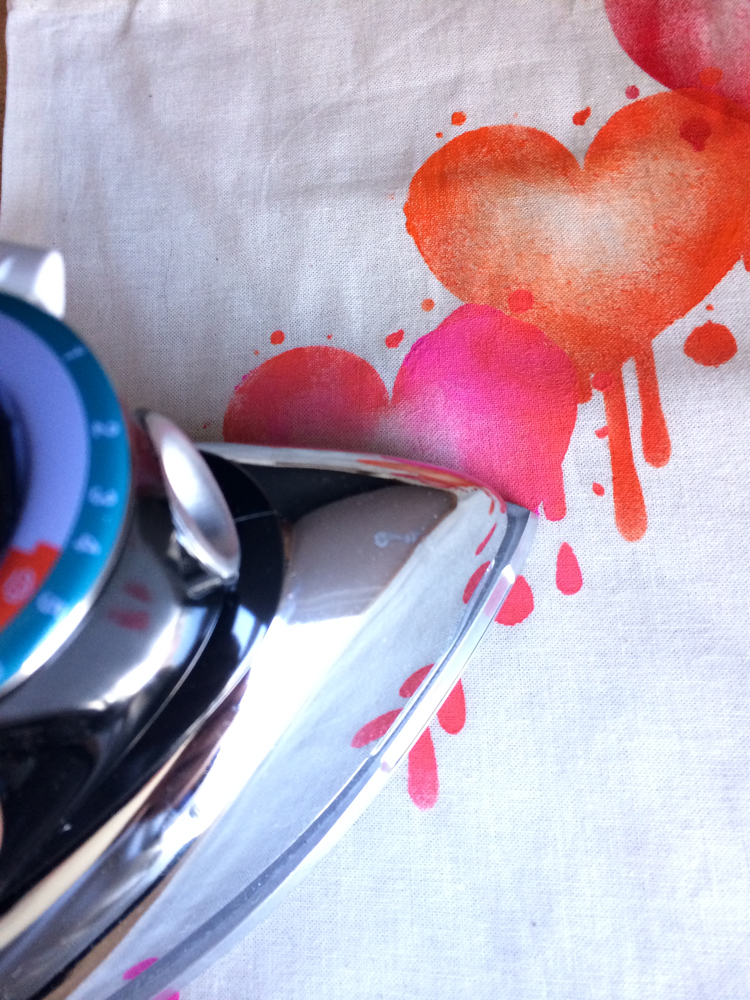
Let dry as well. When your bag is dry, flip it inside out, and iron it to seal in the color.


11.IMG_3965x

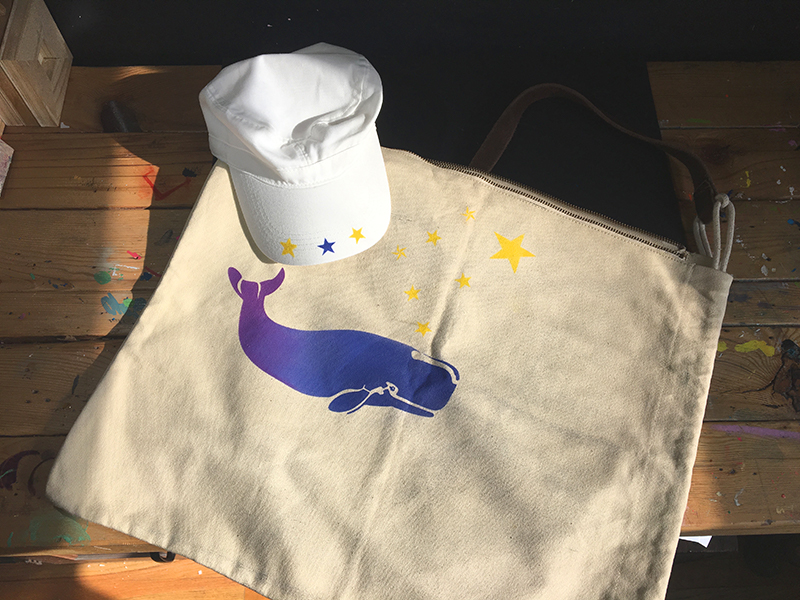
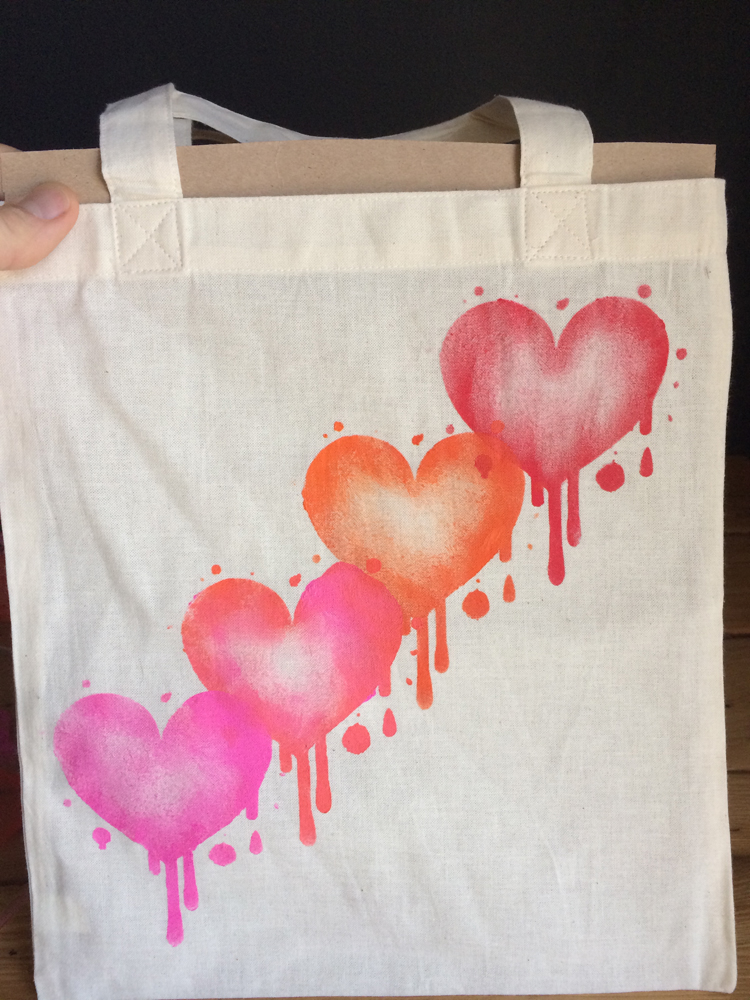
All done! Our star whale bag is perfect for summer nights on a boat, or summer days at the beach. Remember to keep your cap on you at all times and to apply sunscreen!


Cork boards are awesome because they can be great functional pieces of art. They take on paint really well and serve as a great surface to pin your daily reminders on. Not only will you be on top of everything you have to do, but your office will also look great!

To make this pin board, you’ll need: 4 8 ½” by 11” cork sheets, multi-surface paint, brushes, double sided mounting tape and our cherry branch 11 x 11 stencil.

Step 1: Lay out your four cork sheets side by side so that they form a square. Place your stencil on the top right corner of your square. Angle it so that it looks as if your branch is part of a big cherry blossom tree.

Stencil1_BlossomBoard_01
Stencil1_BlossomBoard_01b

Step 2: Using brown paint and a stencil brush, begin to paint in the branch. Make sure to use a dry brush technique, this means that you are using a very small amount of paint and applying several layers to make the color more saturated. Use an up and down dabbing motion to paint.

Stencil1_BlossomBoard_02

Step 3: Rinse your brush, or use a different brush to paint your petals white. If you are re-using your previous brush, make sure you dry it really well. Again, use very little paint and an up and down dabbing motion.

Stencil1_BlossomBoard_03

Step 4: We love the colors of cherry blossoms. To simulate that look, we used a dab of pink paint (paint your plate a little bit to get the excess paint off your brush) to tint parts of the petals a pastel pink.

Stencil1_BlossomBoard_04
Stencil1_BlossomBoard_05
Stencil1_BlossomBoard_06

Step 5: Use the stencil at different angles to paint some flowers and petals falling off the branch.

Stencil1_BlossomBoard_07
Stencil1_BlossomBoard_08

Step 6: Once your paint is dry, put a piece of double-sided mounting tape of the back of your cork sheets. Hang them up arranged like you painted them, but allow them to separate a little bit from each other.  Snap a picture of your pin board and show us what it looks like in your home or office! @stencil1

Stencil1_BlossomBoard_09
Stencil1_BlossomBoard_10
Stencil1_BlossomBoard_11

There are many ways to make a print including with stencils. We love layering a colorful pattern with a bold iconic image in front of it. For this DIY, we layered our stallion stencil over our scallop pattern stencil. This layering technique creates a beautifully intricate and fun look.

For this piece you’ll need: stencil brushes, scallop pattern stencil, stallion stencil, acrylic paint and hand-made paper.

Step 1: To start, we mapped out where we wanted to stencil the pattern on the paper. We used hand-made paper because it helps elevate the project. But you can make this on any surface—a shirt, pillow, canvas, cardboard etc! We decided to cover the paper with the scallop pattern fully except for a border around the edges.

Stencil1_YearofHorse_01

Step 2: Next, you can begin stenciling! Stencil using a dry brush technique, this means using very little paint and applying multiple layers. If you are stenciling on paper, you have to be extra careful not to use too much paint. Start extremely light and add on as needed. We used yellow, red and a metallic copper to get an ombre look.  To do this, we used three different brushes to paint different sections of the design. Try to blend your colors and don’t be afraid to overlap.

Stencil1_YearofHorse_02

Step 3: Let that first section dry and move the pattern on to the next section. Use the part you already painted to align the stencil. Repeat this step until you’ve fully stenciled the paper.

Stencil1_YearofHorse_03
Stencil1_YearofHorse_04
Stencil1_YearofHorse_05
Stencil1_YearofHorse_06
Stencil1_YearofHorse_07

Step 4: Once your paint is dry, you can stencil the horse.  We used black as it will stand out nicely on the colorful background.  Place the stallion stencil centered on the paper. And use a brush to paint it in. Remember to use very little paint. Use a circular motion to cover the larger areas and an up and down dabbing motion to cover the more detailed areas.  Apply as many layers as need to achieve the color you want.

Stencil1_YearofHorse_08
Stencil1_YearofHorse_09
Stencil1_YearofHorse_10
Stencil1_YearofHorse_11
Stencil1_YearofHorse_12

Step 5: Allow your paint to fully dry and then frame your art! Place it somewhere in your home or office and send us a picture of your work @stencil1

Stencil1_YearofHorse_13

Whether you have a significant other or just love yourself, why not tote around the good vibes? This easy how-to will show you how easy it is to custom stencil a tote bag using our HEARTS 4-pack stencil, some multi-surface paint, and a stencil brush on a basic cotton tote.

Heart_tote_Stencil1_1
Heart_tote_Stencil1_2

FIrst thing you want to do is insert a piece of cardboard into the tote. This way your paint won’t bleed through to the back of the bag and it will provide you a flat surface to stencil on.

Now place your stencil where you’d like your design to appear.

Heart_tote_Stencil1_3

.

Time to whip our the fabric paint!

Heart_tote_Stencil1_4

Stenciling is a dry-brush technique.  Always remove excess paint from your brush before you paint in the design.

Heart_tote_Stencil1_5

I usually fill in my designs completely and evenly but I wanted these hearts to look airbrushed with a little dimension. The way you achieve this effect is by working from the edges inward in a swirling motion. As the brush gets less paint on it, you then lightly paint in the center.

Heart_tote_Stencil1_6

See 🙂

Heart_tote_Stencil1_7

Repeat the process. I switched colors but I did not wash my brush or my stencil as I wanted to blend colors. That’s up to you!

Heart_tote_Stencil1_8

And again!

Heart_tote_Stencil1_8b

I did this four times, sort of a motion to the hearts…

Heart_tote_Stencil1_9

Once the design dries, heat seal with an iron for 30-60 seconds per area.

Heart_tote_Stencil1_10

Tote your happy hearts around like my friend Libby did, spreading a little love in the NYC subway!

IMG_1898

Nikki, our Stencil1 intern, transformed an empty spraycan into a beautiful collectors’ item inspired by a Montana spraypaint can. This spraycan would look great on your shelf next to your cute robot toys and other stencil1 graffiti art!

She started by painting the can black.

1_Paintitblack_photo 3
2_allblack_photo 4

Once dry, she stenciled it with our mini spraycan stencil and applied the details by hand.

3_stencil_spraycan_photo 5
4_paint_detail_Photo 6

Lastly, she painted the top green and attached it to the can.

5_finalcan_IMG_3526

Show off your spraycans @stencil1!


1. Paint it!

Owl_moroocanpetal_pumpkin_stencxil1
pumpkins_fashionable_Stencil1
pumpkins-tote_Stencil1

Make your pumpkins spooky with multi-surface paint! Try using one of our patterns stencils underneath your favorite halloween themed stencil!

2. Etch it!

stencil_raven_etched_pumpkin_Stencil1

Use a dremel to stencil your pumpkin and give it this unique look!

trace_raven_on_pumpkin_Stencil1

For an easy alternative, stencil your pumpkins with sharpie markers! This is a fast and simple way to get your house ready for Halloween!

You can use any of our stencils for these projects. Here are the ones we used:

Halloween 4-Pack

Owl

Birds and Bees 4-Pack

Antlered Deer

Royal Crown

Leopard Print Pattern

Moroccan Pattern