Στο νέο online παιχνίδι καζίνο του Nine Casino, εμπνευσμένο από τον κόσμο της κατασκευής στένσιλ, οι παίκτες μπορούν να δημιουργήσουν τα δικά τους μοναδικά μοτίβα για να ξεκλειδώσουν ειδικά επίπεδα παιχνιδιού. Gracze rywalizują o stworzenie najbardziej wyszukanych wzorów szablonów, które są następnie oceniane w grze pod kątem bonusów i nagród w kasynie MostBet Casino Immediate Byte Pro Neoprofit AI
pumpkins_clay_stem_Stencil1_final

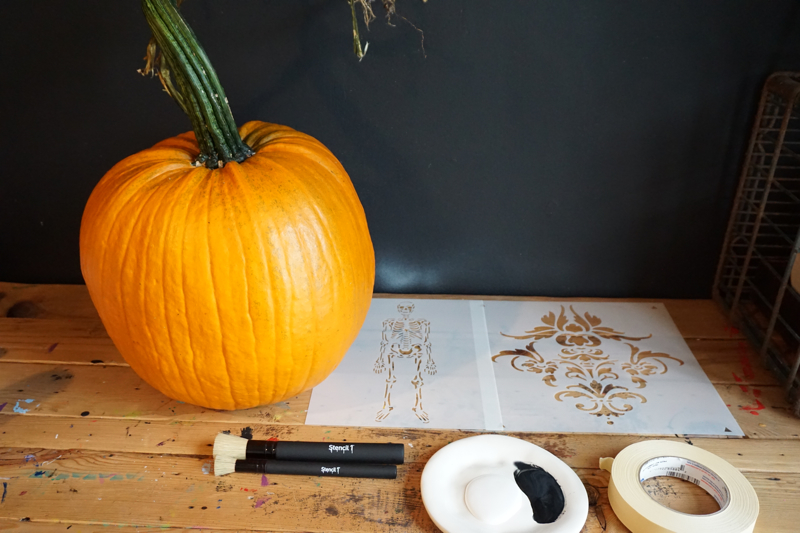
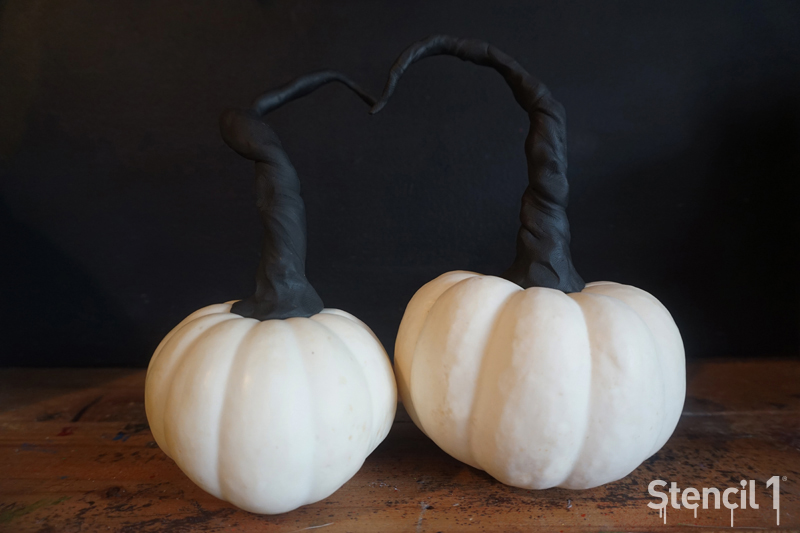
This DIY adds a wicked touch to your Halloween decorations and it’s easy! Using modeling clay, we created these twisty black stems to some white pumpkins for a Halloween look that Tim Burton would approve. You’ll need modeling clay, pumpkins either real or faux and a butter knife for cutting shapes. This is also a kid-friendly craft project as it’s basically playing with clay!

pumpkins_clay_stem_Stencil1_1

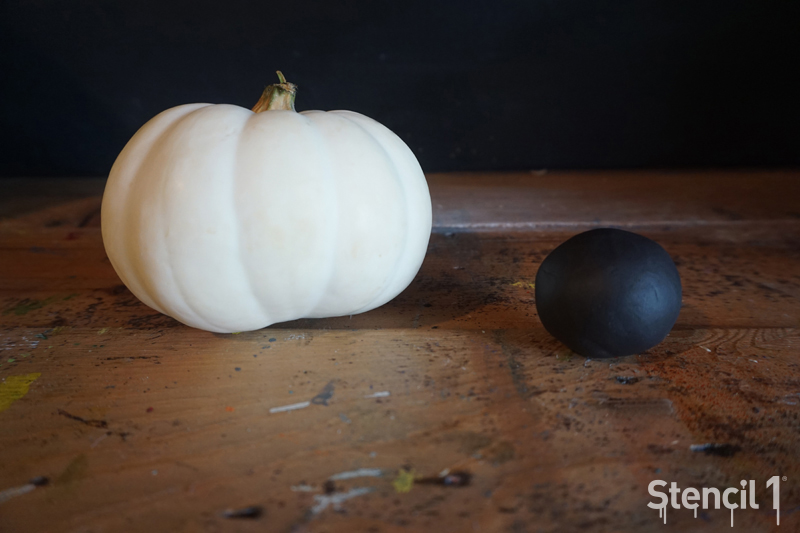
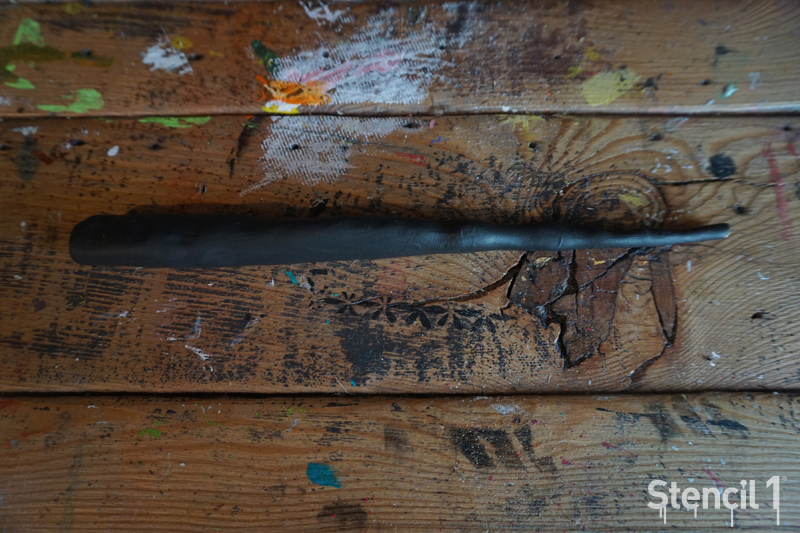
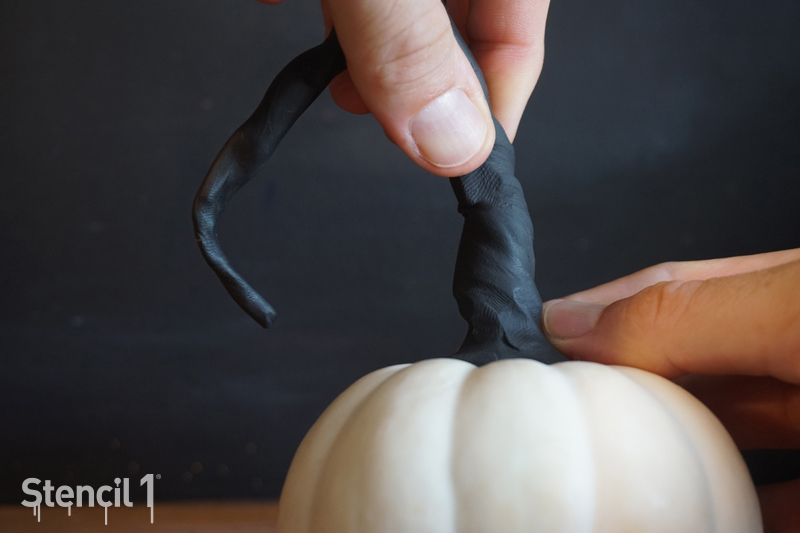
Roll out your clay into an oblong shape, make one end thin.

pumpkins_clay_stem_Stencil1_2
pumpkins_clay_stem_Stencil1_3

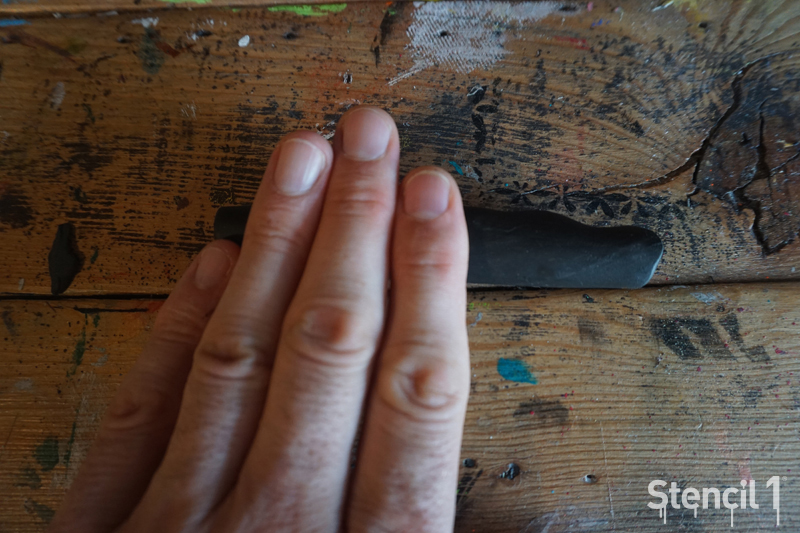
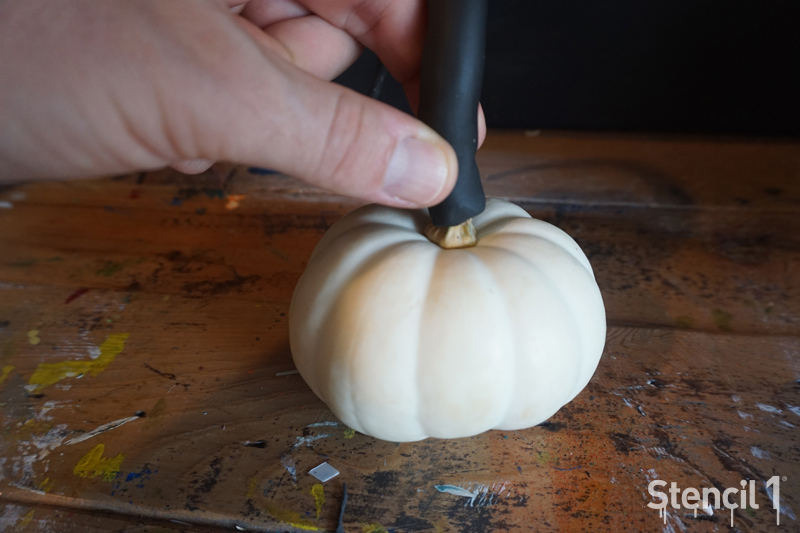
Stick the thicker side right on top of the pumpkins stem.

pumpkins_clay_stem_Stencil1_4

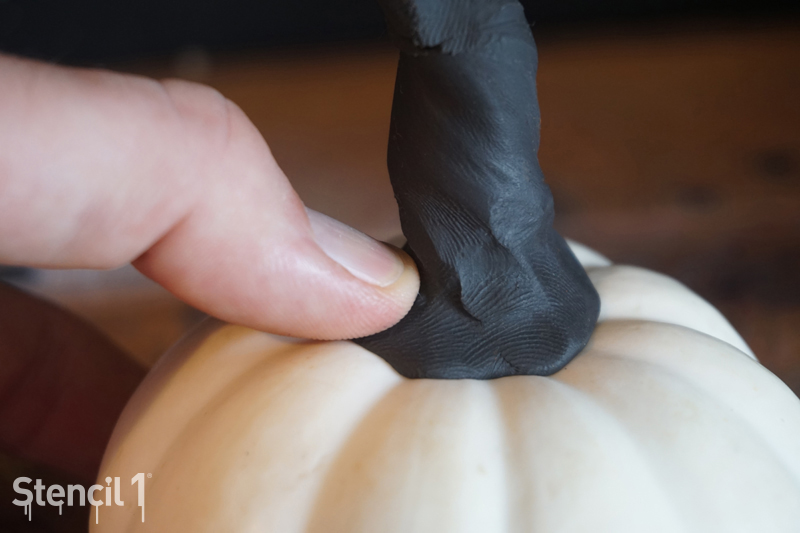
Press it down, making a stem-like organic shape.

pumpkins_clay_stem_Stencil1_5

Twist the clay to make a wicked look.

pumpkins_clay_stem_Stencil1_6
pumpkins_clay_stem_Stencil1_7

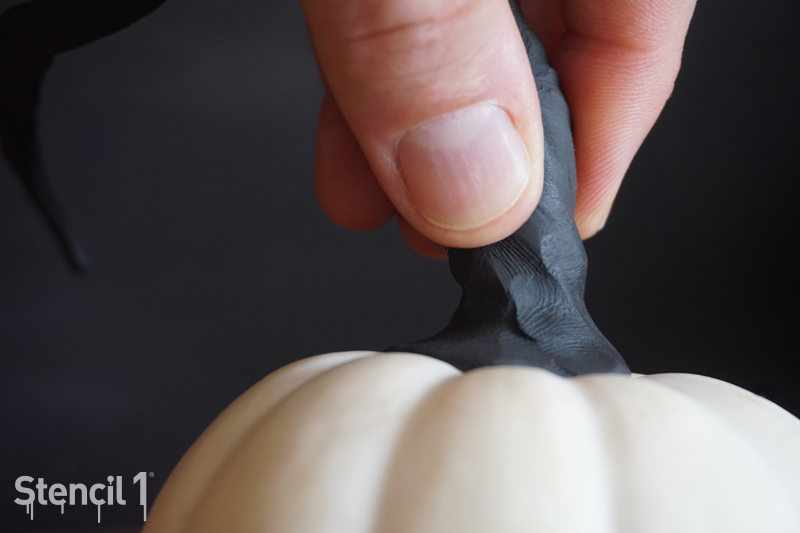
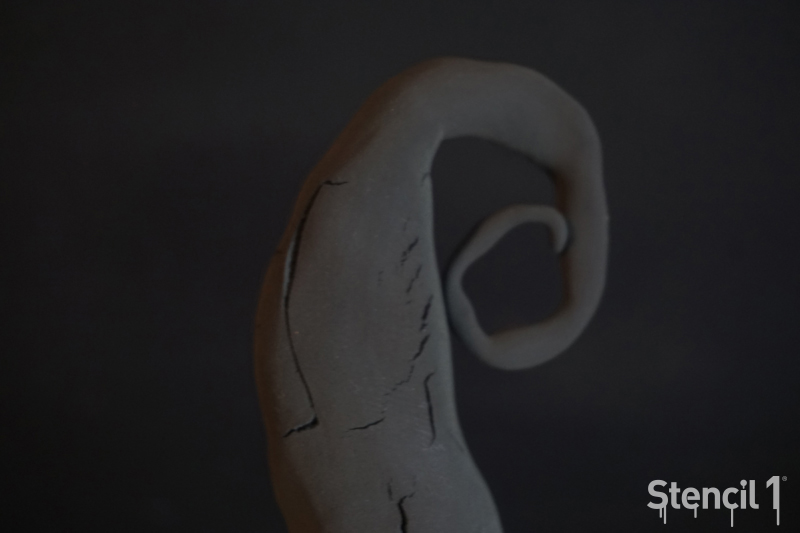
You can give it a curly end for that Nightmare Before Christmas, scary look.

pumpkins_clay_stem_Stencil1_8

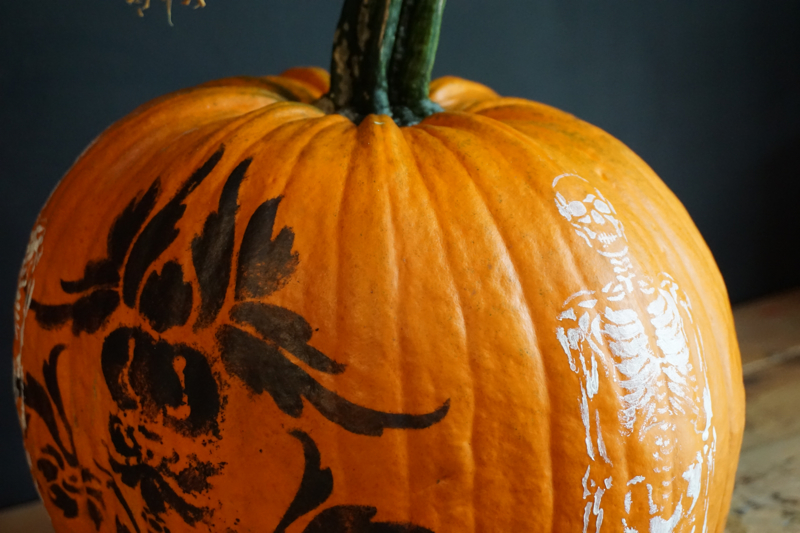
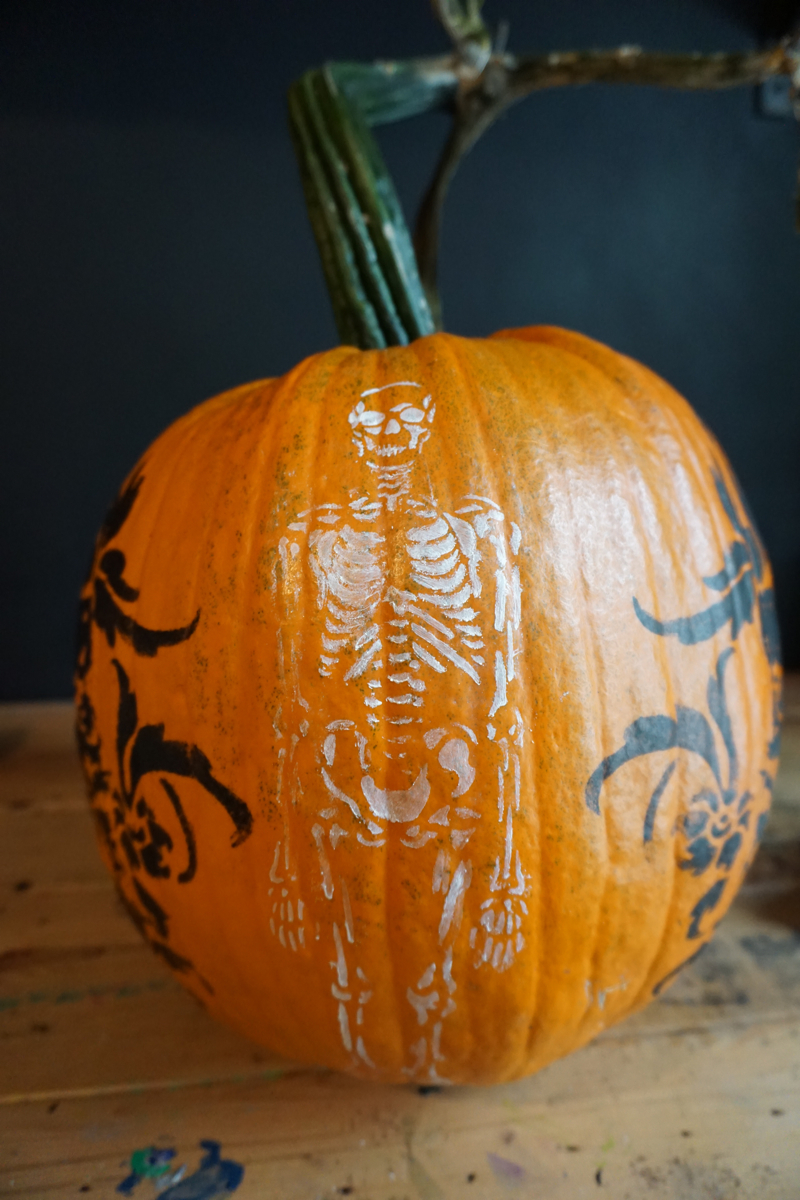
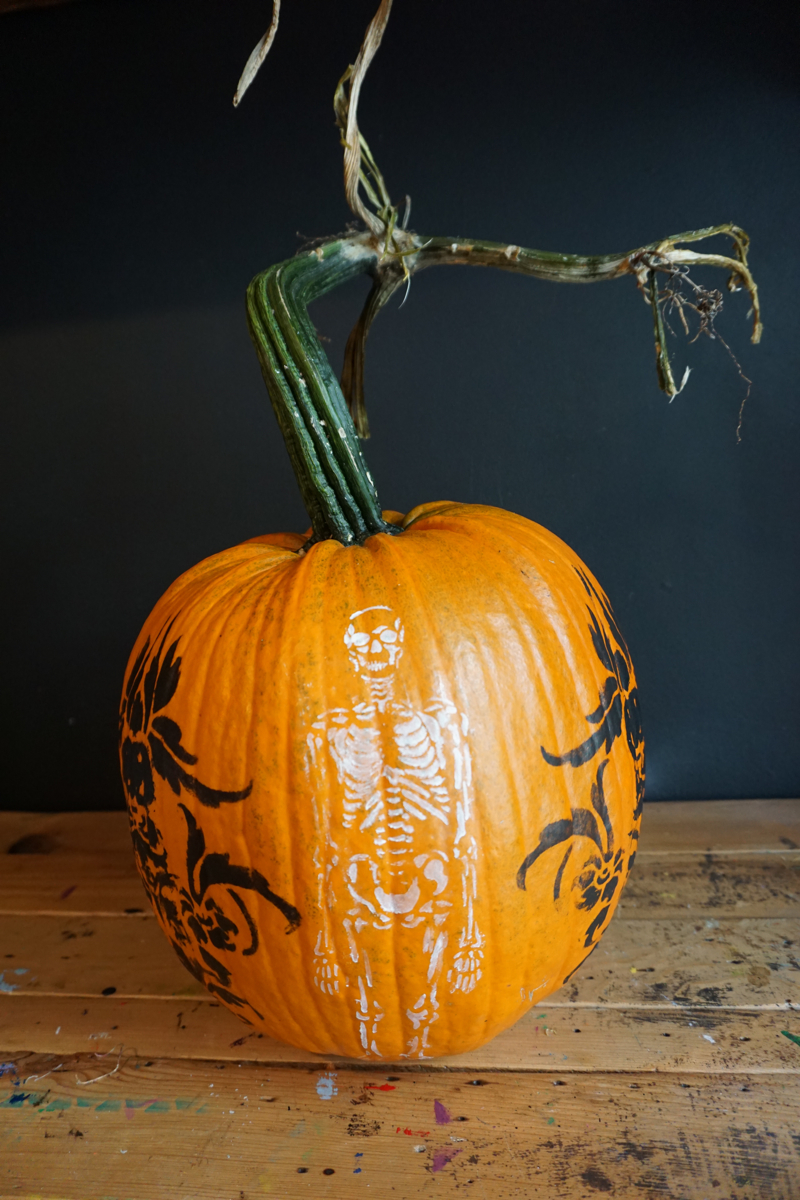
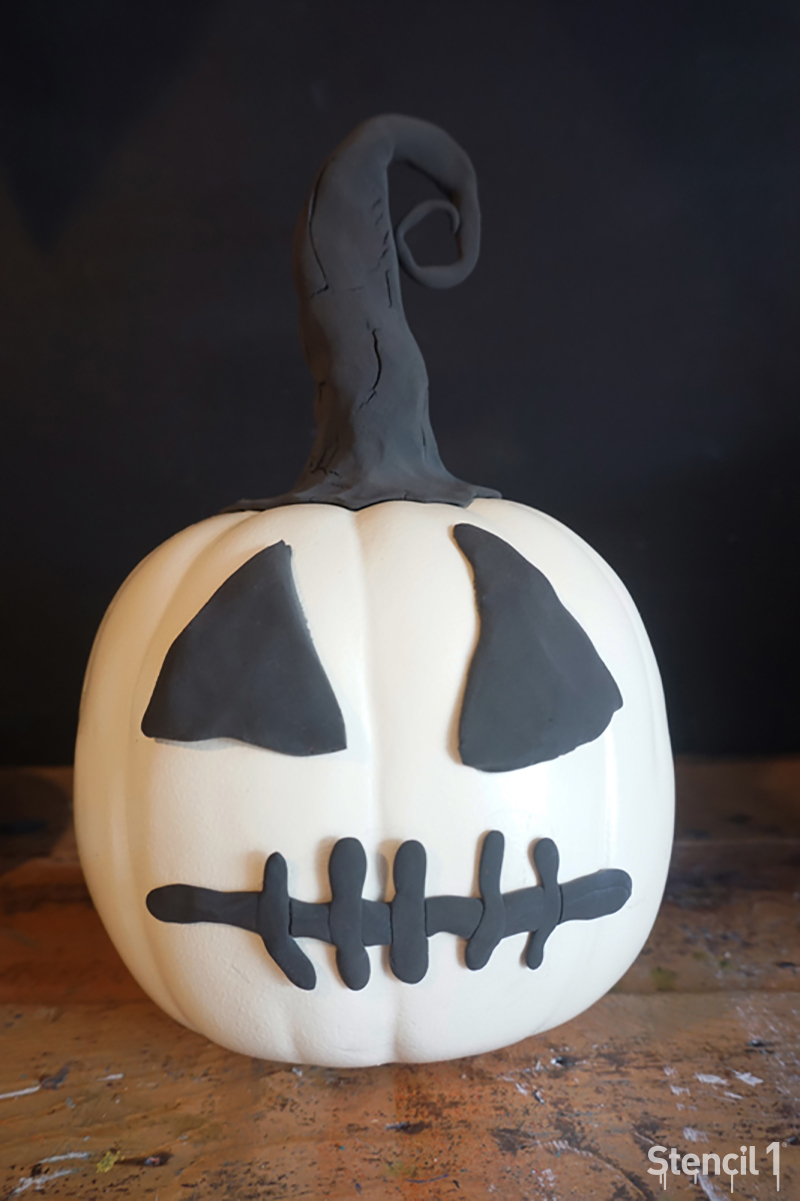
We did this larger faux pumpkin as well. Try cutting shapes with a butter knife and sticking them on the pumpkin. Carved pumpkins are beautiful but this no-cut project makes it easier and a great effect!

pumpkins_clay_stem_Stencil1_8b

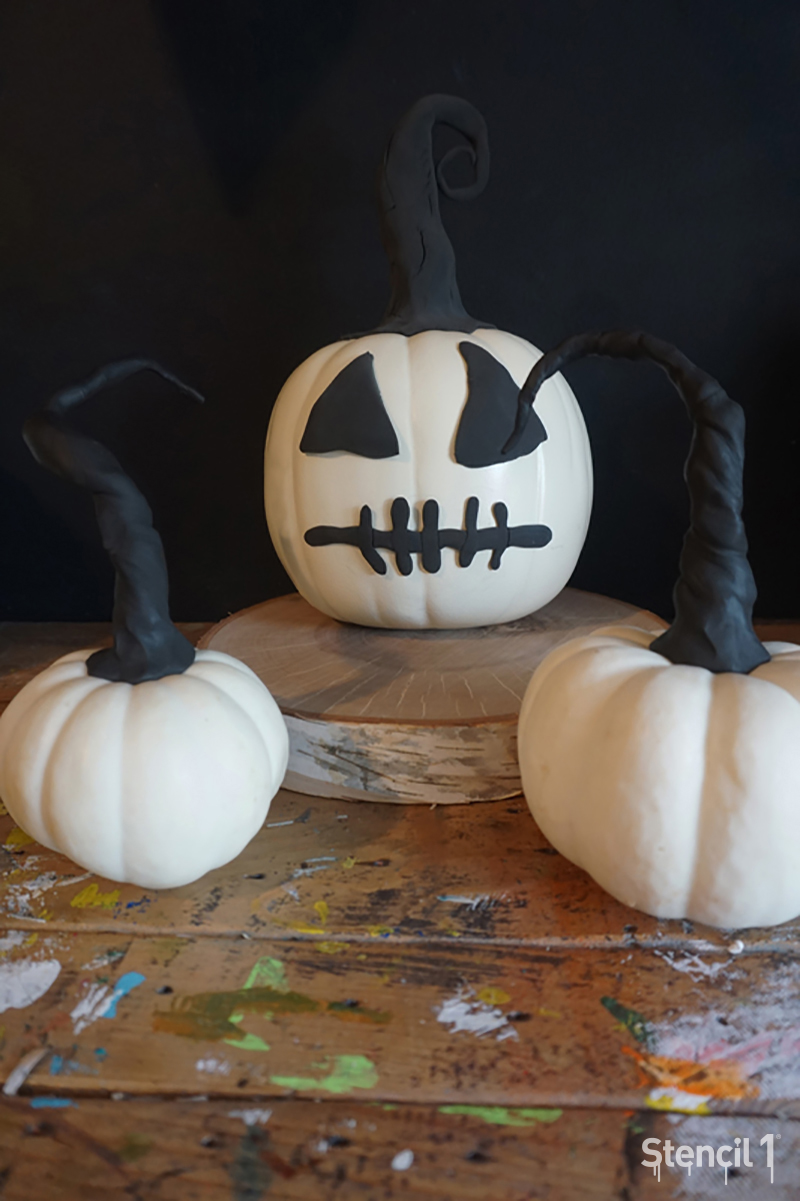
Display your creations as a table centerpiece on wood slabs for drama.

pumpkins_clay_stem_Stencil1_9

share your creations with us @stencil

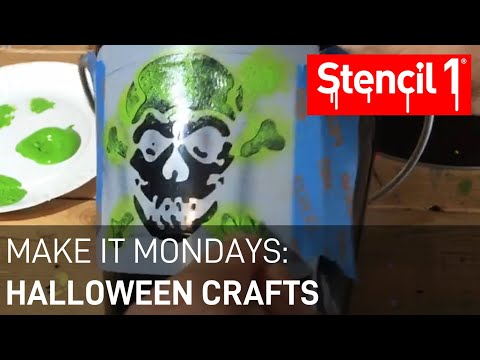
See this DIY in our video # 5 Make it Mondays:

YouTube Preview Image

top13

Halloween is about a month away and we’ve gathered up our Top 13 Halloween How-to’s! With a variety of our favorite old DIYs and fresh new Halloween tutorials, Stencil1 has you covered on everything from Halloween apparel and decor. Check them out!

1. Halloween Pennant Banner

2. Halloween Gift Tags

3. Halloween Party Invitations

4. Day Of The Dead Dessert Tin

5. Wise Owl Decorative Print

6. Witches Brew Wine Label and Gift Bag

7. Halloween Cloth Candy Bags

8. Day Of The Dead Treat Bag or Lantern

9. Paper Candy Lunch Bags

10. Halloween DIY Mason Jars

11. Boo! T-Shirt

12. Painted Pumpkins

13. Jolly Roger Bucket

Also check out last year’s Top 13 DIY Halloween Projects for more ideas and inspiration!

Which DIY will you try out? Share it with us at @Stencil1 and you may be featured in our next post!


DSC05483

Buckets, bowls, and almost any container are a necessity when it comes to Halloween…Where are you going to put all that candy?! This tin bucket DIY featuring the Stencil1 Jolly Roger stencil is perfect for storing candy, drinks, or any other goodies you will be giving away this Halloween. Check out how it’s done in our last Make It Monday video!

YouTube Preview Image

Be sure to go to Stencil1 Facebook page every Monday at 2 PM EST for live streams of how-to’s and craft talk!


DSC01554

To prepare for the month of Halloween, it’s time to start decorating those pumpkins! However, instead of the basic Jack-o’-Lanterns, maybe it’s time to try something different…we created this distressed damask and skeleton pumpkin. Here’s how!

Gather all of your supplies: pumpkin, stencil brushes, paint, and stencils

We kept it simple and on-trend with black and white paint for our Damask Traditional & Skeleton stencils. We also have two different brushes to use on each of our colors. Since the skeleton is 8.5″ x 11″ and the Damask is 11″ x 11″, we have a large pumpkin to paint on. But we always encourage creativity, so the choice of paint and how many colors you want to use is up to you.  If you choose from our smaller stencil collection, you can definitely create a miniature version of the Jack-o’-Stencil.

DSC01527

Place your stencil and start painting. We started with the Damask stencil and painted it black. We repeated this three times around the pumpkin, leaving space for the skeleton between each damask.

DSC01530
DSC01537

Once that dried, we placed the Skeleton stencil and used white paint. Again it’s your choice in what paint and stencils you want to decorate your pumpkin with, we have a variety of choices in our Halloween collection!

DSC01541
DSC01543

Repeat the skeleton three times as well.

DSC01547

Finally, your Jack-o’-Stencil is complete and it’s time to show it off!

We encourage  you to please take a picture and share your finished work with us by tagging @Stencil1 #Stencil1