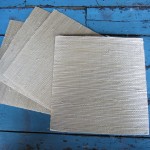
I wanted to add more joy to my home and I found these placemats that gave me the wonderful idea to use stencils and make them more appropriate for the holidays.
Supplies you will need:
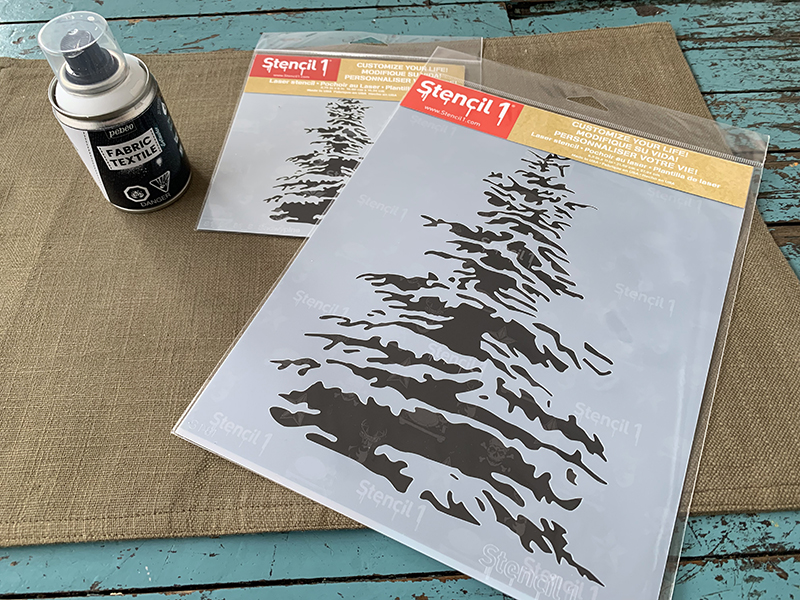
- Snowy Pine Stencil -Small (5.75″x6″)
- Snowy Pine Stencil (8.5″x11″)
- Snowflakes Stencil -Small (5.75″x6″)
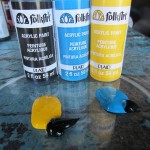
- Pebeo Fabric Textile Spray Paint
- Paintbrushes
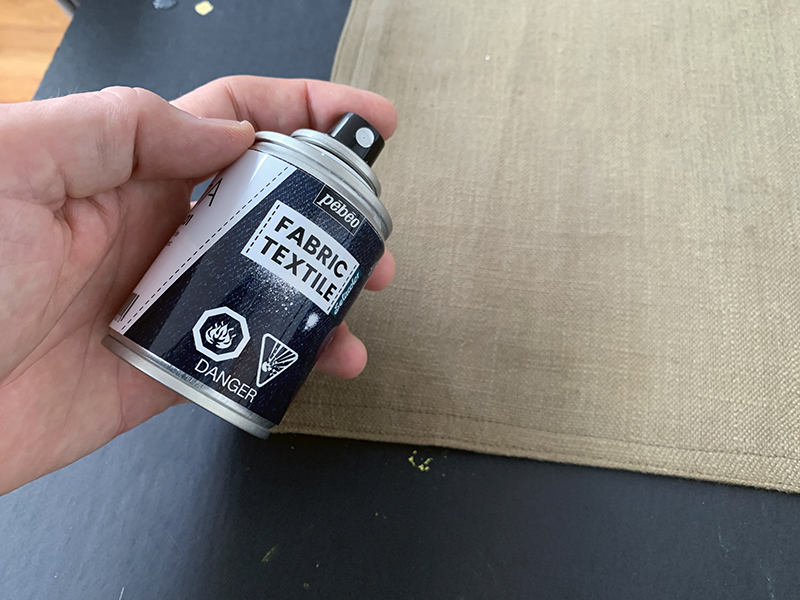
For this how-to, I’m using Pebeo Fabric Textile Spray Paint. They’re great for spray effects and for stenciling with larger stencils.
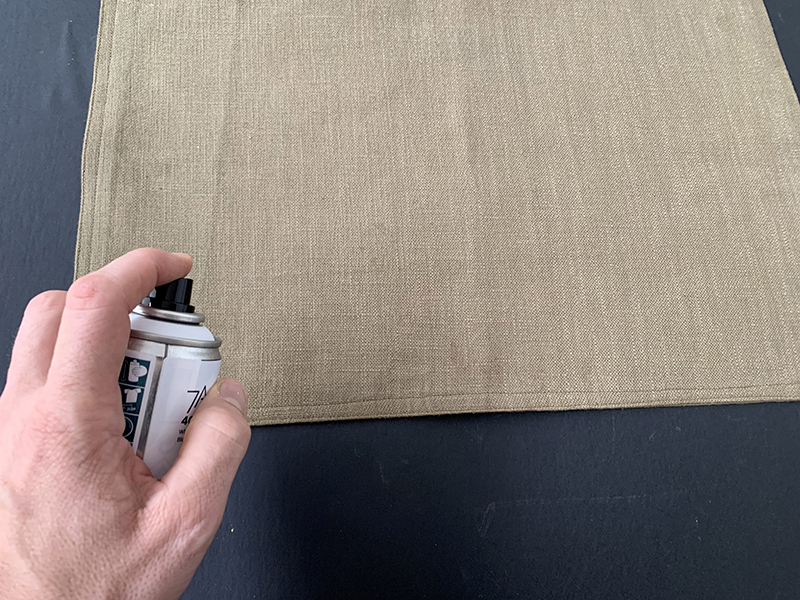
Begin spraying the bottom of the placemat to create your snowy scene.
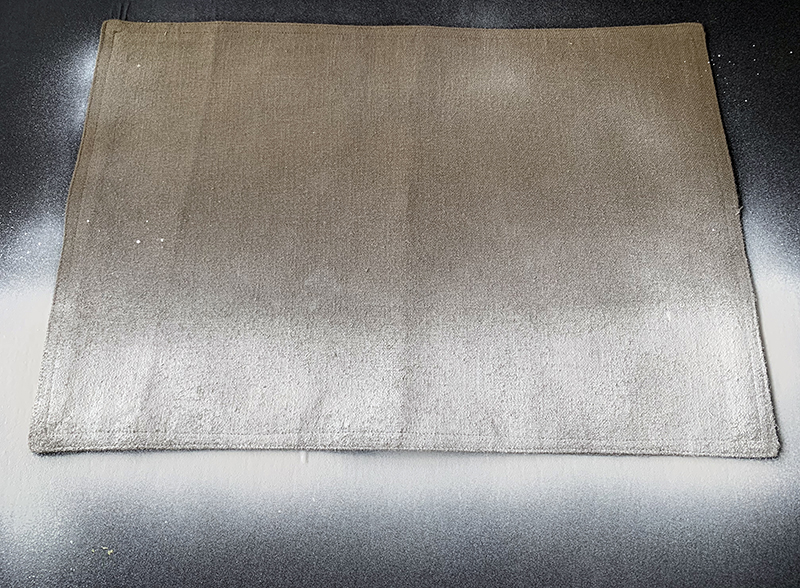
I am feeling very Bob Ross, doing this landscape effect.
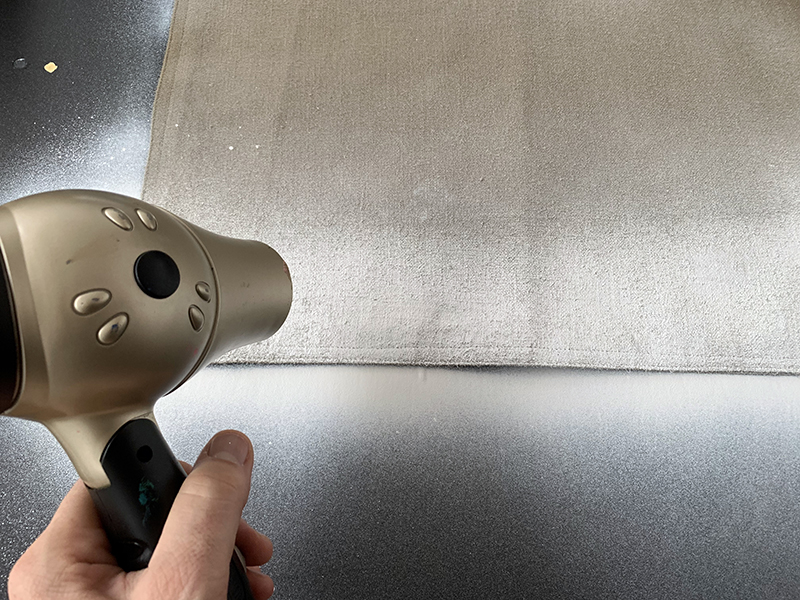
Use a hairdryer to dry the paint.
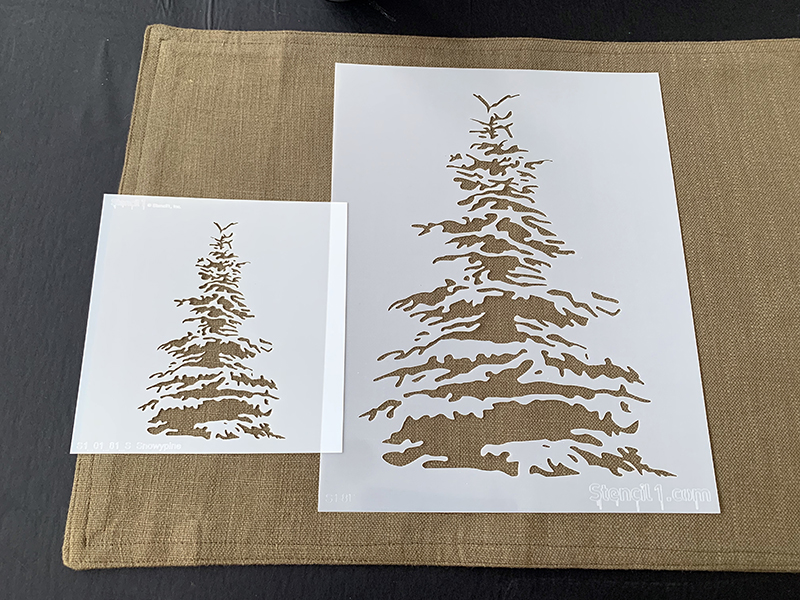
For this craft, I used the Snowy Pine Tree stencil, both the 5.75″ x 6″ and 8.5″ x 11″, to add perspective to the placemats
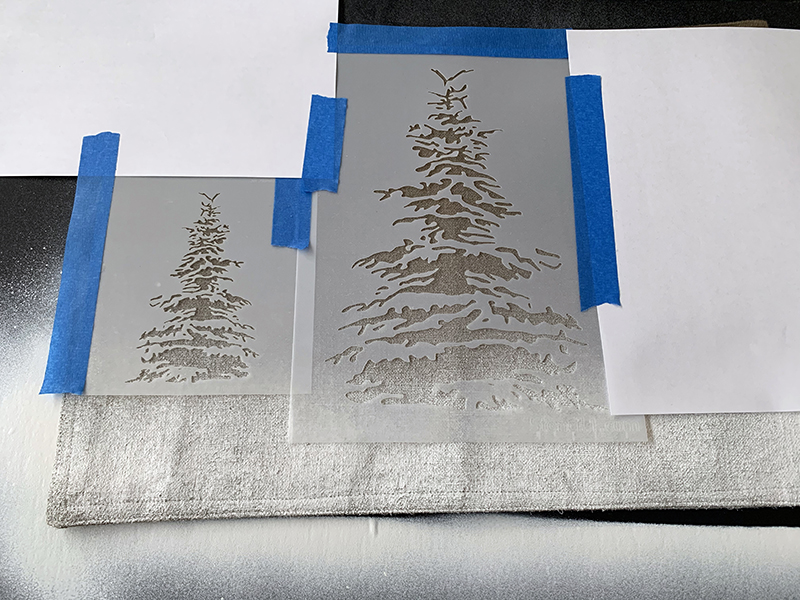
Secure the pine tree stencil with masking tape. You can use low tack spray adhesive to hold the stencil down when spraying as well to get all the stencil design details.

Spraypaint the pine tree stencil.
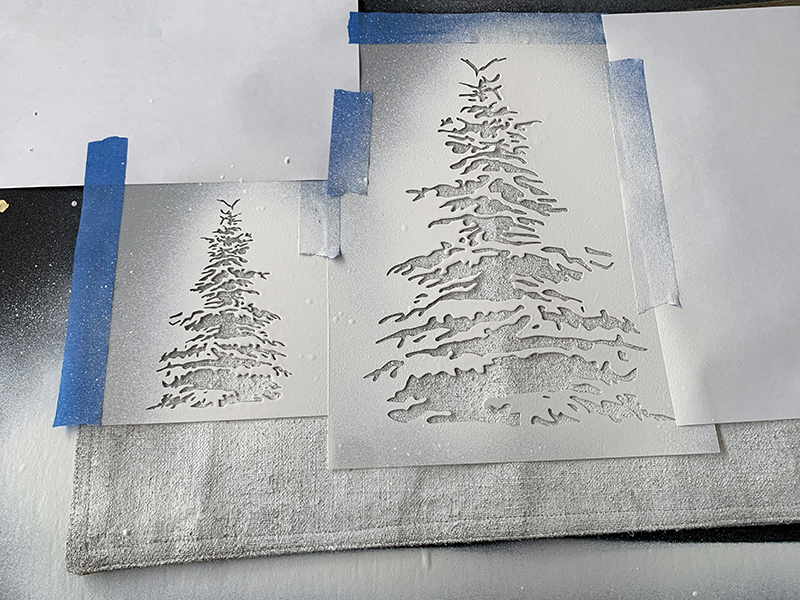
When you’re done spray painting, begin painting the next pine tree.
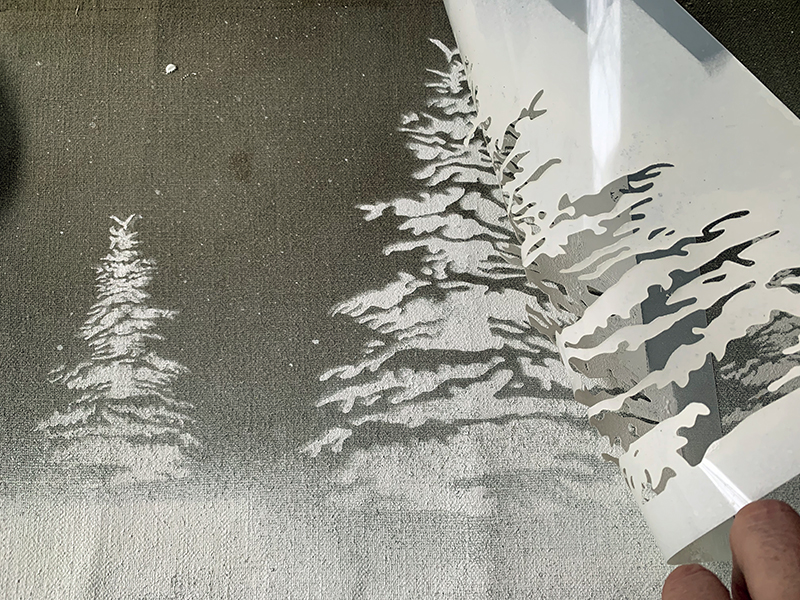
Remove the masking tape and the stencil and make sure you’re happy with the results.
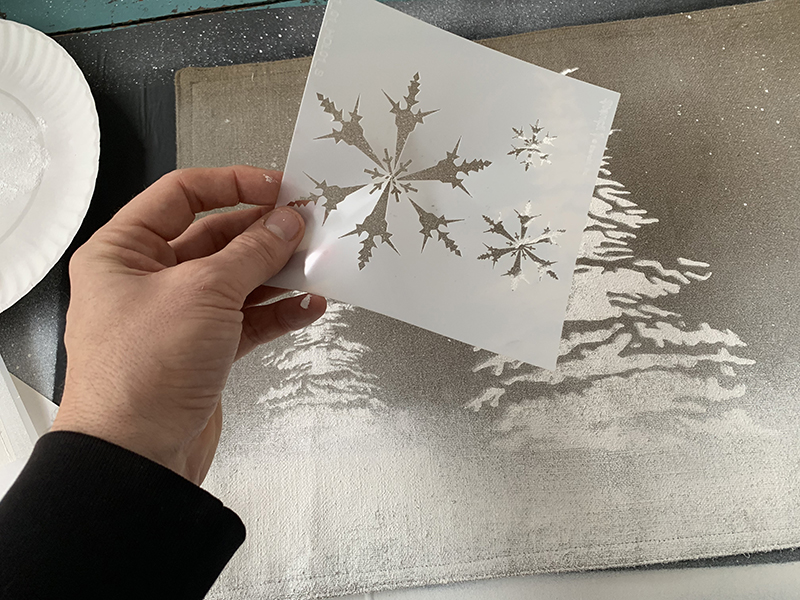
I used the snowflake stencil to add more holiday spirit and make this craft more magical.
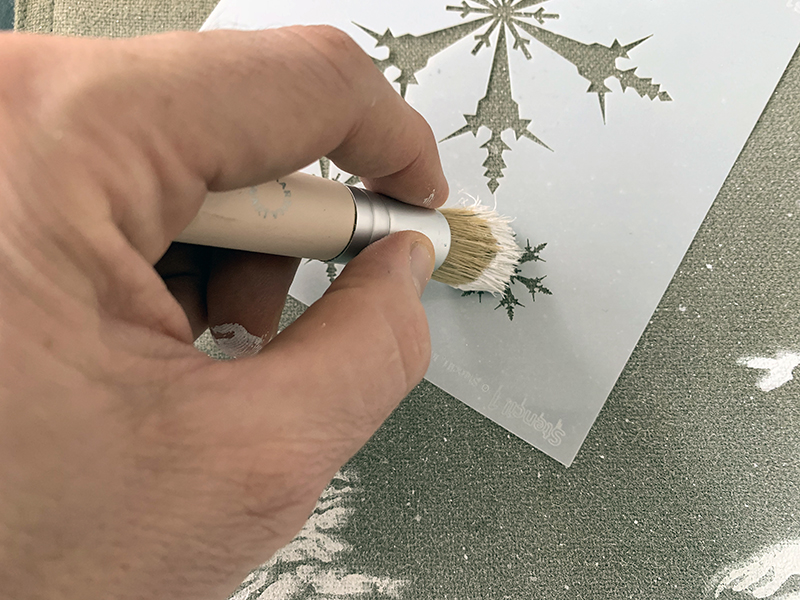
Paint the snowflakes with your brush and Pebeo Setacolor white fabric paint and add many to make it look like snowfall.
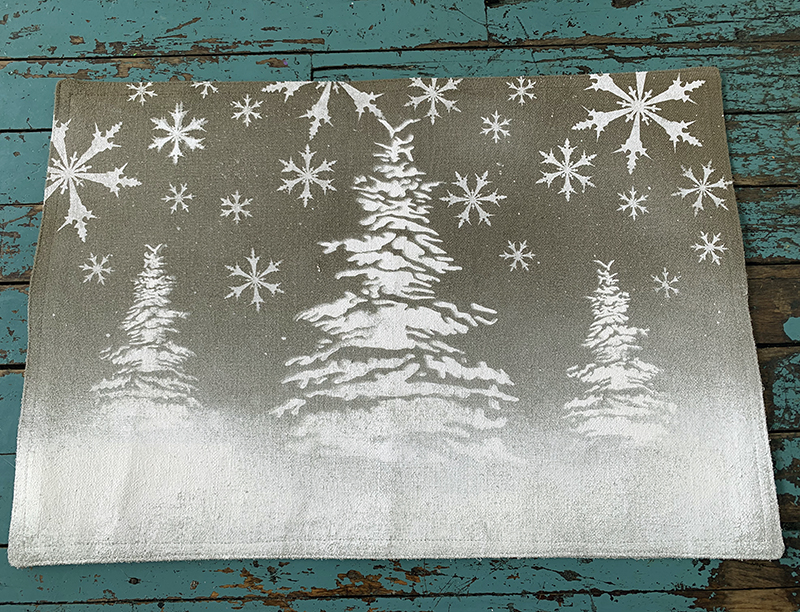
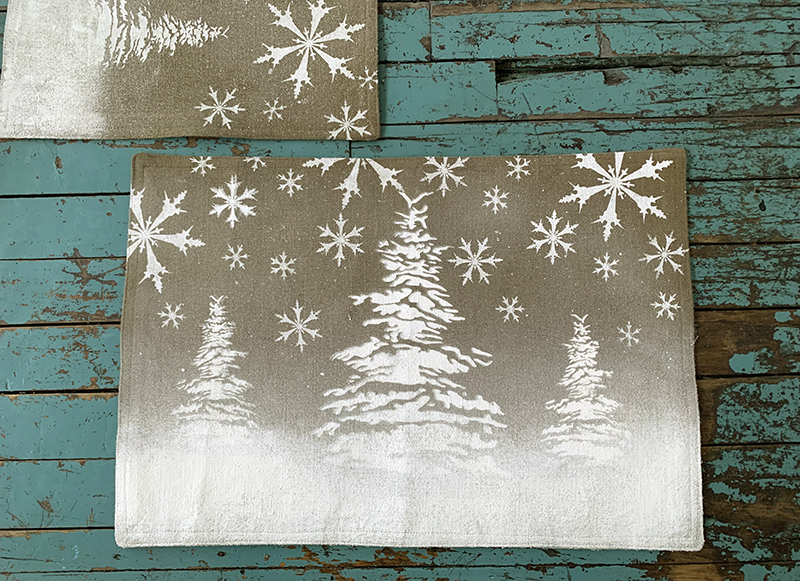
Now that you know how to do it, make enough for your dinner table. This project is also great for creating a runner.
Happy Holidays and please share your creations with is @stencil1