Στο νέο online παιχνίδι καζίνο του Nine Casino, εμπνευσμένο από τον κόσμο της κατασκευής στένσιλ, οι παίκτες μπορούν να δημιουργήσουν τα δικά τους μοναδικά μοτίβα για να ξεκλειδώσουν ειδικά επίπεδα παιχνιδιού. Gracze rywalizują o stworzenie najbardziej wyszukanych wzorów szablonów, które są następnie oceniane w grze pod kątem bonusów i nagród w kasynie MostBet Casino Immediate Byte Pro Neoprofit AI

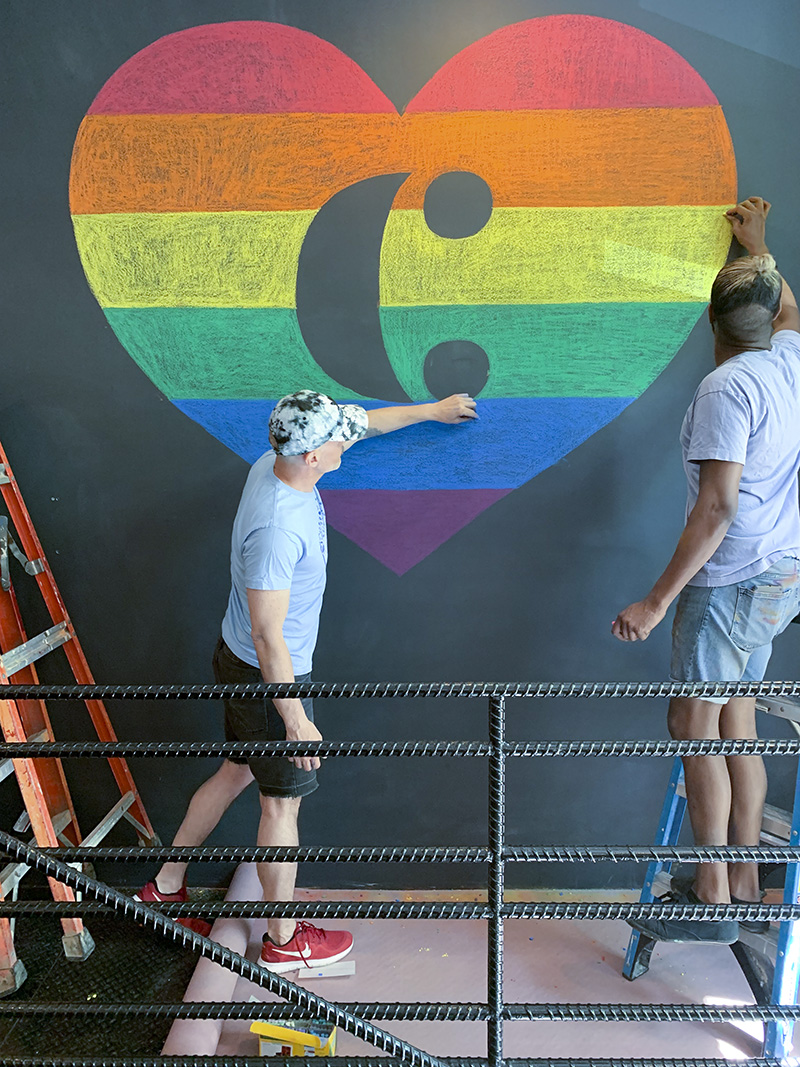
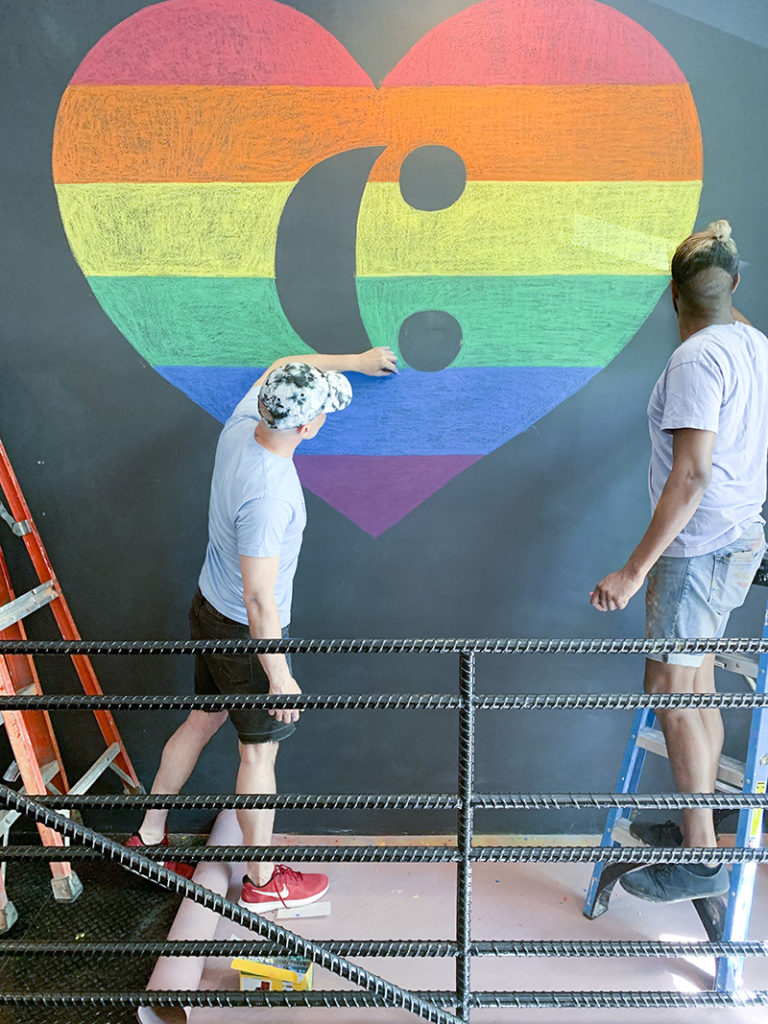
I have done many chalk murals for Chalk Gyms but this one was quite special to me, the gay pride mural for June. I registered Stencil1 as an LGBT owned enterprise almost 2 years ago with the NGLCC and as a proud gay man was happy to work on this! And to make things even better, my partner worked with me on it 🙂

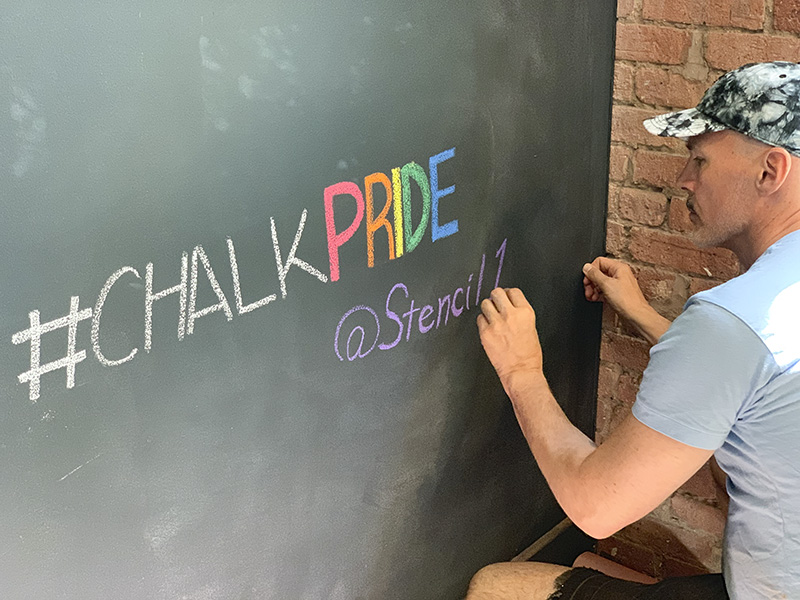
If you are a Chalk Gym member, be sure to show the love and post a pic with the mural and hashtag it #CHALKPRIDE and @stencil1 @chalkgyms

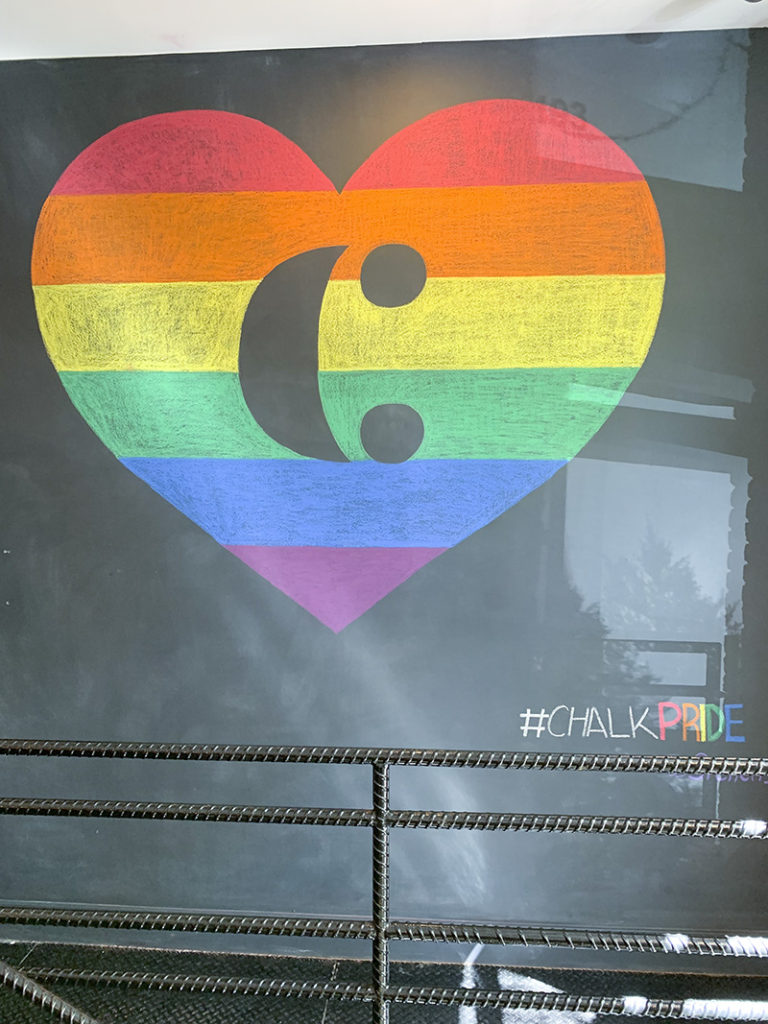
This was a PROUD moment for Stencil1 and we are grateful to CHALK Gyms for the opportunity and their support of the LGBT community!


We love to customize and denim is probably our favorite canvas! A customized denim jacket is just what you need to be a one of a kind fashionista.

We grabbed a Universal Thread denim jacket from Target and used our two-layer lotus stencil, also available at Target.

Start by putting a sheet of cardboard inside the jacket. This creates a firm surface to stencil on and keeps paint from seeping through the jacket.

Place the silhouette or outline stencil where you want your lotus to appear. You can separate these stencils or leave them together as seen here.

The four cutout circles in each corner are registration marks, they help you line up the second stencil right over the work you will do with the first stencils. You can make small pencil or chalk pencil marks in the registration marks or you can just eyeball layer two’s placement.

Paint in a few coats for the silhouette, we used white.

Once that silhouette painting is dry, you can place the second detailed stencil on top of the silhouette.

Here’s where you can get creative, we used two colors for an ombre effect. You could of course do this with the silhouette as well. We painted pink at the tips of the petals, gray on the rest and then once the pink brush had very little paint on it, swirled the pink paint down into the gray area a bit where the colors met.

Here’s the result! An ombre white lotus stenciled denim jacket! Please share all your stenciled denim creations with us at @stencil1 THANKS!


FOR IMMEDIATE RELEASE

BROOKLYN, New York—March 17, 2019 — Stencil1® launches a design-focused capsule collection at Target stores nationwide. Offering stencils for every season, designer Ed Roth takes you through a year of fun, DIY projects. For spring, start with the glam Diva 4-pack, featuring a stiletto heel, diamond ring, lipstick and a lipstick kiss. Summer offers a carnival of cool treats with ice cream cones and popsicles. Fall spotlights a birch tree and antlered deer. Lastly, winter serves up the eternal symbol of rebirth, a lotus blossom.  You will notice a new look to the packaging as well, with inspiring how to project photos and instructions in English, Spanish, and French. These designs are available in Target stores starting March 17, 2019.

“Having Stencil1 in Target is exactly where I’ve wanted to be,” says Ed Roth. “We’ve evolved and our retail locations should reflect that. We maintain a global perspective, though are still exclusively made in the USA. I find inspiration everywhere from the street art I see during my neighborhood walks to my recent trip to Morocco. At Target, we are excited to start connecting to a new audience.”

For this collection, Stencil1 will be publishing numerous DIY projects on its blog and social media, using additional supplies from sister Target lines Hand Made Modern and Hearth and Home with Magnolia. The aim for these activities is accessibility, perfect for anyone, even kids. Stencil1 projects are the ultimate after-school invitation to create.

“When I shop in Target, I see so many families,” Ed says. “I hope to reach kids and their families and let them know that it’s easy to create side by side. They can be creative together and work on everything from embellishing and personalizing clothing to simple construction paper crafts with washable markers or paints. Projects are easy, don’t require complicated supplies and are, most importantly, easy to clean up!”

Kids aside, these projects are for everyone. “I kept almost all the projects at the easy level,” Ed says, “using markers on fabric or just two colors for paintings. I want using these stencils to be a good experience for the first-timer. But there are how-tos for the advanced crafter as well.”

Ed stresses that he’s here to support these creative endeavors. “I am making several videos and blog posts with detailed tips and tricks so that once someone has the stencils in hand, they know what to do and where to go with their project if they need it. But most importantly,” he stresses “I am all for letting kids or anyone have a go at it and see what they come up with!”

Stencil1 is a certified LGBT business enterprise about which Ed says, “I am grateful for Target’s Supplier Diversity program. I met with their team and feel very appreciative of this program.”

About Stencil1®: Stencil1® is a Brooklyn-based modern design and décor company founded by Ed Roth in 2004. The brand’s focus is on revitalizing the craft and décor market with innovative tools of the trade and beautiful trend-forward product. Providing customers customization tools to enhance their lives and create beautiful one of a kind art, design and decor items is our mission. Stencil1® has collaborated with a diverse list of companies, including Levi’s, Anthropologie, Converse, Sharpie, Etsy, and the Ace Hotel. In addition, Ed is the author of six stencil design books with Chronicle Books.

For more information – sales, samples or product information – please contact the following:

Ed Roth / Stencil1.com

info@stencil1.com

###


11

Day of the Dead is approaching, why not make some beautiful watercolor cards for the occasion? We used a Crayola watercolor paint set, watercolor paper cards, and our Stencil1 sugar skull stencil. Here’s how we did it:

Lay out all your materials. Be sure to use watercolor paint and watercolor paper.

1

Using some low tack spray adhesive, we positioned the sugar skull stencil on the card. Only use a little spray and let it dry 60 seconds before laying it on the card.

2

We wanted the sugar skull design to be colorful so we used many colors in the watercolor set. Choose a color and start by dipping your brush in water. You then activate a color by swirling the wet brush in the dry paint. For stenciling, we recommend you get the paint a little thick by swirling a bit and then dab the brush on a paper towel. Too wet an application may make the watercolor paint need too much.

3

Apply your first color, we made all heart shapes red to start.

5

Some blue teeth…

6

Some park purple outlines…

7

Ready to reveal!

8

Here it is!

9

Please post your creations using #stencil1 and @stencil1

10

Cork boards are awesome because they can be great functional pieces of art. They take on paint really well and serve as a great surface to pin your daily reminders on. Not only will you be on top of everything you have to do, but your office will also look great!

To make this pin board, you’ll need: 4 8 ½” by 11” cork sheets, multi-surface paint, brushes, double sided mounting tape and our cherry branch 11 x 11 stencil.

Step 1: Lay out your four cork sheets side by side so that they form a square. Place your stencil on the top right corner of your square. Angle it so that it looks as if your branch is part of a big cherry blossom tree.

Stencil1_BlossomBoard_01
Stencil1_BlossomBoard_01b

Step 2: Using brown paint and a stencil brush, begin to paint in the branch. Make sure to use a dry brush technique, this means that you are using a very small amount of paint and applying several layers to make the color more saturated. Use an up and down dabbing motion to paint.

Stencil1_BlossomBoard_02

Step 3: Rinse your brush, or use a different brush to paint your petals white. If you are re-using your previous brush, make sure you dry it really well. Again, use very little paint and an up and down dabbing motion.

Stencil1_BlossomBoard_03

Step 4: We love the colors of cherry blossoms. To simulate that look, we used a dab of pink paint (paint your plate a little bit to get the excess paint off your brush) to tint parts of the petals a pastel pink.

Stencil1_BlossomBoard_04
Stencil1_BlossomBoard_05
Stencil1_BlossomBoard_06

Step 5: Use the stencil at different angles to paint some flowers and petals falling off the branch.

Stencil1_BlossomBoard_07
Stencil1_BlossomBoard_08

Step 6: Once your paint is dry, put a piece of double-sided mounting tape of the back of your cork sheets. Hang them up arranged like you painted them, but allow them to separate a little bit from each other.  Snap a picture of your pin board and show us what it looks like in your home or office! @stencil1

Stencil1_BlossomBoard_09
Stencil1_BlossomBoard_10
Stencil1_BlossomBoard_11