Στο νέο online παιχνίδι καζίνο του Nine Casino, εμπνευσμένο από τον κόσμο της κατασκευής στένσιλ, οι παίκτες μπορούν να δημιουργήσουν τα δικά τους μοναδικά μοτίβα για να ξεκλειδώσουν ειδικά επίπεδα παιχνιδιού. Gracze rywalizują o stworzenie najbardziej wyszukanych wzorów szablonów, które są następnie oceniane w grze pod kątem bonusów i nagród w kasynie MostBet CasinoImmediate Byte ProNeoprofit AI
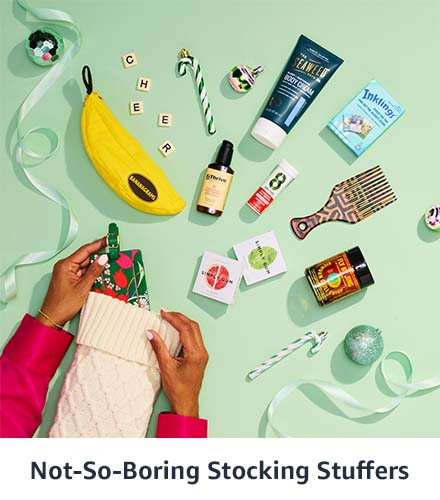
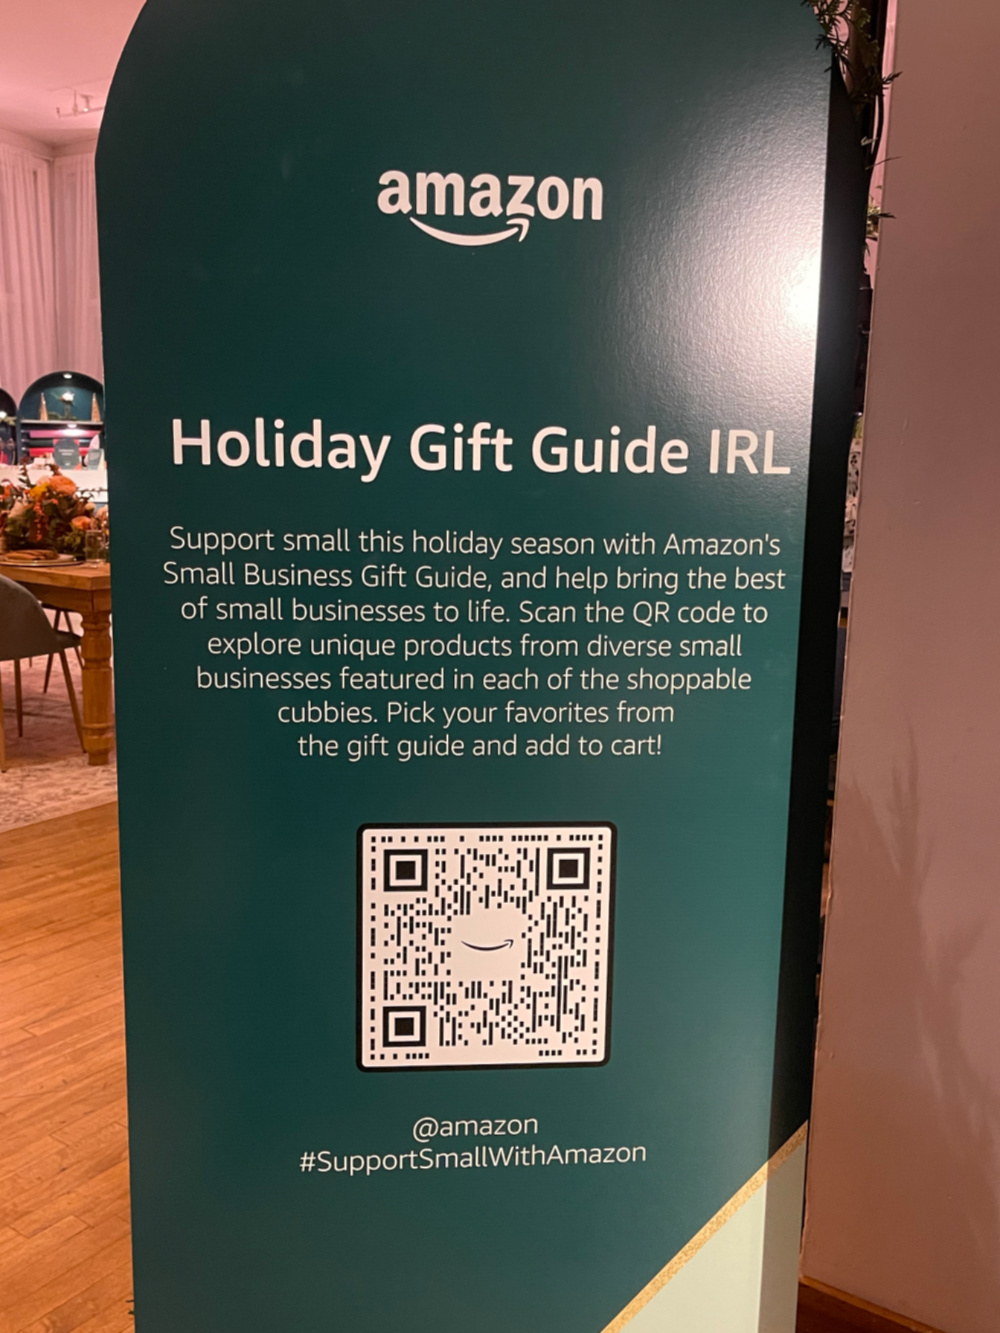
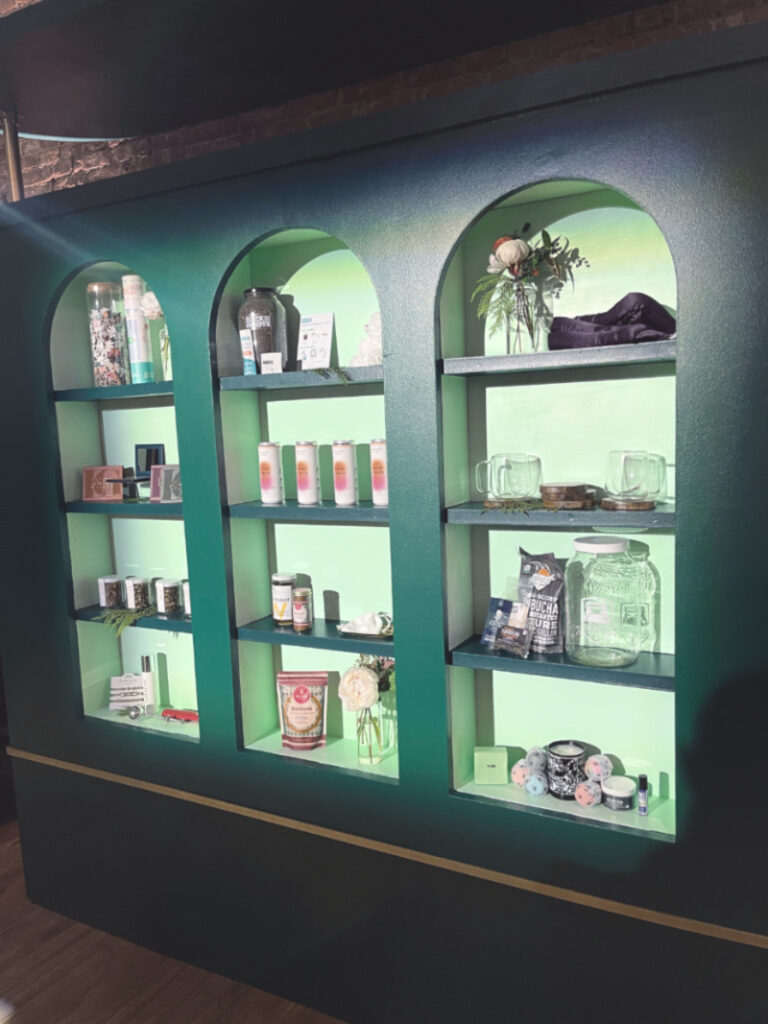
Local NYC influencers and press were invited to an intimate gathering to experience a sneak peak of Amazon’s curated gift guide and learn more about the small businesses. Guests had the opportunity to meet with select sellers and small business owners. Once guests entered the space, they were met with an array of shop displays with select products from key small businesses, Amazon’s Small Business Gift Guide, and Oprah’s Favorite Things.
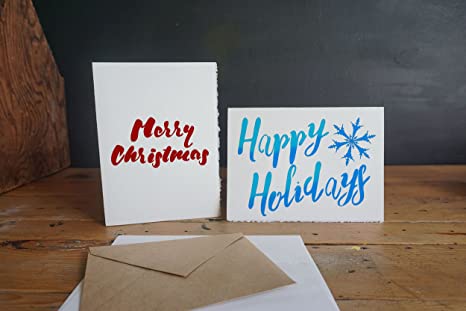
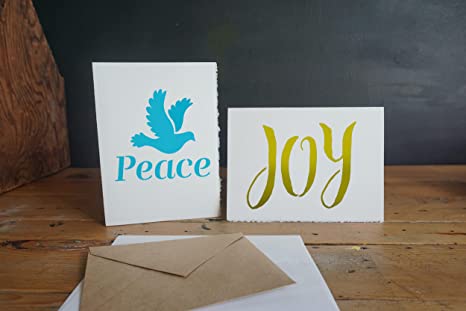
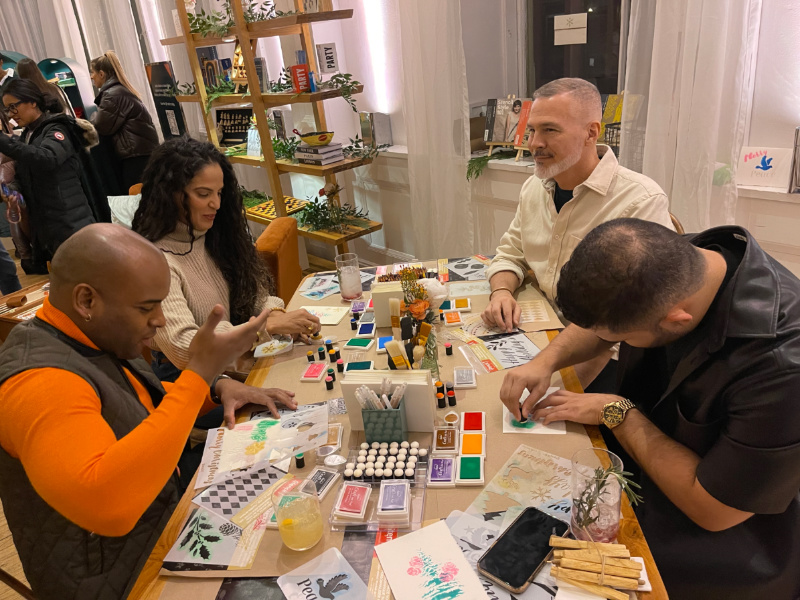
I lead a DIY card-making class using Stencil1 Stencils. I used specialty inkpads and everyone who created said it was easy so I was very happy.
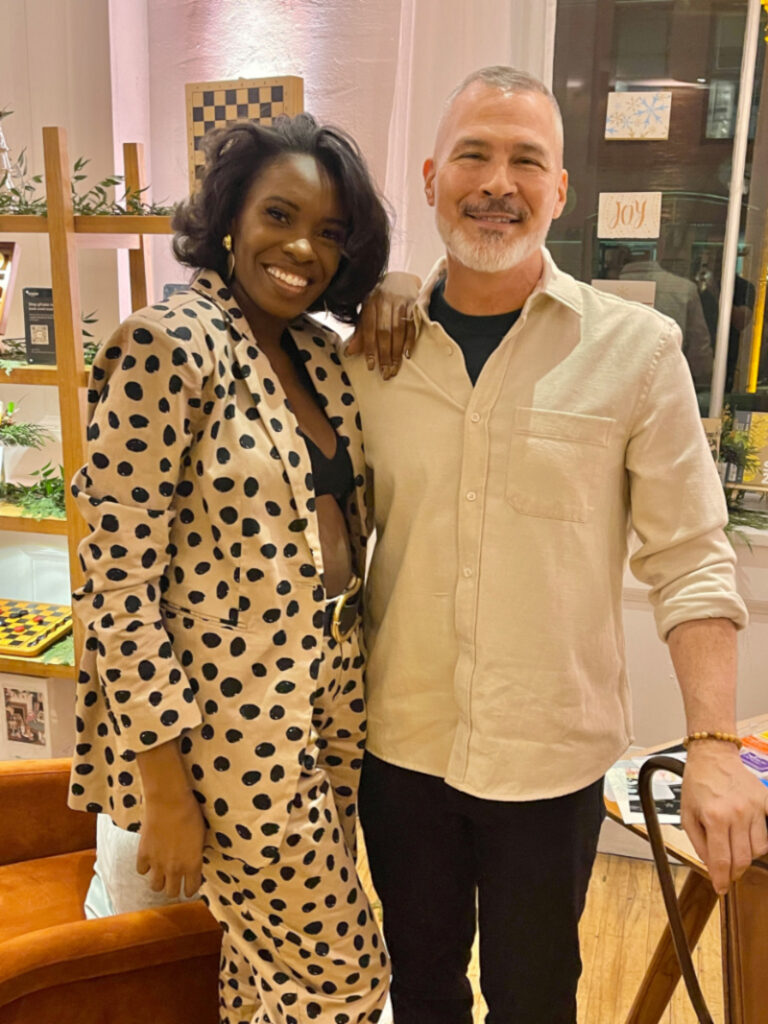
Media and Influencers were invited. I met many artists, writers, editors and was especially happy to meet Andrea Pitter, winner of Making the Cut, Season 2.
She made a card while we chatted design, art, Making the Cut, and life, that was a thrill!
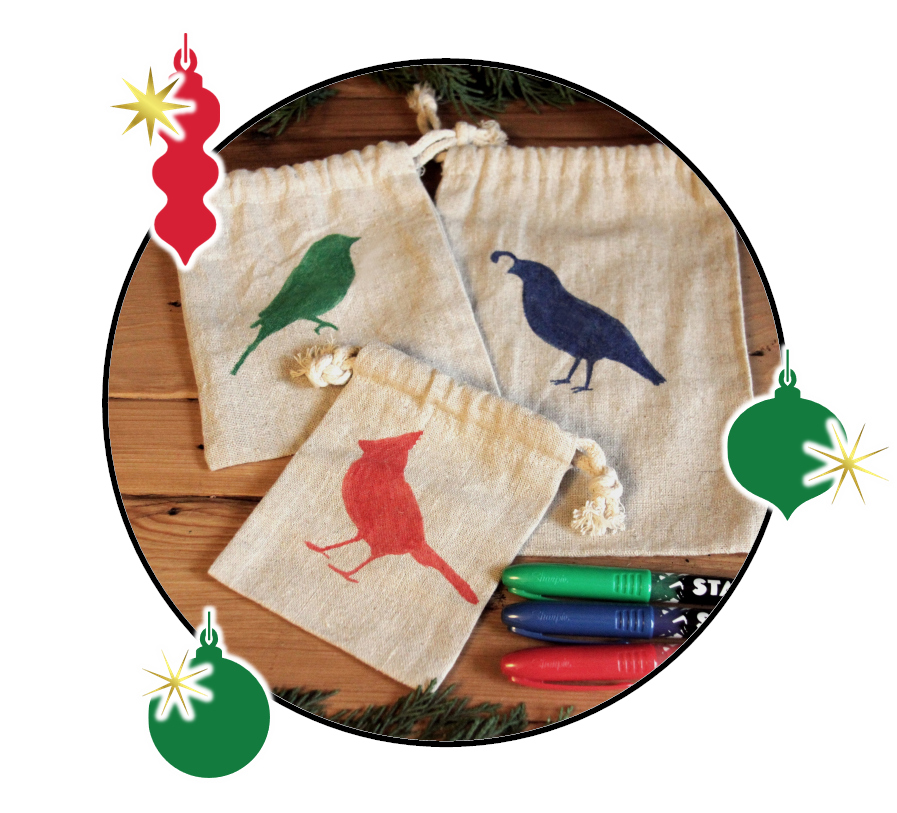
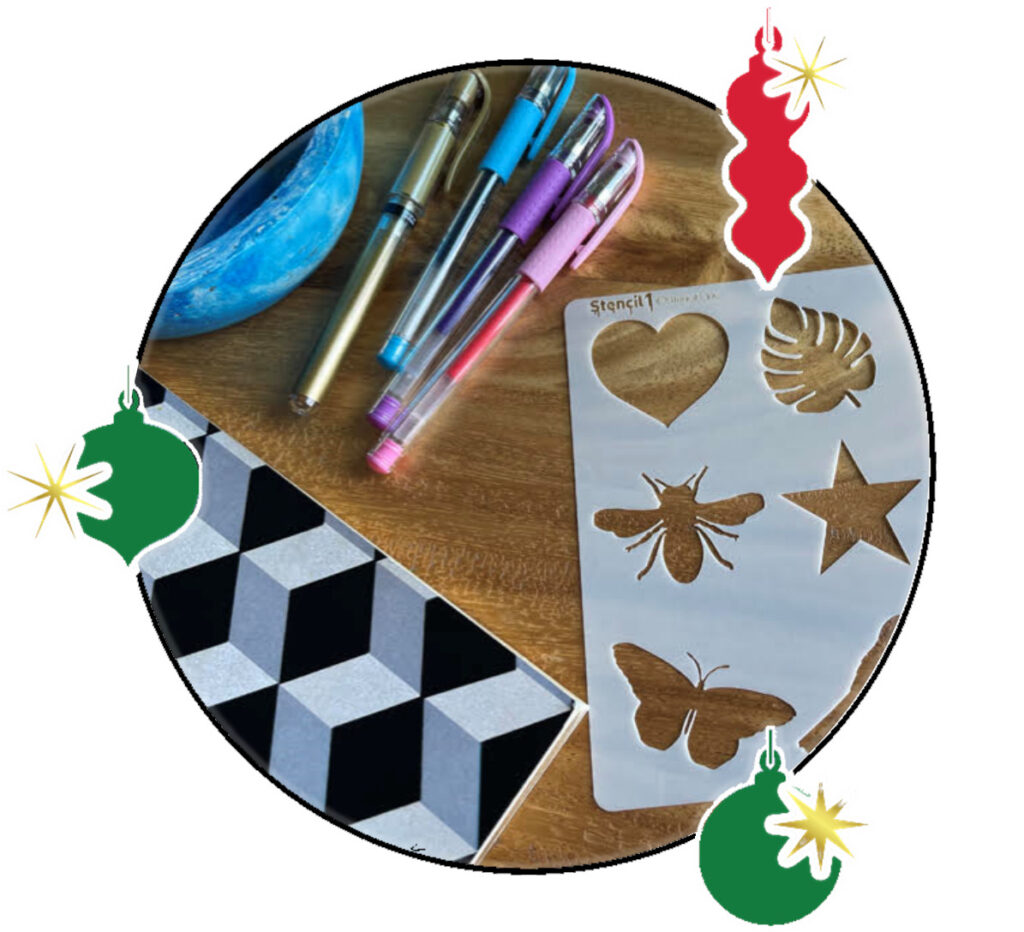
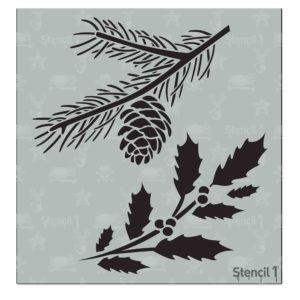
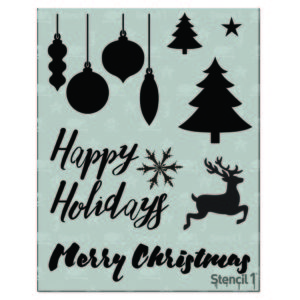
We are so excited to introduce our 2022 Stencil1 Gift Guide! WE have picked our top designs and separated them into categories – there really is something for everyone! From the beginner to the experienced artist, stencils are such a fun gift that empower the receiver with tools to enhance their creativity. Shop the guide here:
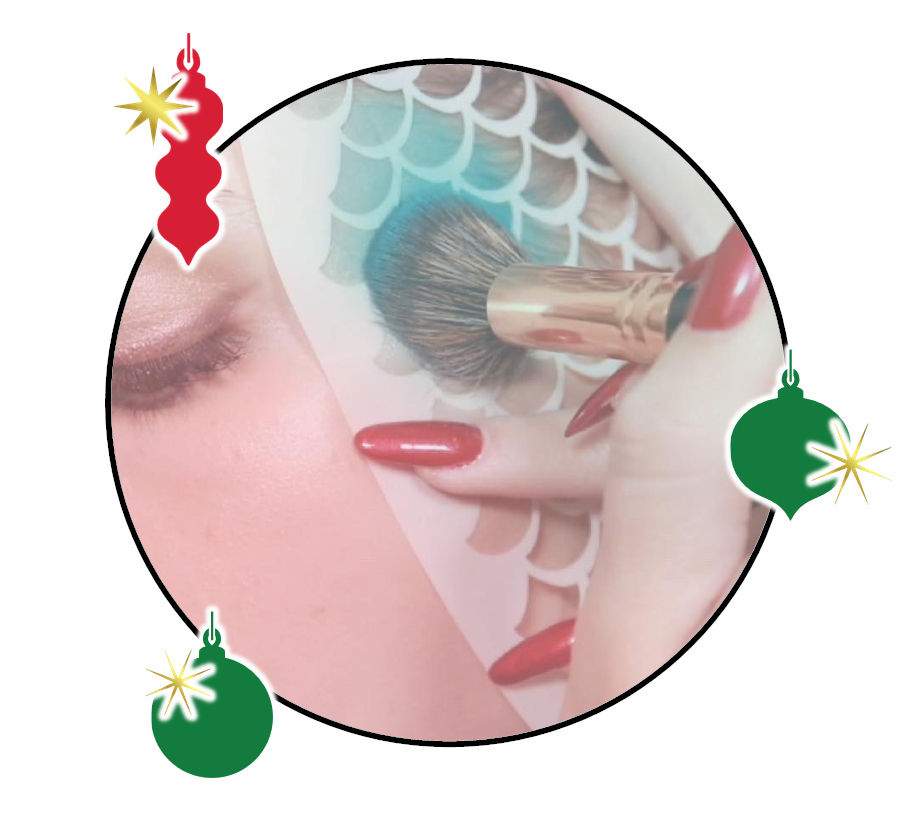
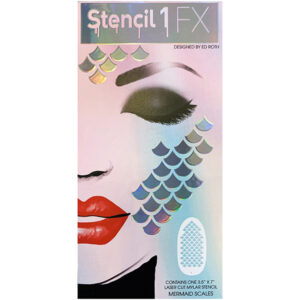
Makeup Stencils
Our Stencil1FX makeup stencils will make the makeup artist and makeup lover in your life scream for joy at these fun effects stencils! Give them a selection of these, over 20 designs to choose from! Here are our top favs:
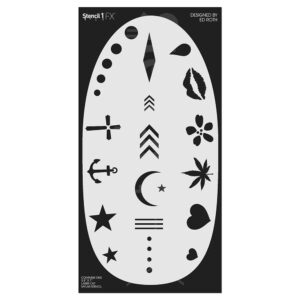
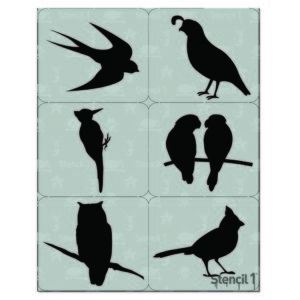
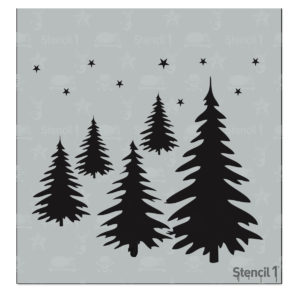
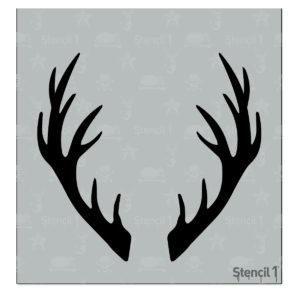
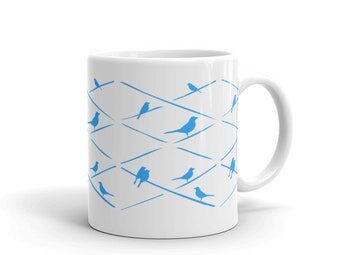
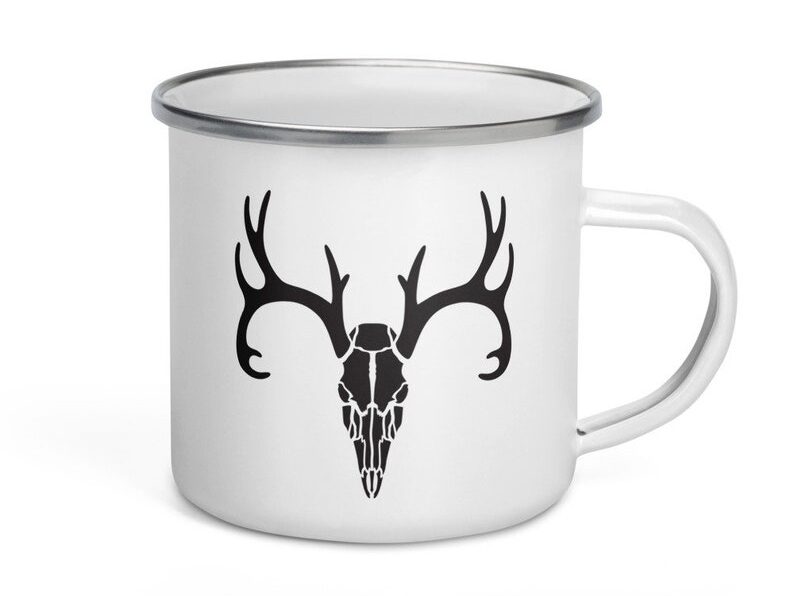
Our silhouette or outline stencils are great for kids because of their simplicity in design. They are easy to trace with pens, pencils, or markers and are nice, bold icons so kids just love them!
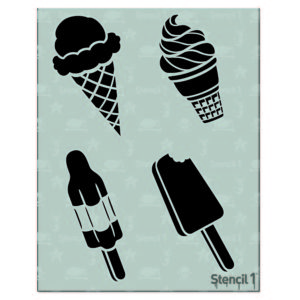
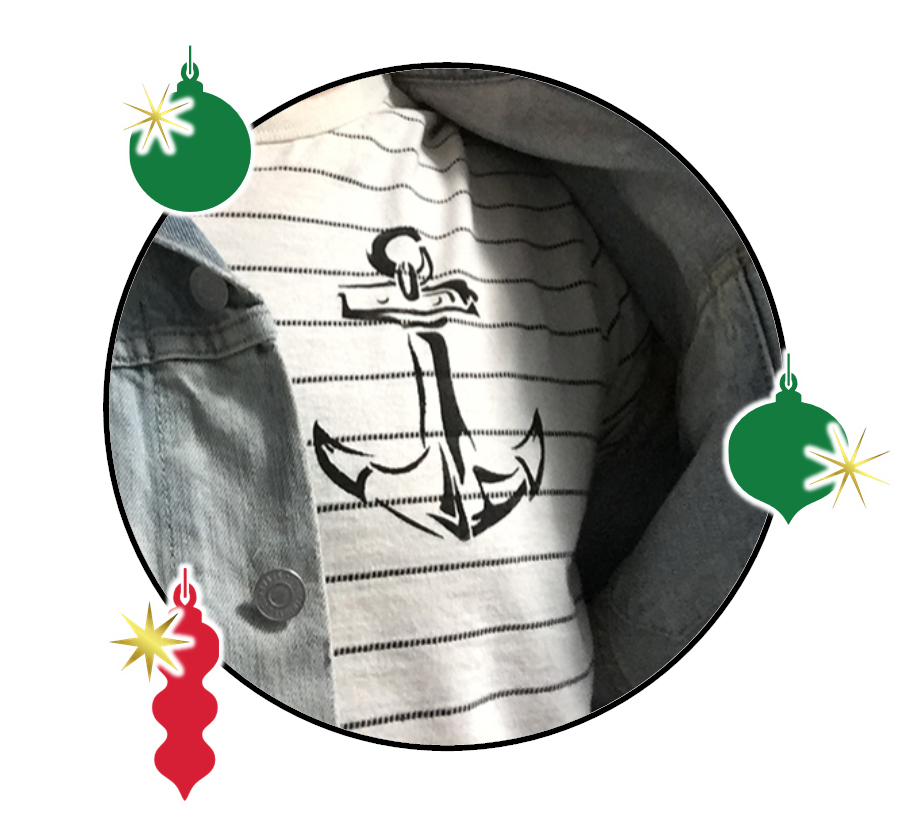
You know that person, they love clothing, upcycling, putting their spin on an outfit. These stencils are ideal for painting on clothing! Here’s our top 3!
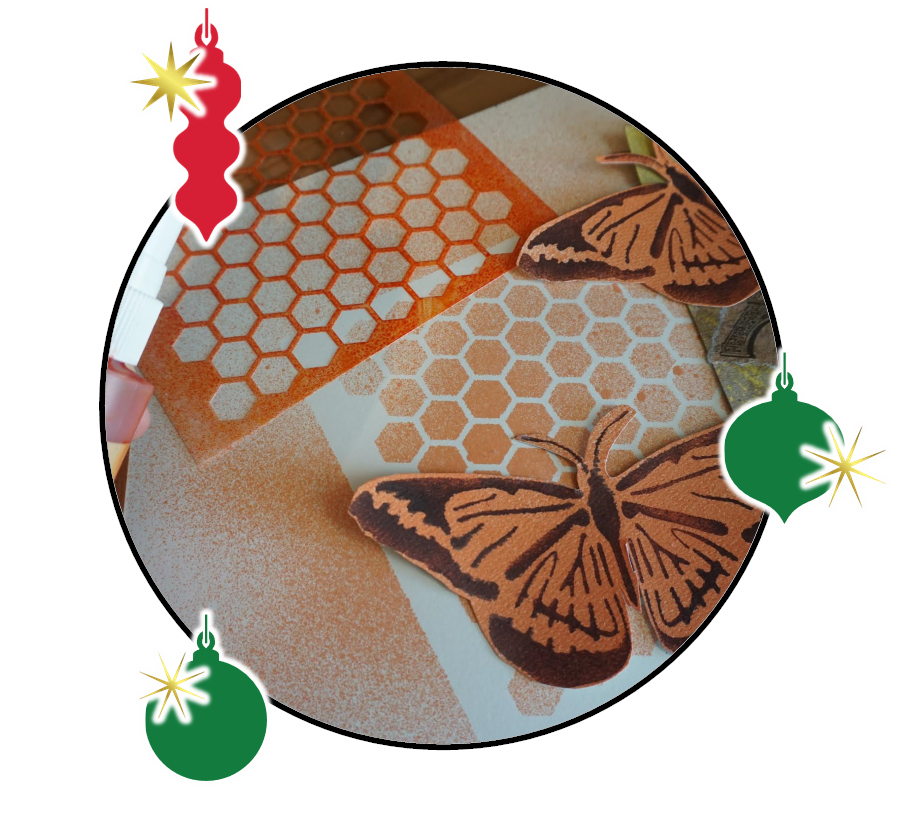
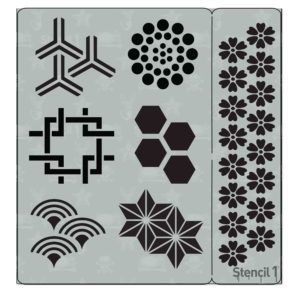
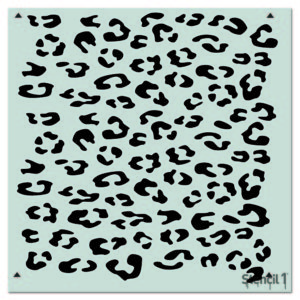
Mixed media artists love to layer some beautiful patterns into their art and these small repeat patterns and texture stencils will make that all the easier! Easy to use with inks, paint or pens on paper canvas or cloth!
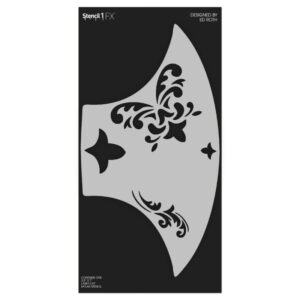
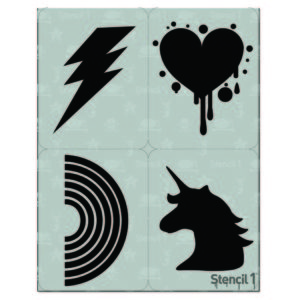
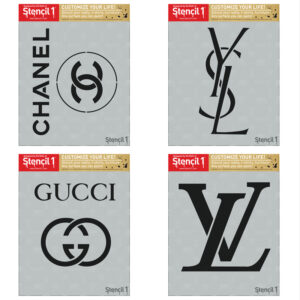
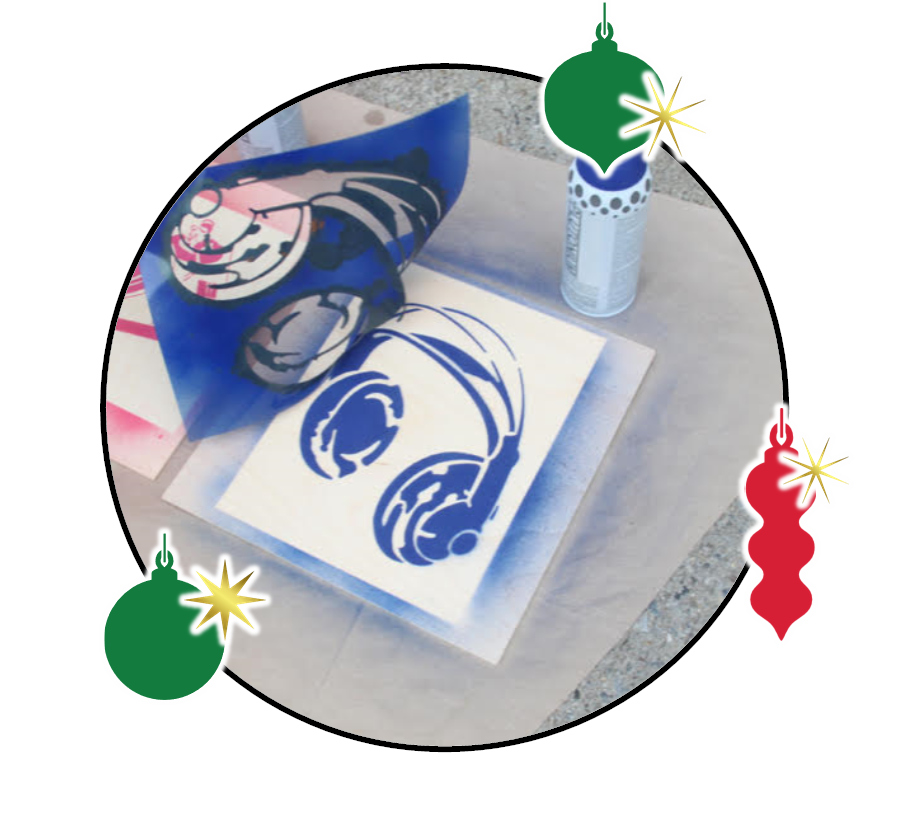
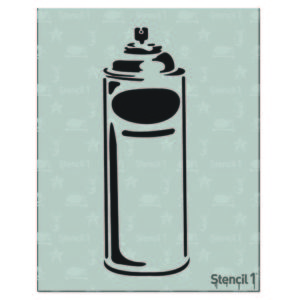
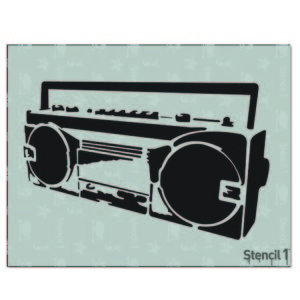
For the artist who likes spray paint, stencil graffiti, urban culture, and street art. These stencils will make the receiver be excited to paint urban art and customize clothing with these urban icons!
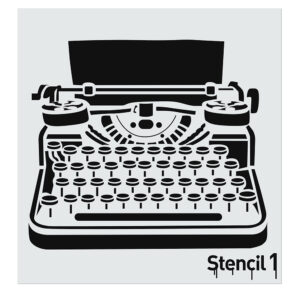
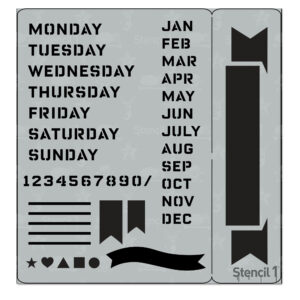
Anyone who loves journaling or scrapbooking will love the stencils in this collection – they’re made especially for crafting in books! Plus, each one comes with a removeable stencil bookmark!
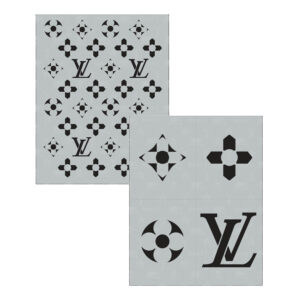
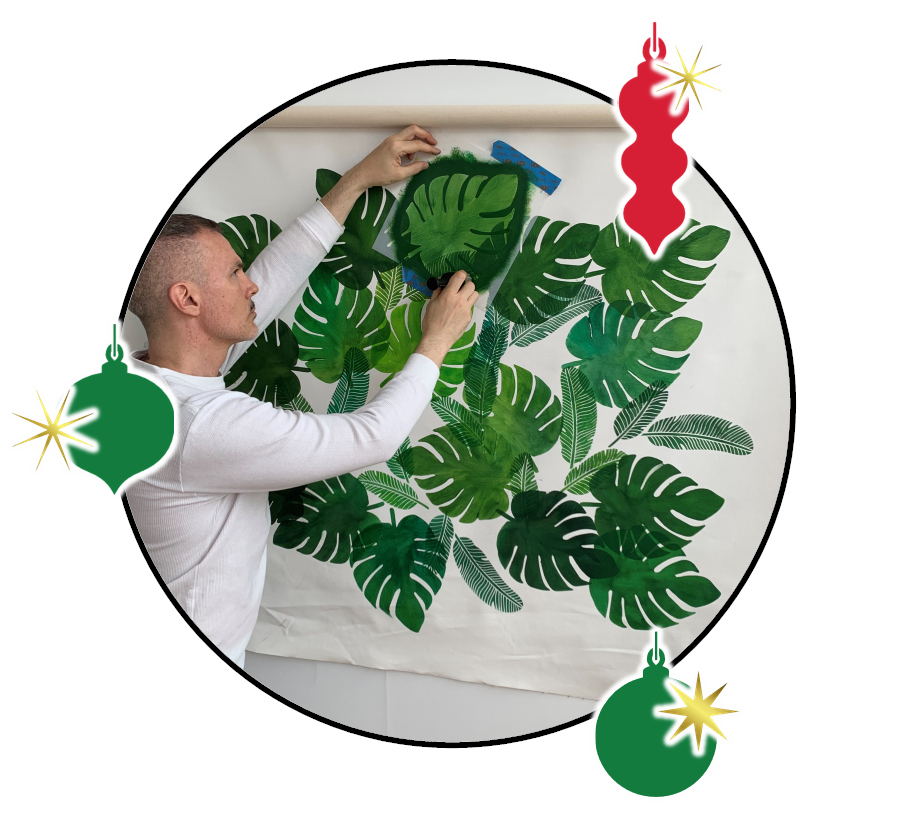
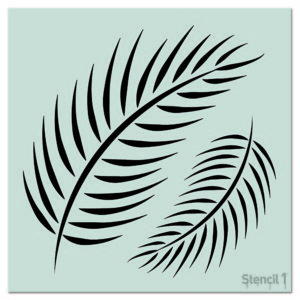
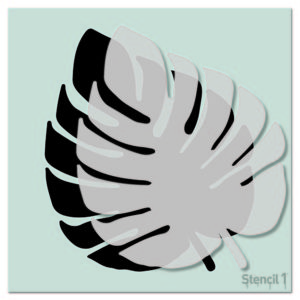
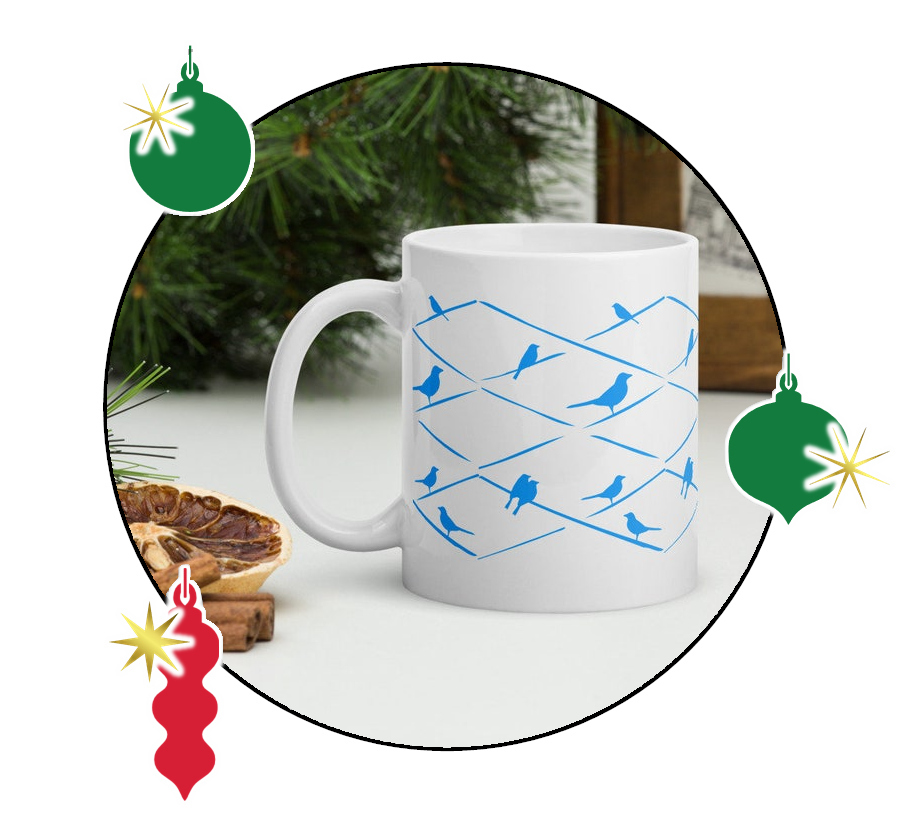
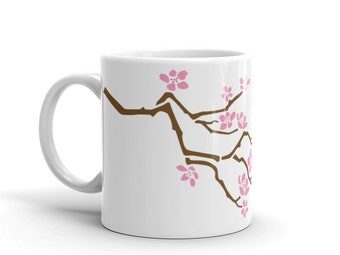
For that home decor lover, they love wallpaper, textiles, and all things DIY and they will love these repeat pattern wall stencils ideal for walls and pillows!
This post is coming to you from Tami M., contributing blogger, mom to a second grader, and all around great gal!
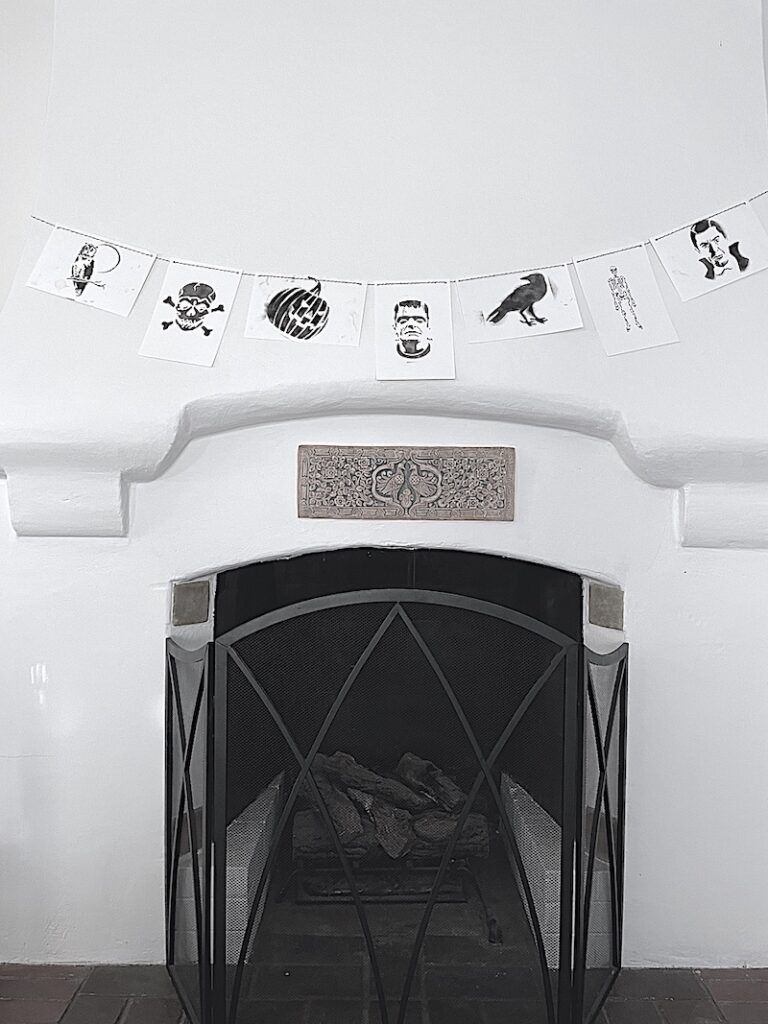
If you’ve been shopping lately, you’ve learned that Halloween is NOW. In our home this holiday of ghouls, ghosts and monsters is bigger than Christmas. Our late-summer days have been filled with crafting decorations for what my seven-year-old daughter describes as “the greatest night of the year.” As we transition into the school season, a stenciled Monster Garland is an easy, mess-free after-school activity that uses tools and supplies you’ll probably have on hand. We’re using this garland as the centerpiece of our Halloween fireplace-scape but it can easily be used just about anywhere in the home. This is a work in progress—pumpkins and other fall festiveness to come.
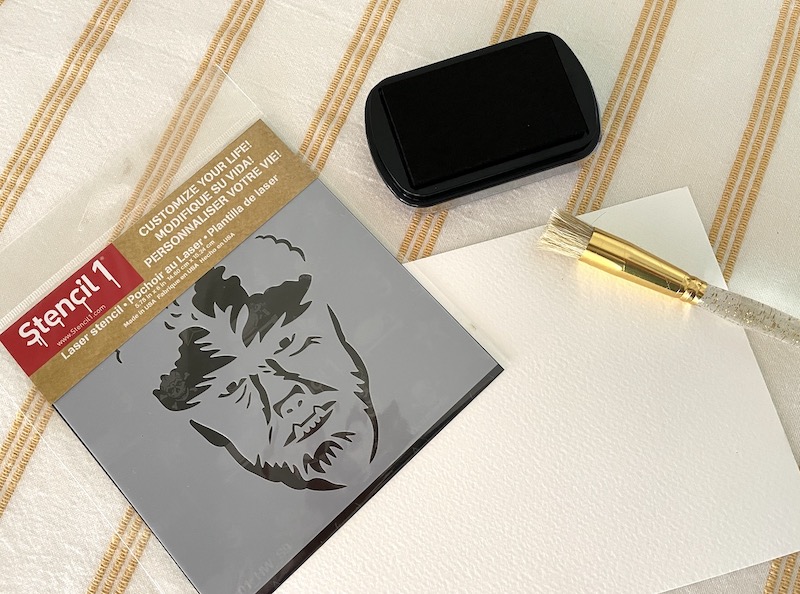
For your Halloween Monster garland, you will need:
-Paper (we used sheets from an Artist’s Loft Watercolor Pad)
-An ink pad
-Round paintbrush
-Painter’s tape
-Hole puncher
-Baker’s twine
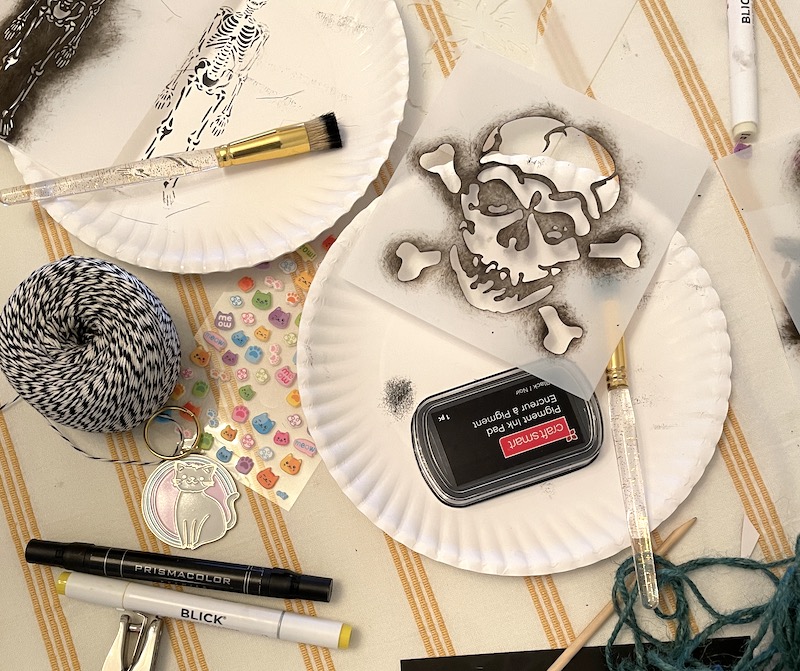
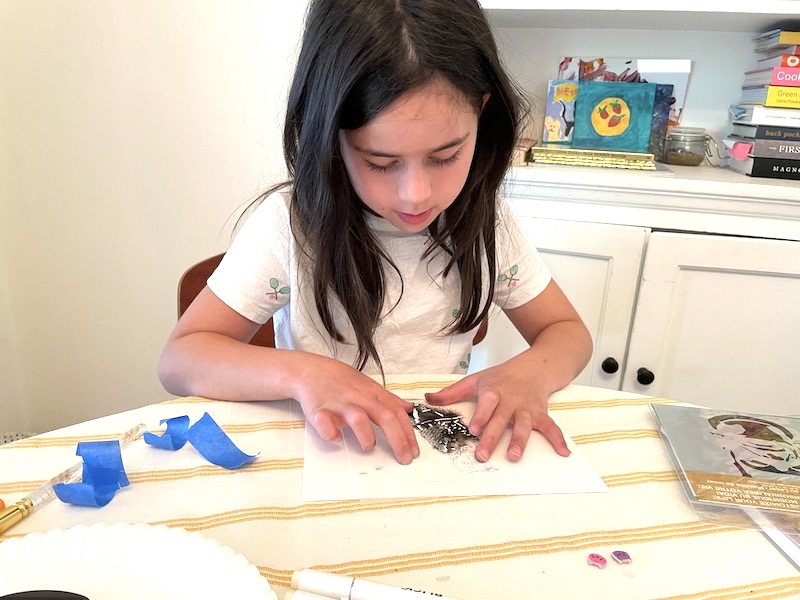
Step 1: Start by selecting your stencil design and figure out placement on the paper. Be sure to tape the stencil to the paper so that it doesn’t move while painting. Painter’s tape is a must so that it doesn’t damage the paper when peeling off.
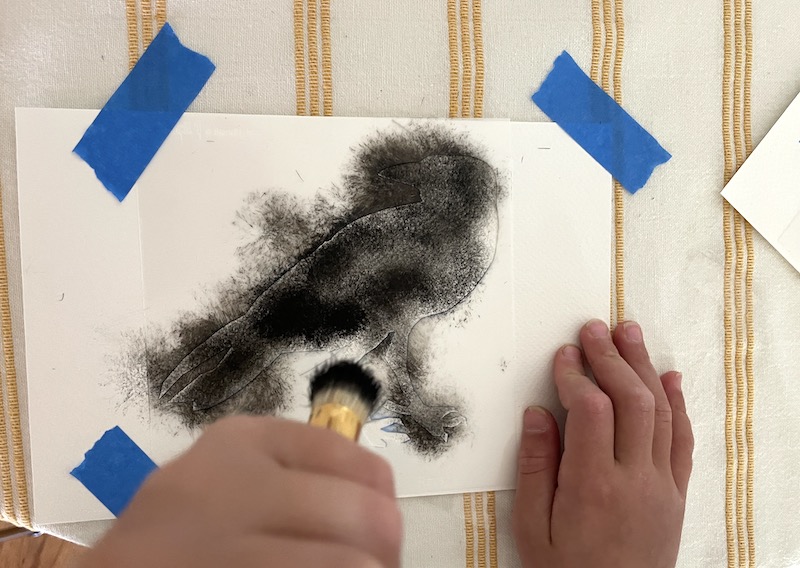
Step 2: Once you are ready to paint, dab the ink onto the brush and then dab dab dab onto your stencil. The ink pad is very forgiving and won’t bleed under the stencil but never say never so do a few test runs to find out the ideal amount of ink that you’ll want for your design.
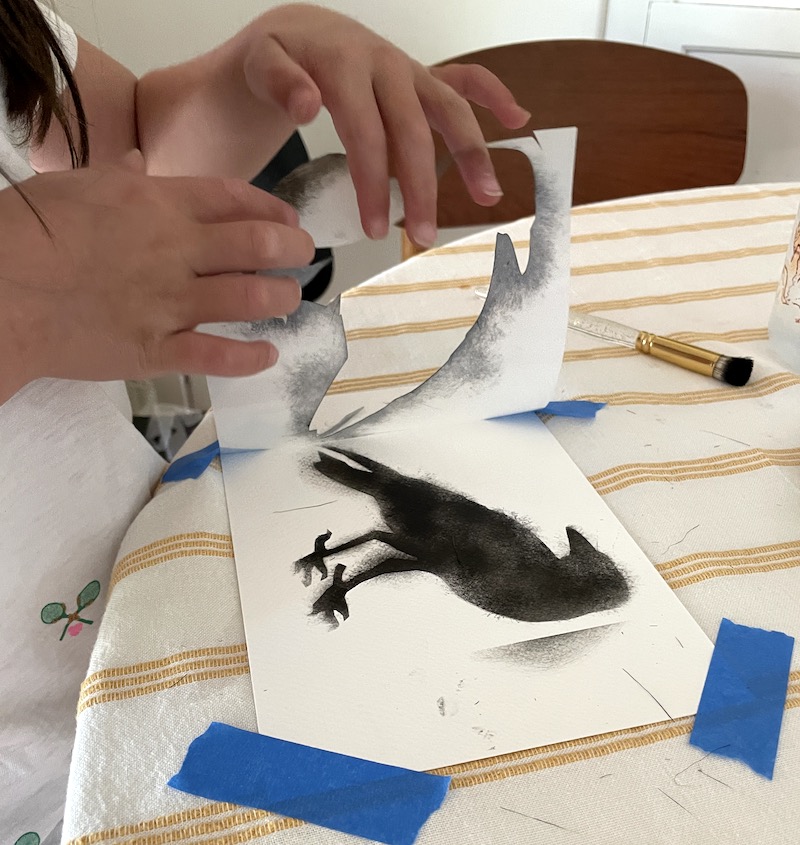
Step 3: When finished, remove stencil and let dry. *Remember, this craft is not about perfection. It’s an activity that is both structured and open-ended so let the kids explore with designs and color. We stuck with a black and white theme because those are the supplies we had in the craft cupboard.
Step 4: String your monsters together to assemble the garland. Add pumpkins and pots of mums to embellish.
Please share what you made by using #stencil1 and tagging @stencil1 on social media.
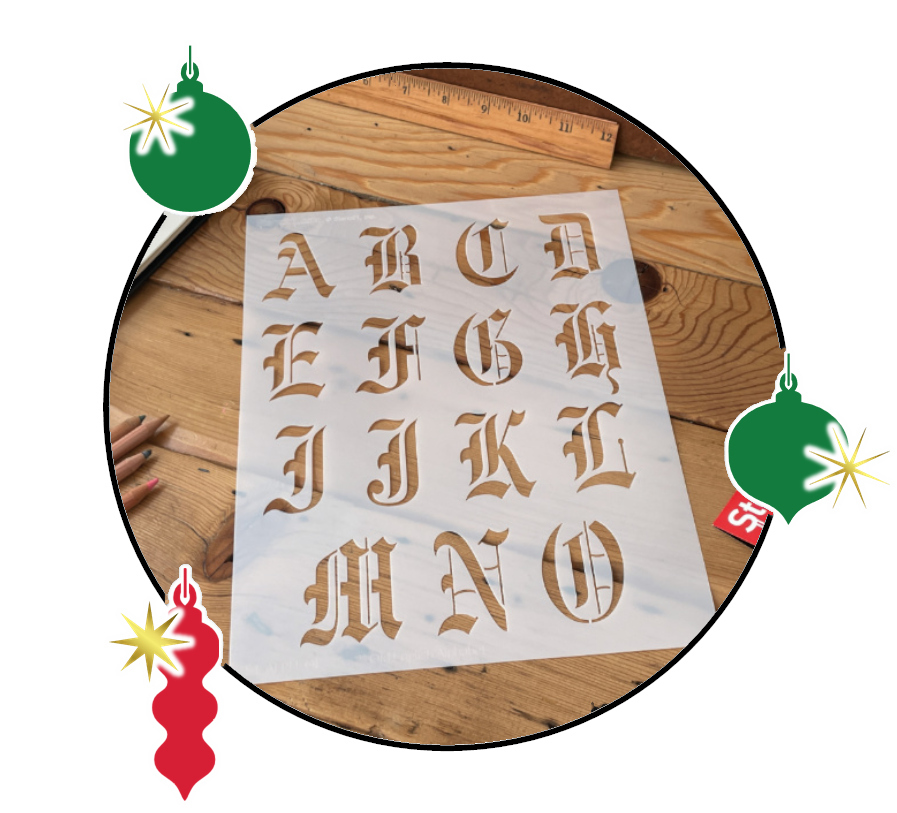
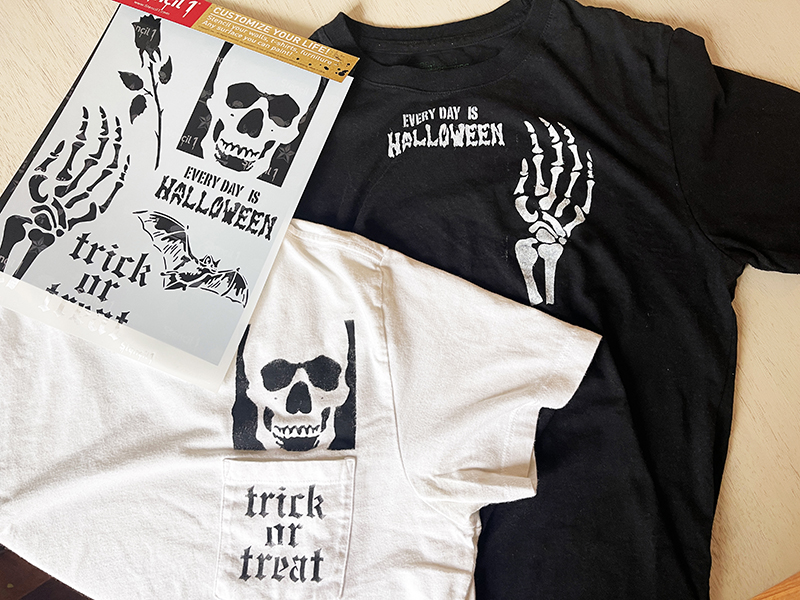
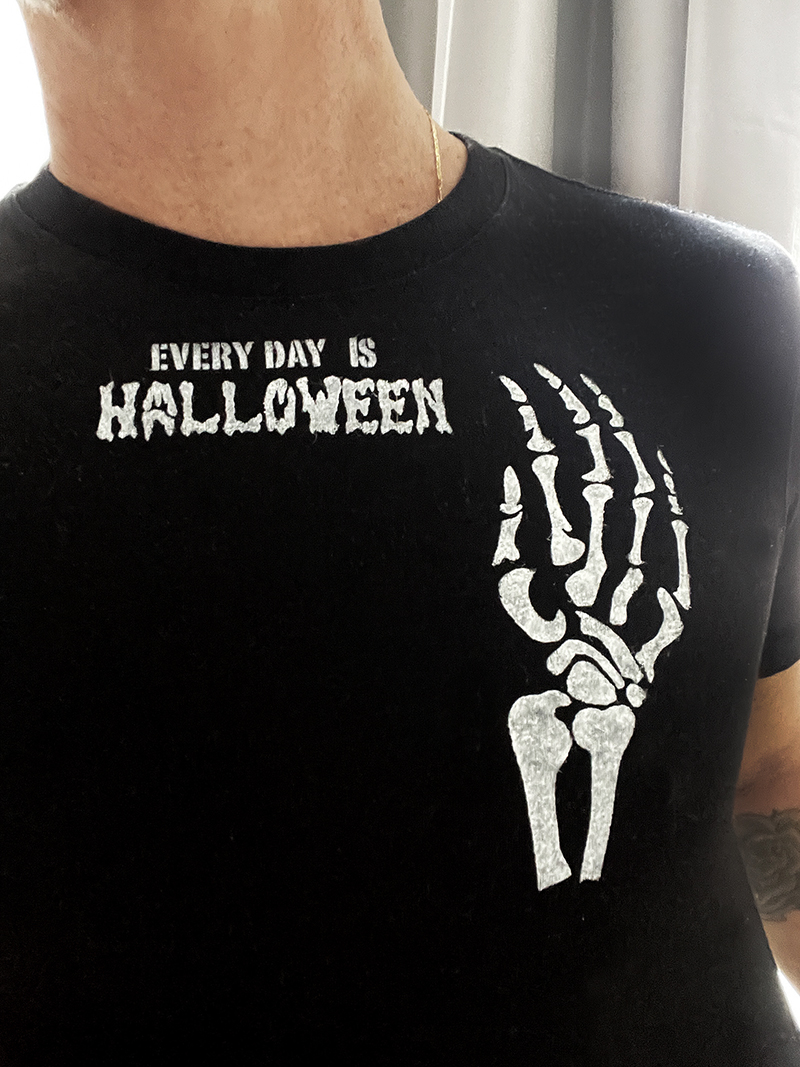
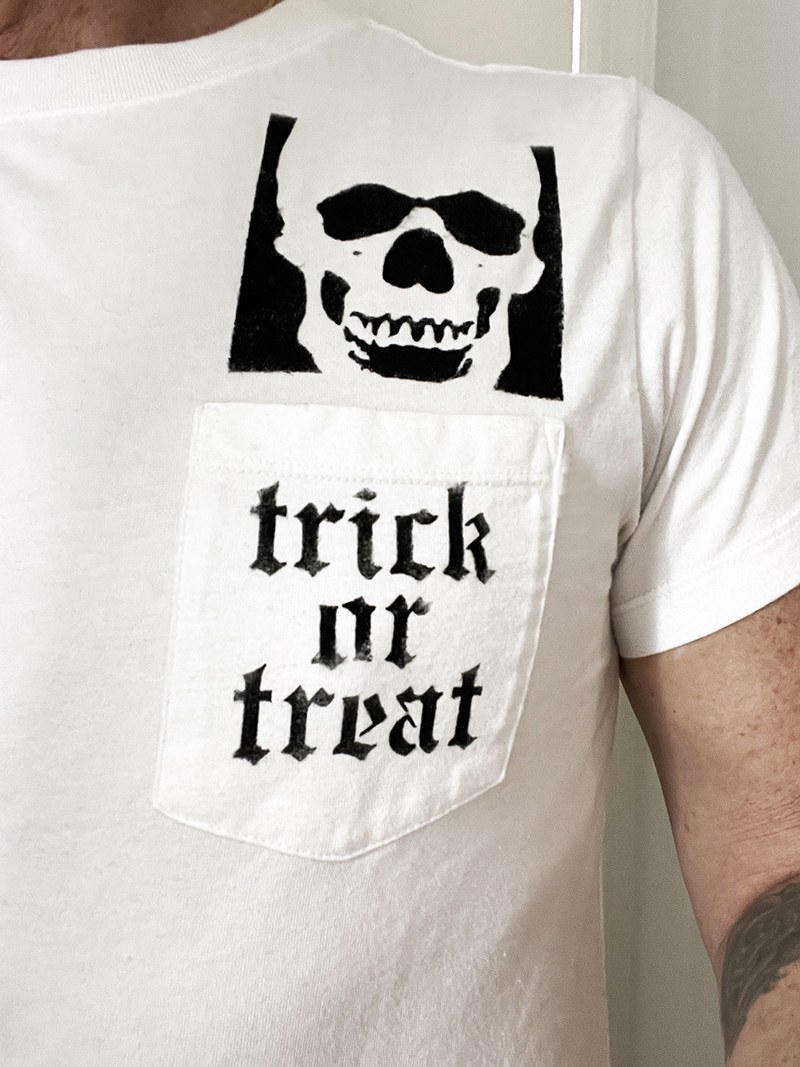
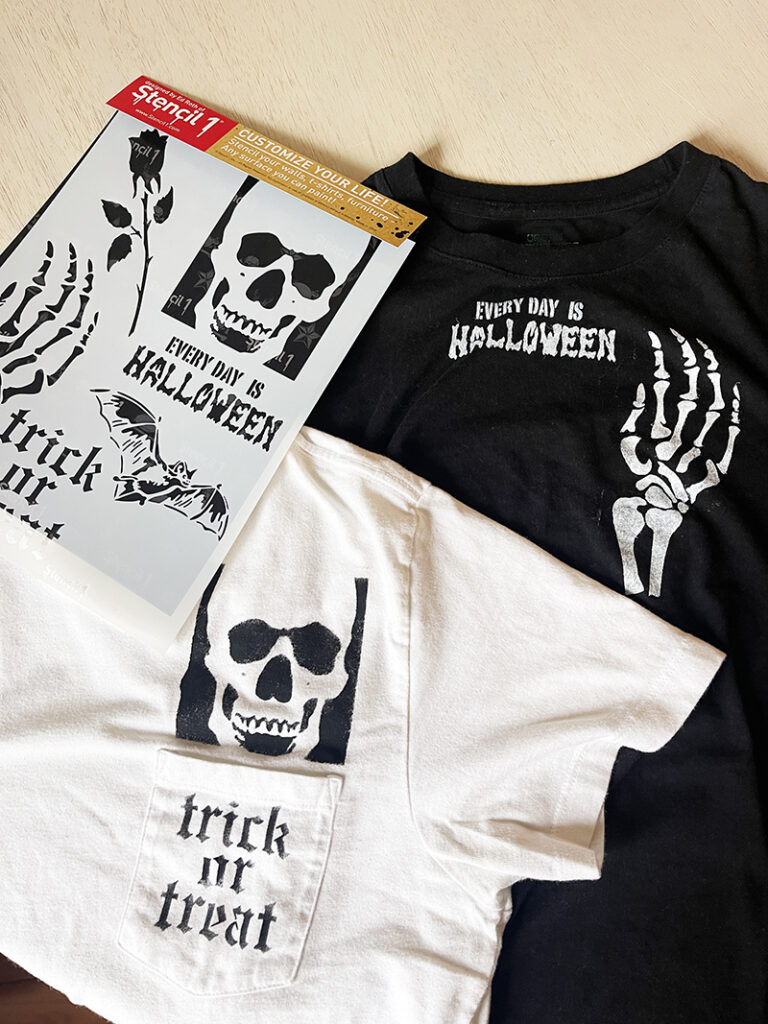
Hello, Ed Roth here, and I am EXCITED to tell you about this new Halloween stencil set! Halloween is my favorite holiday, I like costumes, a day to be anything you want to be and all the dark imagery is just fun and cool. And I do think this is such a cool set of Halloween stencils because I think you can use them not just for Halloween crafting! When designing stencils, i often think, How would this look on a t-shirt? and these are ideal for customizing tees. They are very goth/punk/rock and I am DYING to paint them on skateboards, pant pockets, backpacks, and more. Of course they are awesome for Halloween pumpkin painting and trick or treat bags too! Scroll to see how I painted a few shirts with the new designs!
Skeleton hand, a classic
Trick or Treat in Old English lettering and a nice punk rock skull. Where will you paint these? Tell me on social or in comments!
The new set is available on Stencil1.com. I hope you have fun with these and please share what you made with me by using #stencil1 and @stencil1 on social media
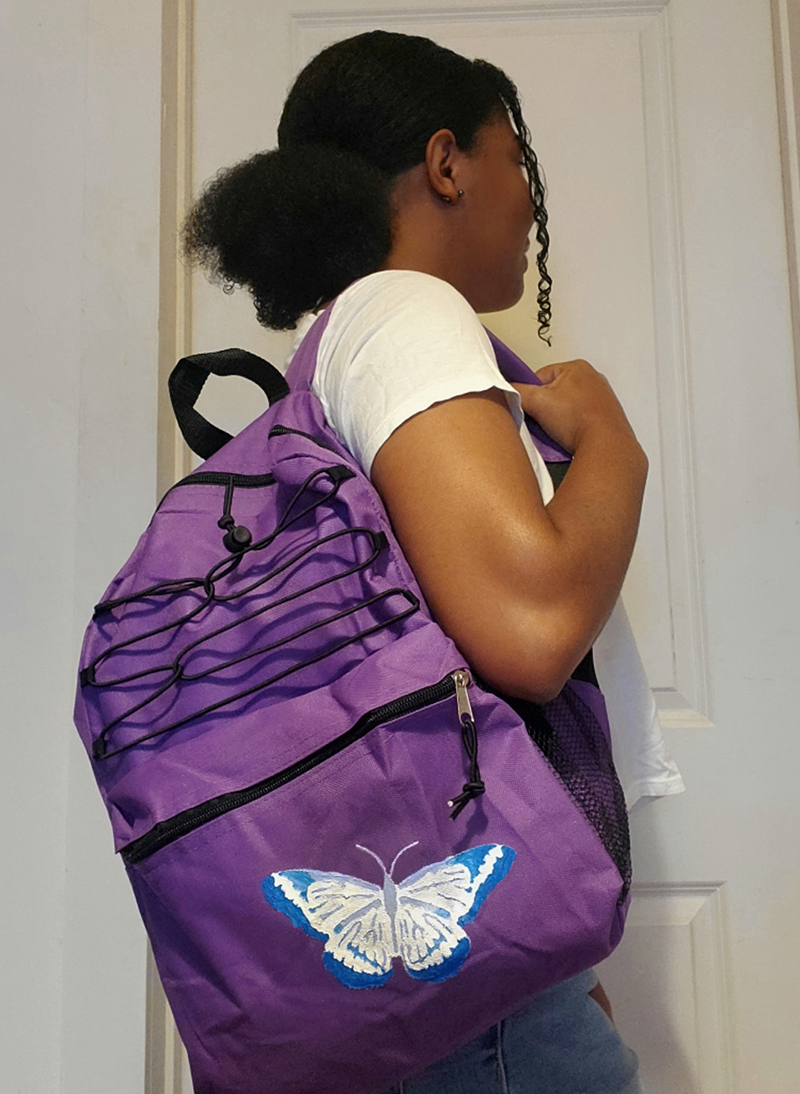
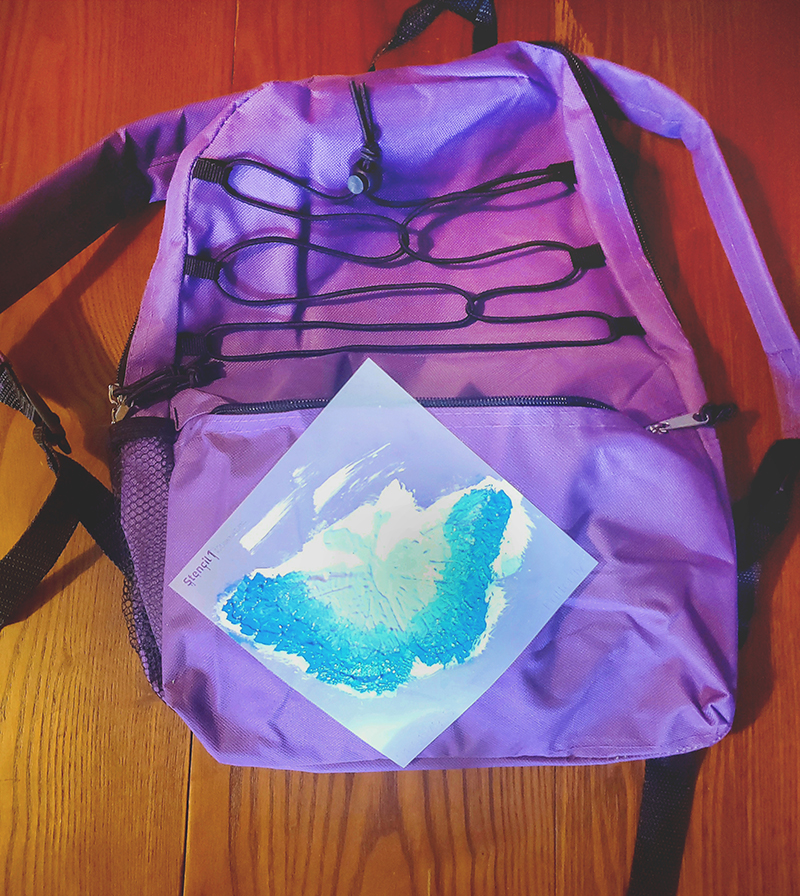
Looking for activities to get the kids excited for the school year? This ombre butterfly backpack is a fun craft for kids of all ages! Having a customized backpack will distinguish your backpack from the rest of the kids in school, you will always know it’s yours! Guest Blogger Jaylin created this project for us and she’s 16 and getting ready for school herself!
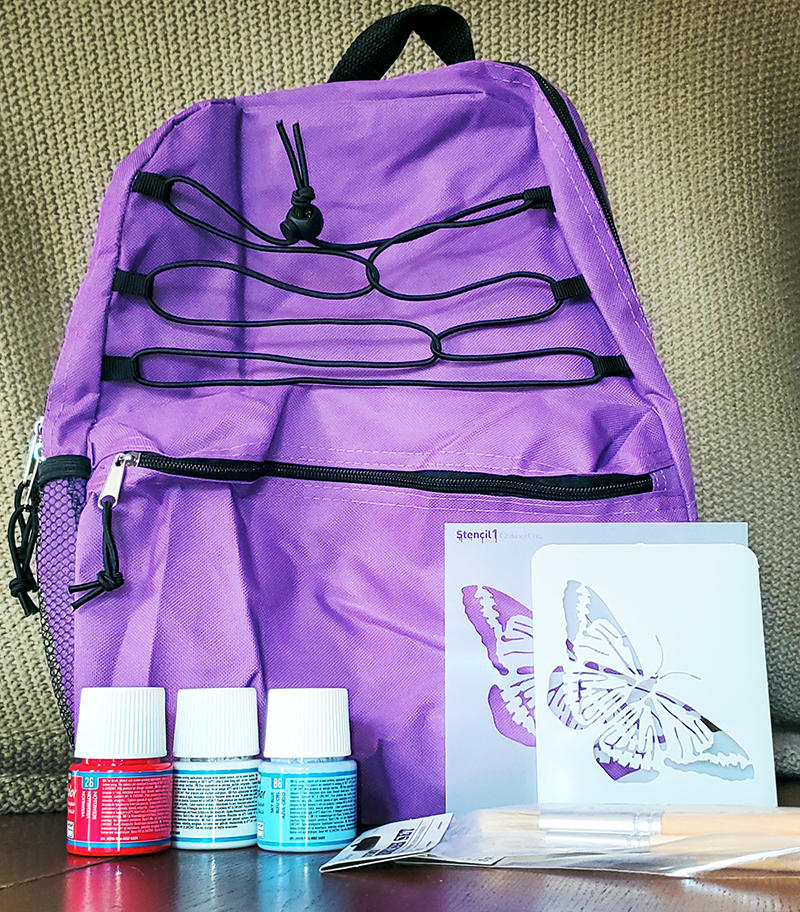
For this project you will need:
-Stencil1’s 5.75×6 butterfly stencil (This can also be done with Stencil1’s butterfly two-layer stencil)
–Fabric paint (we used 3 colors, but you can use up to 4)
-Paint brushes
-Spray adhesive
-A backpack
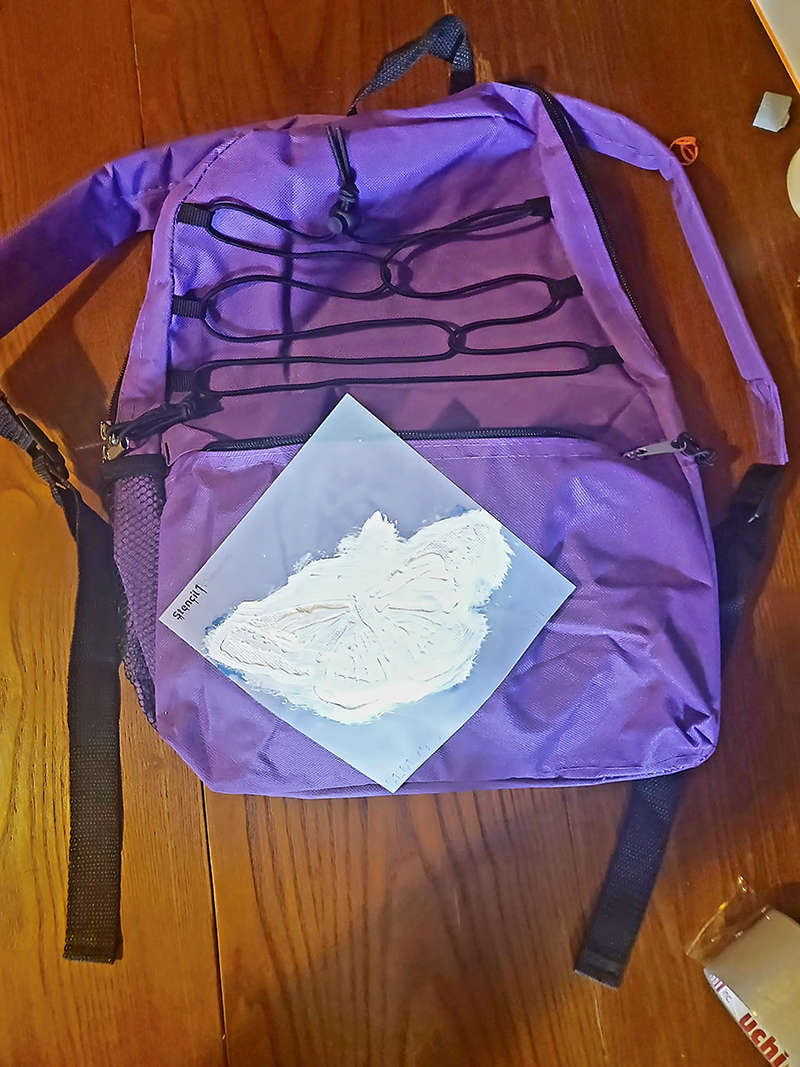
Step 1: Start with a clean Backpack. Planning placement is a great way to start your stenciling project. Place some firm cardboard in the backpack to give your stencil support. Apply spray adhesive to the back of the stencil, the carefully place stencil on the backpack. Be sure that the stencil is secure to the backpack and is not lifting in any areas, this will keep the paint from getting under the stencil.
Step 2: Apply a coat of your base color, we used white. It’s ok if some of the paint gets under the stencil. This happened so we decided to fill in the entire butterfly shape with white paint, a silhouette shape. Lift the stencil while the paint is still wet and fill in the butterfly’s silhouette. Let dry or dry with hair drier.
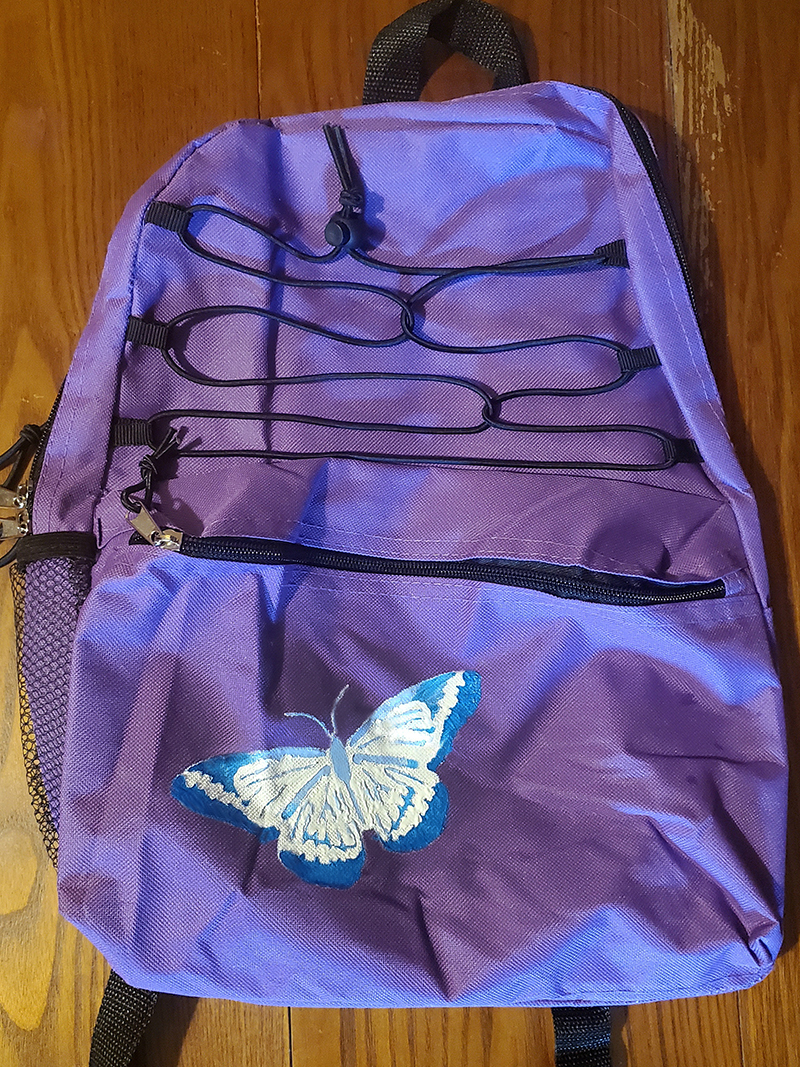
Step 2: Begin painting your second coat of paint, we used light blue – It took one coat of paint to achieve full coverage.
Step 3: Before the second coat of paint is completely dry, use your third paint color to paint the edges of the butterflies wings, we used a darker blue. Don’t be scared to blend some of the third color into the previous coat of paint. This will create a softer transition between the colors.
Step 4: When the paint is completely dry you can carefully remove the stencil to reveal the image.
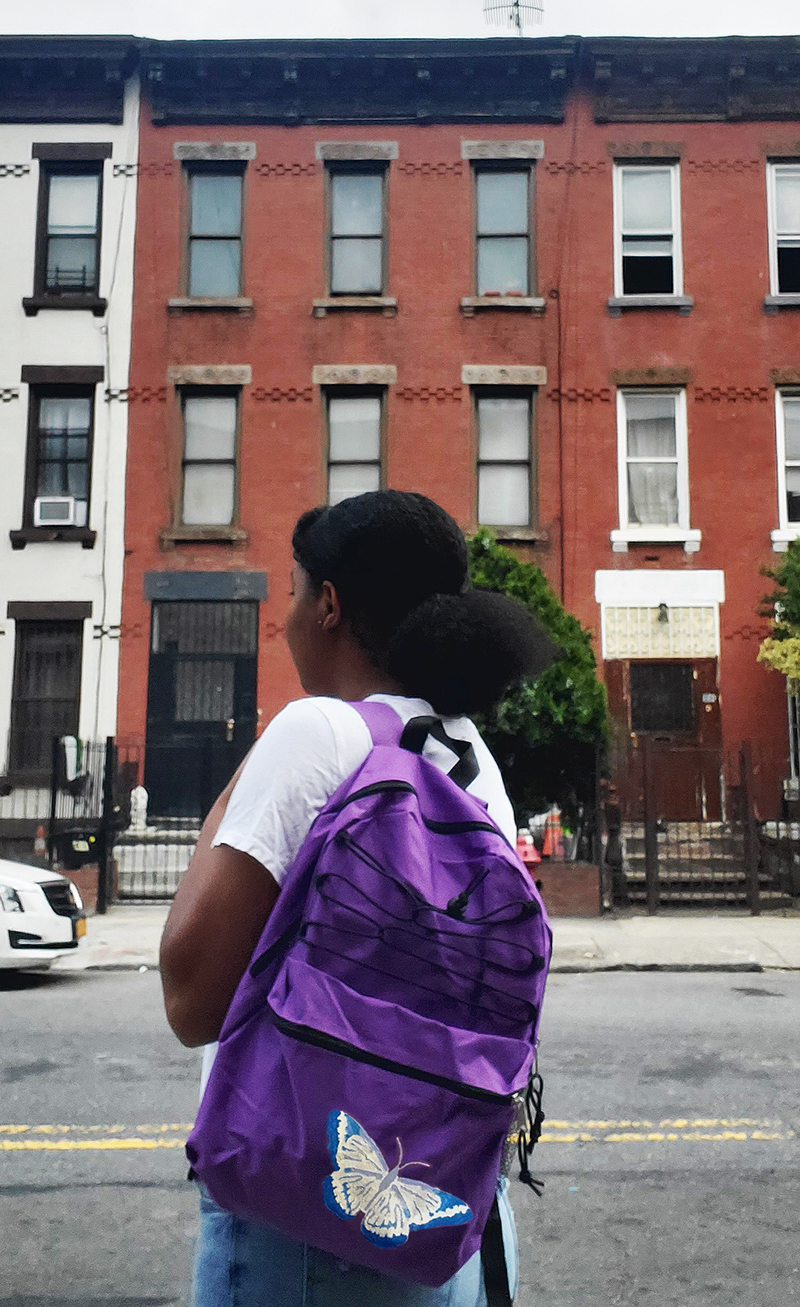
If you are headed back to school, make your old backpack new again with Stencil1 stencils or make your new backpack one-of-a-kind and all yours with your favorite stencil designs! Show us your stenciled creations by using #stencil1 and @stencil1 !
Регистрация на рабочем зеркале advancearkansas.org и официальном сайте Вавада казион. 100% к первому депозиту и 100 фриспинов за регистрацию на Vavada casino.
Регистрация на официальном сайте ifo-classics.com онлайн казино Вавада в 2023 году: как получить бонусы, задать вопросы и зайти в России. Играйте в Vavada с телефоном и компьютеров.
Официальный сайт Вавада казино и рабочее зеркало y-ishizaki.net предлагает удобный кабинет и тысячи интересных автоматов. Максимальная отдача — 98%. Чтобы испытать удачу, пройдите регистрацию, пополните счет и получите бонус 100 фриспинов.