1. Follow Stencil1 on Pinterest
2. Create a board with the title S1DreamMakeover
3. Pin your favorite 3 (or more!) items from the Stencil1 gallery
4. Tag each pin #S1DreamMakeover
5. leave us your board url on stencil1.com/topic/blog/contests
1. Follow Stencil1 on Pinterest
2. Create a board with the title S1DreamMakeover
3. Pin your favorite 3 (or more!) items from the Stencil1 gallery
4. Tag each pin #S1DreamMakeover
5. leave us your board url on stencil1.com/topic/blog/contests
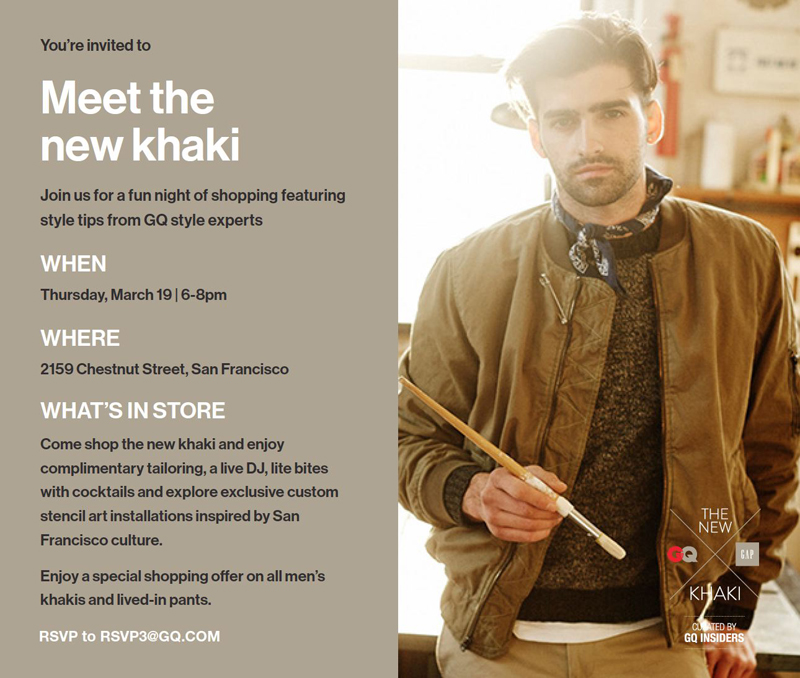
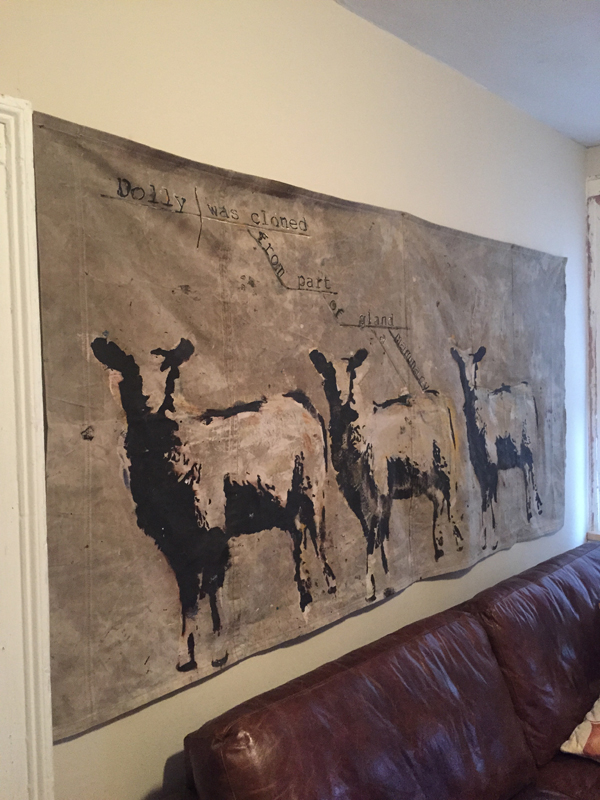
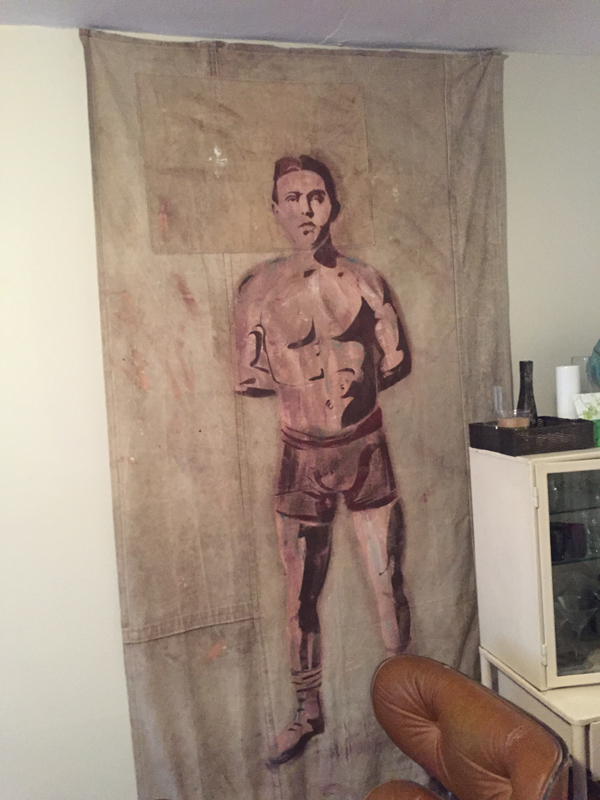
GQ asked me to do 8 custom paintings for a GAP event they were curating for a San Francisco location. They wanted stencil paintings of San Francisco imagery and the canvas was to be Gap’s new khakis. This is a dreamy project for me not only because of the client but also because I used to live in San Francisco and have a big place in my heart for this city and because I often paint on tarps, see some of my art below.
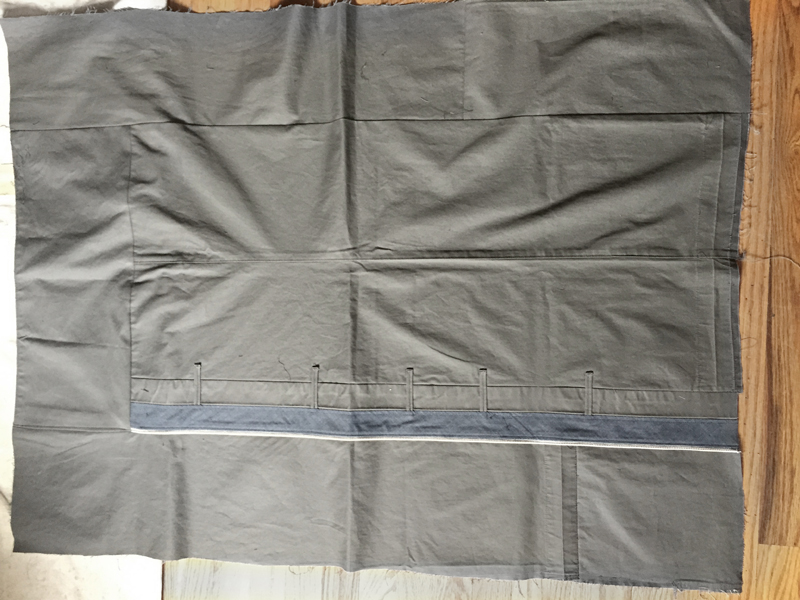
So painting I can handle, but deconstructing and then reconstructing the khakis to be canvases, not my expertise. Enter Saira Huff. Designer and Super Seamstress to the rescue! A friend connected us and we clicked, she got exactly how the canvases should look. Hints of pant elements, not too much, use of the inner materials a bit, all just spot on. Check out her new store if you are in Brooklyn for vintage and custom finds.
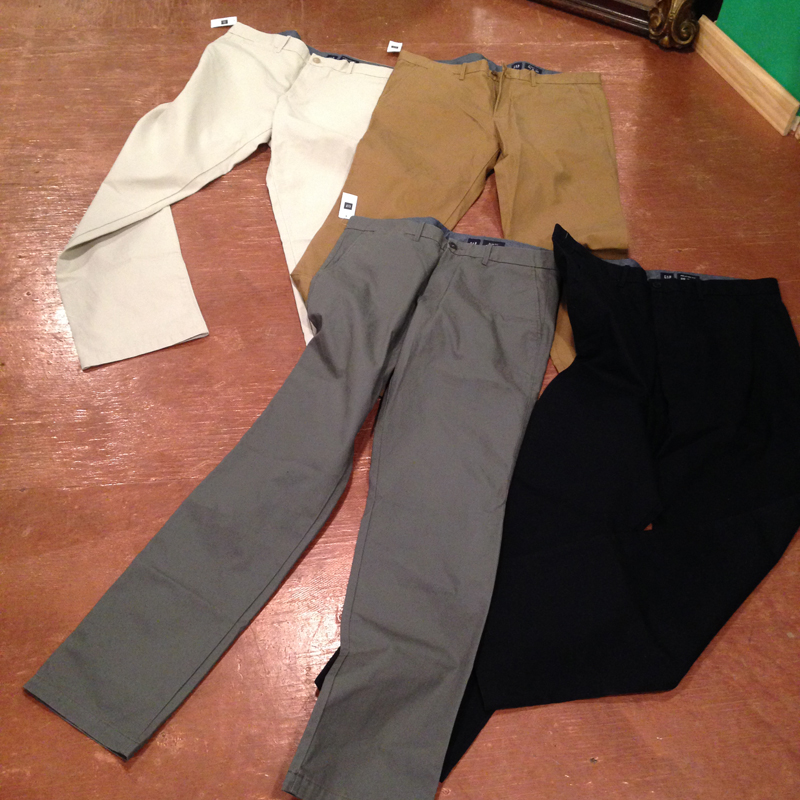
Pants before
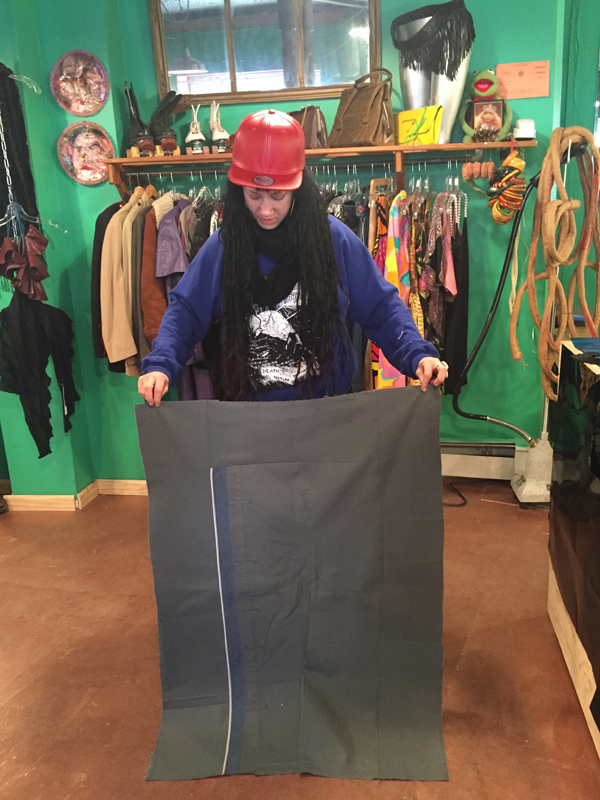
Saira with pants after or canvas
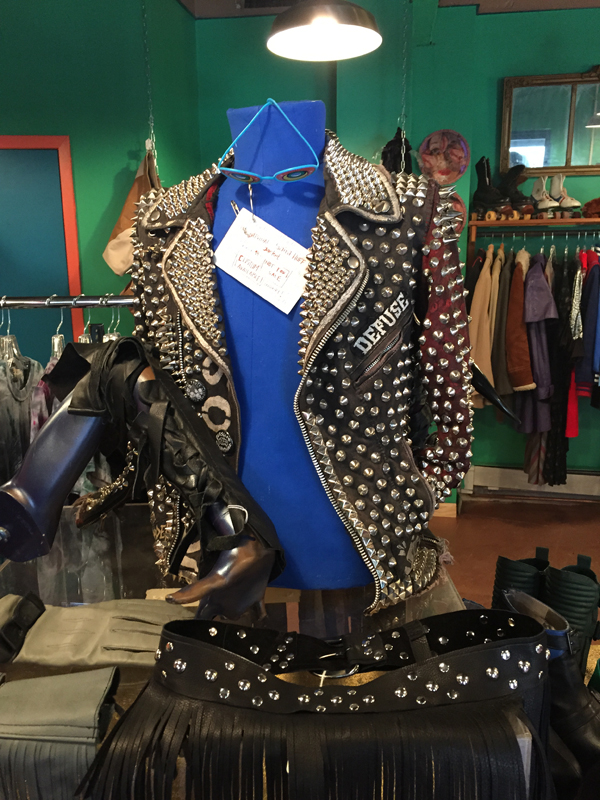
a shot from Saira’s shop, Vintage Punk relics, custom work, go check it out
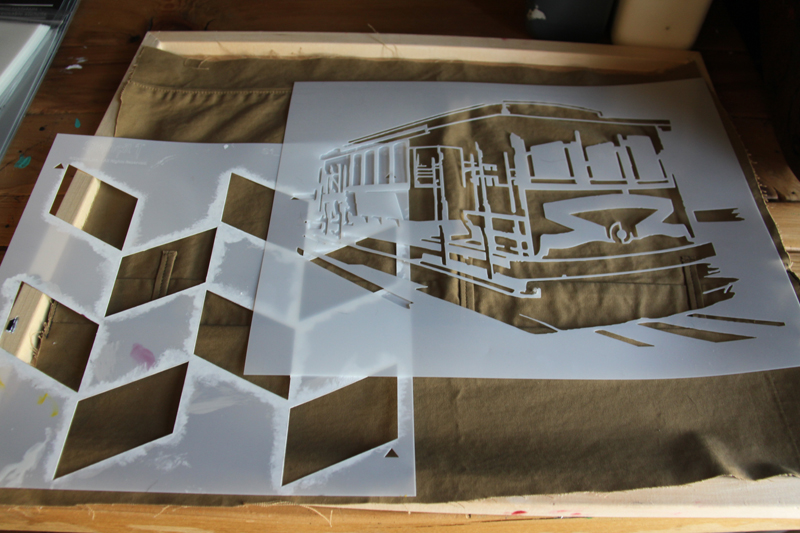
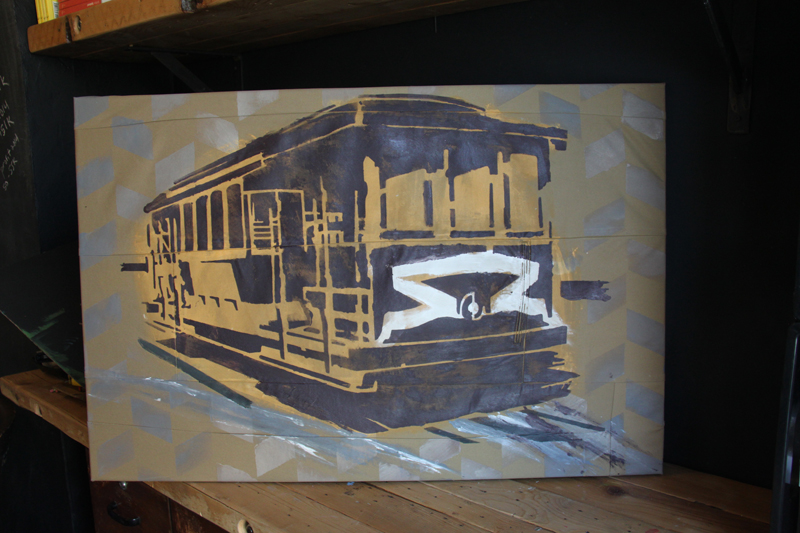
I then started planning which stencils will go with which color khaki/canvas as well as how I can incorporate some layering and pattern into the pieces. I wanted the pattern involved as SF has so much life and history and the unique people that inhabit the city provide it so much influence and culture.
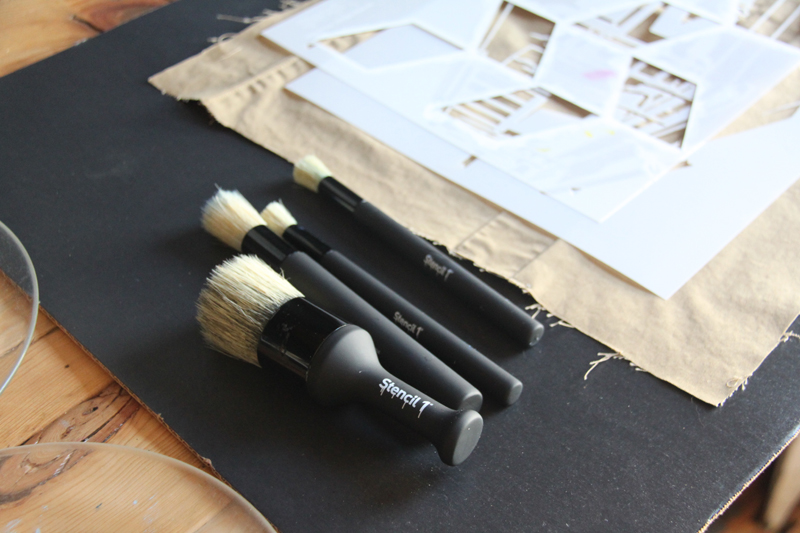
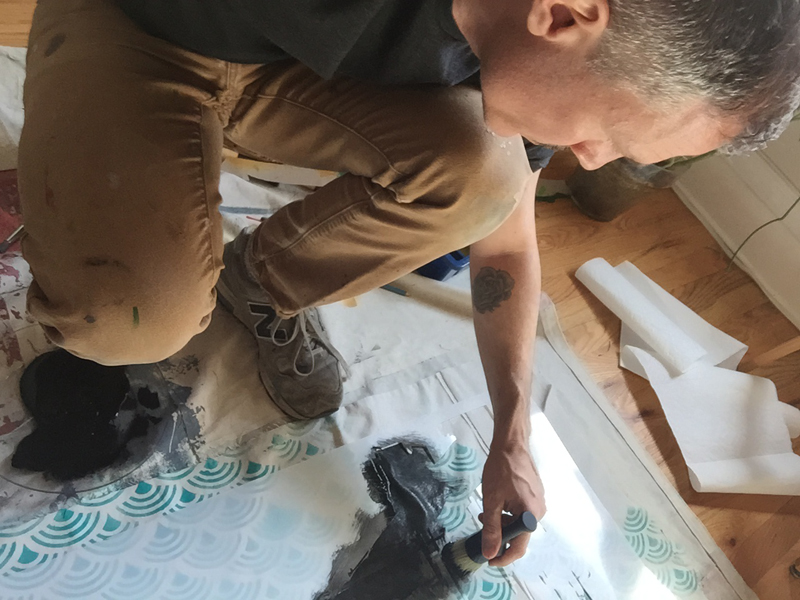
I used my new stencil brushes for the job, so excited to have designed these quality brushes!
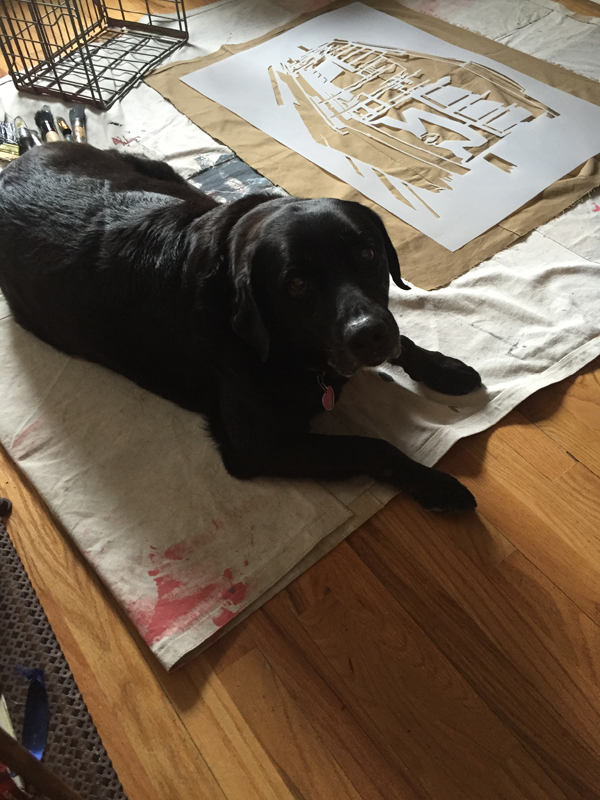
As soon as I set up to start painting (I paint larger paintings on the floor), Larry has to be involved. Faithful assistant…
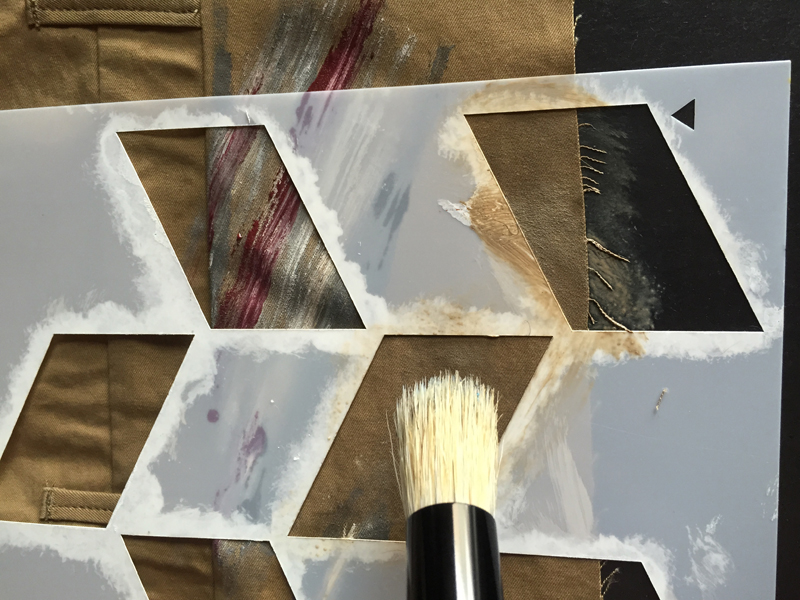
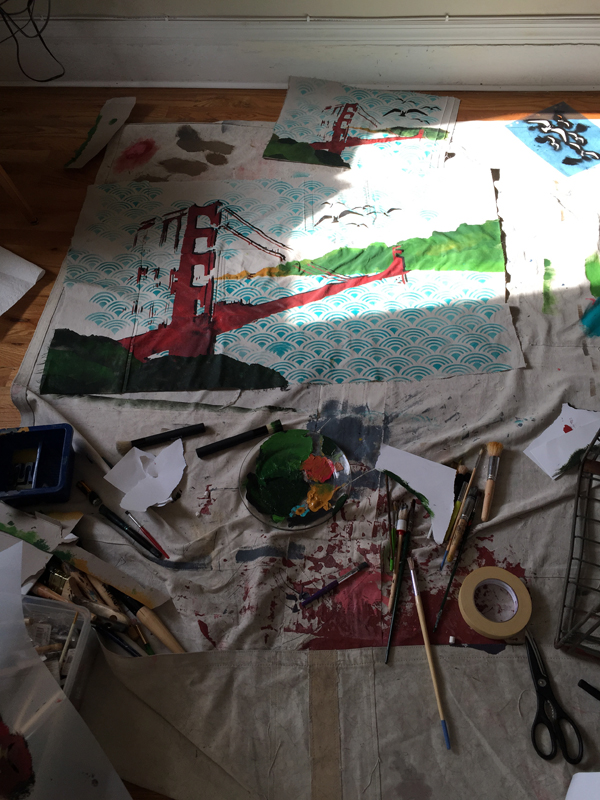
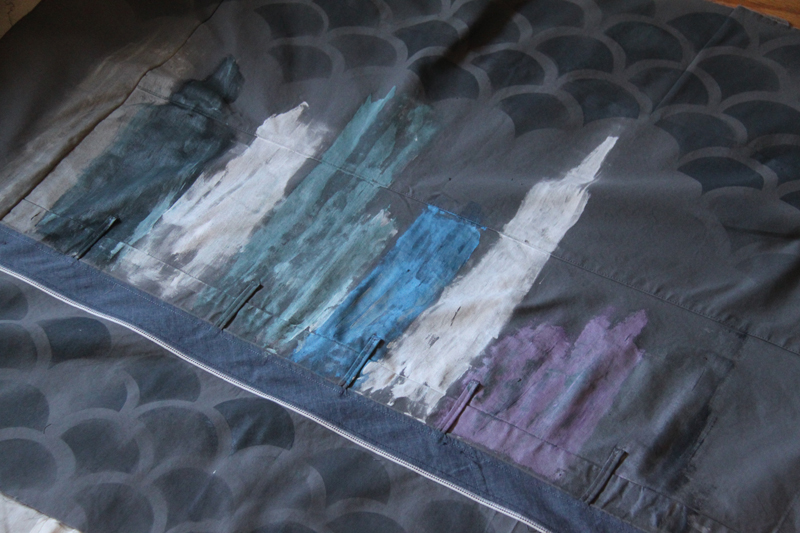
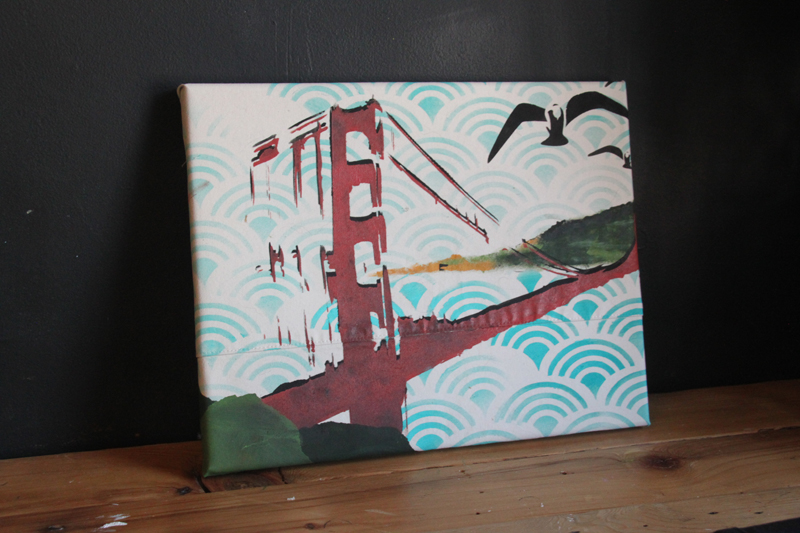
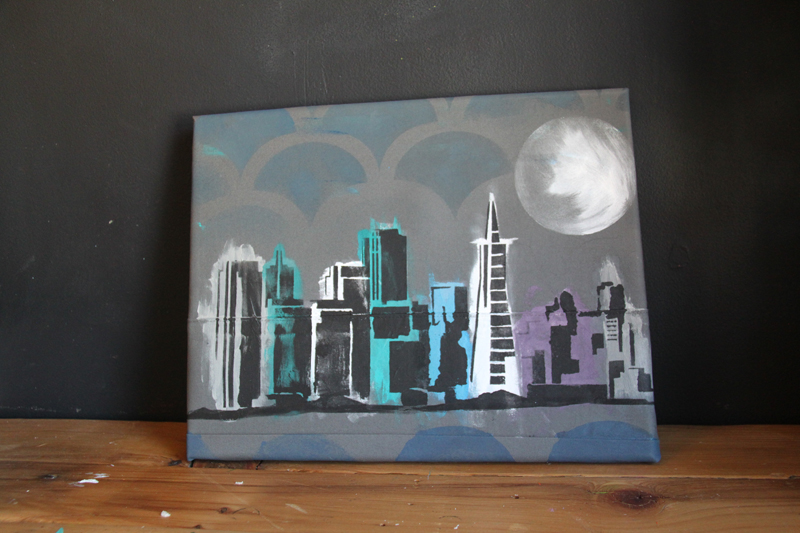
Scallop patterns for sea and air…
I use a variety of brushes when I make a painting to get different textures into the piece…

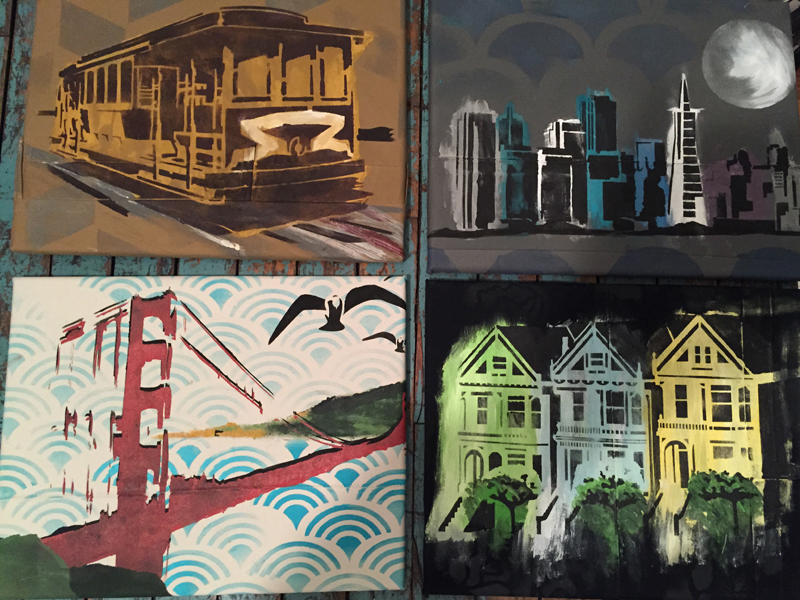
After I layer some pattern in, I like to paint a loose silhouette layer. This will get a more defined stencil detail layer over it but here’s where I add movement and some energy to the piece. In this case, the power of the cityscape within the charming SF landscape.
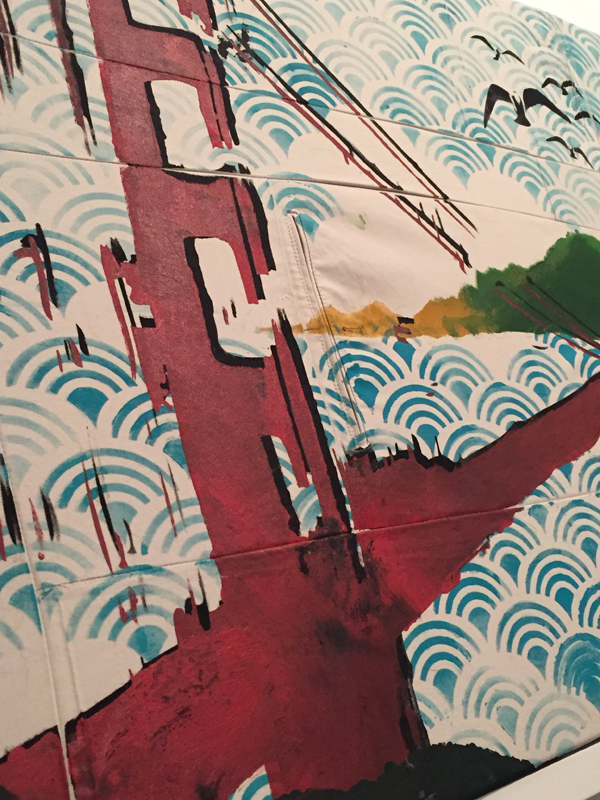
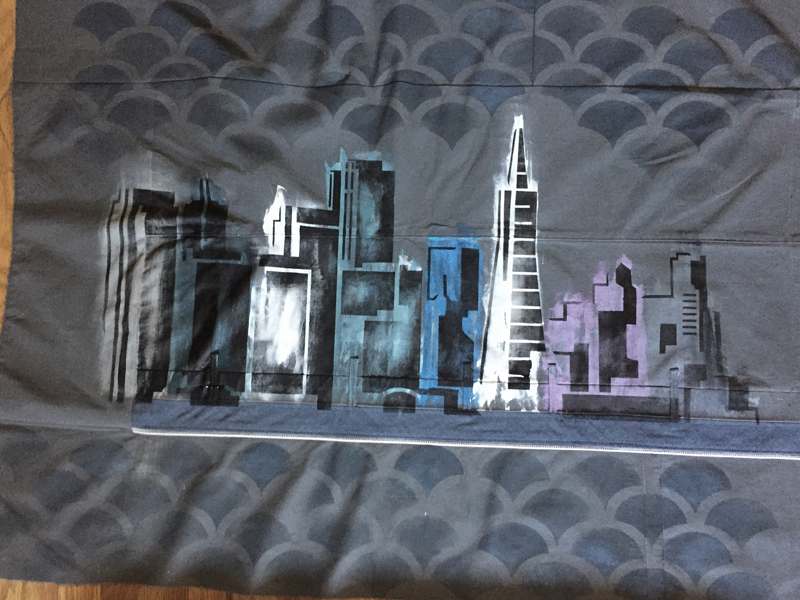
Then the detail gets painted in…
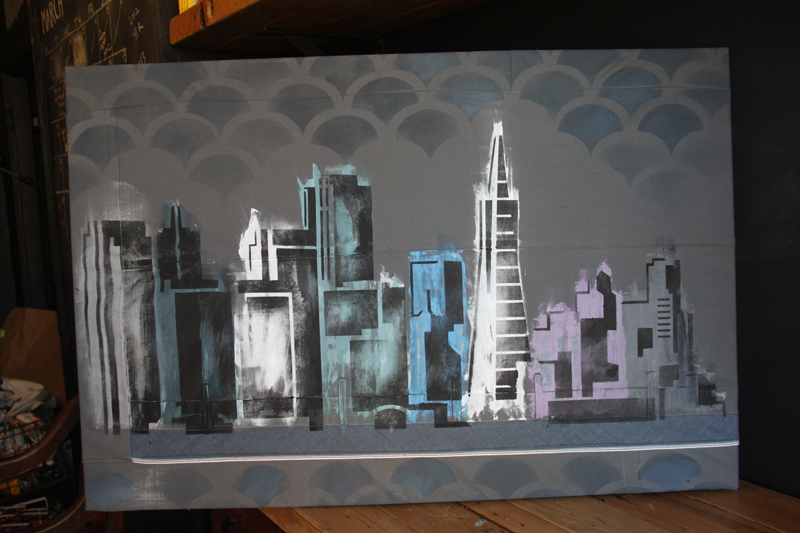
And here it is stretched…
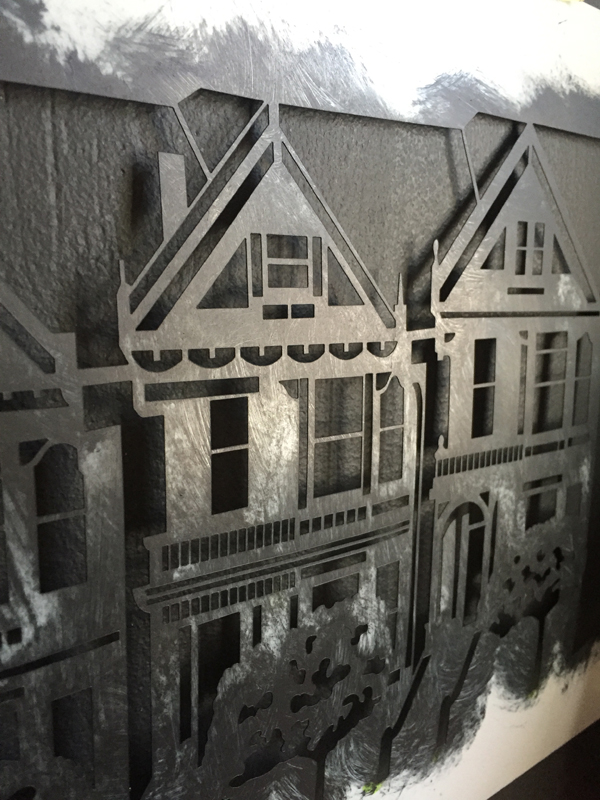
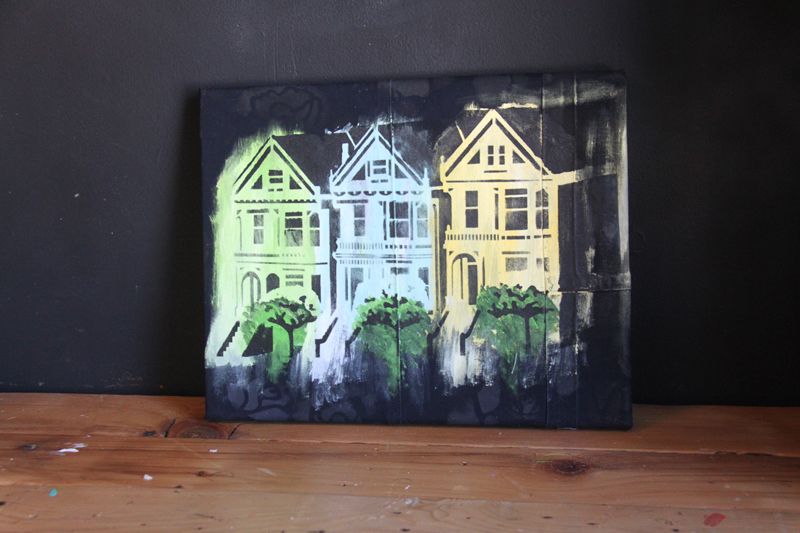
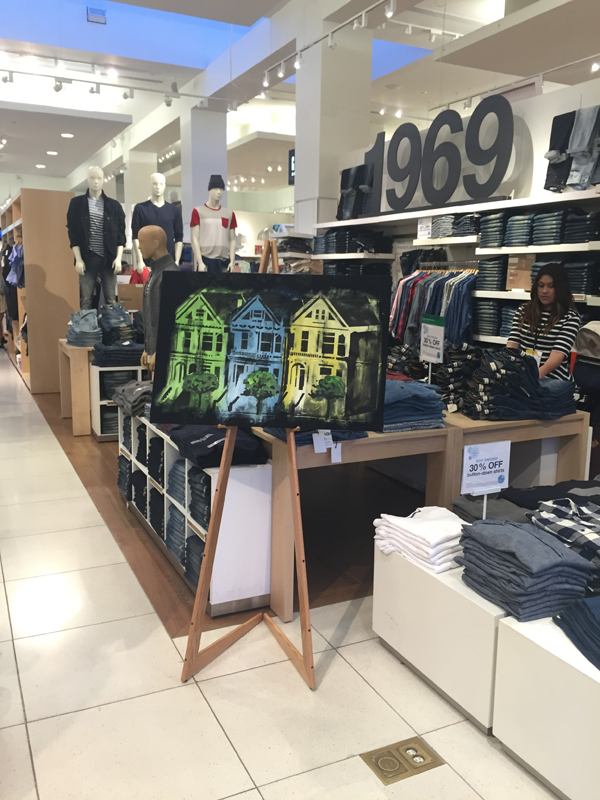
Painting the Painted Ladies was fun too, I love the old Victorians on San Francisco.
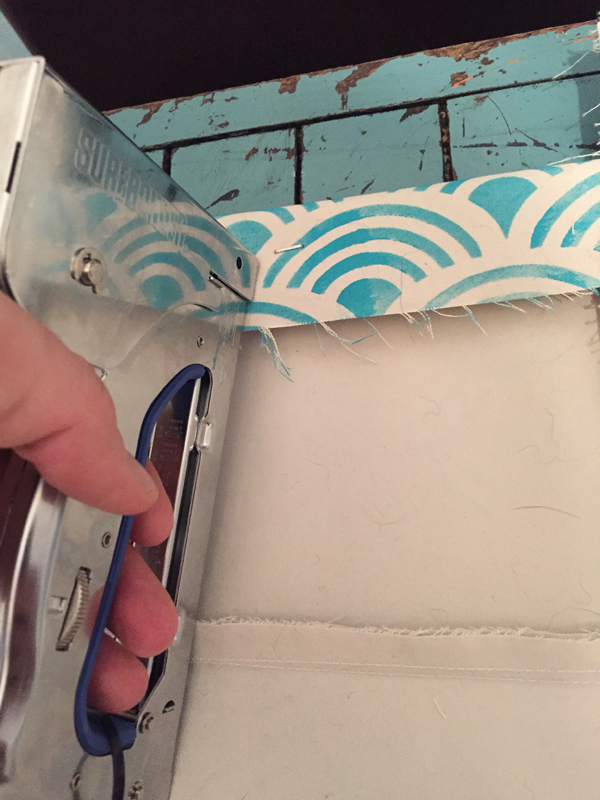
Stretching canvas and stapling it is pretty satisfying…
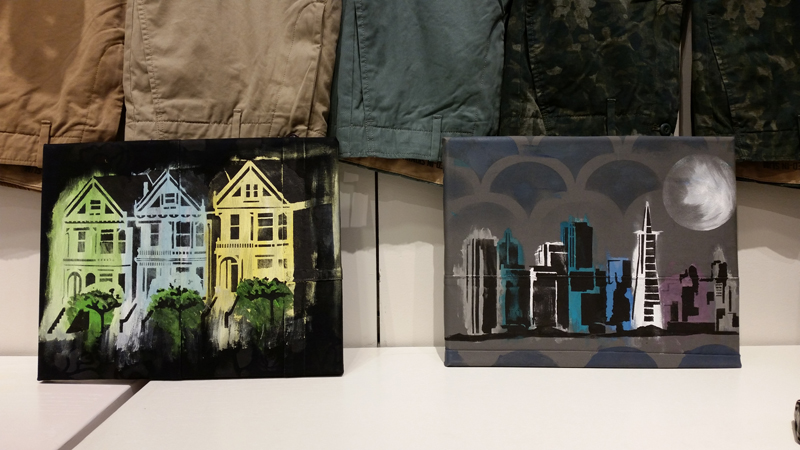
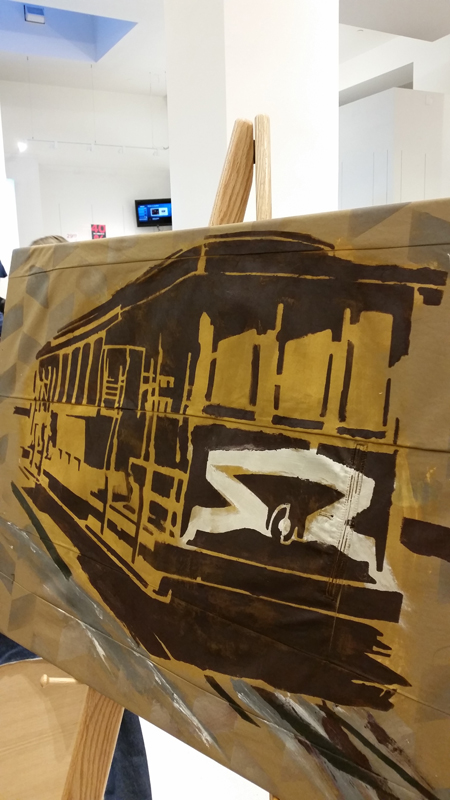
Then they were done! Shipped off to San Francisco, my second home, for a fun time with GQ and the Gap!
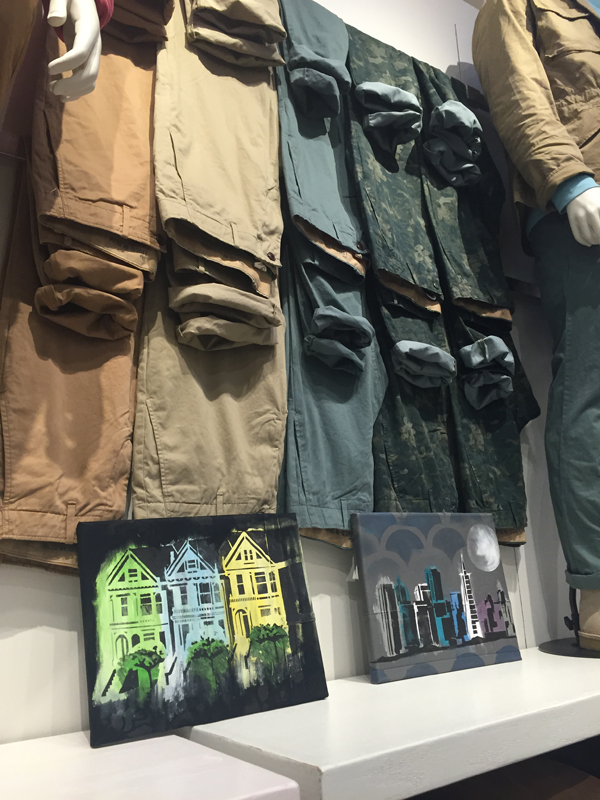
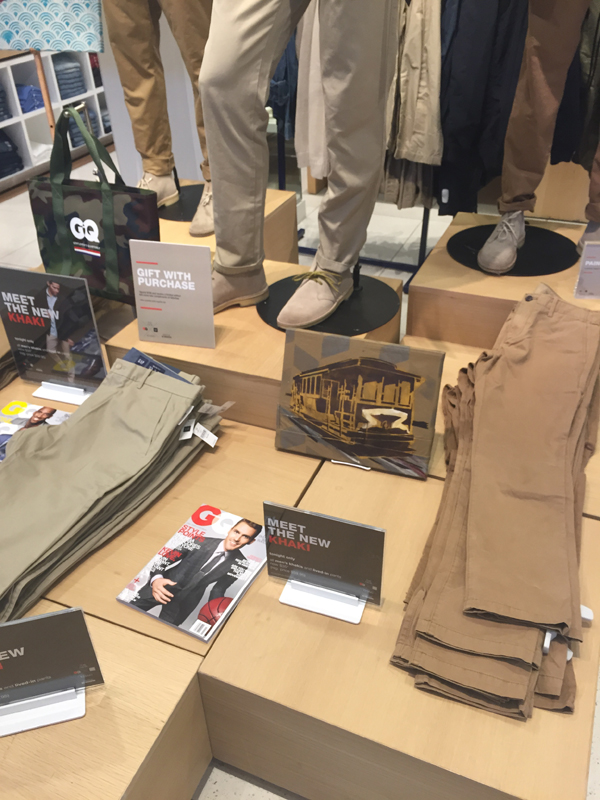
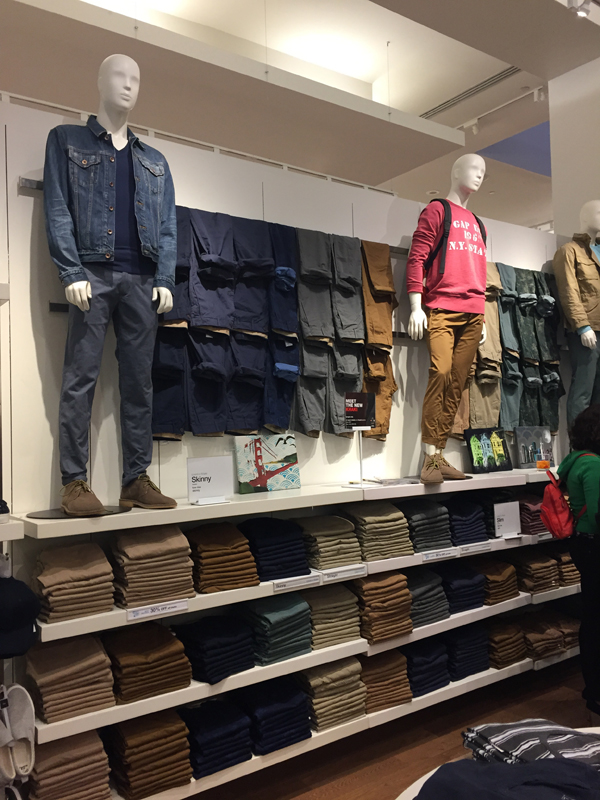
And here are images from the Gap event sent to me by my friend Katie Elks and my brother Charles.
I like how the Gap displayed the art in the midst of the khakis.


Patterns are a big source of inspiration for our stencil designs. One of the best things about our Product of the Year 11 x 11 Repeat Pattern Stencils is their versatility. They are great for stenciling walls but can also be used for a lot of other things, including making awesome t-shirts! Choose a stencil, grab some paint, and make a one of a kind t-shirt.
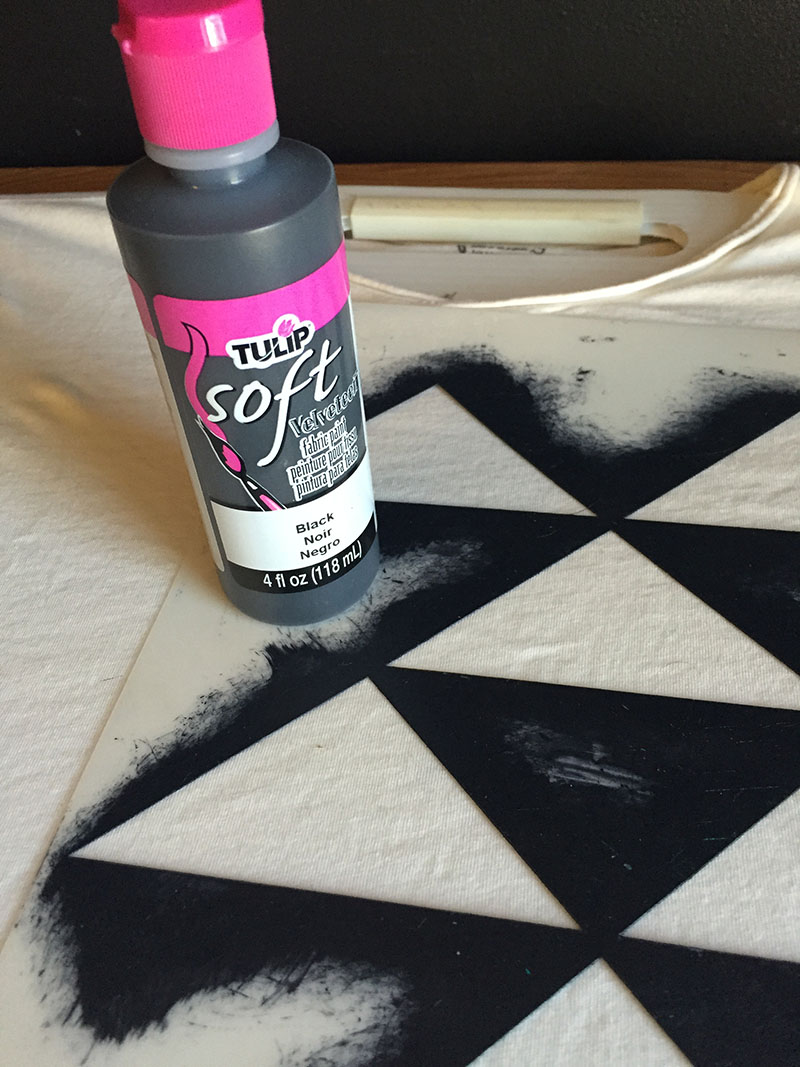
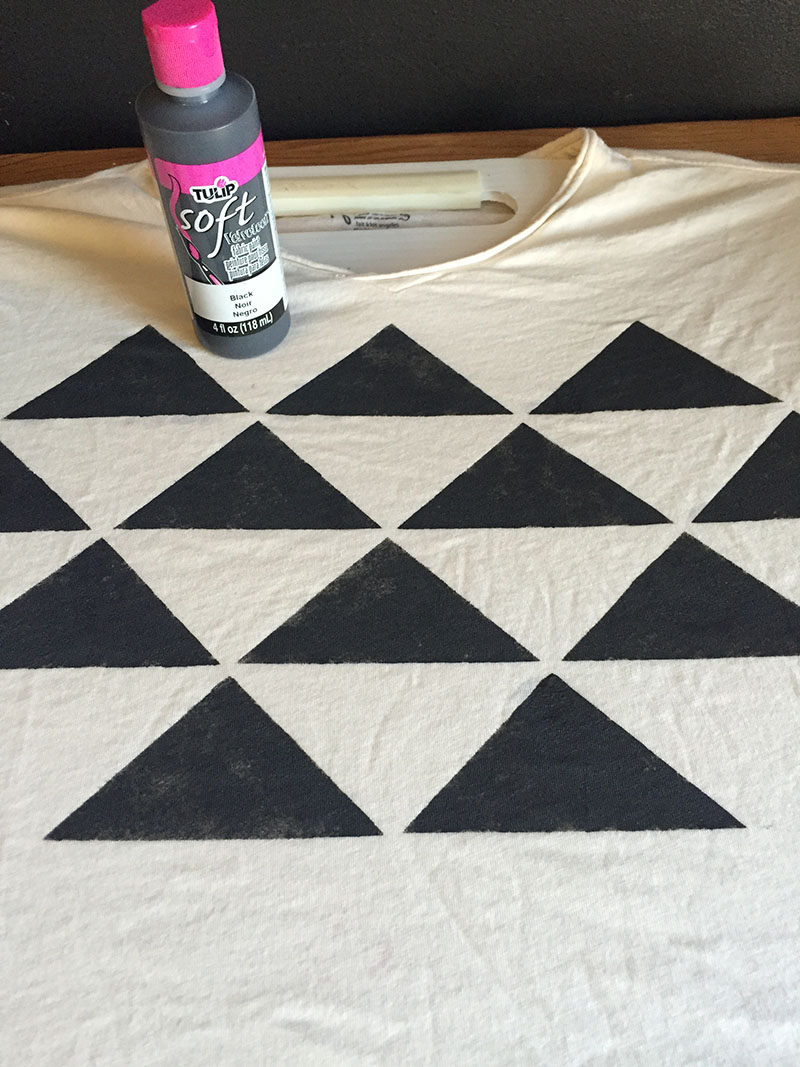
Things you’ll need to make this shirt: Stencil1 Staggered Triangle Stencil, Tulip Soft Fabric Paint, a t-shirt, a cardboard insert, brushes, painter’s tape (optional).
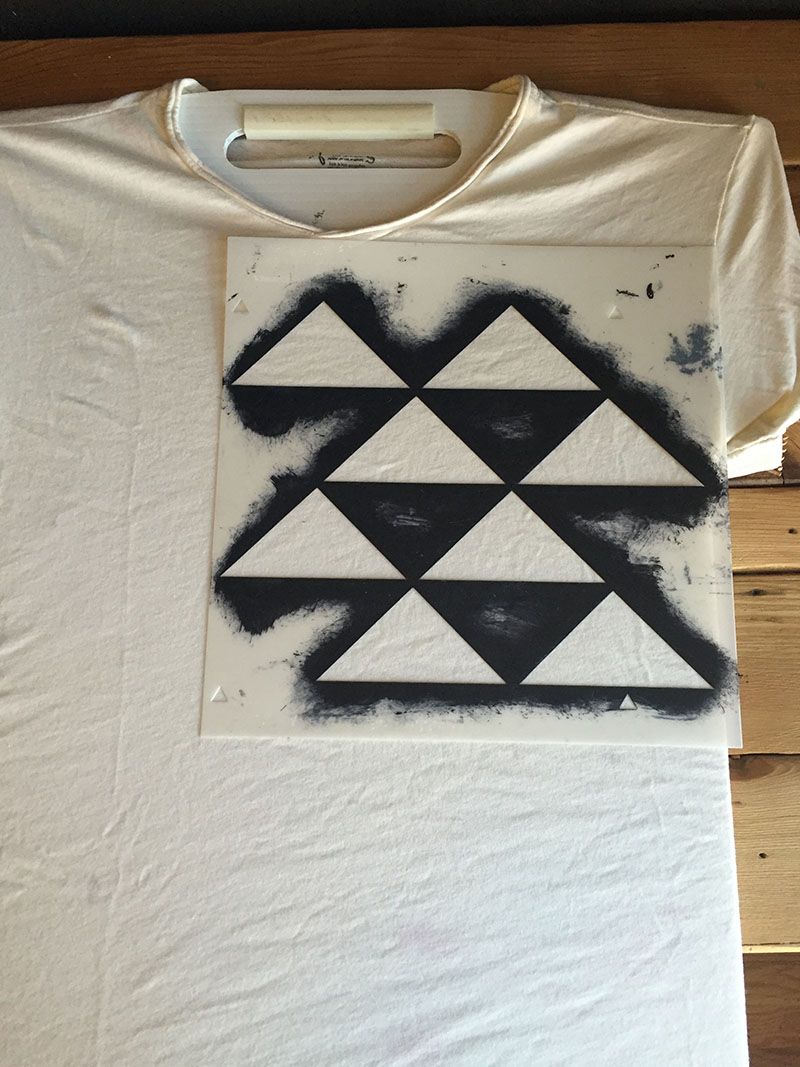
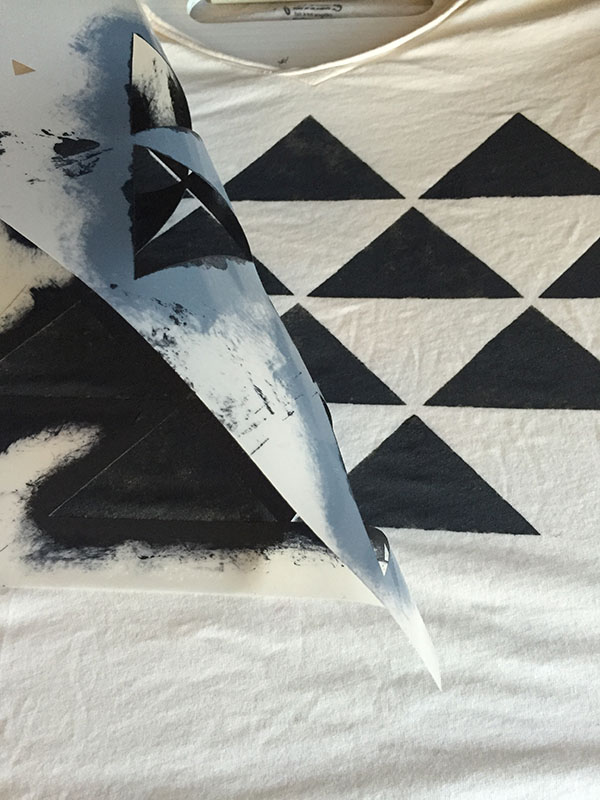
Step 1: We stenciled this shirt twice because we wanted a symmetrical look. Start by placing the stencil on either the left or right side of the shirt. You can use painter’s tape to secure the edges of the stencil. This will also help you avoid painting over the edges. Since you will only be stenciling the shirt twice, you can simply align the rectangles to continue the pattern. However, you can use the registration marks by putting a pice of tape underneath the corners of the stencil and filling in the triangles with a pencil.
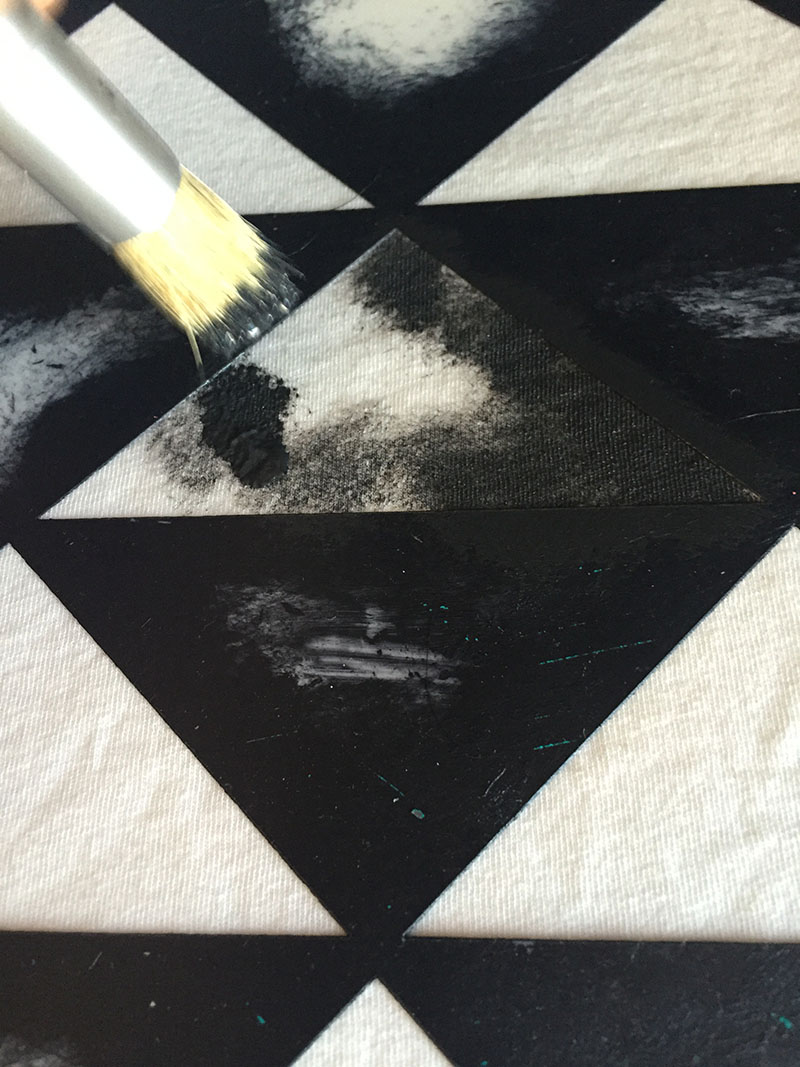
Step 2: Start stenciling by painting with a dry-brush technique. This means using very little paint and adding several layers. We wanted a distressed look so we didn’t add a lot of layers of paint.

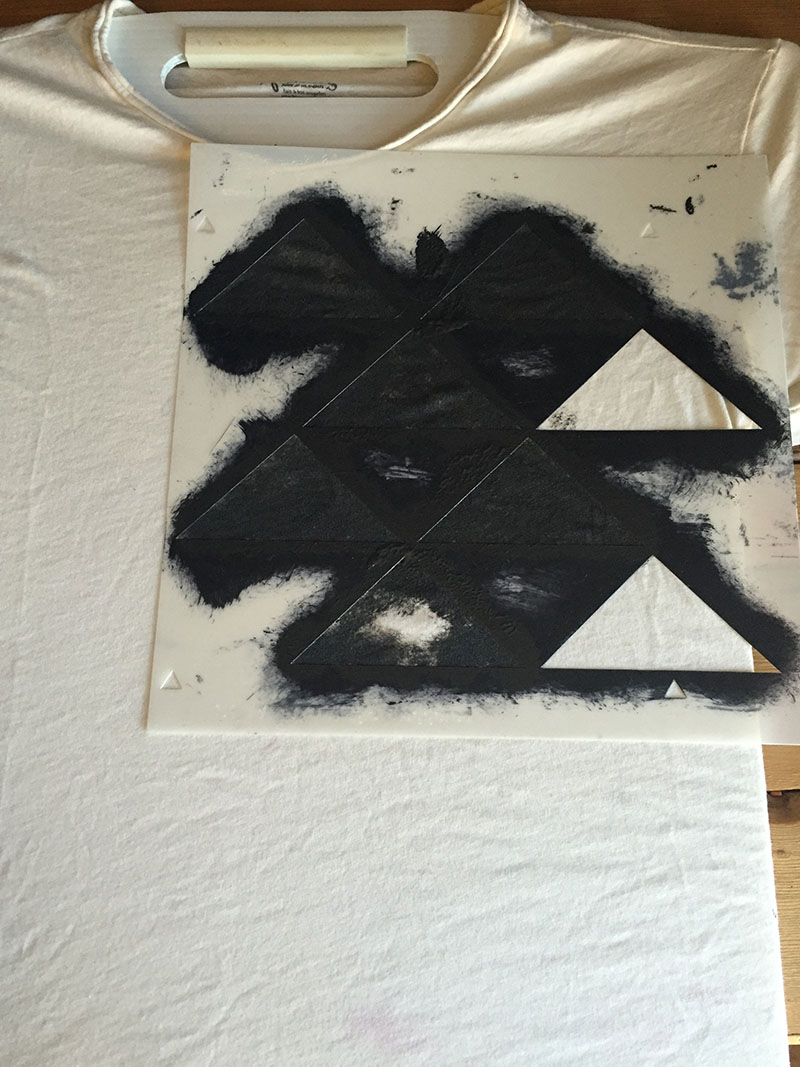
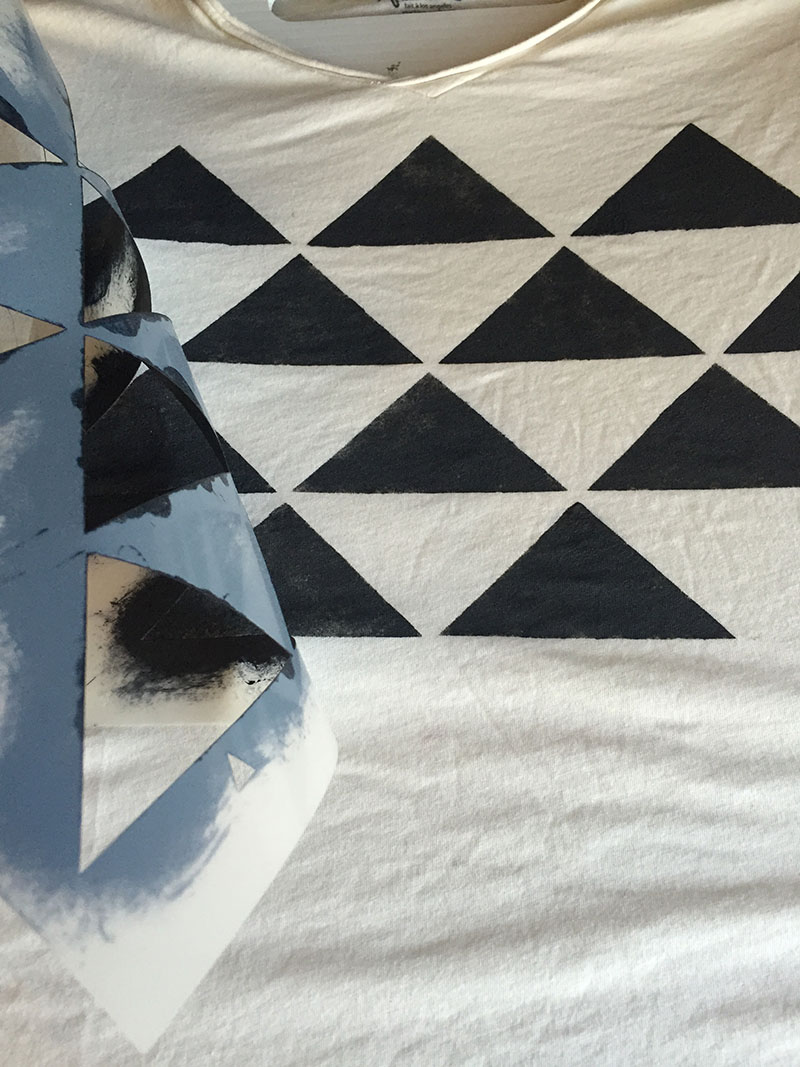
Step 3: Once you are done stenciling this side, lift the stencil and allow the paint to dry to touch. Shift the stencil to the other side and align it with the registration marks or the triangles on the side you already stenciled. Repeat step 2.
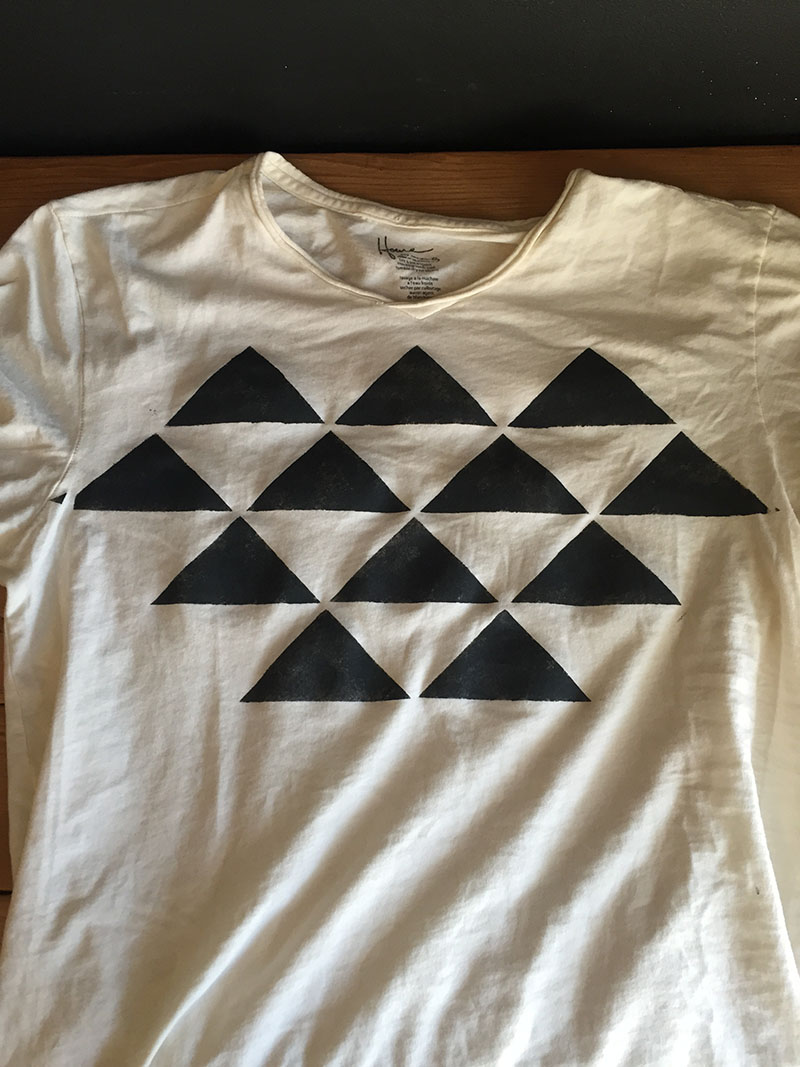
Step 3: Once you are done, allow the paint to fully dry and heat seal it by ironing the shirt (you can use a piece of cloth in between the shirt and your iron to protect your iron). Snap a picture of it and share it with us @Stencil1
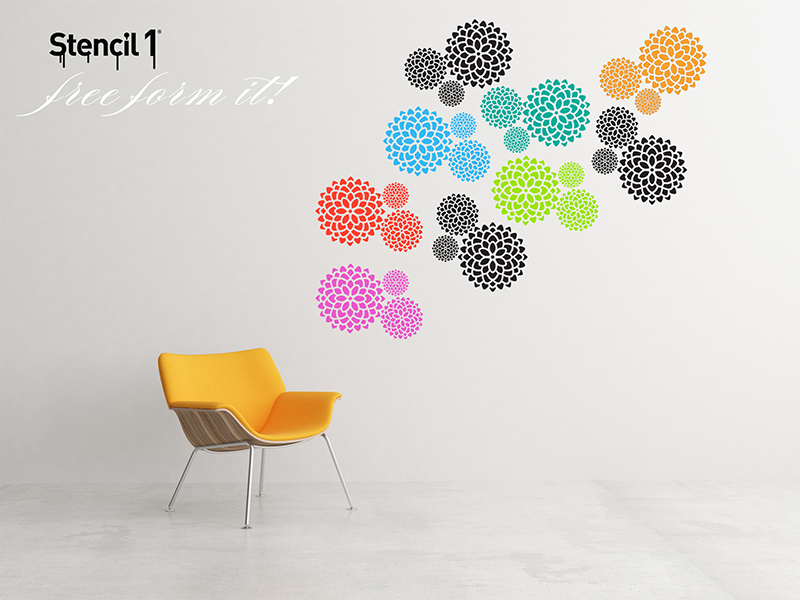
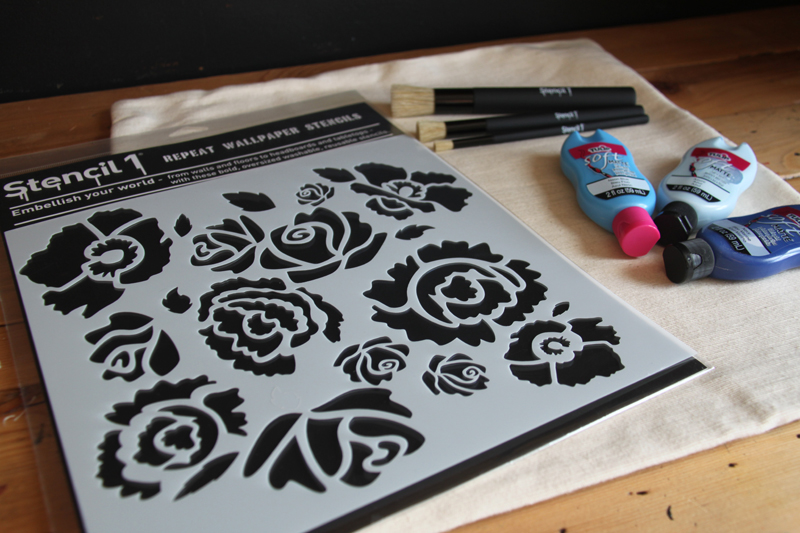
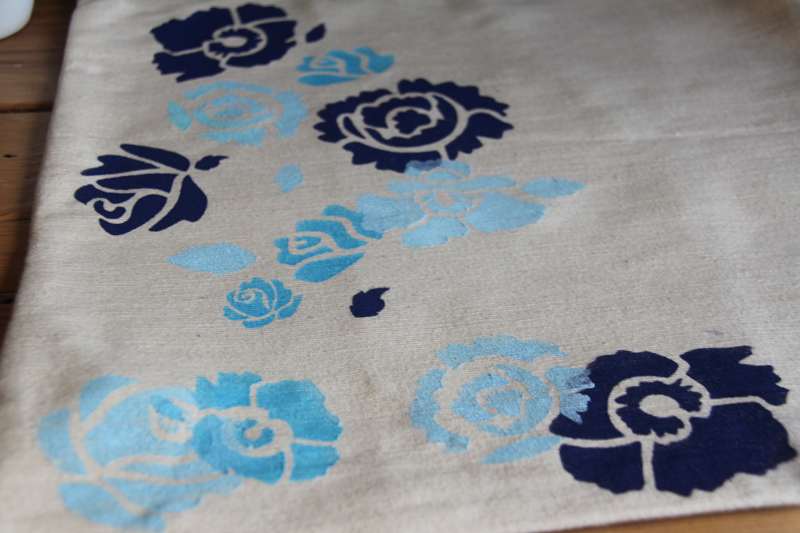
We cannot stop thinking about spring and warmer weather at the Stencil1 studio. So, we made a spring-inspired pillow to remind us that warmer days are here! We chose one of our Product of the Year stencils that can be used as is but can also be more flexible and allow you to improvise a little bit. Grab a pillow case, follow the steps below and snap a picture of what you made. Share your photos with us @Stencil1
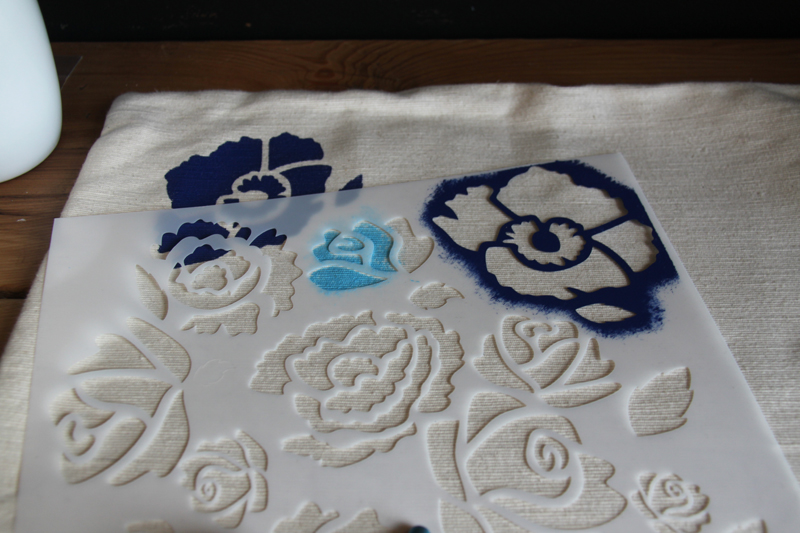
This is what you’ll need to make this pillow-case: Stencil1 Bouquet Stencil, Tulip Soft Paint (we used matte finish and three different tones of blue), stencil brushes, painter’s tape, a cardboard insert, and a pillowcase.
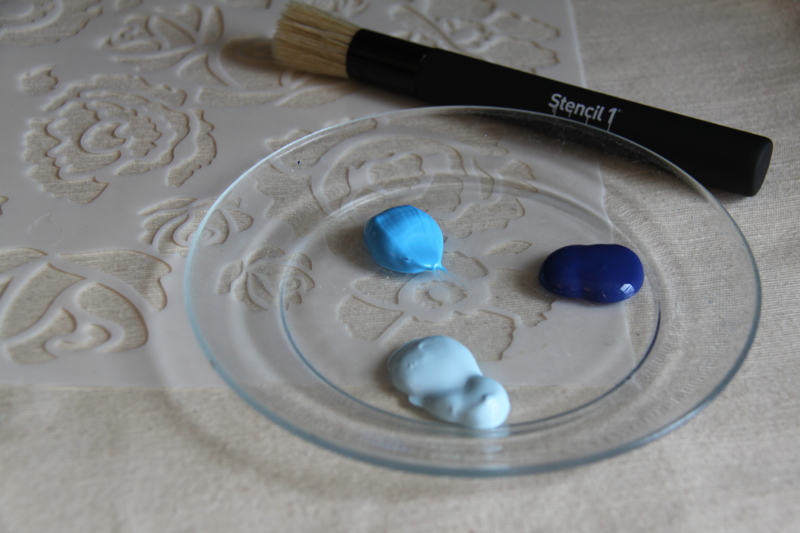
Step 1: Choose your paint. We decided to use different blues but you can use one color or 20 different colors. Get creative! Think about where you’ll use the pillow and the colors in that room. This could be a great accent pillow on your sofa or a subtle pattern on your bed!
Step 2: Insert a piece of cardboard in the pillowcase so that the paint doesn’t bleed to the other side of the pillow. The fun part of this stencil is that you can secure the entire stencil and paint in all the flowers at once or you can paint one flower (or a couple) at a time and move the stencil around each time! Line up your stencil to the place you’d like to stencil. We decided to move the stencil around so we only used tape if the stencil overlapped a flower we did not want to paint over.
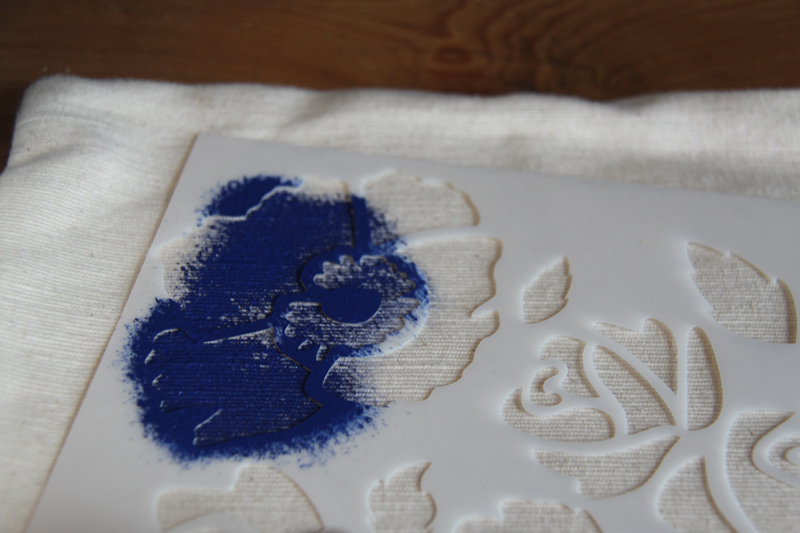
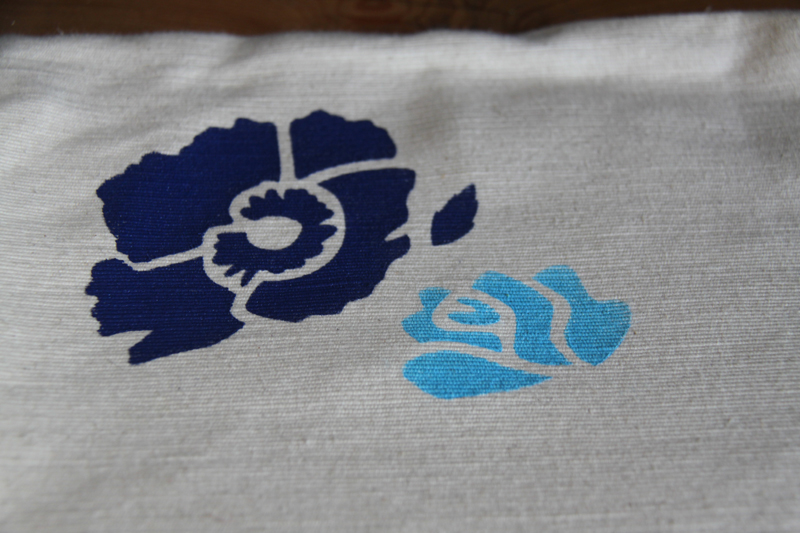
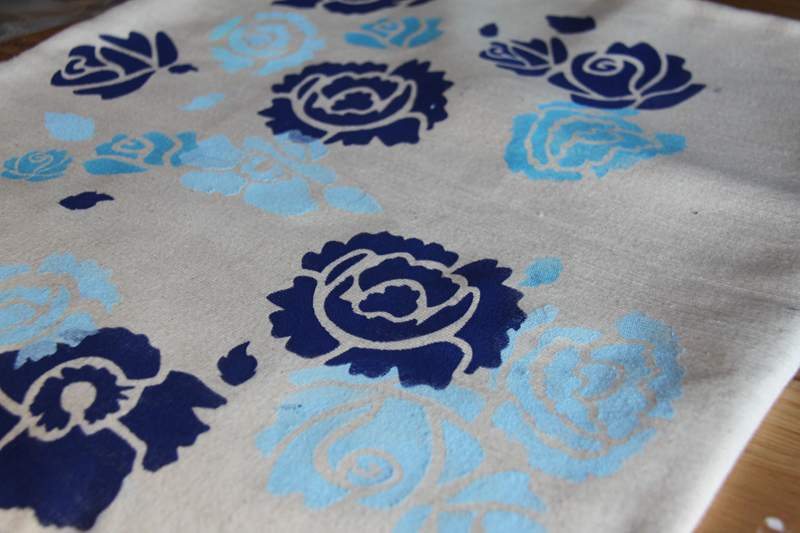
Start stenciling by dabbing the brush up and down or by painting using a circular motion. Remember that stenciling is a dry brush technique. This means using very little paint and adding more layers of paint for a saturated look. Once you are done stenciling, slowly lift off the stencil and allow the paint to dry a bit before moving on to the next flower.
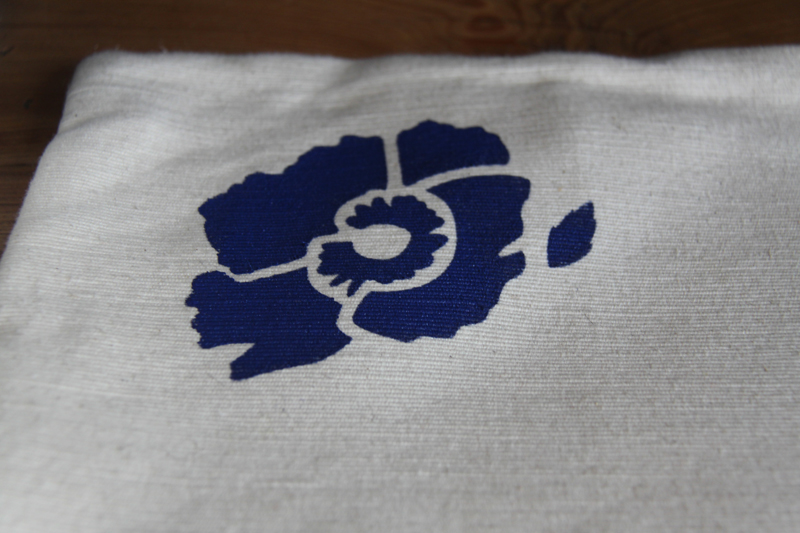
Step 3: Once the paint has dried to touch, move on to your next flower! We used painter’s tape to cover up parts of the pillow we did not want to stencil.
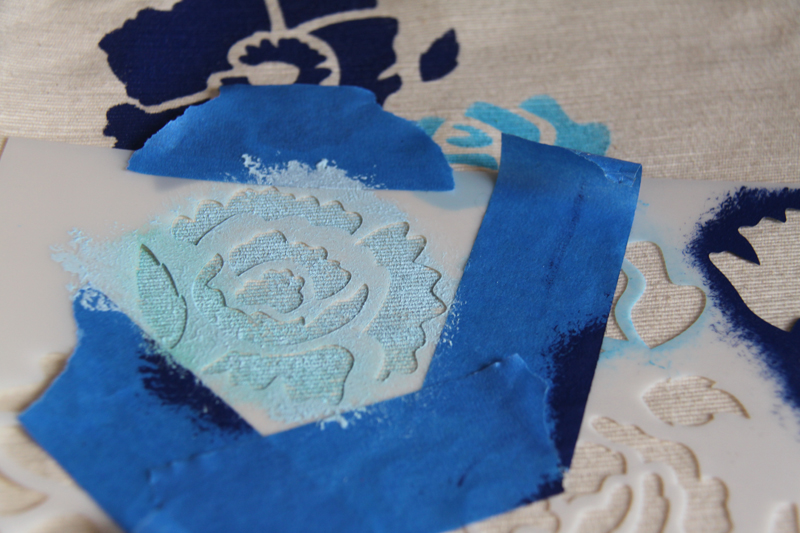
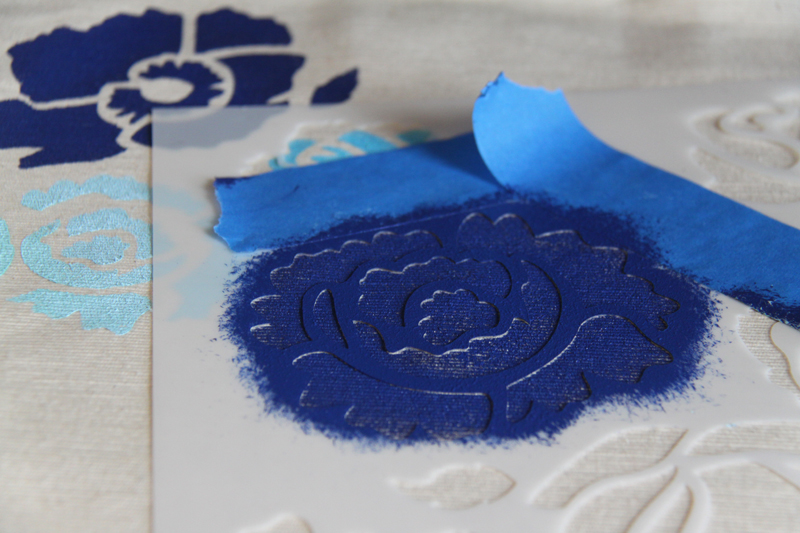
Step 4: Repeat steps 2 and 3 until you have covered the pillow with flowers. We had fun overlapping our flowers from time to time.
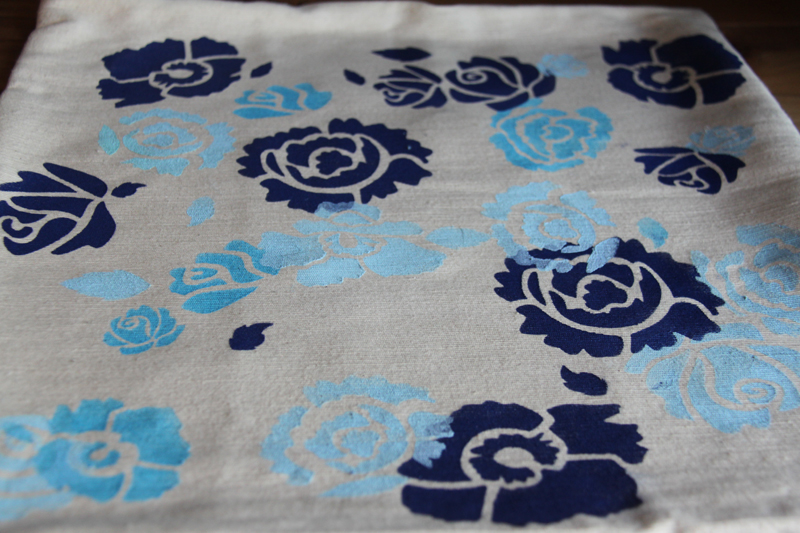
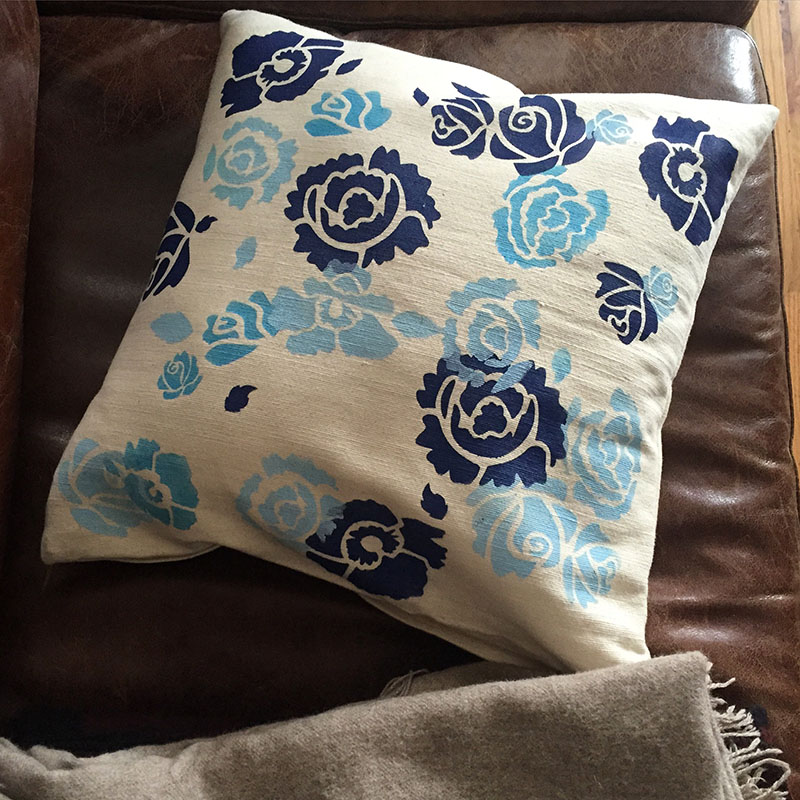
Step 5: Once you are done stenciling, allow all of the paint to dry for about 15 – 20 minutes. Heat-seal the paint by ironing the pillowcase. You can use a piece of cloth between the stenciled pillowcase and the iron. Put a pillow inside the case and snap of picture of it to share with us!
With all the snow we’ve had in New York it is hard to believe that spring is right around the corner! Shop all of our spring stencils and make your home feel refreshed and ready for more sun and less snow!