Στο νέο online παιχνίδι καζίνο του Nine Casino, εμπνευσμένο από τον κόσμο της κατασκευής στένσιλ, οι παίκτες μπορούν να δημιουργήσουν τα δικά τους μοναδικά μοτίβα για να ξεκλειδώσουν ειδικά επίπεδα παιχνιδιού. Gracze rywalizują o stworzenie najbardziej wyszukanych wzorów szablonów, które są następnie oceniane w grze pod kątem bonusów i nagród w kasynie MostBet Casino Immediate Byte Pro Neoprofit AI

Last year, Sonja Rasula, founder of Unique LA, asked me to lead a workshop at the Unique Camp, and I was thrilled to return again this year to do it again! Sonja is a giving person, empowering attendees to Dream Big (that was this year’s theme). I got chills when I read that saying as it brought me back to when I took my first Photoshop class in a community college in Miami. My amazing teacher, Pat Johnson, used this saying. I told her how I wanted to learn to print images onto tiles and she replied “Imagine printing on the tiles and creating a large image in the NY subway walls. Dream Big!” WOW, total a-ha moment. I have said this saying since.

Camp reminds you to believe in your dream. Not to get all Oprah on your ass but if you don’t believe in your dream, how’s it going to ever become real?! Creative visualization people. All about it.

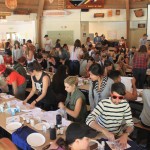
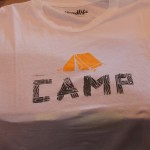
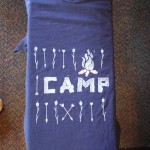
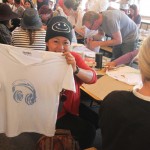
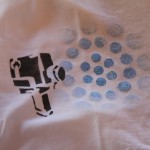
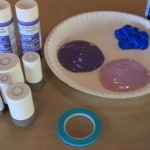
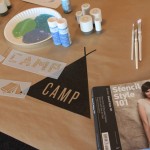
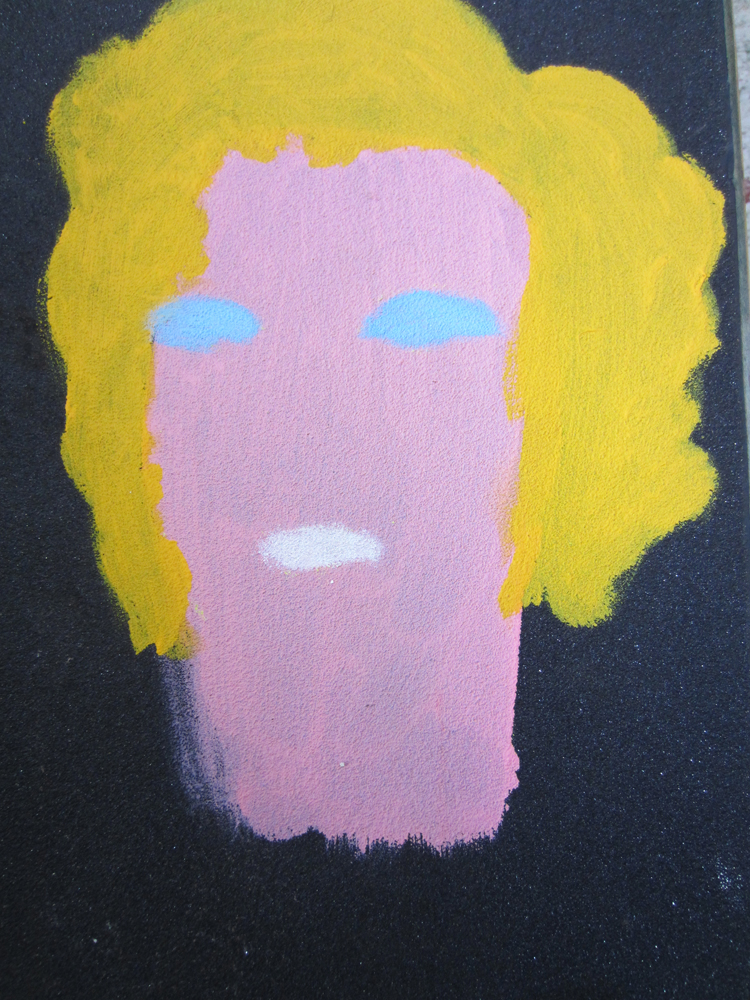
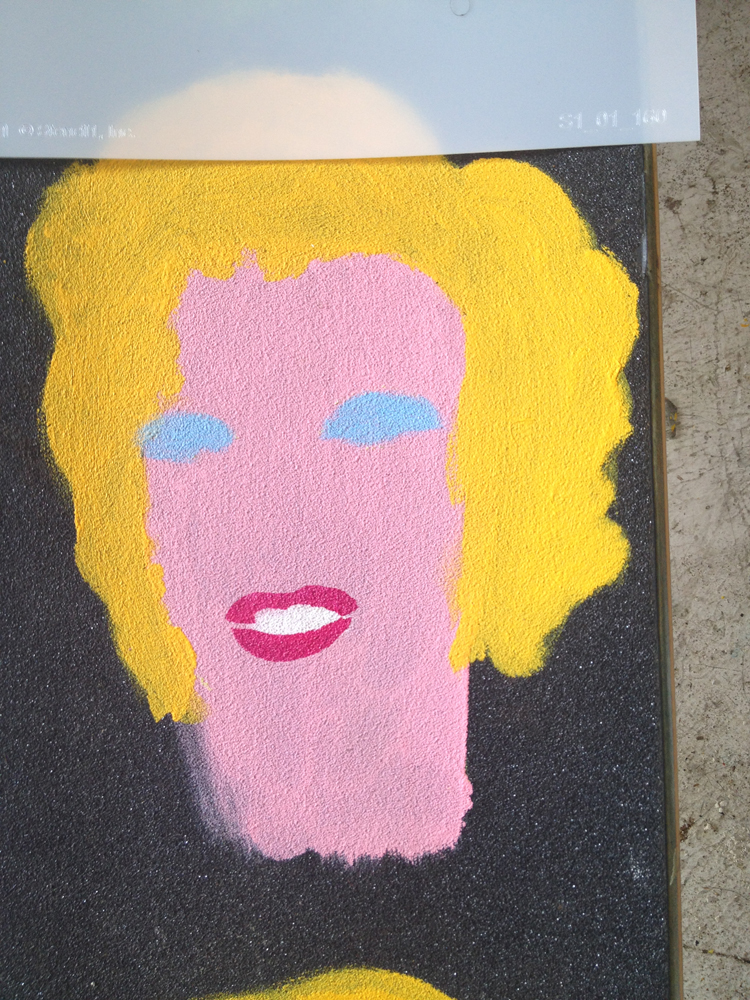
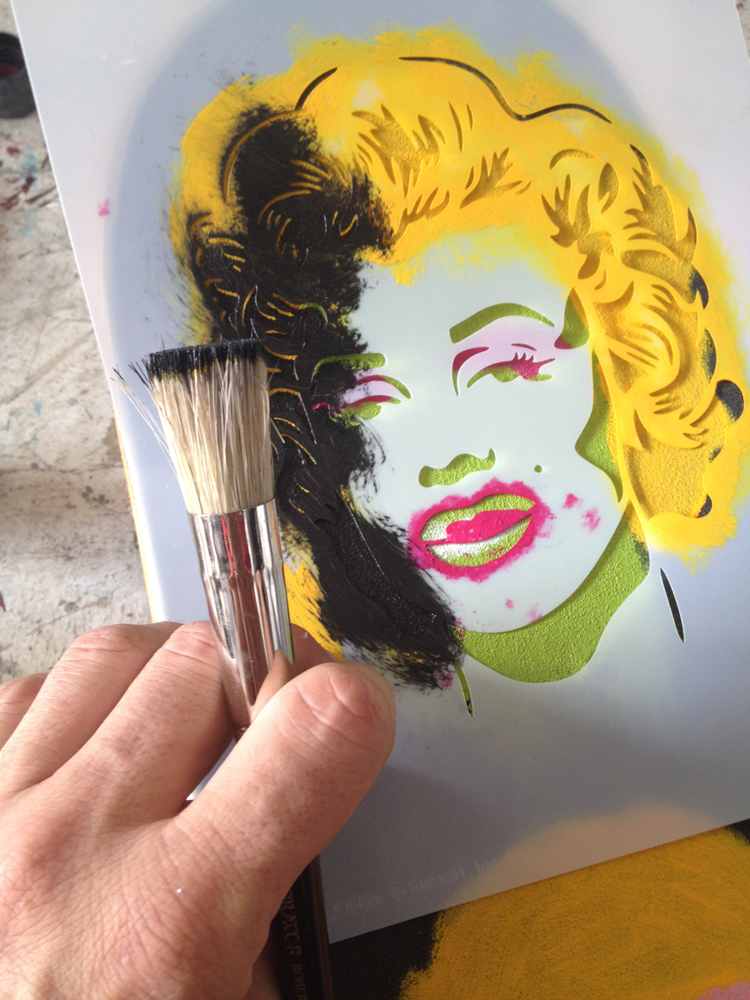
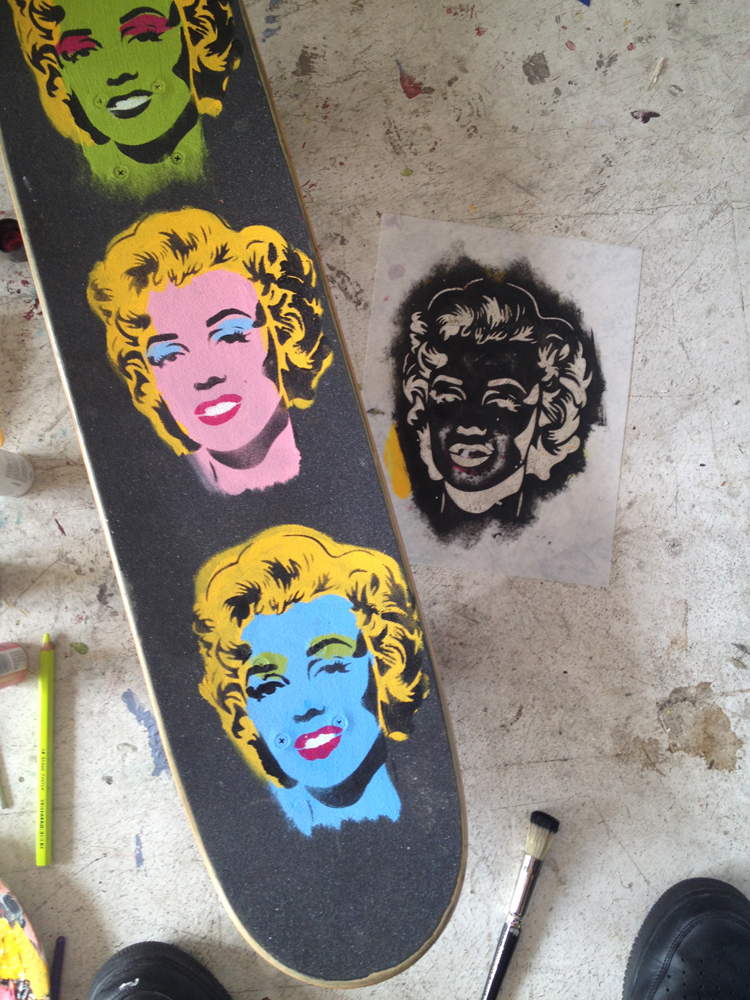
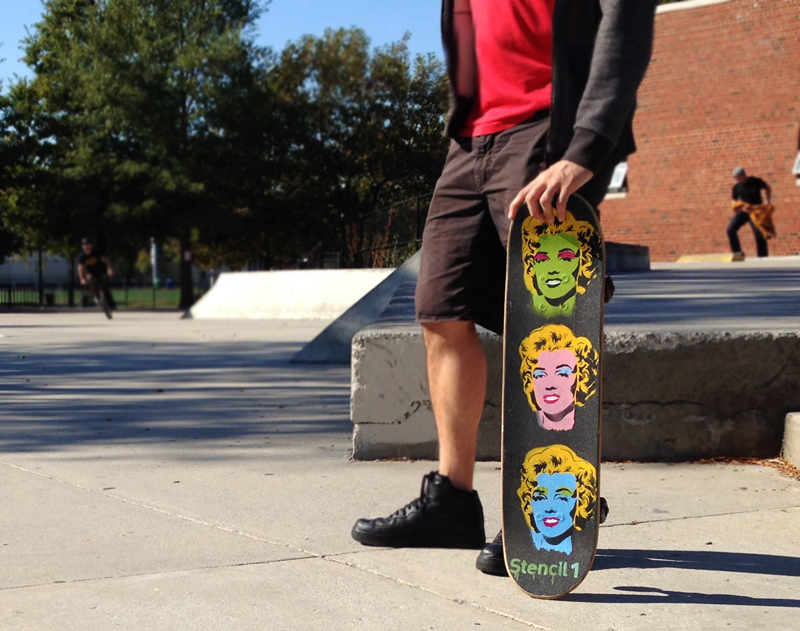
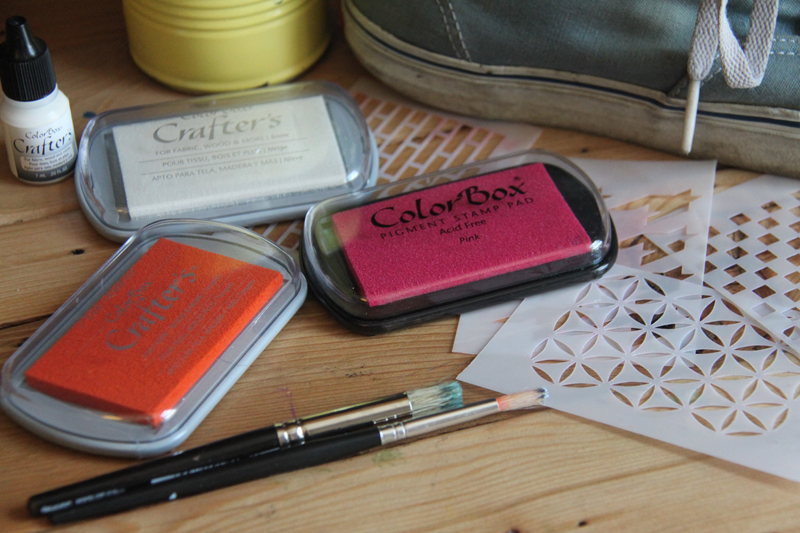
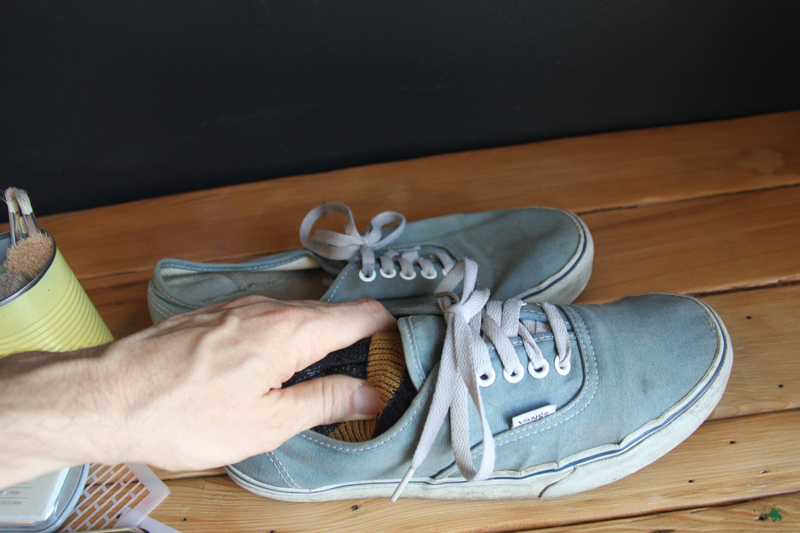
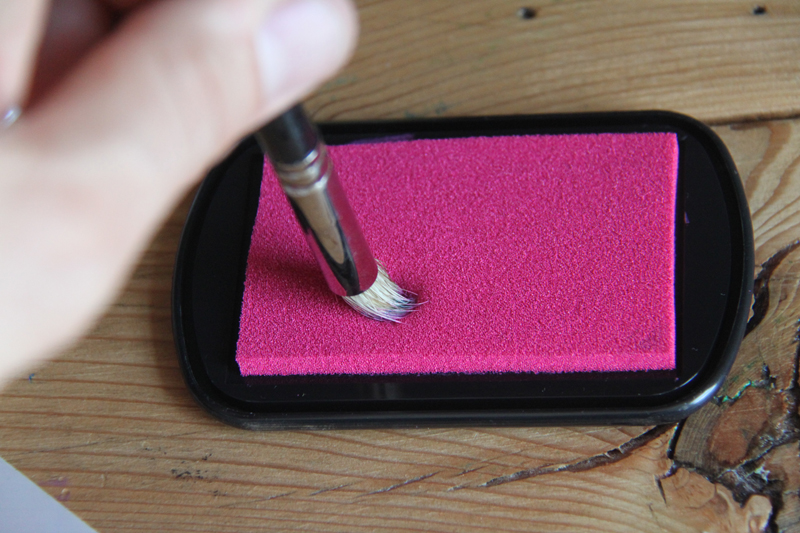
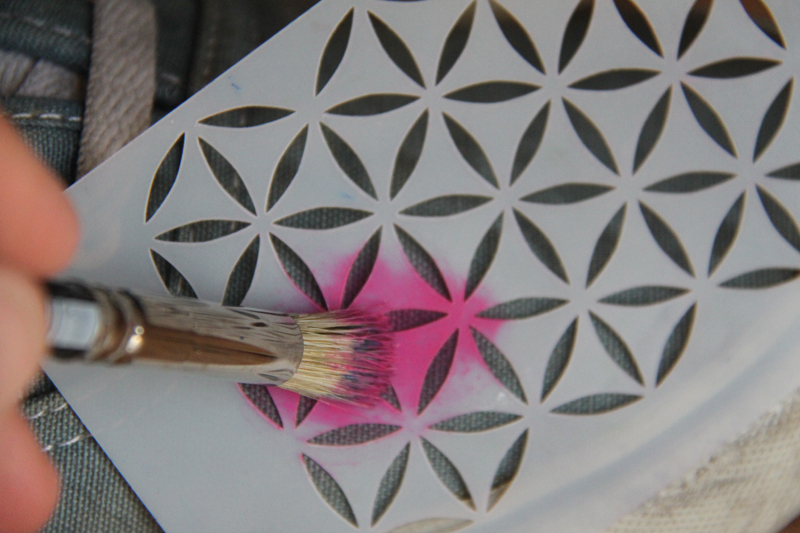
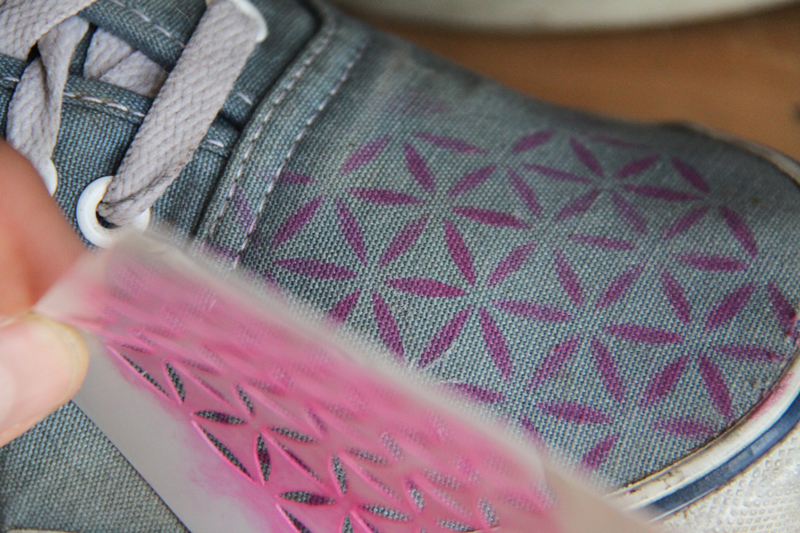
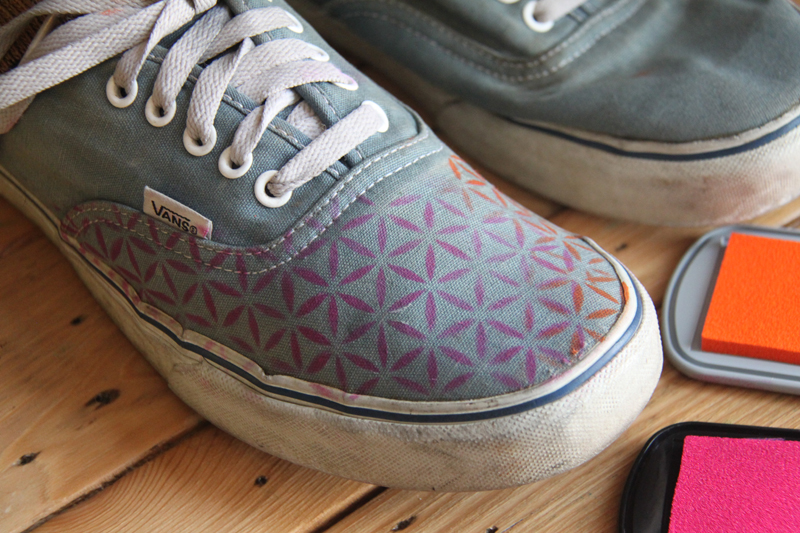
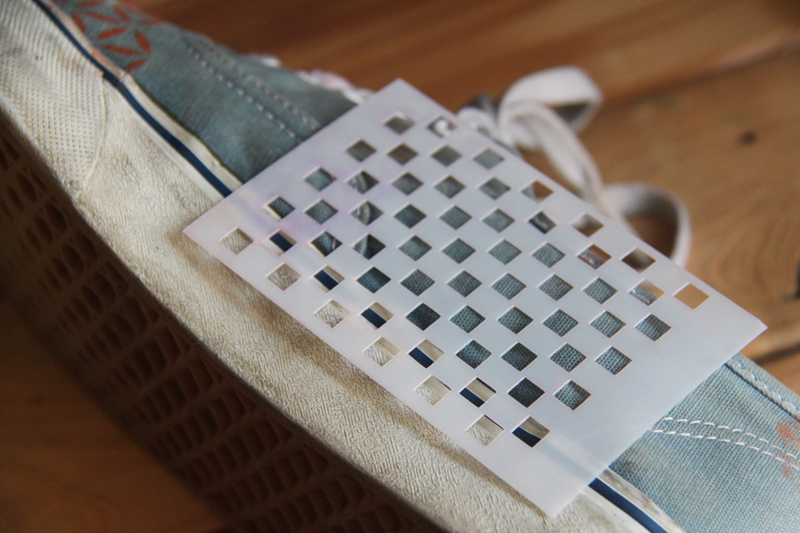
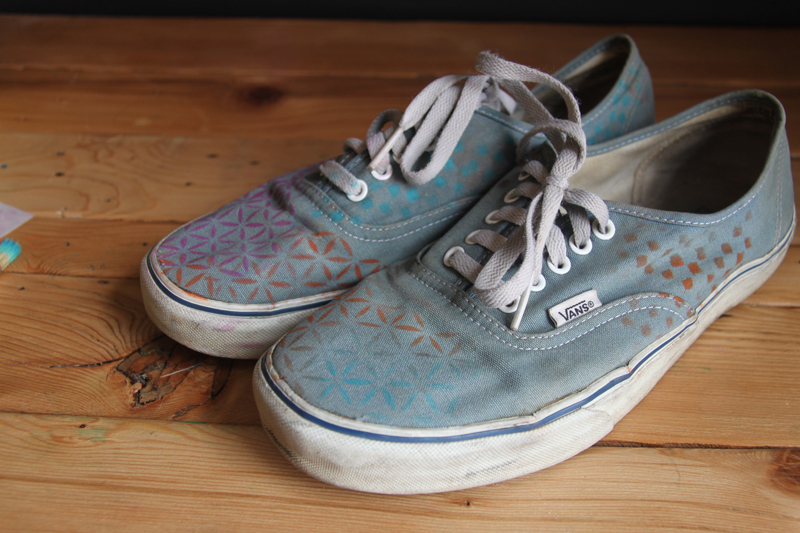
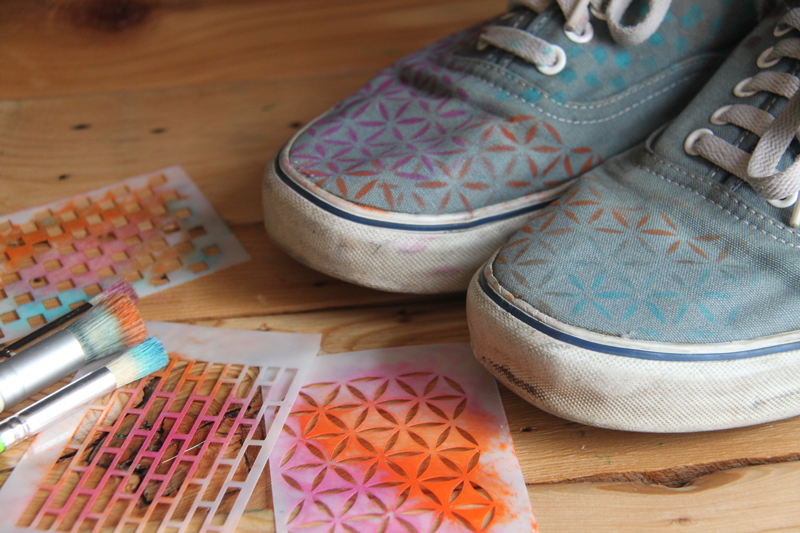
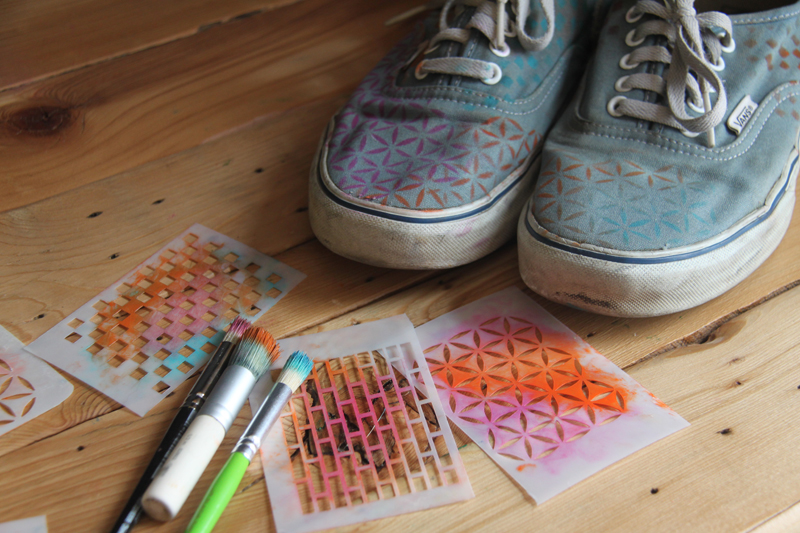
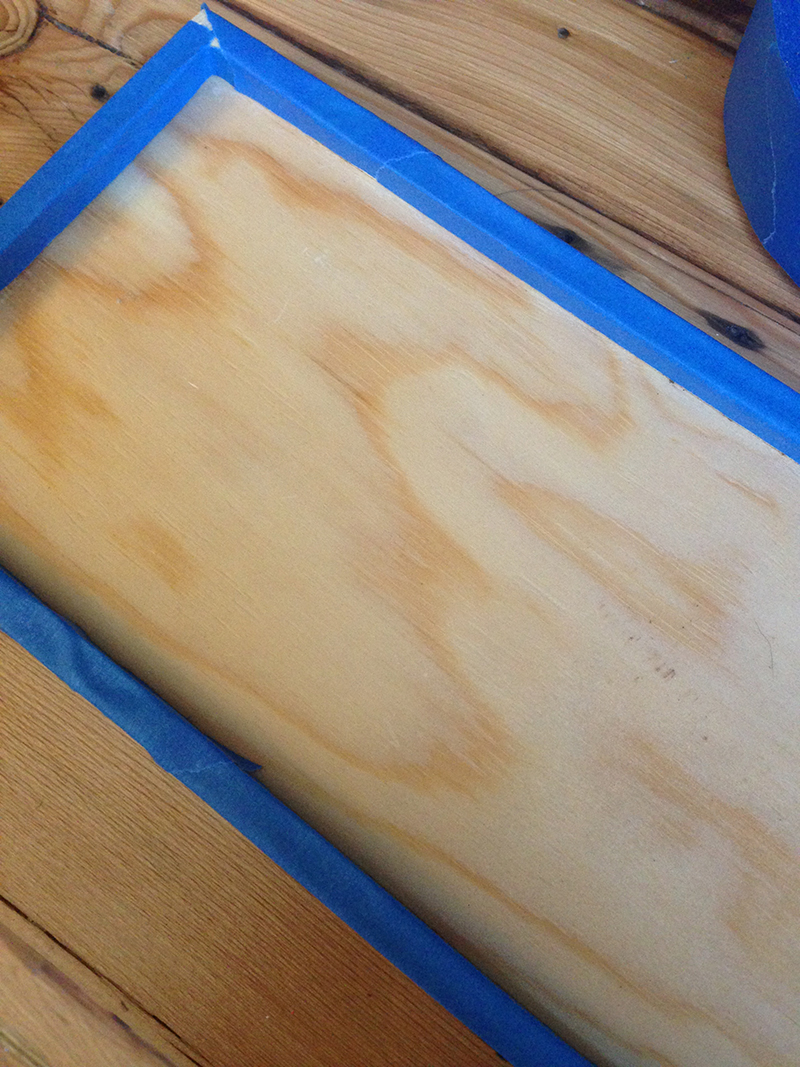
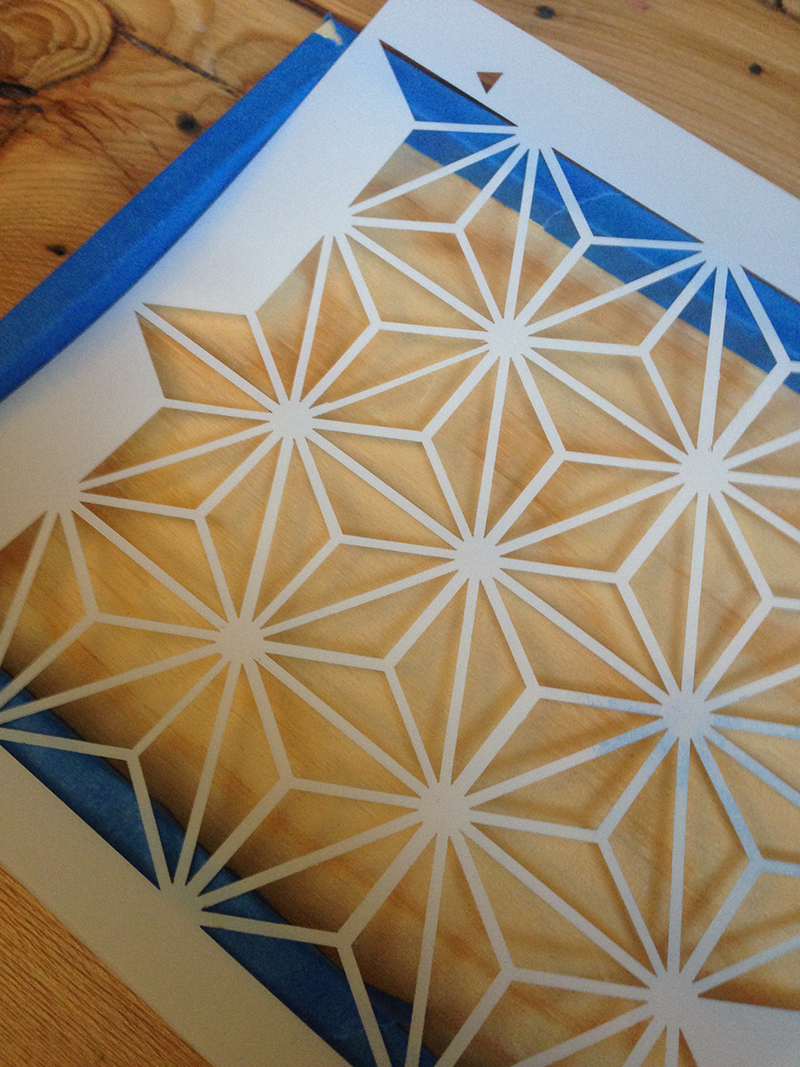
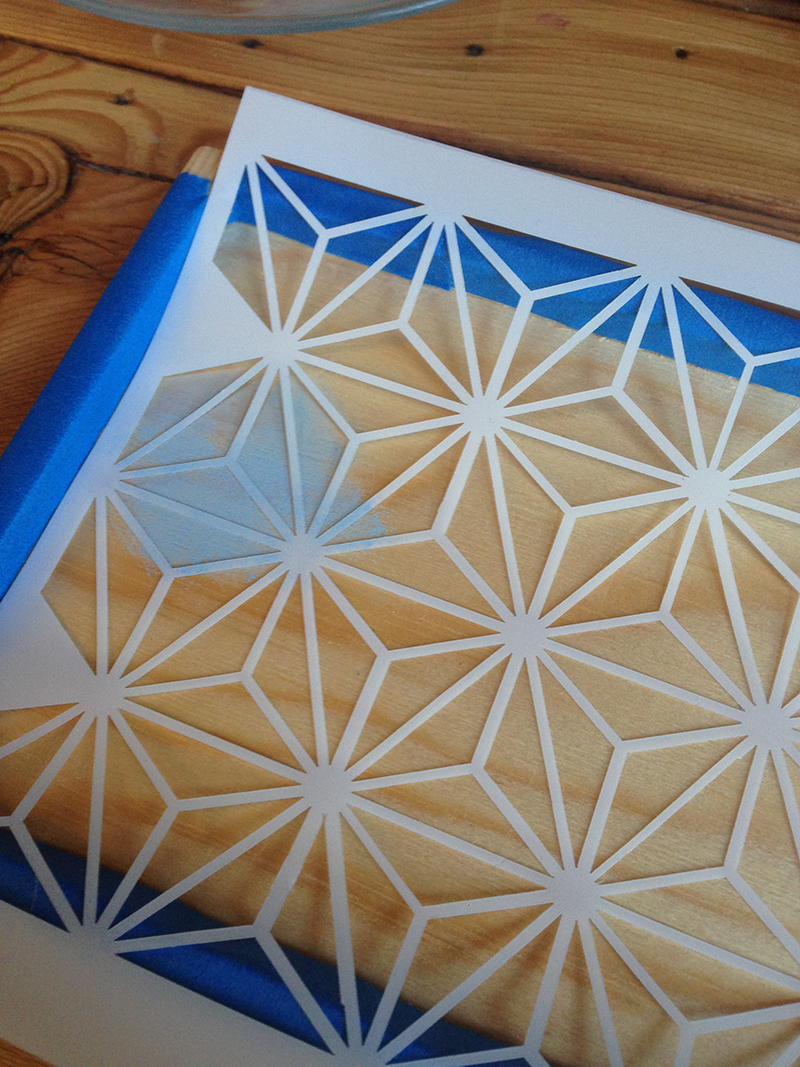
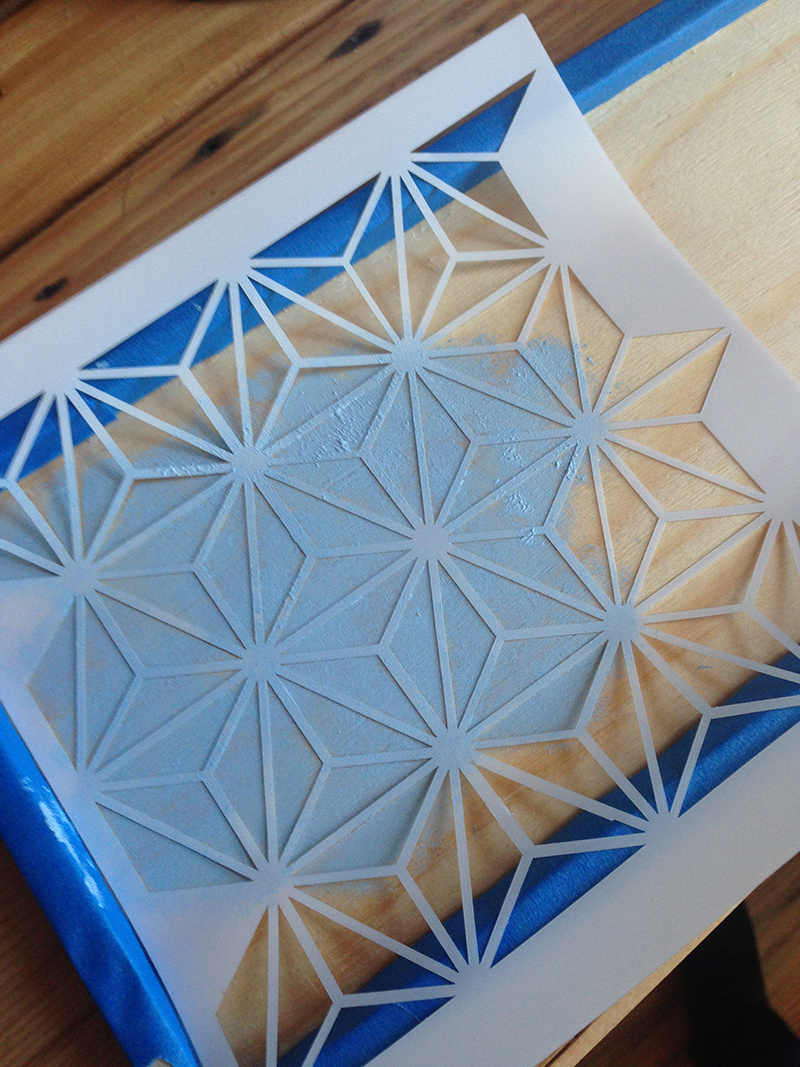
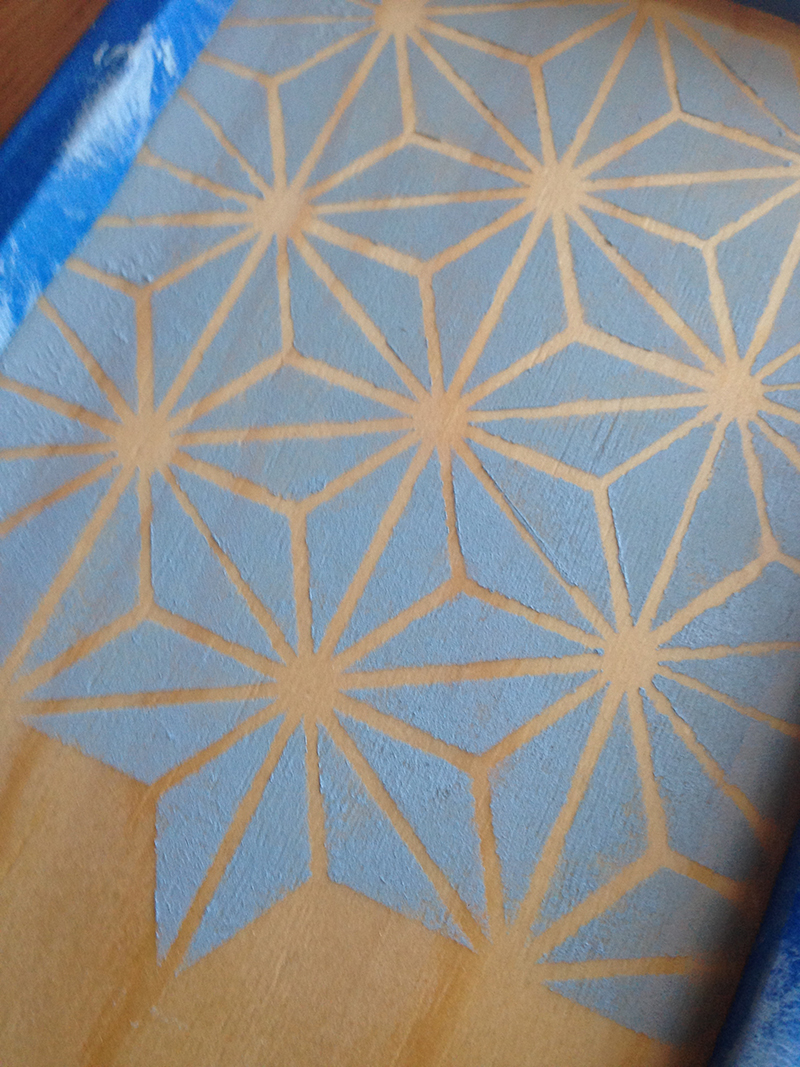
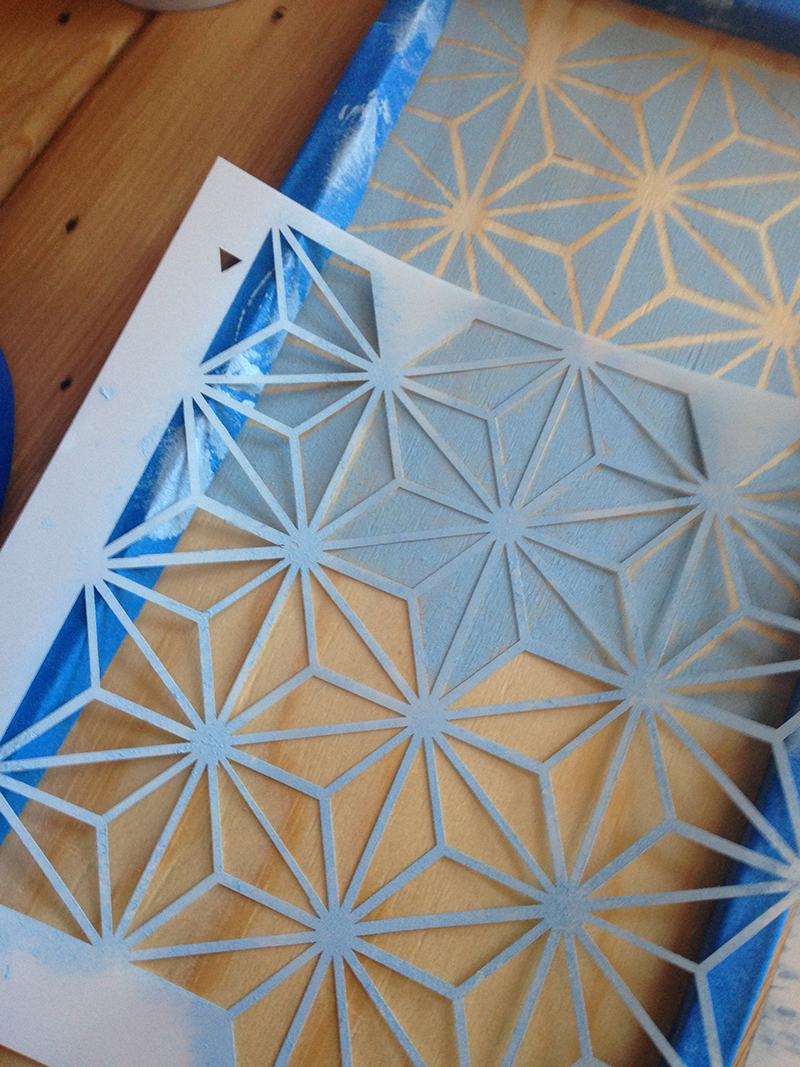
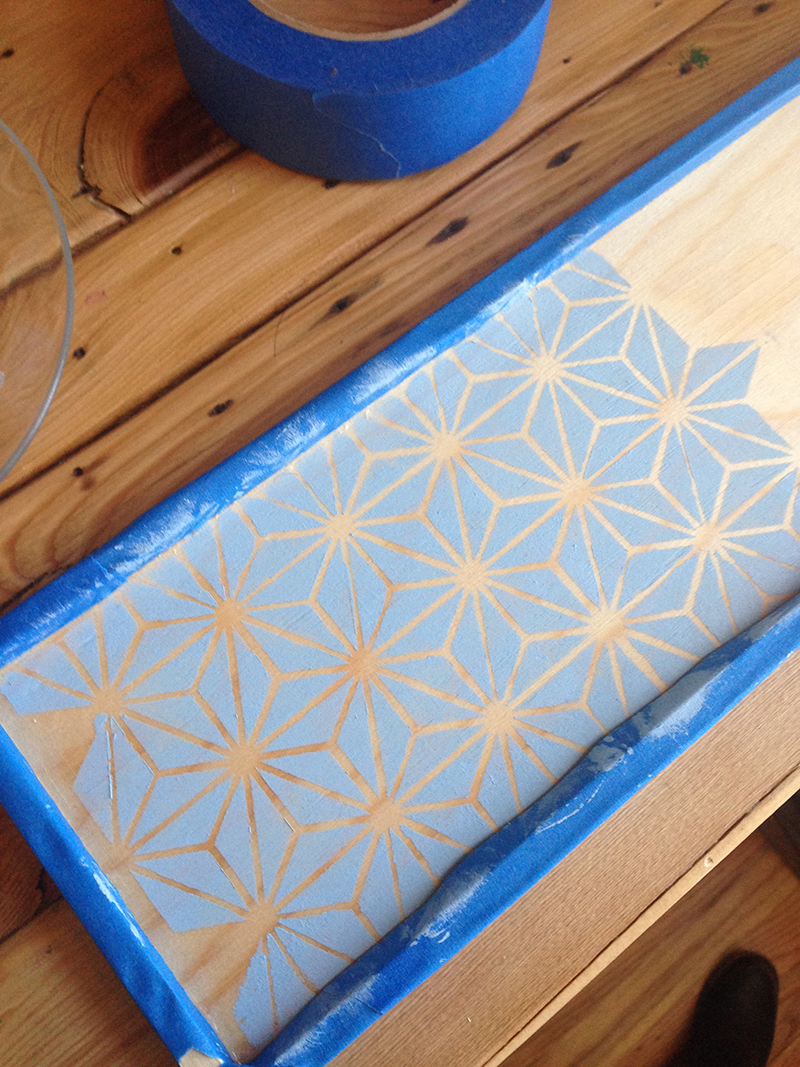
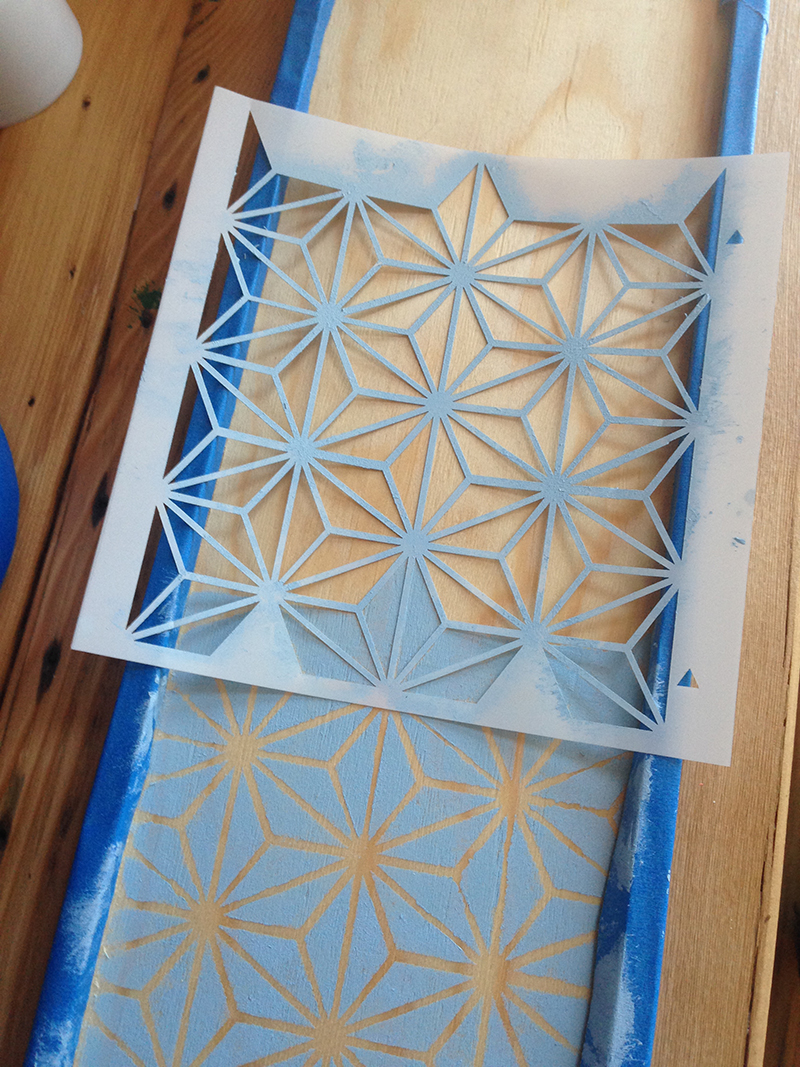
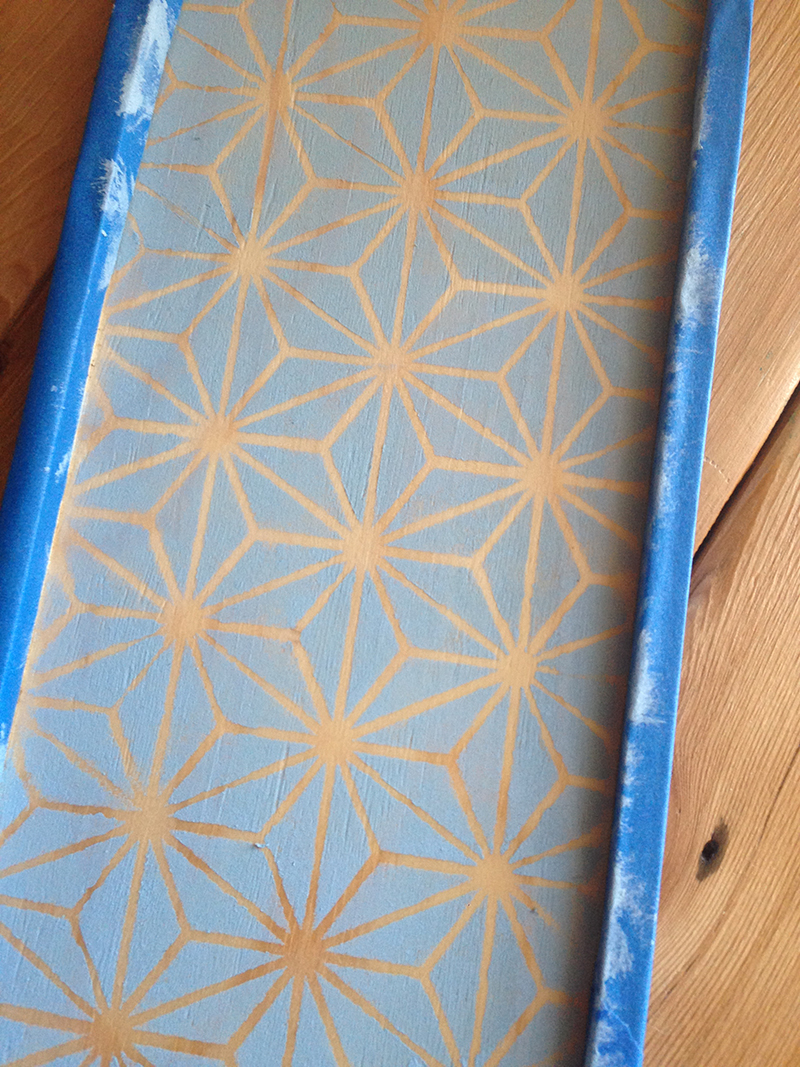
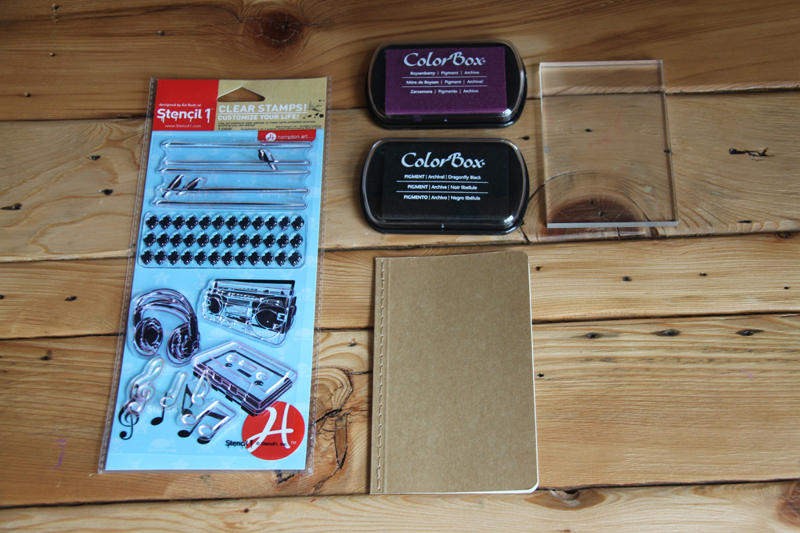
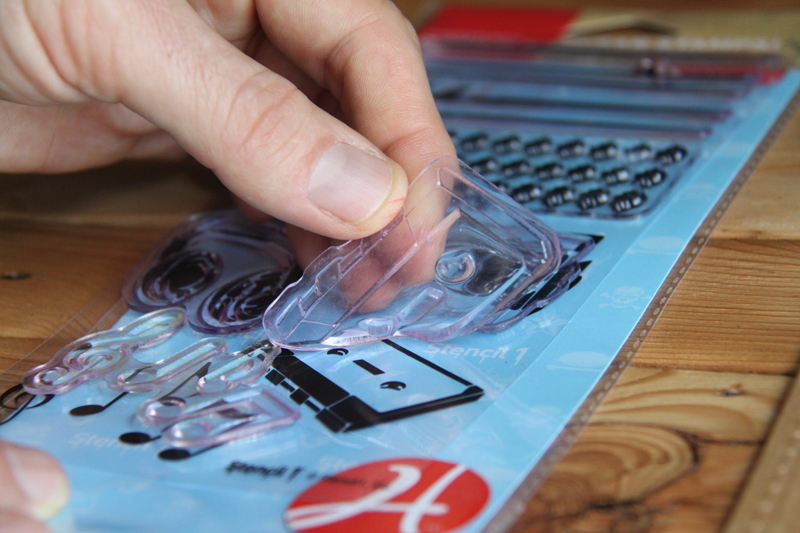
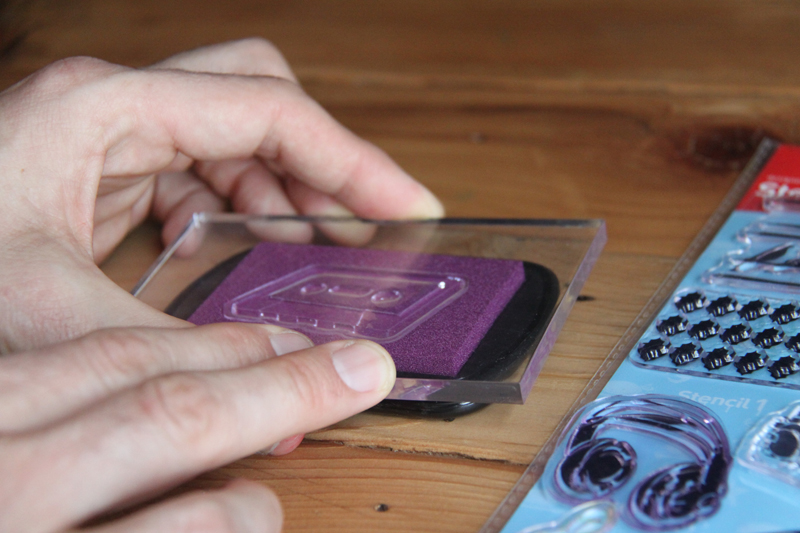
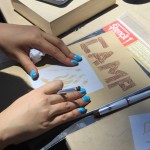
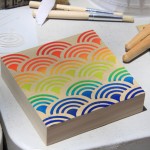
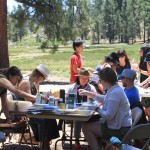
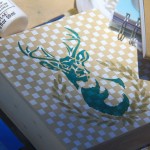
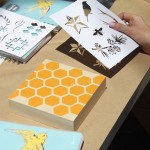
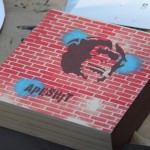
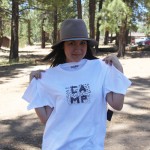
I structured my workshop like so – chatted 15 minutes about how I got started, the stages of growth for Stencil1, my experience with publishing books and licensing; then a stenciling demo so everyone could get creative! We stenciled wood blocks from Art Alternatives as well as watercolor paper and t-shirts. People also stenciled items they found in nature. We used ColorBox ink pads by Clearsnap which are fool-proof and so colorful. We also used FolkArt multi-surface paints, great for the t-shirts.

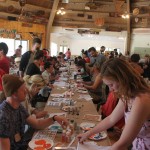
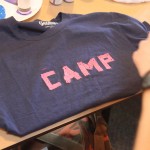
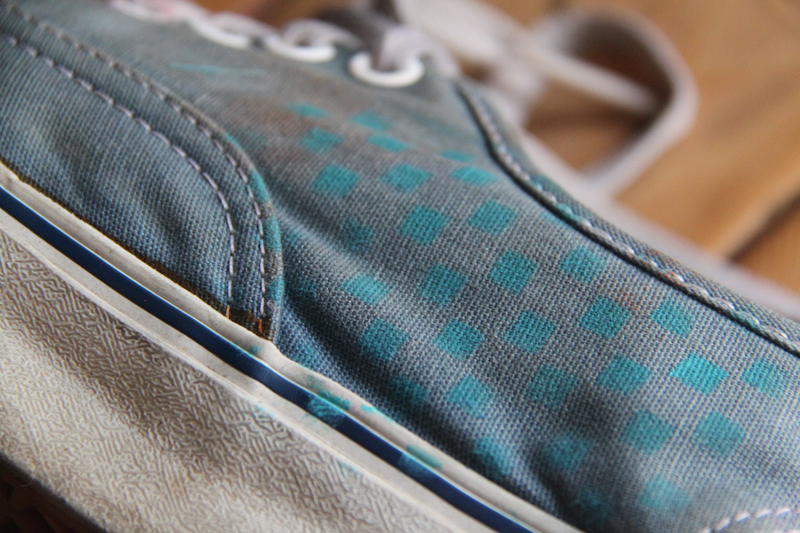
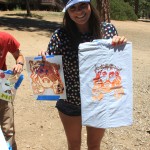
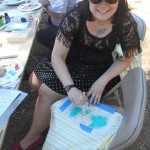
The next night, the people at Martha Stewart were leading a DIY where people dyed wooden beads and also customized t-shirts. They asked me to add my stencils to the mix and it was a perfect pairing. Martha has great multi-surface paints that Plaid makes and they even have glitter paints. I have a new line of stencils with Plaid so Martha and I continue to have more in common. Both from New Jersey, both creative, I love me some Martha. I digressed. I made fast friends with Hahhah Milman from Martha, we are both from NY yet CAMP in LA brought us together!

The other classes at CAMP that blew me away were Freya Estreller from Coolhaus and her generous sharing of information on numbers, spreadsheets, and the trials and tribulations of growth. She fuckin winged it and grew an incredibly successful brand. Also Mike Del Ponte  from SOMA, who created a water filter that is something you are proud to have on the table, he shared his approach to raising VC money for your business. I got to meet Andrew Gibbs who started the DIELINE 9 years ago out of his love of packaging design and made it a business, now with awards and conference shows, the next being in Paris. OUI!

The best part of the CAMP experience is meeting people. Listening to their goals, offering advice when I can, and learning from others’ journeys.

I am proud to be a CAMP Alumni now.  Camp nourishes the mind and soul, allowing you to grow both professionally and personally. Don’t miss it next year!

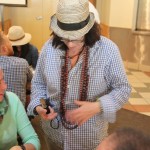
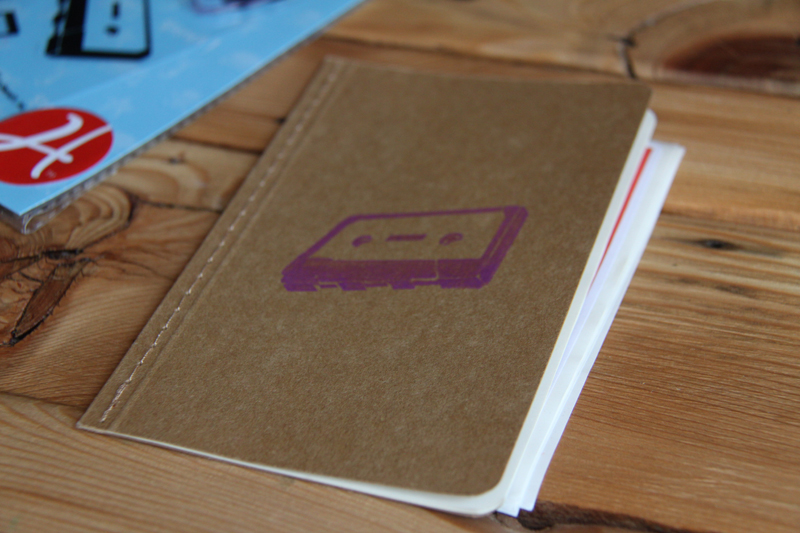
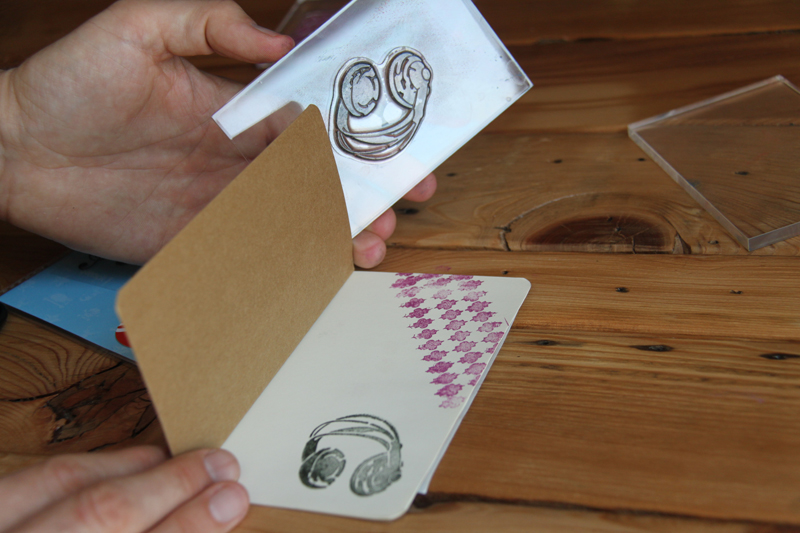
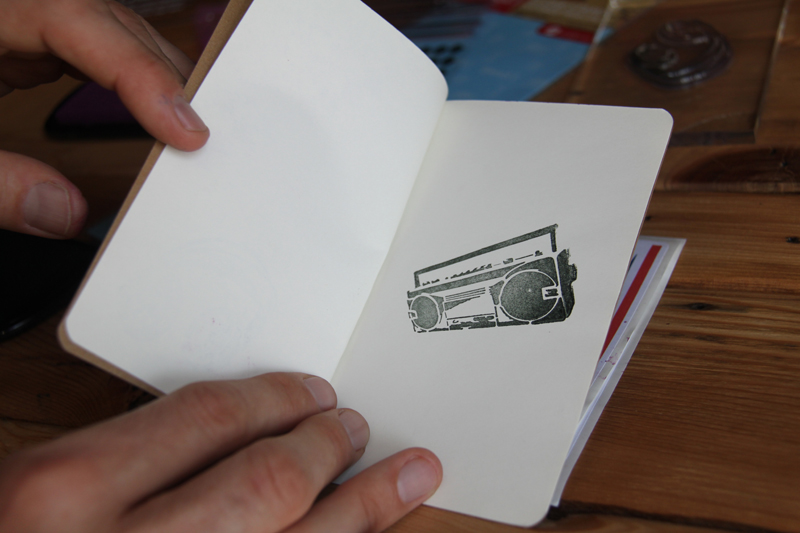
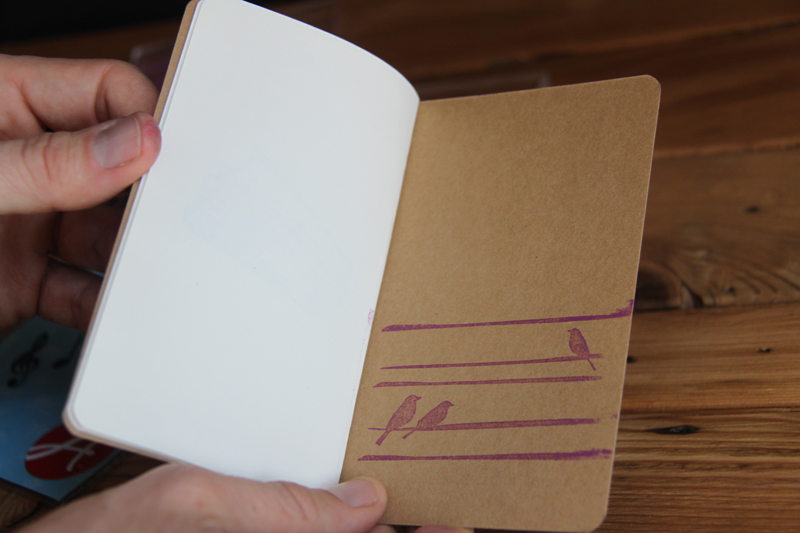
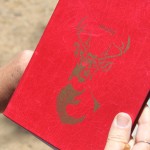
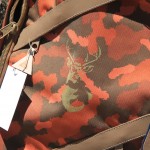
Here are some images to give you a feel of my workshops. Creativity under the trees, ahhhh.

And another bunch of images of the event with Martha Stewart


Our new Marilyn Monroe stencil looks awesome anywhere and on anything! Customize your favorite item with this Andy Warhol inspired look—we stenciled a skateboard but this would look great on a notebook, t-shirt or canvas. Although this stencil is not available for sale on our site yet, it will be part of our Stencil1 Street Art Kit which will be released soon!

To make this skateboard we used, paint, brushes, a skateboard and Stencil1 Marilyn Monroe stencil.

Step 1: We started by putting down a base color where the stencil would go. Approximate where the face will be stenciled by holding the stencil over the skateboard.

faces_marilyn_stencil1IMG_3516

Step 2: Using different colors, repeat step one but for the hair, mouth and eyes. Don’t worry about making it perfect!

face_initial_detail_IMG_3523

Step 3: Use red to stencil in the lips and black for the details.

mouth_Stencil1IMG_9959
addbalck_stencil1IMG_9961
skateboard_marilyn_stencil1IMG_9965

Step 4: Share what you made with us! Take a shot of your final product and send it to us@Stencil1

skatepark_final_skateboard_Stencil1IMG_3975


I love Vans shoes because they’re a classic, cool brand that I grew up with. Their shoes are so comfortable and perfect for stenciling. I took one of my old favorite pairs and brought it back to life with a few of our pattern stencils.

Stencil1_Vans_01

Here’s what you’ll need for this how to: Colorbox Ink Pads for fabric , Stencil1 8 pack Pattern Stencil set, a pair of Vans shoes and low-tack spray adhesive.

Stencil1_Vans_02

Step 1: Put something inside your shoes to create a sturdy surface to stencil on. This makes it a lot easier to stencil. We used a bulky pair of socks.

Stencil1_Vans_03

Step 2: Spray the back of the stencil with a low-tack spray adhesive and attach it to the sneaker. This step is optional, but will keep the stencil secure making it easier to paint in the stencil. Dab a brush in the ink pad and push down in a circular motion to grab enough ink. These ink pads are a little softer than you might be used to, which makes it easier to pick up ink.

Stencil1_Vans_04

Step 3: Use a circular motion to stencil the shoe. Have fun using different color combinations. We used pink and orange for the top of our shoe. When you’re done, lift the stencil and allow the ink to dry. The ink dries in about 10-20 mins.

Stencil1_Vans_05

Stencil1_Vans_06

Stencil1_Vans_07

Step 4: Start stenciling the side of the stencil. We wanted to go for a playful look so we used different patterns each time we stenciled.

Stencil1_Vans_08

Stencil1_Vans_09

Step 5: Continue stenciling the rest of your shoe. Play with the layout of your stencils. Ours was not fully stenciled and we loved it!

Stencil1_Vans_10

Stencil1_Vans_11

Stencil1_Vans_12

Step 6: Snap a picture and share your revamped Vans with us @Stencil1


We love the way our Star pattern stencil looks on wood. It makes a great background because it is so textural!

For this how-to you’ll need: A wooden frame, Stencil1 Star pattern stencil (part of Stencil201 book!), painter’s tape, low-tack adhesive, multi-surface paint, and stencil brushes.

Step 1: Cover the edge of your frame with tape, this way you don’t accidently get paint on it.

Photo May 05, 12 10 59 PM

Step 2: Use the low-tack adhesive to make the back of your stencil sticky. This was especially helpful to us when stenciling because the stencil was a little bigger than our frame. Making it sticky made it easier to hold the stencil down.

Photo May 05, 12 12 32 PM

Step 3: Use a stencil brush and multi-surface paint to start stenciling. Use an up-and-down motion and a dry brush technique to stencil. This means using a small amount of paint and applying more layers. We chose a light color because we wanted a subtle design. But a bright color would also look great!

Photo May 05, 12 13 07 PM
Photo May 05, 12 16 30 PM
Photo May 05, 12 20 39 PM

Step 4: Lift the stencil and allow the paint to dry. Once the paint is dry to touch, continue stenciling the rest of the frame. We could not use the registration marks because they didn’t fit within our frame so we used the painted pattern as guidelines.

Photo May 05, 12 21 36 PM

Step 5: Repeat steps 3 and 4 until the frame is completely stenciled.

Photo May 05, 12 24 34 PM
Photo May 05, 12 29 49 PM
Photo May 05, 12 31 33 PM
Photo May 05, 12 56 13 PM
Photo May 05, 12 56 17 PM

Step 6: Remove the masking tape. We used our wooden frame as a tray, how will you use yours? Take a picture and share it with us @Stencil1.

Wooden_Frame

Something we do every morning at the Stencil1 Studio is make a list of the tasks that must get completed by the end of the day. Lists are a great way to keep yourself on track and be as productive as possible. Small Moleskine notebooks are great for making lists. They’re even better, and a lot more fun, if you customize them with your favorite images.

For this project, you’ll need: Quatrefoil Bird and Music Stamp SetClearsnap Pigment Ink PadsHampton Art Clear Blocks and a notebook with a paper-base cover.  The one used here is Moleskine, we love them!

IMG_3789

Step 1: Peel the cassette stamp off its backing and stick it onto the clear block.

IMG_3791

Step 2: Evenly coat the stamp with ink by pressing it face-down against the ink pad. Make sure to use even pressure.

IMG_3792

Step 3: Press the stamp against the cover of the notebook to apply the image. We chose the cassette as our cover but you can use any of the stamps or even combine them for an interesting cover! Repeat these steps with the other stamps to decorate the rest of the notebook.

IMG_3792

IMG_3795

IMG_3803

IMG_3807

IMG_3810

Show us what your notebooks look like @stencil1