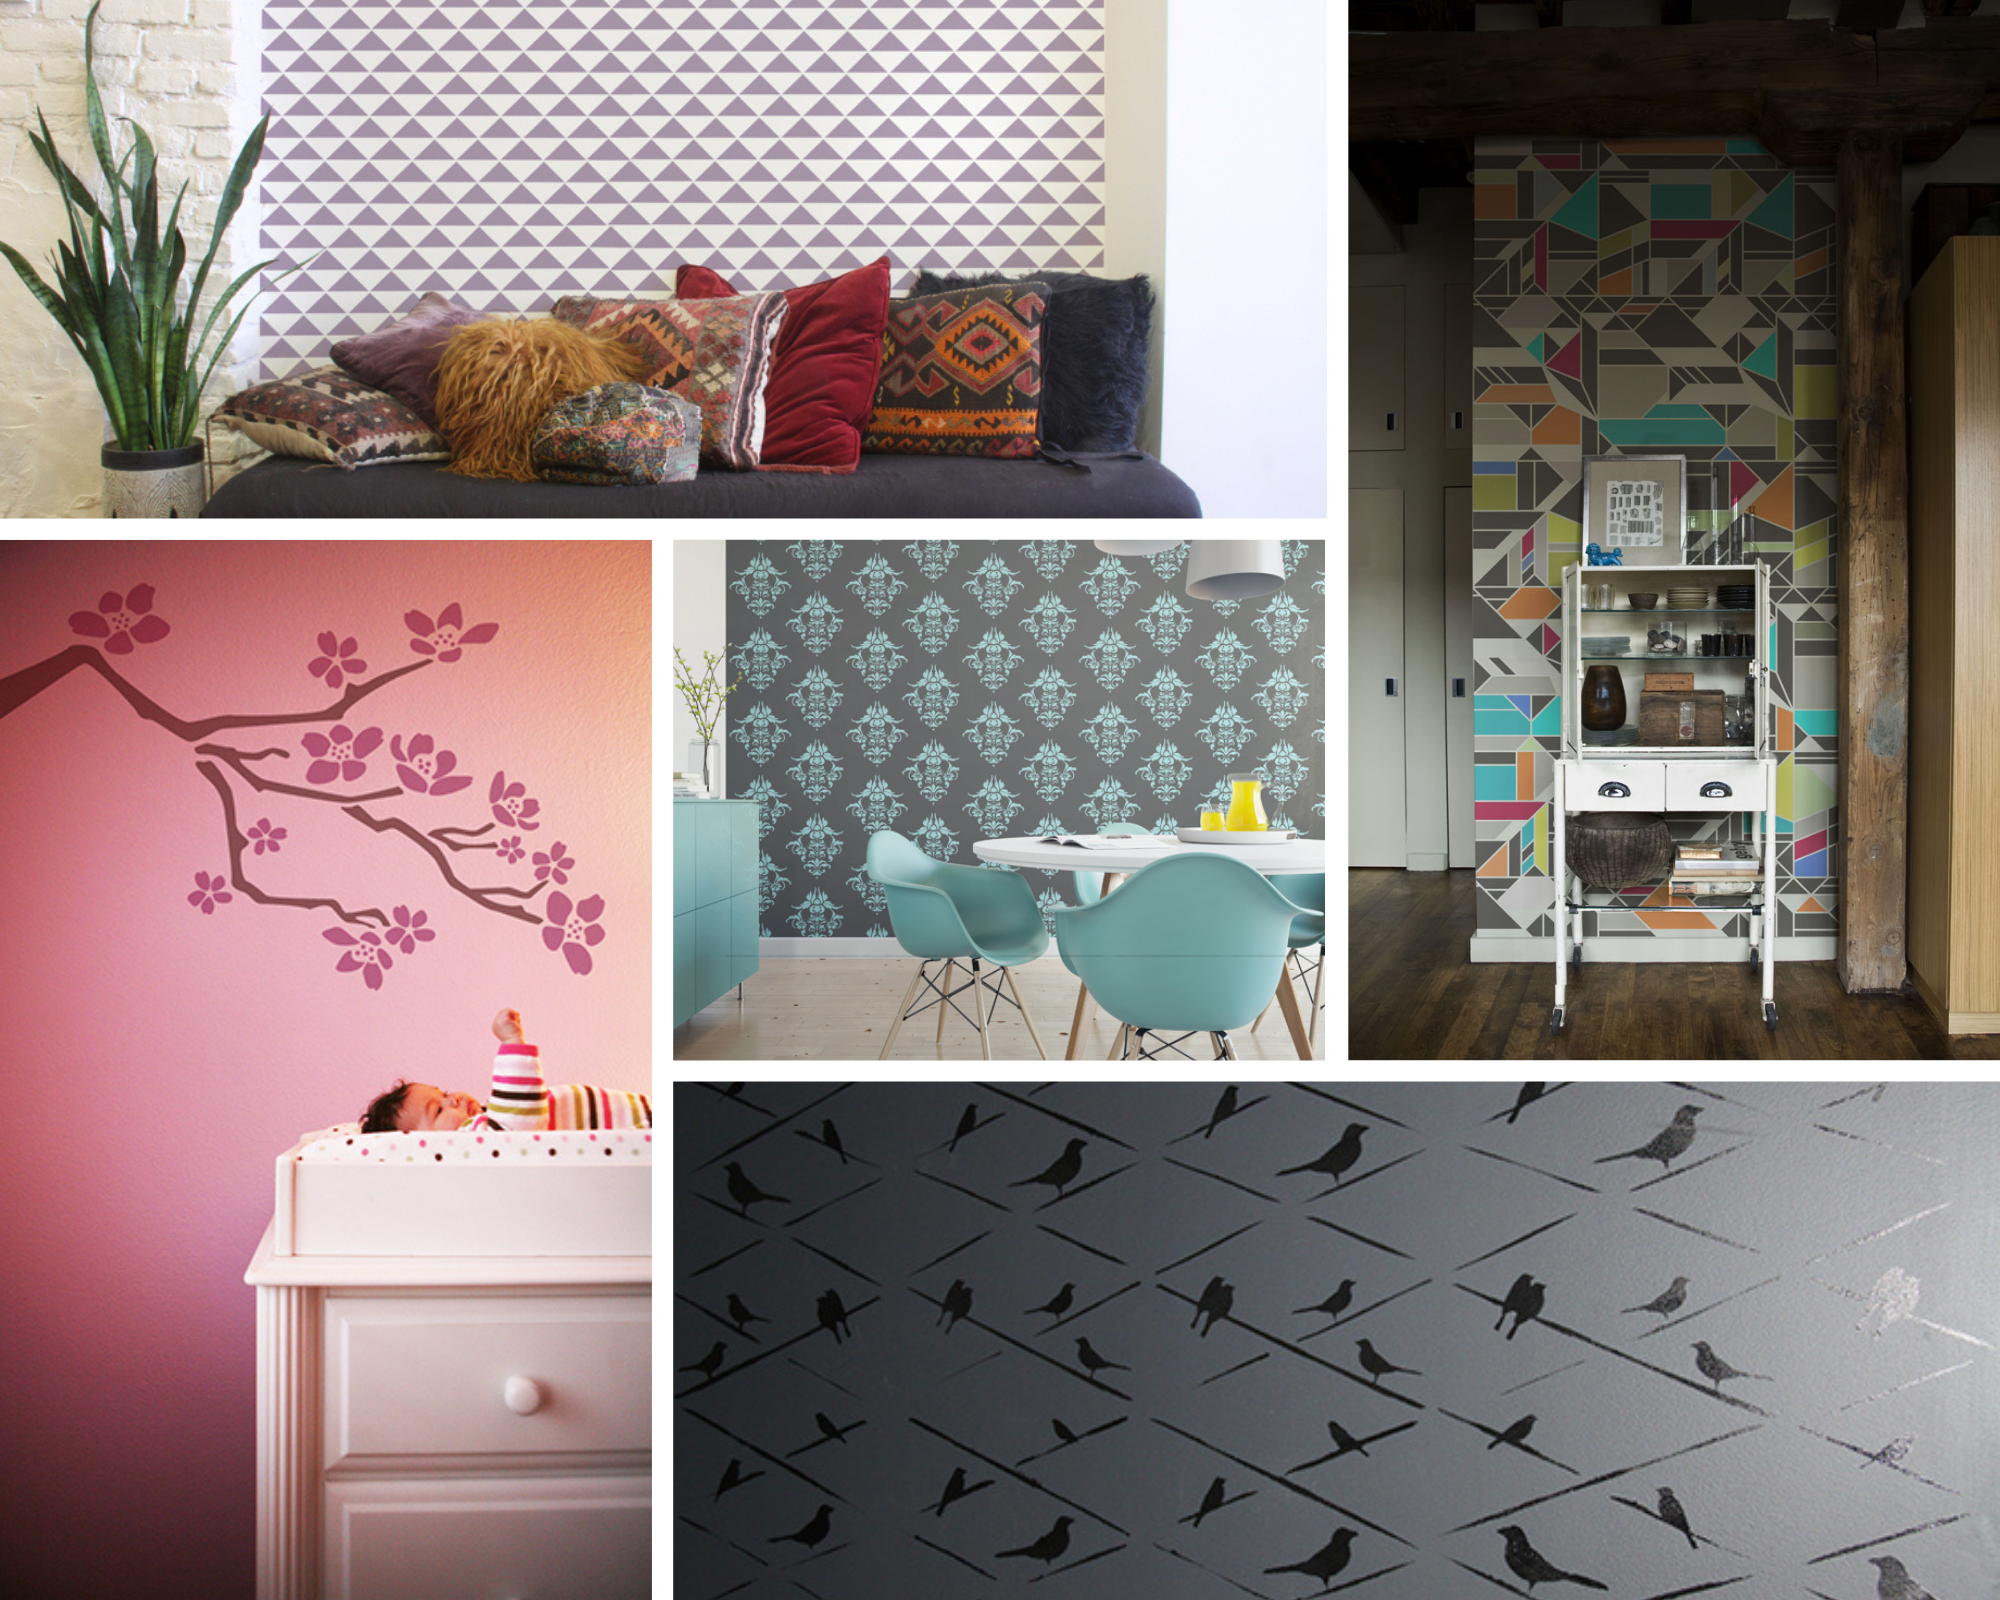
Breathing new life into a room doesn’t always require major renovations. One of the simplest ways to refresh a space is by creating a DIY accent wall using large wall stencils. Stencil1 offers an expansive collection of repeat‑pattern and wall‑sized designs—from damask stencils to contemporary geometric wall stencils—that make it easy to give your home a professional finish. The brand’s catalog includes repeat pattern wall stencils and even oversized motifs like Moroccan or tribal patterns. Stenciling a wall can completely transform a room; the company’s gallery explains that an accent wall is an easy way to update your home and that using large wall stencils can redo a room without the mess of wallpaper.
Choosing the right stencil pattern
Large wall designs from Stencil1 cover a wide range of styles:
- Geometric and chevron patterns – crisp shapes add a modern touch to living rooms or offices.
- Moroccan, tribal and damask stencils – perfect for bohemian or eclectic interiors.
- Floral and leaves – soft, nature‑inspired motifs that brighten bedrooms or nurseries.
- Animal print and chains – bold statements that pair well with industrial or urban décor.
When selecting a stencil, think about the mood you want to create. A geometric wall stencil gives a clean, contemporary vibe, while a damask or Moroccan pattern conveys elegance. Because Stencil1’s stencils are made from durable, reusable Mylar—the same material used in their smaller designs—you can tackle large surfaces without worrying about tearing or stretching.
Step‑by‑step wall stenciling
- Prep the surface – Clean and lightly sand the wall so paint adheres evenly. For dark walls, apply a coat of primer in a neutral tone.
- Position and secure the stencil – Use low‑tack stencil adhesive or painter’s tape to hold the stencil in place. Mark registration points if your pattern repeats.
- Apply paint – Load a roller with minimal paint to prevent bleeding. Slowly roll or dab over the stencil, keeping pressure even. Remove the stencil carefully and reposition using the registration marks.
- Layer and seal – For deeper colour or layered effects, allow the first layer to dry and repeat. Seal the wall with a clear matte sealer to prolong the design.
DIY stenciling offers a budget‑friendly alternative to wallpaper and allows total customization. Keywords such as “large wall stencil,” “damask wall stencil,” “geometric wall stencil” and “DIY accent wall” will help searchers discover this technique. Whether you’re crafting a boho sanctuary or a minimalist office, Stencil1’s designs empower you to turn a blank wall into a statement piece.