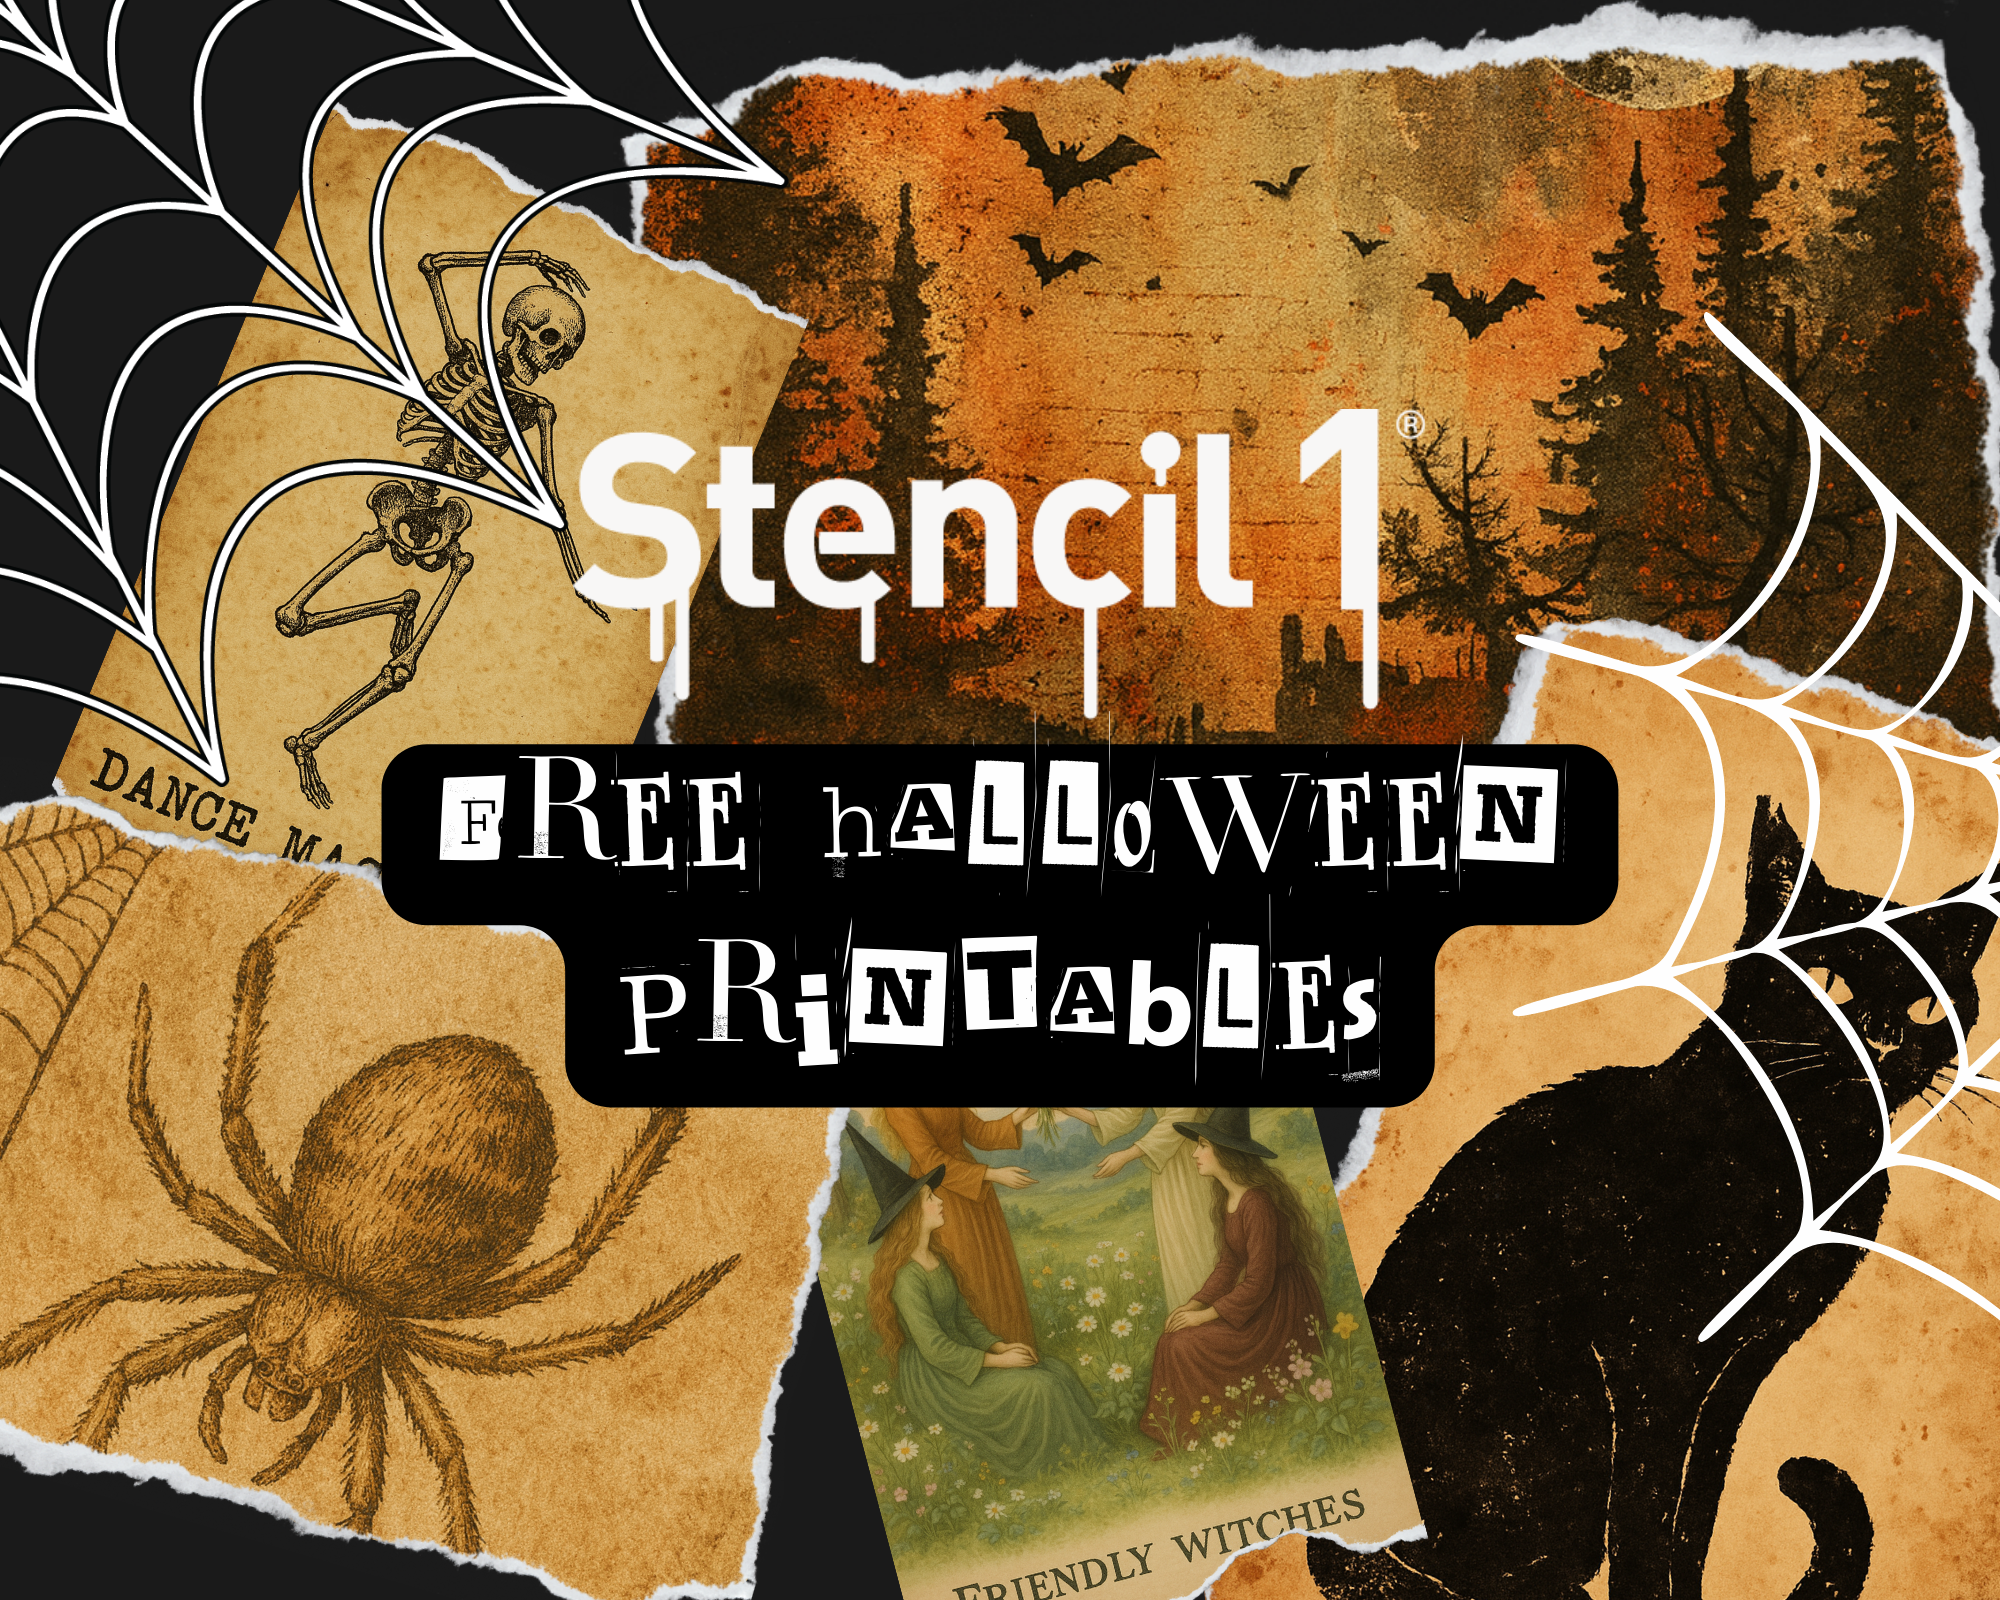
Στο νέο online παιχνίδι καζίνο του Nine Casino, εμπνευσμένο από τον κόσμο της κατασκευής στένσιλ, οι παίκτες μπορούν να δημιουργήσουν τα δικά τους μοναδικά μοτίβα για να ξεκλειδώσουν ειδικά επίπεδα παιχνιδιού. Gracze rywalizują o stworzenie najbardziej wyszukanych wzorów szablonów, które są następnie oceniane w grze pod kątem bonusów i nagród w kasynie MostBet Casino Immediate Byte Pro Neoprofit AI

My love of @fordbronco drove me to make this #Bronco stenciled painting – it’s my form of creative visualization because I will have this new Bronco?

AND I cut 10 of these Bronco stencils and have 10 pieces of wood for a creative outdoor meetup event for those who love this vehicle too! Brooklyn area, info coming soon, comment below if interested. FREE!


Today we’ll be showing you how to look at your stencils differently and use them to create new designs. We will be repurposing our Stencil1 rainbow stencil from the “Rainbow, Unicorn Stencil 4-pack” to create a sleek and modern circles pattern. 

You can create this pattern on whatever you’d like, but we’ve chosen to showcase it on a d.i.y. wood spinner. In order to make one yourself, here’s what you’ll need: Stencil1 “Rainbow, Unicorn Stencil 4-pack”, a craft wood spinner, spray paint (we picked two shades of grey), thin cardboard or cardstock, circle cutter and cutting mat, painters tape and spray stencil adhesive (not shown above).

First you’ll need to remove your wood pieces off of the metal rod and space them out to be painted. We love to recycle and reuse as much as we can in our household so we’ll be painting on top of a shipping box we received in the mail. Paint your base color.

Now turn your wood pieces over and paint the next side. Repeat this for the remaining unpainted sides.

Once you’ve painted your base coat and let it dry, you can now reassemble your wood spinner. Make sure to grab your painters tape and cover your hardware. 

Break off your Stencil1 rainbow stencil and lightly spray the back with your stencil adhesive. Place your stencil on a scrap piece of paper or cardboard to remove any excess adhesive before applying to your wood spinner.

Place stencil centered in position and apply painters tape around the edges to prevent any overspray. Now you can spray paint your first set of circles.

At this point, you’ll need to get your thin cardboard or cardstock and cut out a couple of circles the size of your stencil with your circle cutter. 

Lightly spray the back of your circles with stencil adhesive.

Place a circle over the previous circles you painted and offset the stencil and paint. Repeat this method for the remainder of this side. Remember to let dry in between repositioning and spraying.  

Now that you’re done with your first side, you can flip over your wood spinner and work on your other side.

We’ve chosen to invert the colors on the backside. So paint this side with your dark color first and then use the same method as the first side now with your light color to complete your pattern.

You’ve now created and used your own pattern like a pro! We recommend spraying your wood spinner with a UV clear coat if it will be hanging outdoors. All that’s left is to remove the tape off your hardware and hang. 

This How-To was brought to you by ART one, a Los Angeles based Street Artist. You can see his art @art_o_n_e

Please share your version with us @Stencil1


Earth Day 2020 was celebrated on Wednesday, April 22! This year, we celebrated the 50th anniversary of this day. More importantly, after April 22, we should not forget the significance of the Earth and continue caring for it. To inspire each of us to look after our planet, we have made a stenciling project dedicated to the Earth! Stay creative and love the Earth!

Earth Stencil – you can purchase our laser cut ready to go stencil OR download a copy and cut it out yourself!

We stenciled a piece of cork board. Cork is a sustainable product and we thought that was a perfect surface for this Earth Day project.

Stenciled Earth Stencil on Corkboard

Please share your Earth stenciled projects with us @stencil1 and #stencil1


Show your love of Mother Earth by using this FREE earth stencil! Download the file, print it, trace it onto a sheet of mylar, plastic, or thicker card stock, cut it out, use it!

If you don’t want to cut it out, we now sell the earth stencil laser cut on a mylar sheet HERE


witches_brew_Stencil1

For our Make IT Mondays video #2, we are creating all paper projects with a Halloween theme – card-making, gifts bags, tags, pennants, and a wine gift bag and custom wine label WITCHES’ BREW to re-label a bottle of wine for the perfect Halloween party gift! We hope you tune in to the video to master these crafts and here we have two free downloads:

The wine label you can print and stick using Avery labels:

witches_brew_stencil1

A stencil you can cut out yourself with an Exacto knife or a home cutting machine:

cheers_witches

WineBottle1

Check out how we did it step-by-step on Stencil1’s Make It Monday!

YouTube Preview Image

Be sure to go to Stencil1 Facebook page every Monday at 2 PM EST for live streams of how-to’s and craft talk!