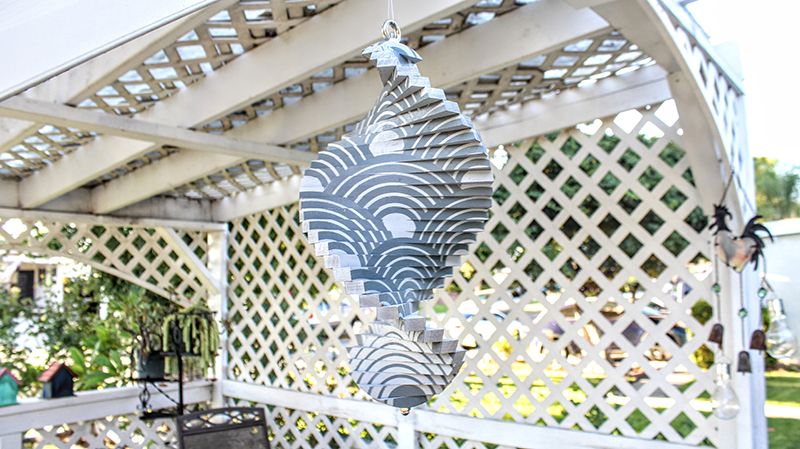
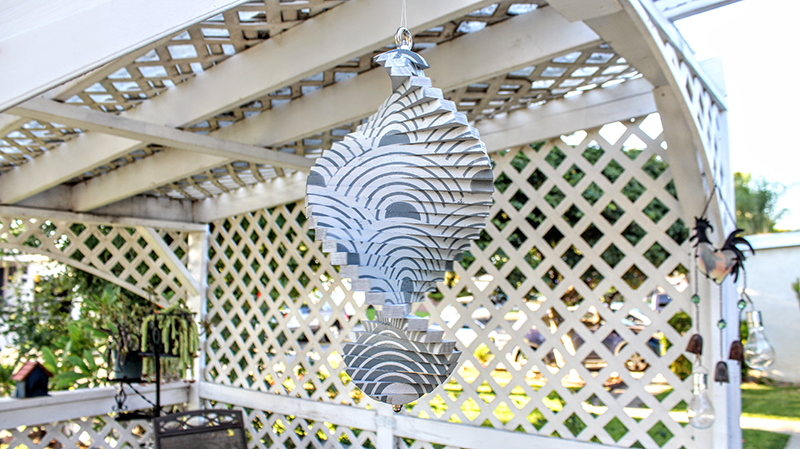
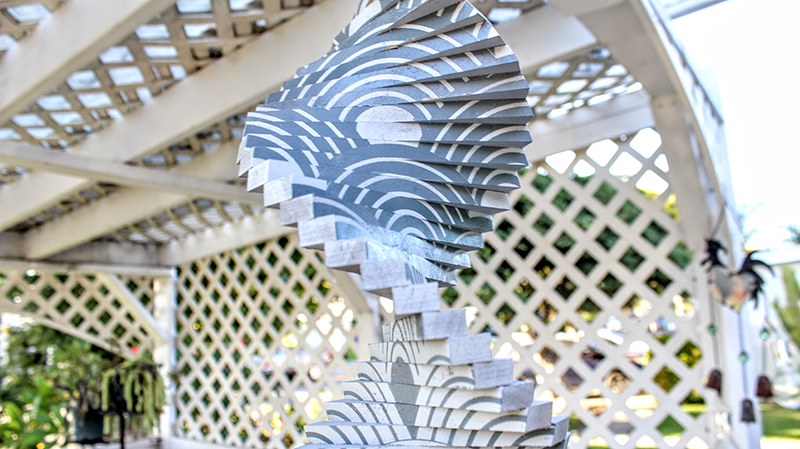
Today we’ll be showing you how to look at your stencils differently and use them to create new designs. We will be repurposing our Stencil1 rainbow stencil from the “Rainbow, Unicorn Stencil 4-pack” to create a sleek and modern circles pattern.
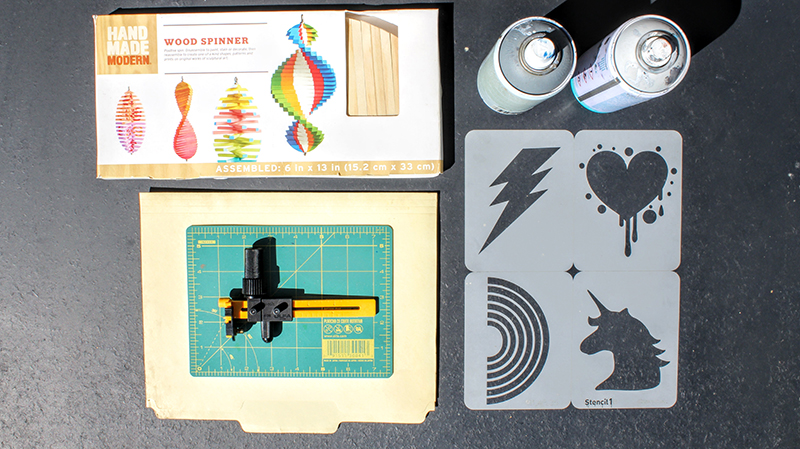
You can create this pattern on whatever you’d like, but we’ve chosen to showcase it on a d.i.y. wood spinner. In order to make one yourself, here’s what you’ll need: Stencil1 “Rainbow, Unicorn Stencil 4-pack”, a craft wood spinner, spray paint (we picked two shades of grey), thin cardboard or cardstock, circle cutter and cutting mat, painters tape and spray stencil adhesive (not shown above).
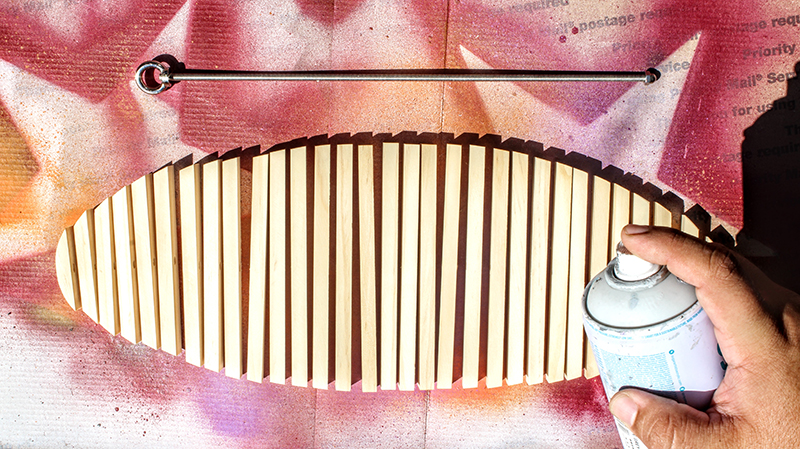
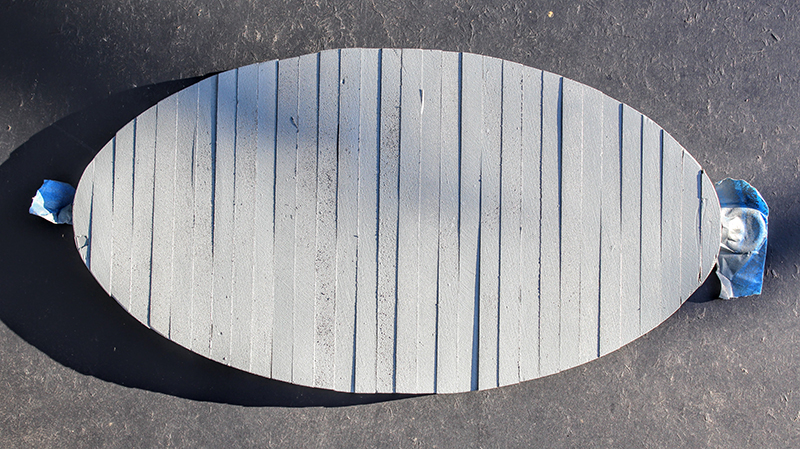
First you’ll need to remove your wood pieces off of the metal rod and space them out to be painted. We love to recycle and reuse as much as we can in our household so we’ll be painting on top of a shipping box we received in the mail. Paint your base color.
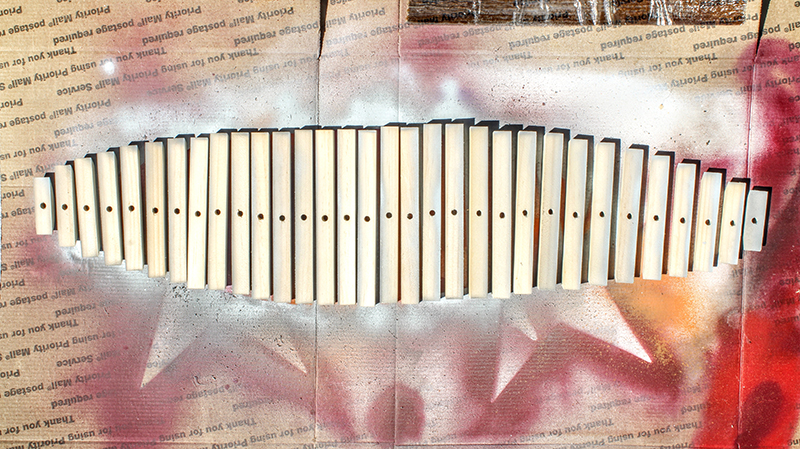
Now turn your wood pieces over and paint the next side. Repeat this for the remaining unpainted sides.
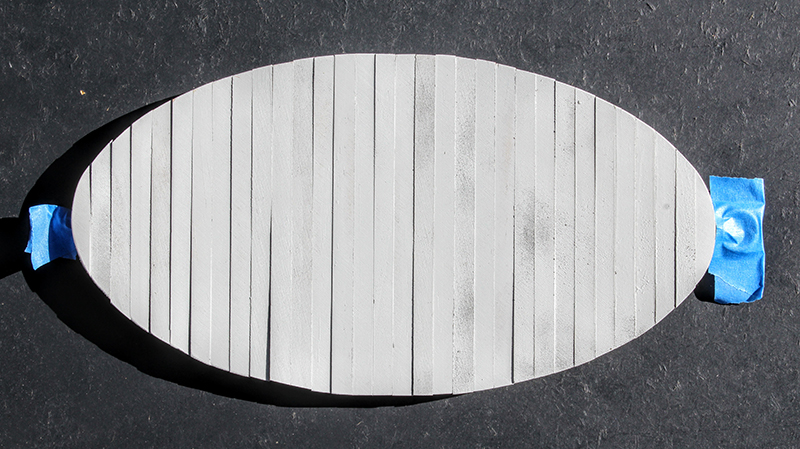
Once you’ve painted your base coat and let it dry, you can now reassemble your wood spinner. Make sure to grab your painters tape and cover your hardware.
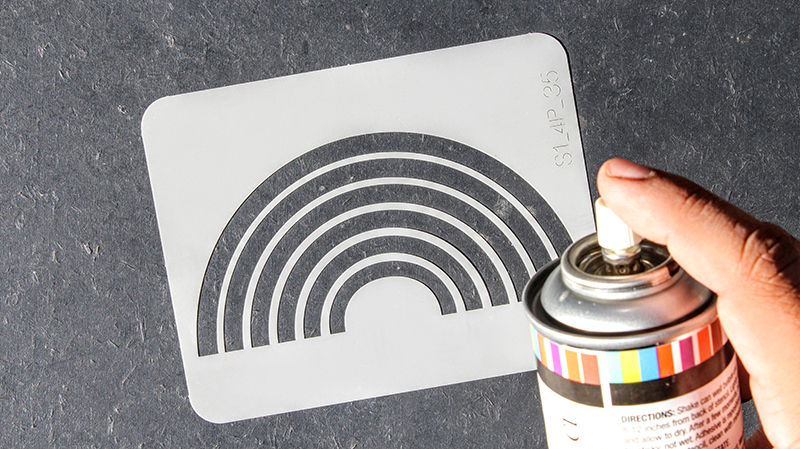
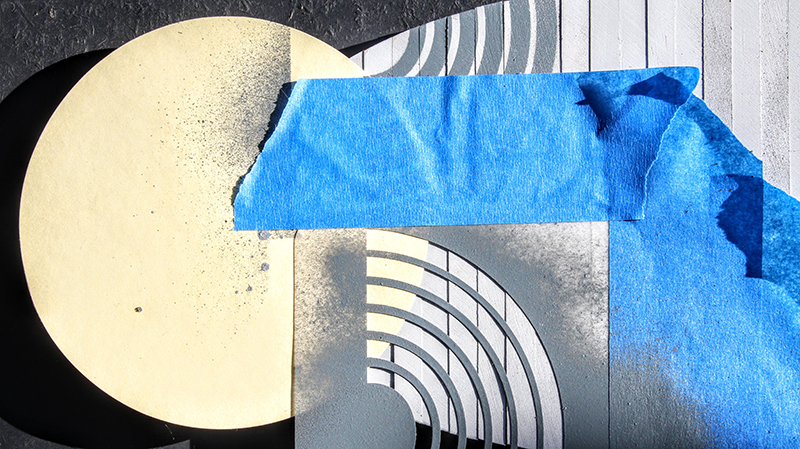
Break off your Stencil1 rainbow stencil and lightly spray the back with your stencil adhesive. Place your stencil on a scrap piece of paper or cardboard to remove any excess adhesive before applying to your wood spinner.

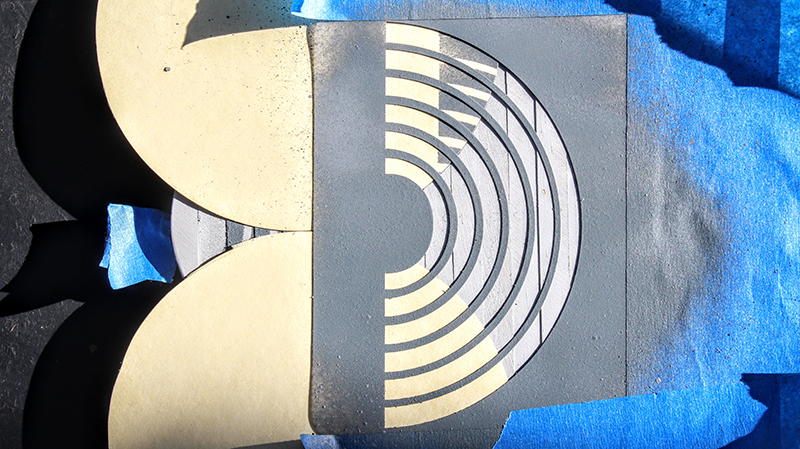
Place stencil centered in position and apply painters tape around the edges to prevent any overspray. Now you can spray paint your first set of circles.
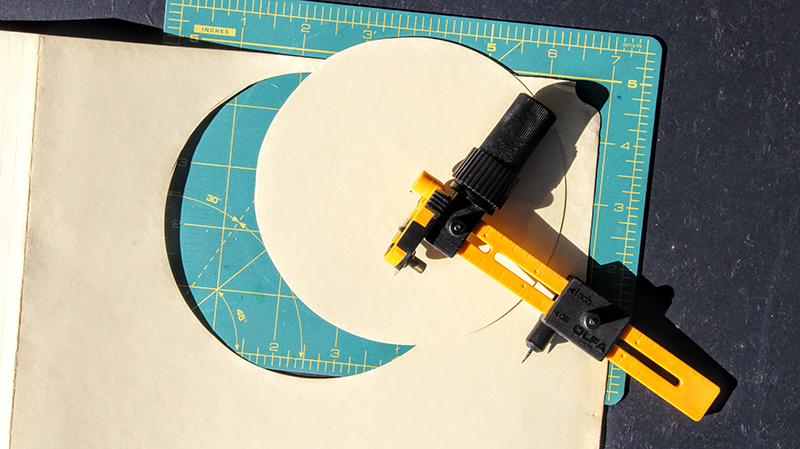
At this point, you’ll need to get your thin cardboard or cardstock and cut out a couple of circles the size of your stencil with your circle cutter.
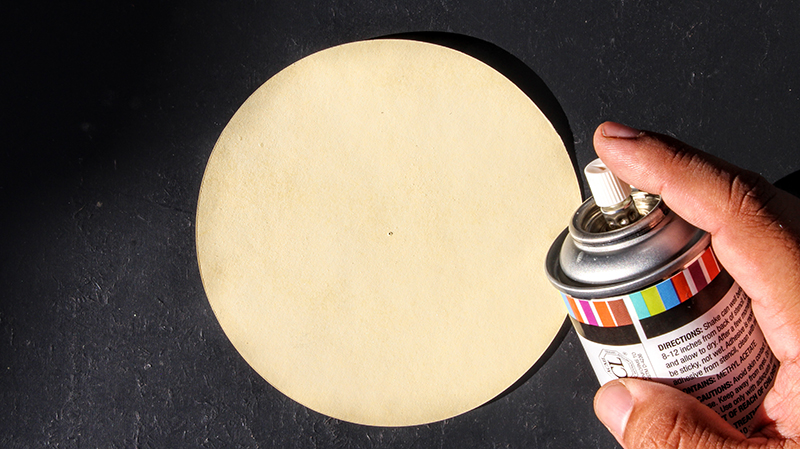
Lightly spray the back of your circles with stencil adhesive.
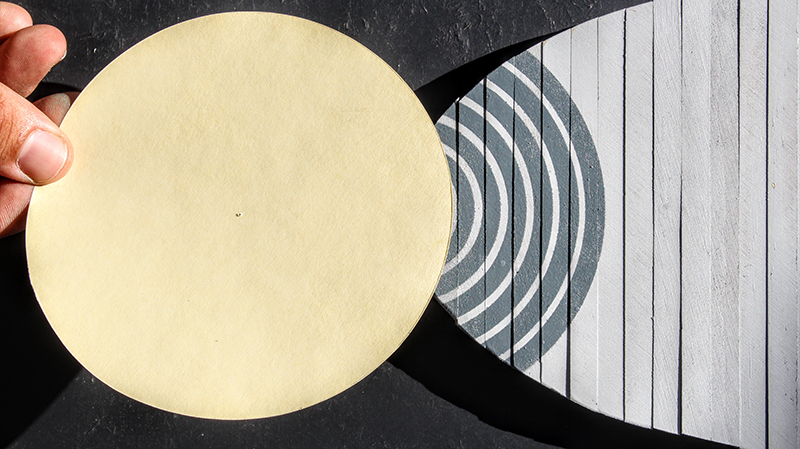
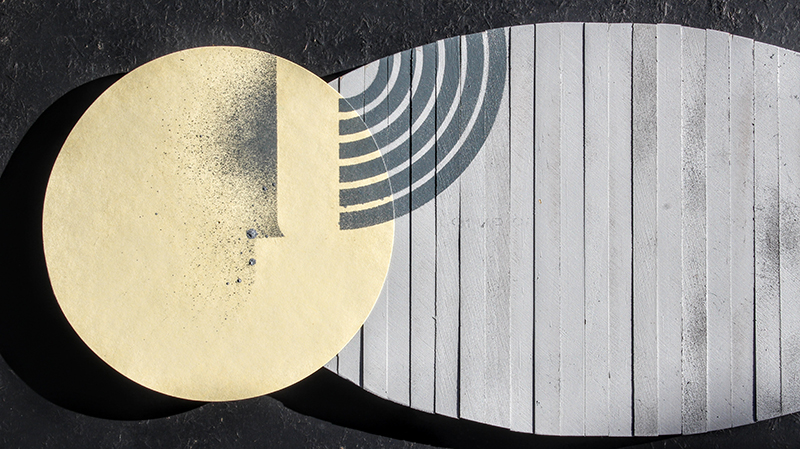
Place a circle over the previous circles you painted and offset the stencil and paint. Repeat this method for the remainder of this side. Remember to let dry in between repositioning and spraying.
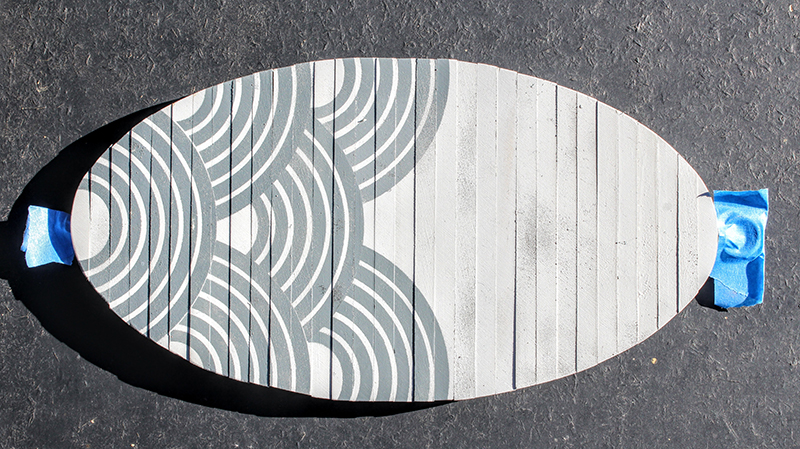
Now that you’re done with your first side, you can flip over your wood spinner and work on your other side.
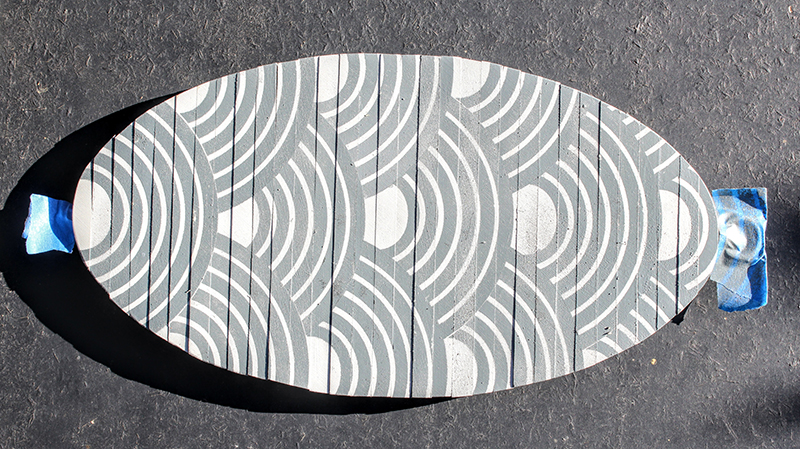
We’ve chosen to invert the colors on the backside. So paint this side with your dark color first and then use the same method as the first side now with your light color to complete your pattern.

You’ve now created and used your own pattern like a pro! We recommend spraying your wood spinner with a UV clear coat if it will be hanging outdoors. All that’s left is to remove the tape off your hardware and hang.

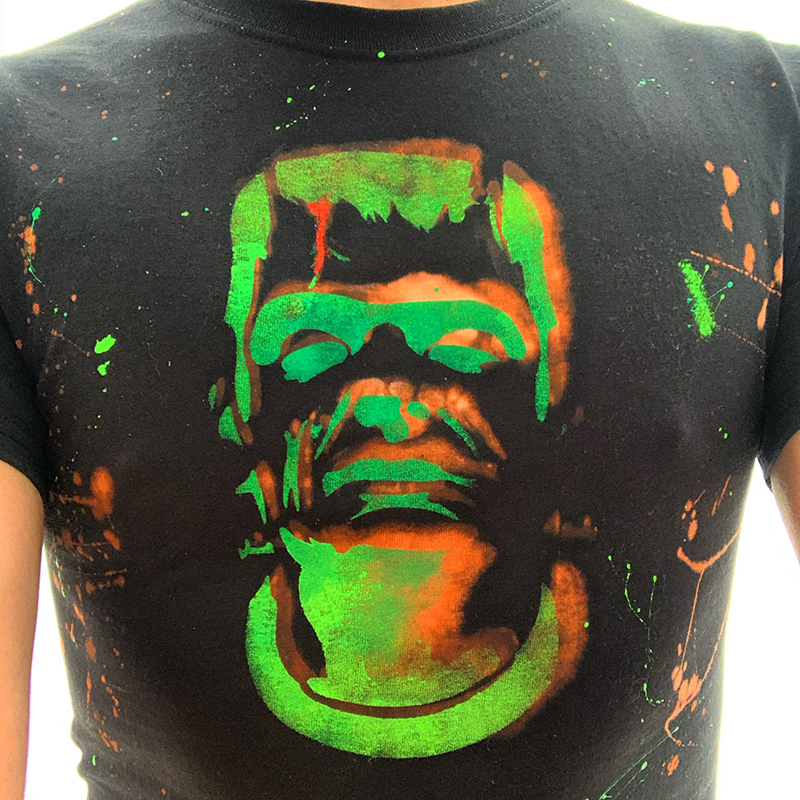
This How-To was brought to you by ART one, a Los Angeles based Street Artist. You can see his art @art_o_n_e
Please share your version with us @Stencil1