This Was Such a Great Find! By luck, we came across an abandoned wooden octopus! We weren’t sure what to do with him since he was so large. Black paint with gold accents sounded perfect though. Materials Needed: Stencil1 Octopus Stencil Stencil1 Chevron Pattern Small Acrylic Paints: (Ivory Black, Gold Acrylics, Gel Medium) Paint and…
Continue reading →abstract
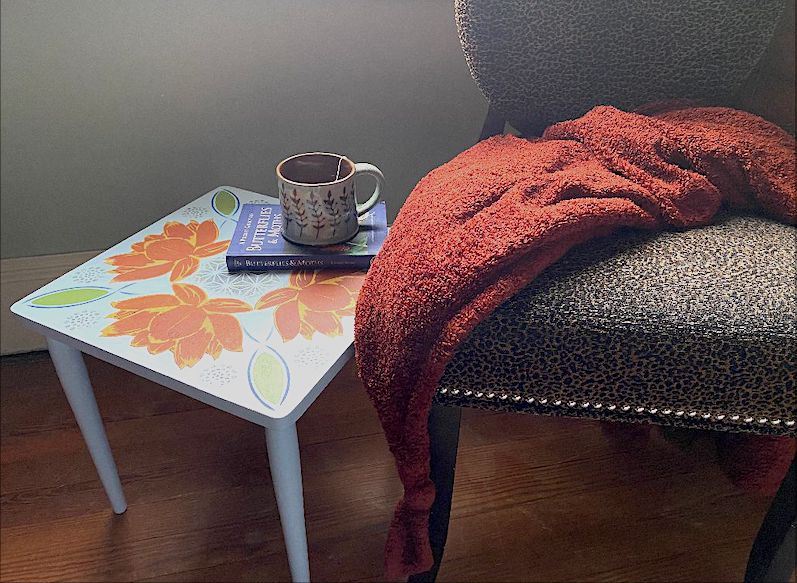
Materials Needed: Lotus 2-Layer Stencil 8.5″ x 11″ Asian Star Stencil 6″ x 6″ Bullet Journal Stencil Patterns #3 6″ x 6″ Soft Chains Repeat Pattern Stencil 11″ x 11″ Assorted Acrylic Paints: Cobalt Blue, Deep Yellow, Scarlet Red, Ultramarine Blue, Titanium White Assorted Brushes Small Table Color Mixing For this project, I used a…
Continue reading →