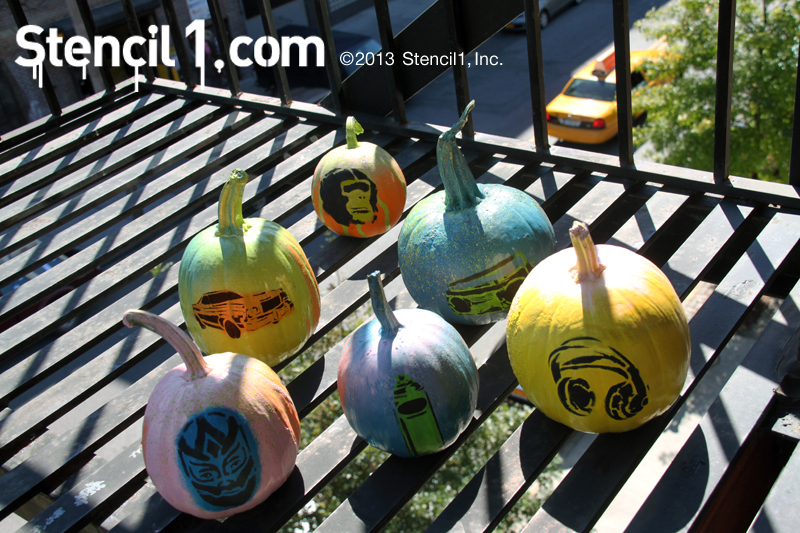
To make these stencil graffiti pumpkins, you’ll need:
Spray paint
pumpkins
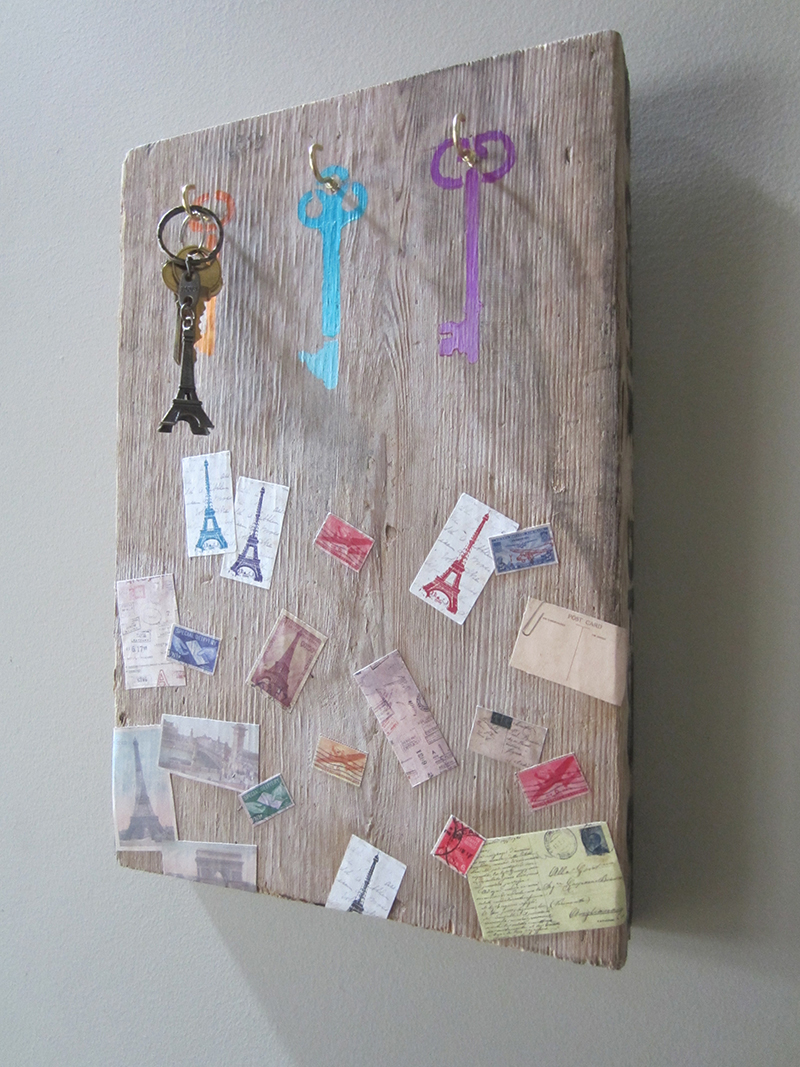
I love finding unique objects while walking around, especially if I can turn them into awesome key holders, which is what we did with this piece of wood I found in front of a Brooklyn warehouse! Here are all the supplies we used the Stencil1 Skeleton Keys 8-pack stencil, paint, tape, hooks, paper towels, hammer & nails, and images you want to paste on.
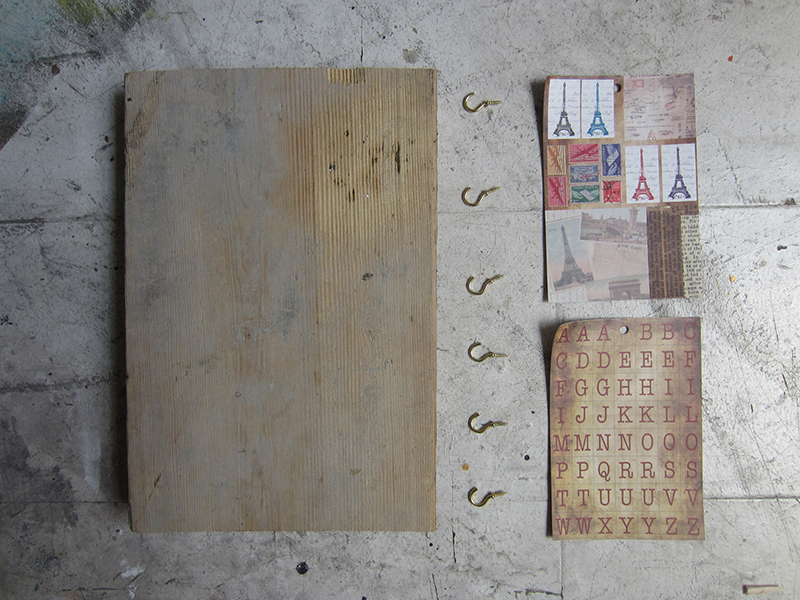
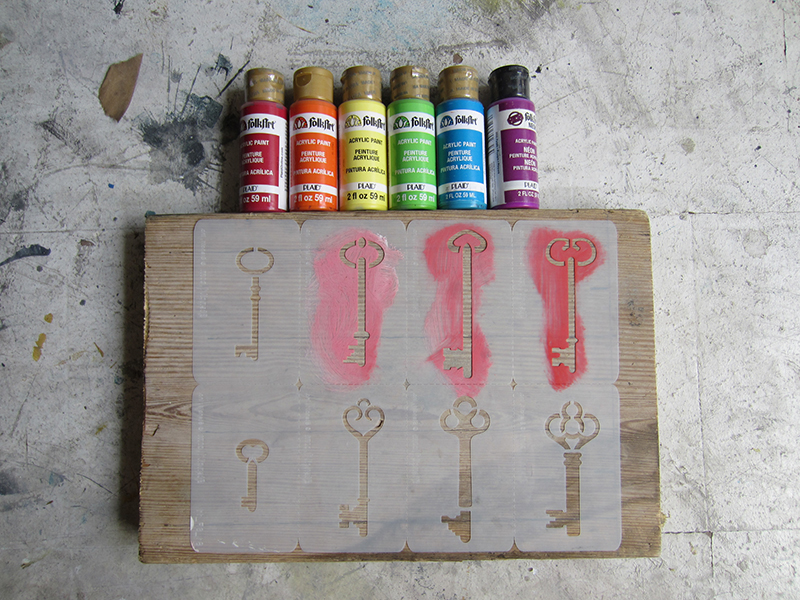
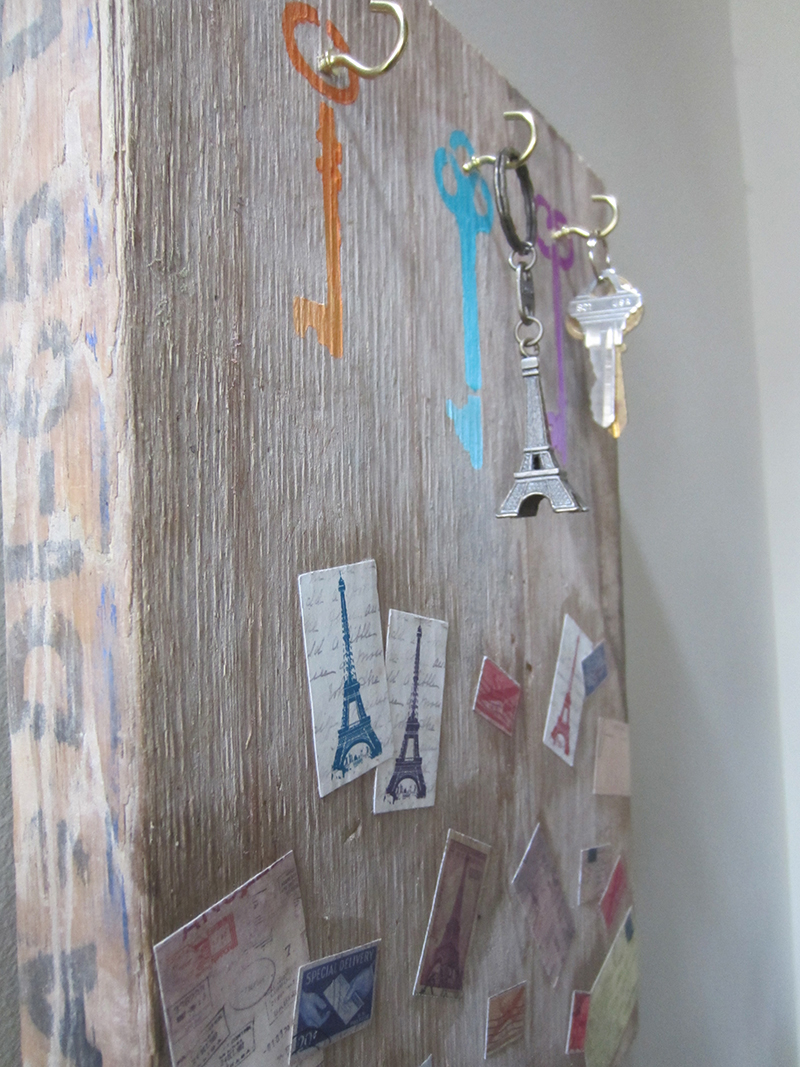
We wanted to go for a vintage/Paris theme so we stenciled the wood with acrylic paint with a ombré effect and decoupaged some beautiful images that fit our theme. To create the ombré effect paint the top half of the key with any color (we used a nice bright turquoise) and then use white to paint the bottom half of the key, merging both colors in the middle. Use tape to secure your stencil while painting. We painted three keys but you could have fun with the design. You could even try overlapping keys!
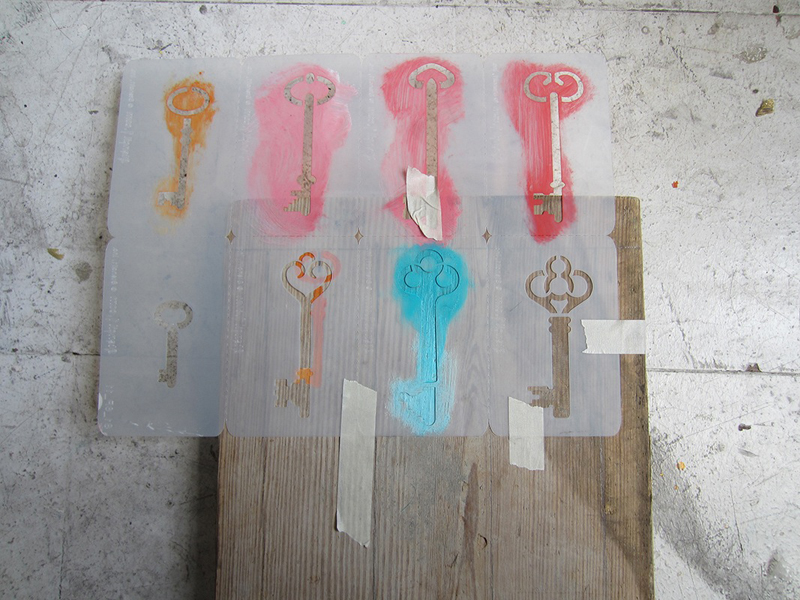
Next, cut out the images you want to paste onto the wood. Use a brush to apply the Paper Mod Podge to the back of the images. Apply it to the wood by lightly pressing down the image onto the surface. Once dry, coat the front of the image with Mod Podge as well.
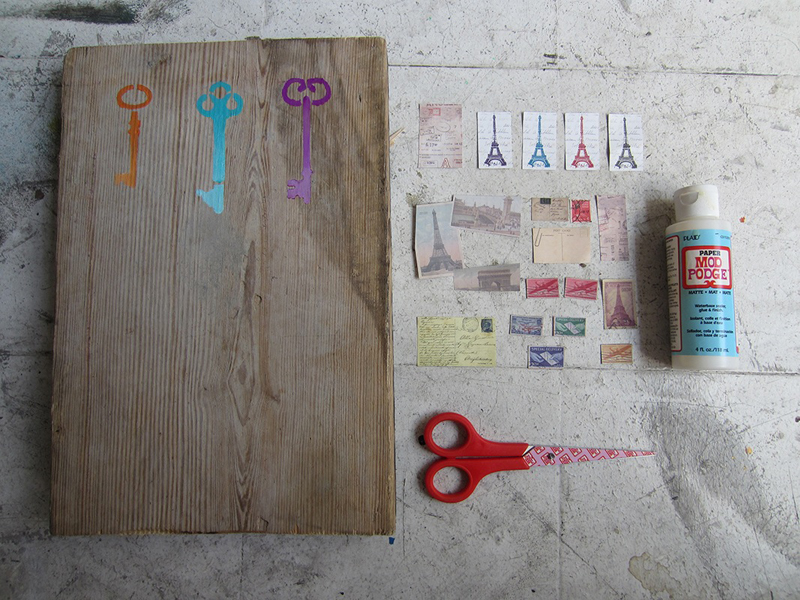
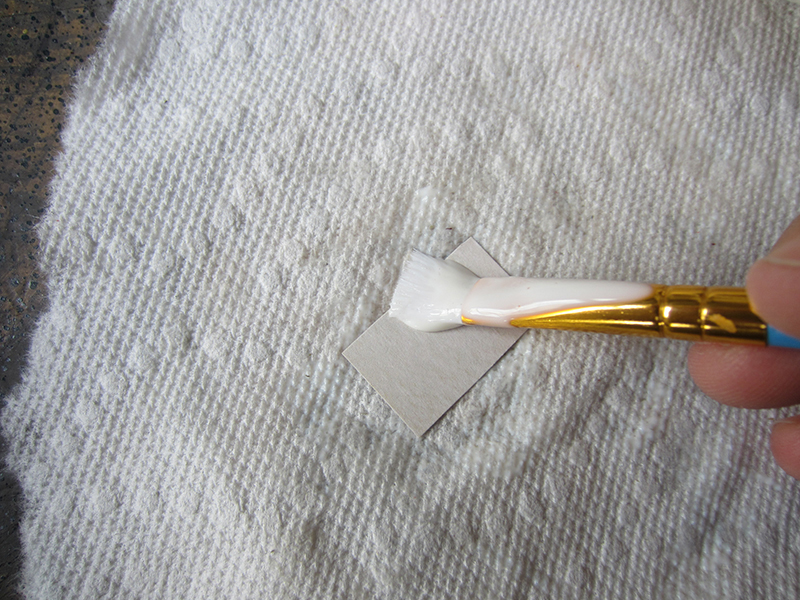
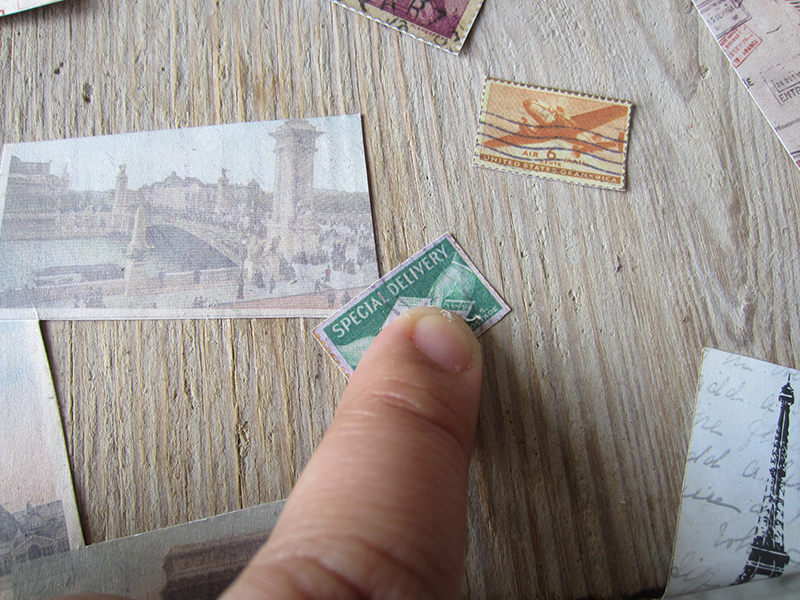
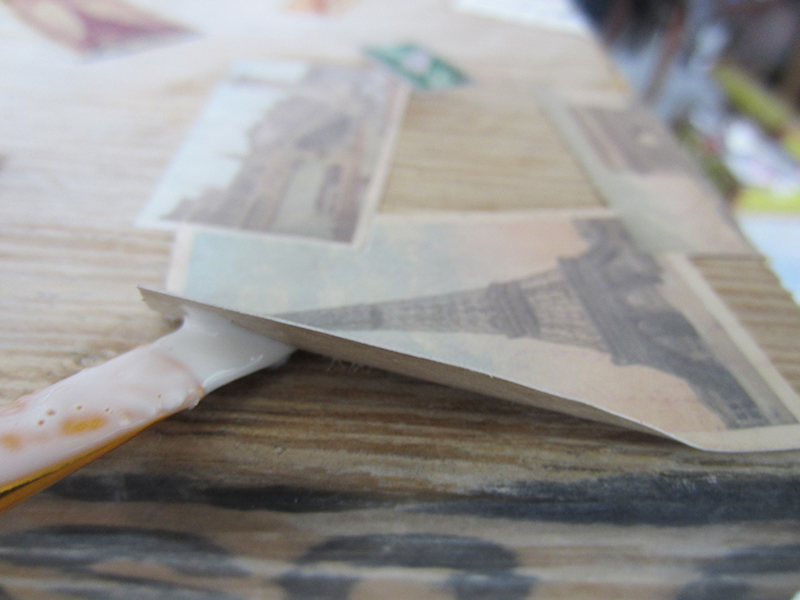
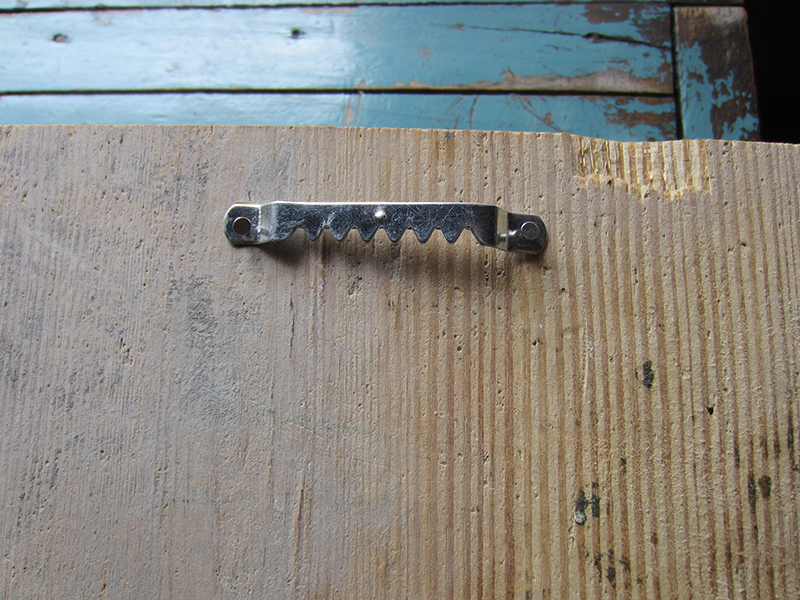
Once the paint and Mod Podge is dry, decided where you want to place your hooks and screw them in. Make a small hole with a nail and hammer can make this step a little easier. Lastly, attach a hanger to the back of the wood so you can place the key holder on the wall. Now you have you own awesome custom key holder! Wahoo! Share pictures of what you make with us @stencil1
I sort of have a tin can obsession. I think they are a beautifully designed object. And as a container, there are so many re-uses for them. I especially like to paint them to give them some newness.
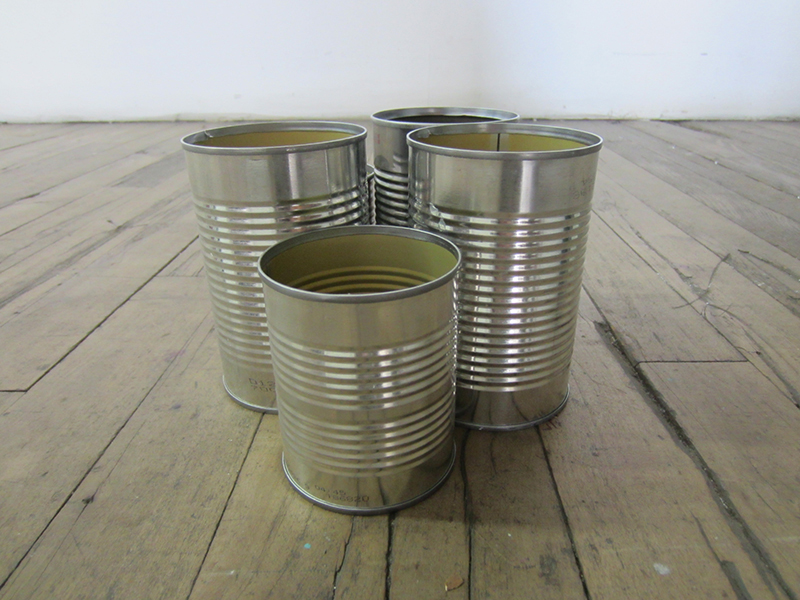
I used a basic paintbrush and various colors of Folk Art new Multi-surface paints for these cans. Two coats did the trick. Final use for them?
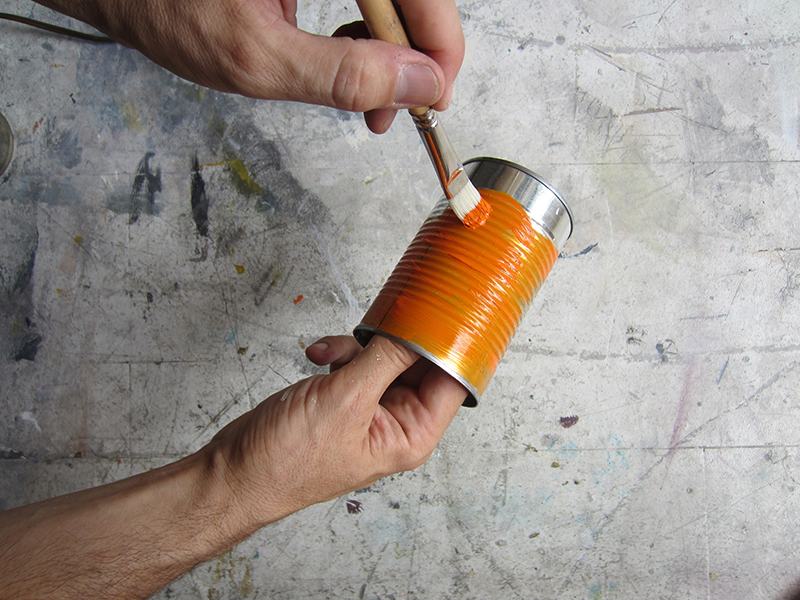
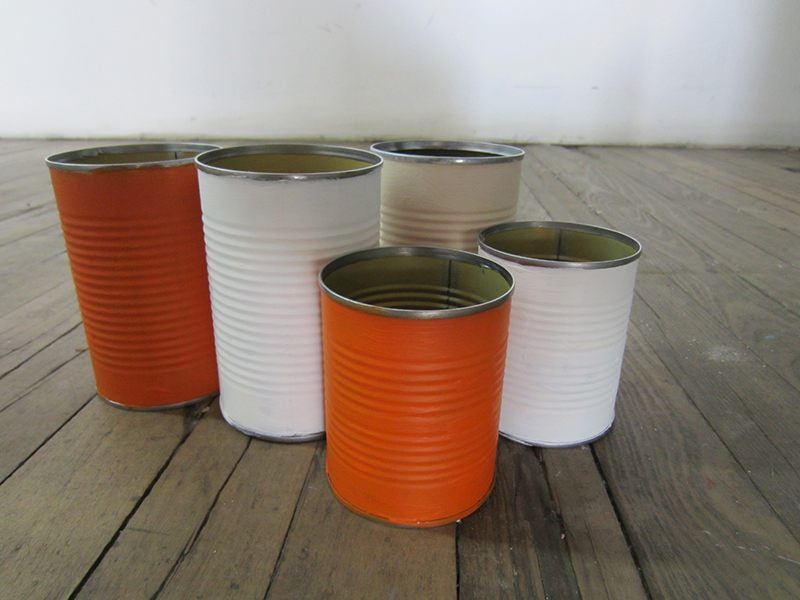
An urban herb garden for my window sill! Of course you can use them as pencil holders, vases, and more. What would you do with some colorful painted tin cans?
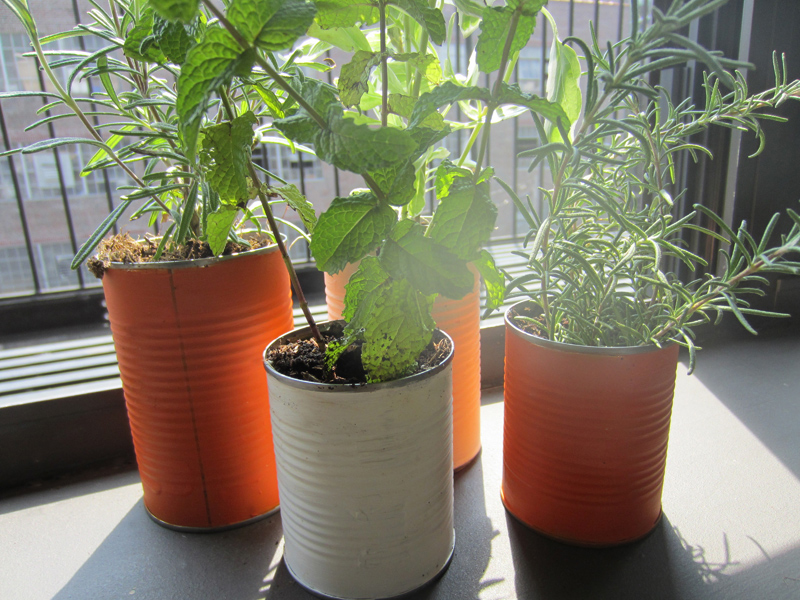
To make this herb garden you’ll need 4-6 clean tin cans, paint, paint brushes, soil and a variety of herb plants or seeds. Once you are finished decorating your cans replant different herbs (or seeds) into the tin cans. Have some fun incorporating the name of your herbs into your design! An optional step to make your herb garden last a little longer is to punch a few wholes at the bottom of the cans and add some pebbles before you add the soil. This will allow some water to drain out. If you follow this step, consider placing your garden on a small tray to catch the water.
This how to comes from Marcela, a new Stencil1 team member!
Jewelry is an awesome way to accessorize, but all those necklaces, bracelets, rings and earrings can get messy pretty fast. In fact, my jewelry can get so crazy I constantly forget about the awesome pair of earrings buried in the growing pile of tangled jewelry. In an effort to give all of my jewelry some love and accessorize like a pro, I decided to make a rocking jewelry stand that not only looks great, but also helps me organize my jewelry and have easy access to all of it.
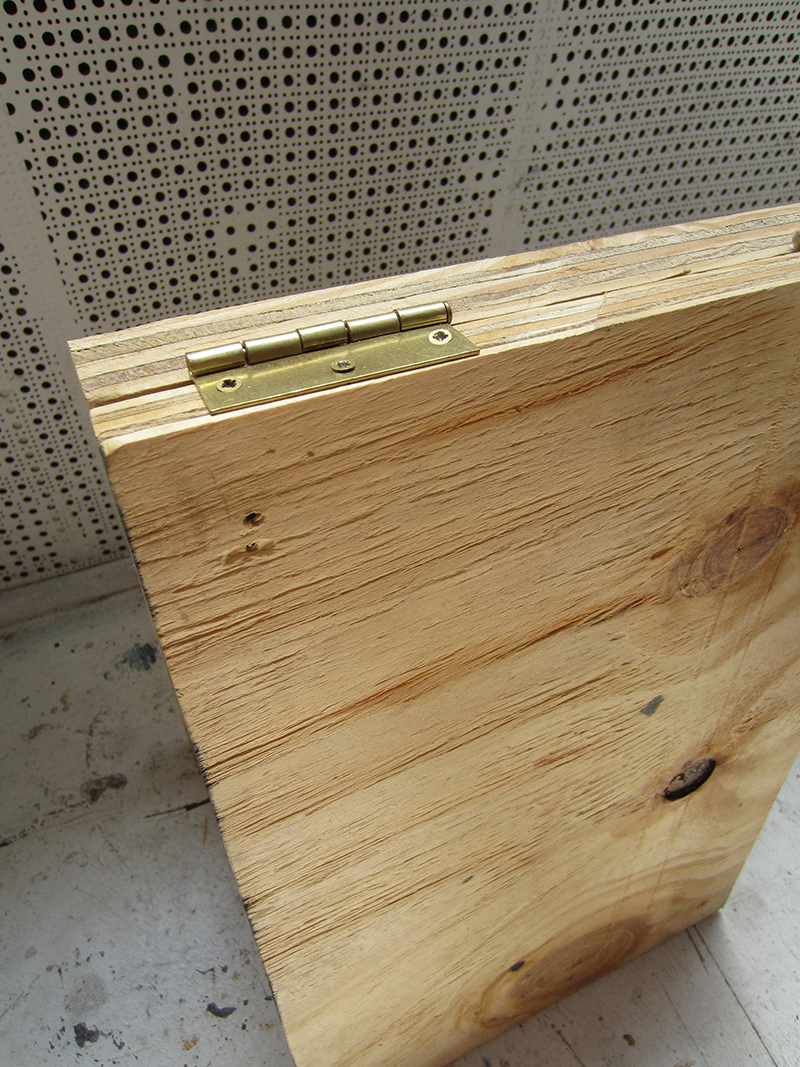
Start with a wooden stand (you can make this by using metal hinges, found at any hardware store, to attach two pieces of plywood or any wood you can find), brass hooks and tape.
I wanted to go with a colorful, geometric theme that was easy to paint and avoided a mess. I used tape to make a design that wrapped around the entire stand. You can make a pattern similar to mine or challenge yourself a little more by throwing in some curvy lines here and there.
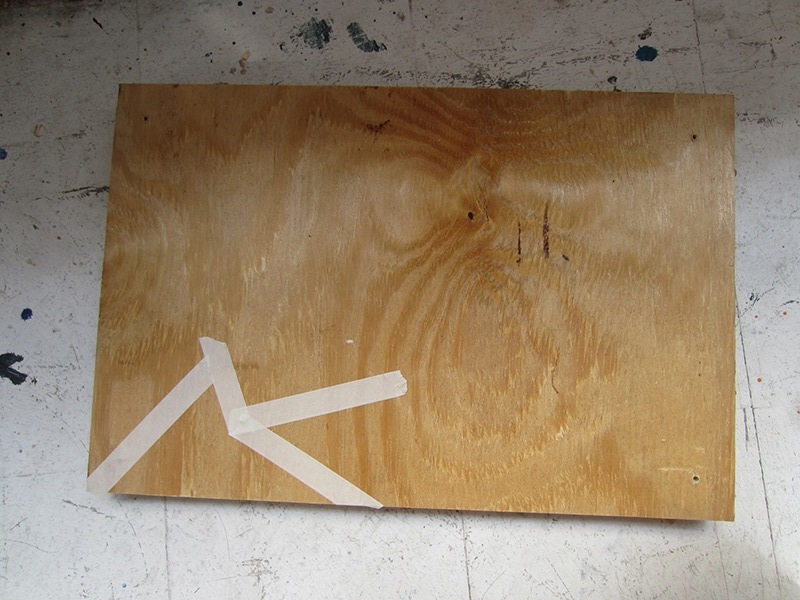
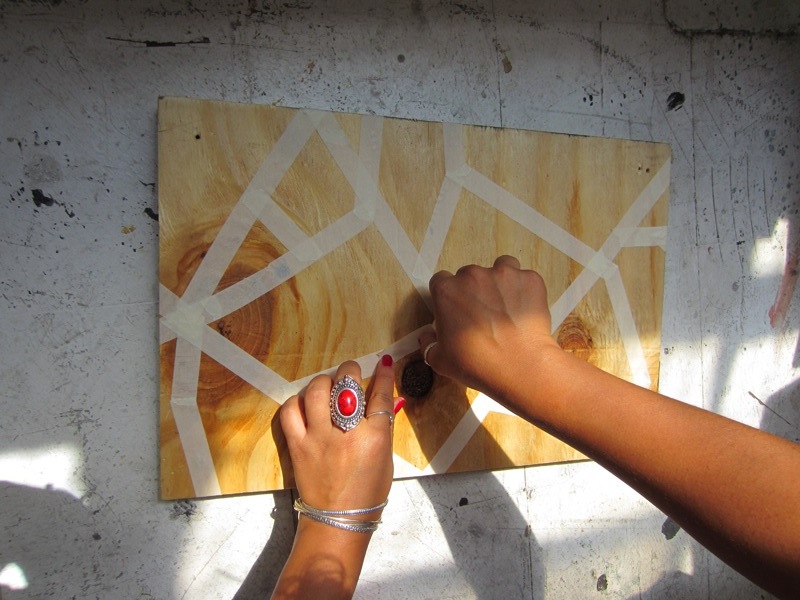
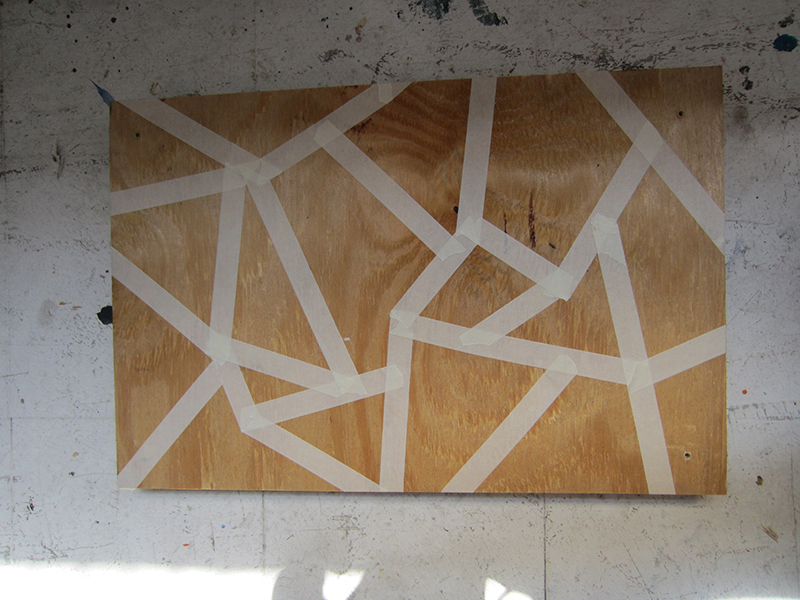
Next, I began painting. You’ll need some paint and a couple brushes. A cup of water and a rag will help you keep your brushes clean. I used Folk Art paint and stuck to 6 colors.
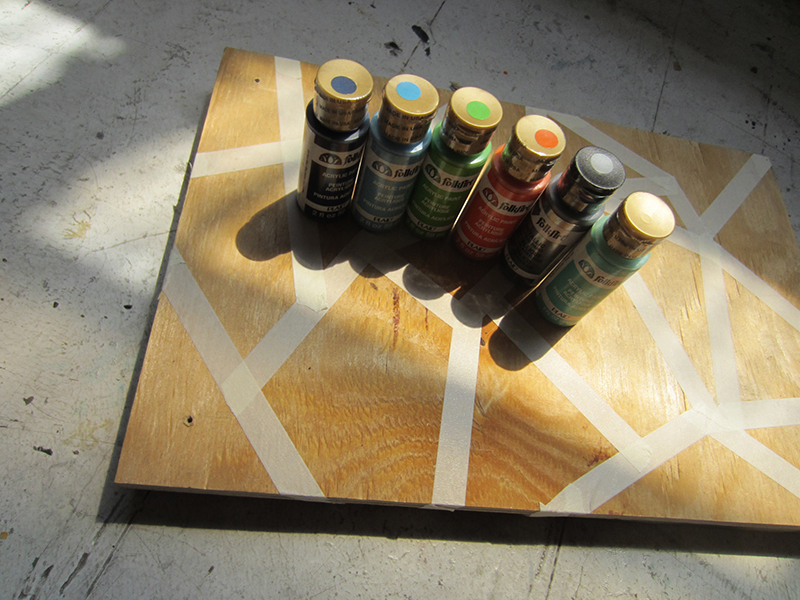
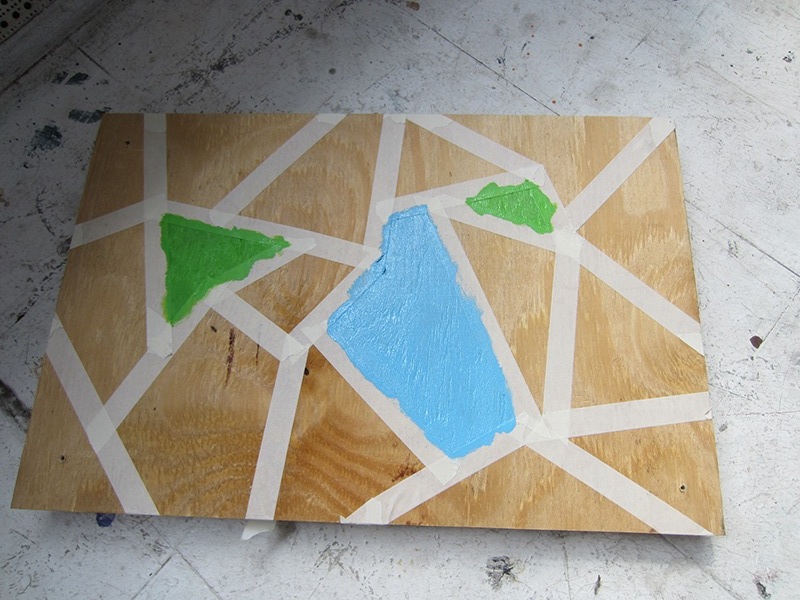
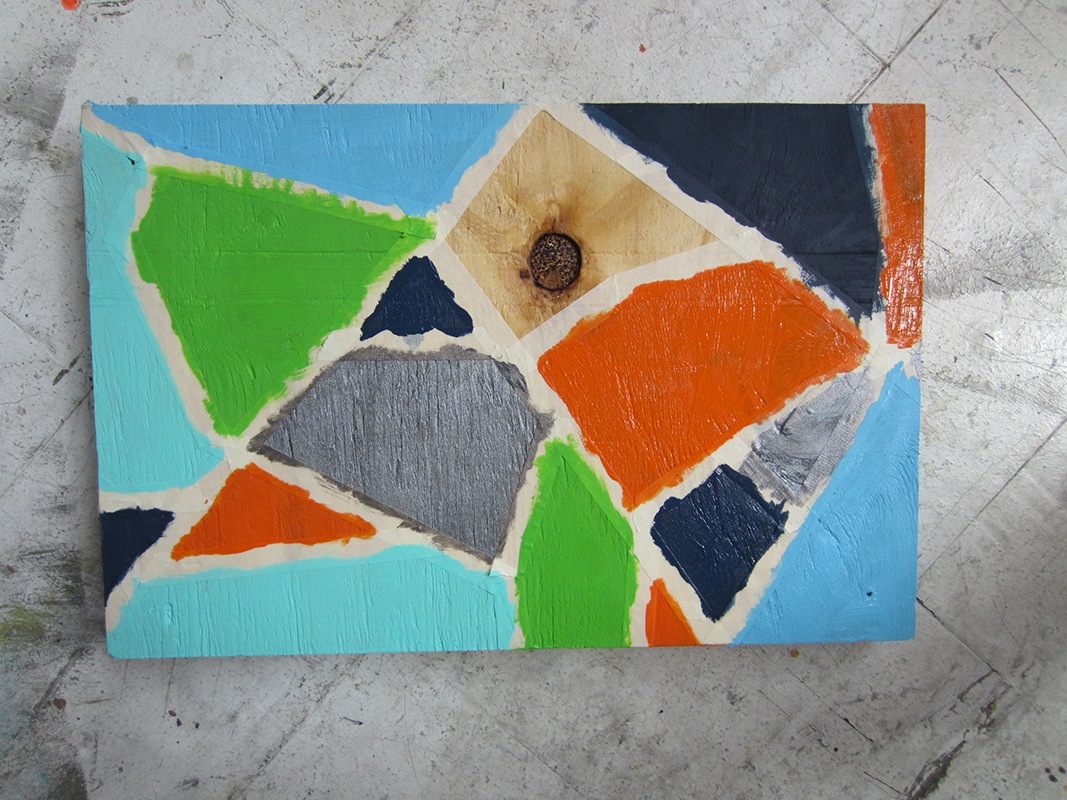
Depending on what paint you use and what look you want your stand to have, you might have to do a few coats. When you’re done, let the stand sit for 10-15 minutes or until the paint dries. You can use a blow dryer to speed up the process! Once the paint dries, carefully peel off all the tape.
Lastly, decide where you want your hooks to go. You can use a grid system, make a pattern or place them randomly. I decided to place my hooks at the corners of the shapes I made my design with. Keep in mind your jewelry when placing the hooks, put some higher up for long necklaces and some further down for earrings or rings. Tip: Use a nail and hammer to make a small hole where you are placing the hook to make screwing the hook in a lot easier! Once you’re done, pick a home for your awesome, new jewelry stand and organize away! Don’t forget to share pictures of what your jewelry stand looks like with @stencil1
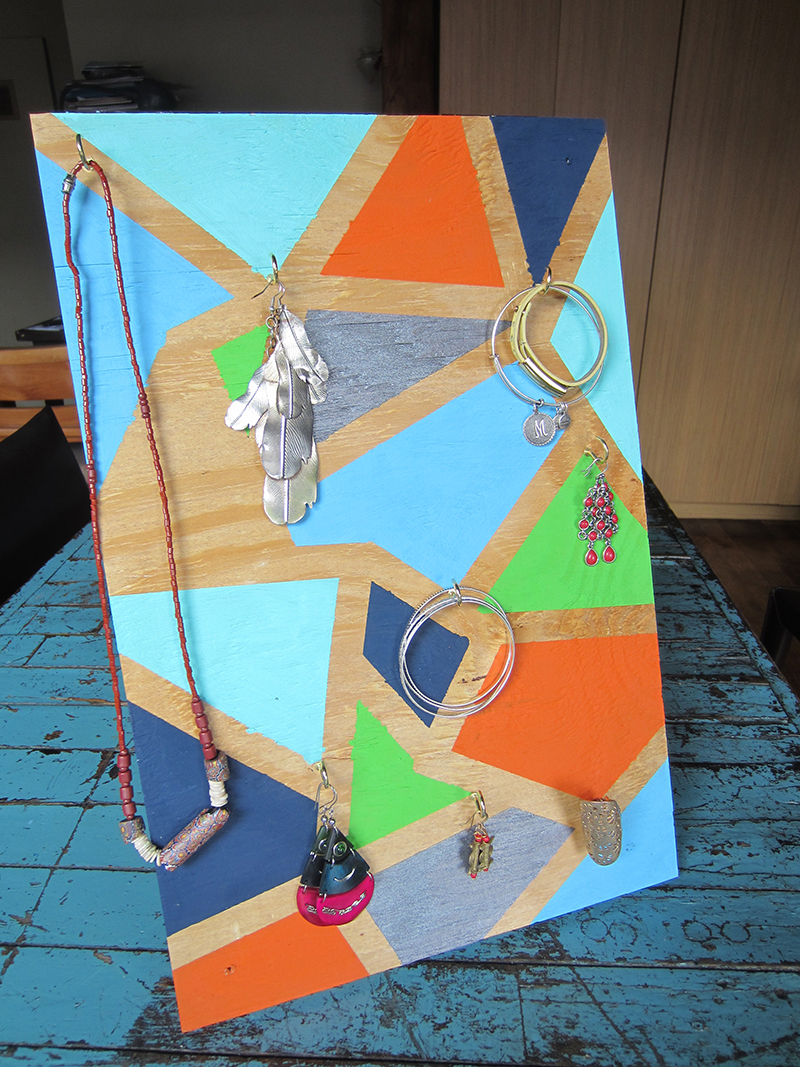
Ps. Not that into jewelry? This would make a great and unique gift for anyone that is!!
This post comes to you from Marcela, a Stencil1 new assistant!
Accessories are always better when they’re custom made. Not only are they unique, but also YOU made it so when some ask where you got you’re awesome iphone case you can take all the credit! I looked around amazon for cheap solid-color iphone cases and decided to stencil them. (You can do this with any phone cases for you android user out there 😉
To make this iphone case you’ll need an plastic case (you can find them for a couple bucks on amazon), stencils, paint, brushes and water & paper towels.
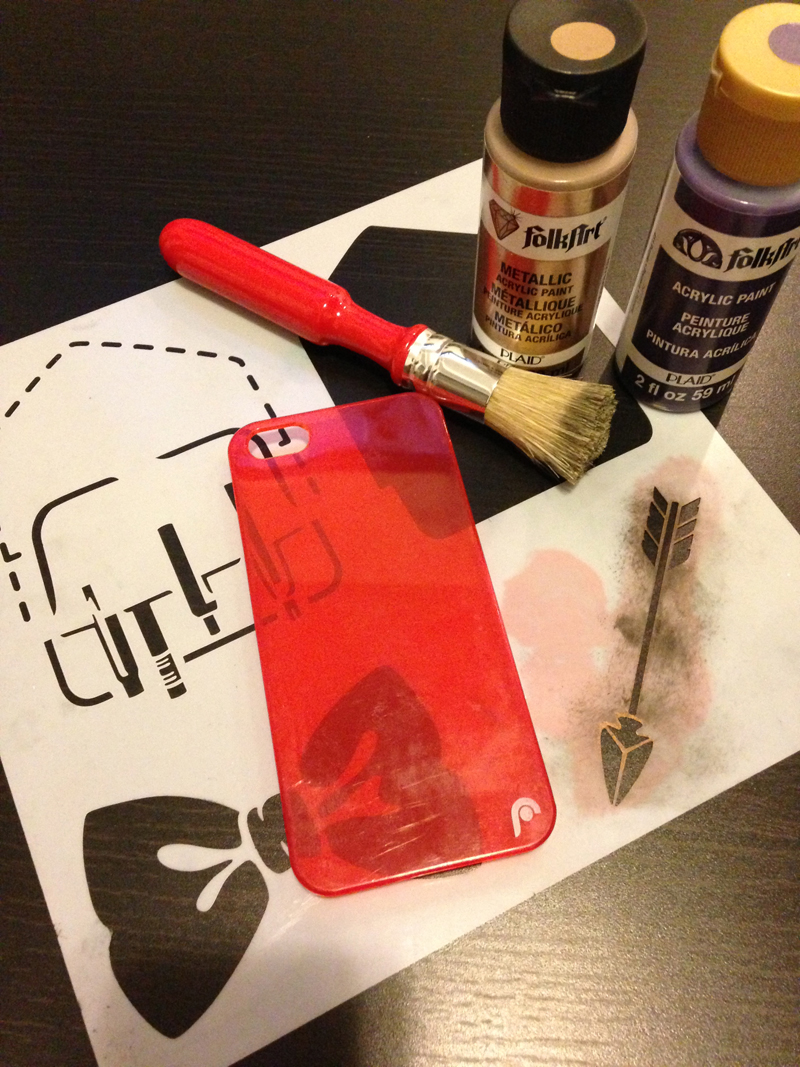
First, choose the stencil and paint you want to use on your case. I decided to go a with an arrow. Place the stencil on top of the phone case and use the brush to apply paint. Try not to use too much paint at once because so your image doesn’t get too distorted. Have fun mixing colors and using more than one color for different parts of your stencil! I made my stencil purple and gold.
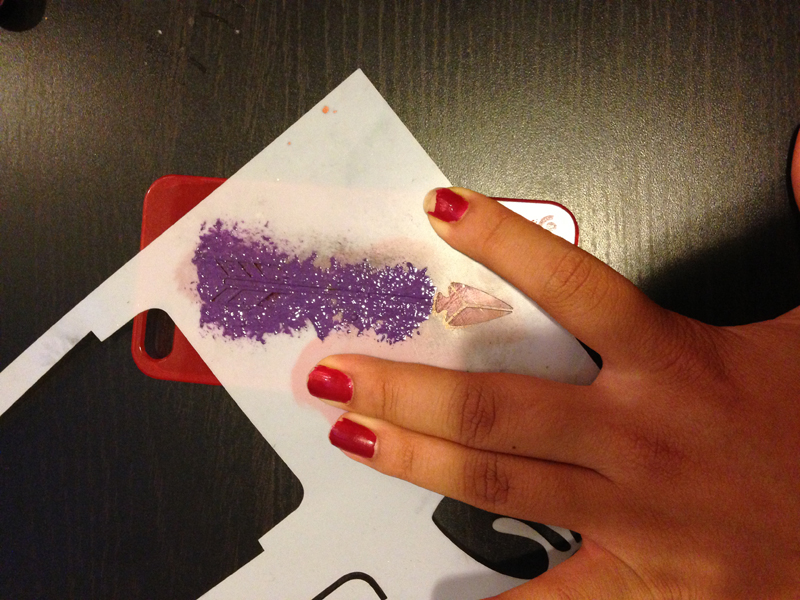
When you’re done painting, lift your stencil very carefully and set it aside. Let the paint dry for a good 5 to 10 minutes, a little longer if you used a lot of paint. Once the paint is dry you’re ready to show off your awesome iphone case!
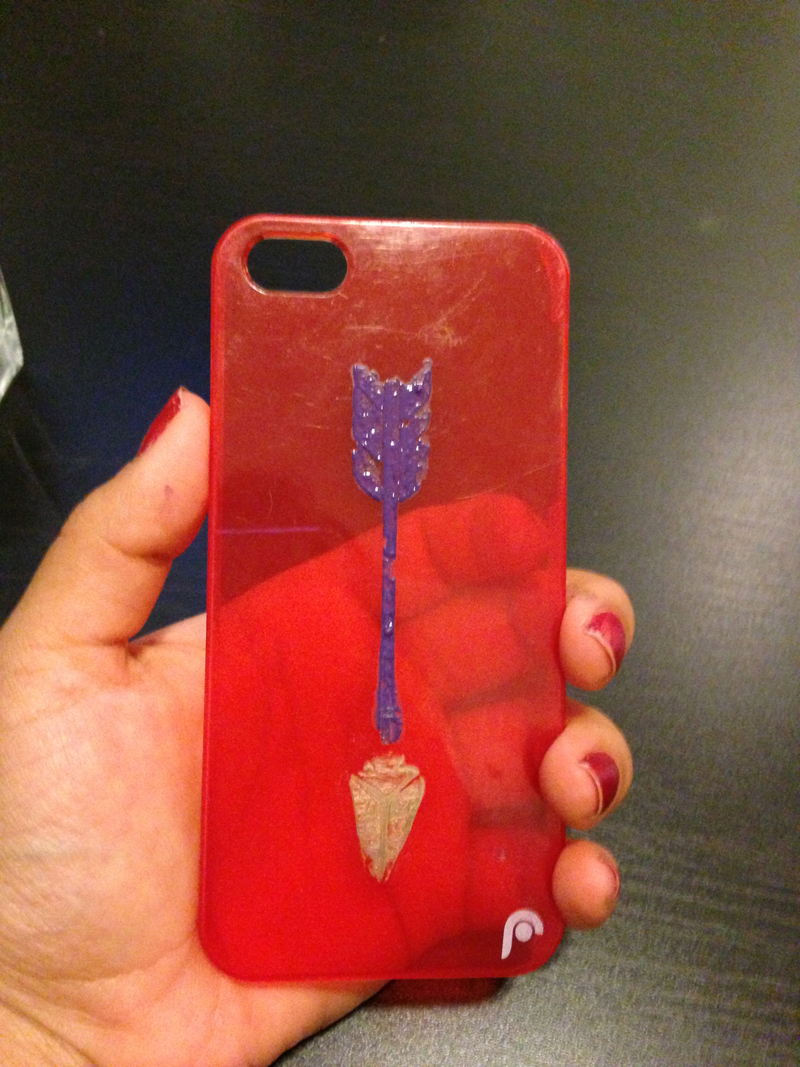
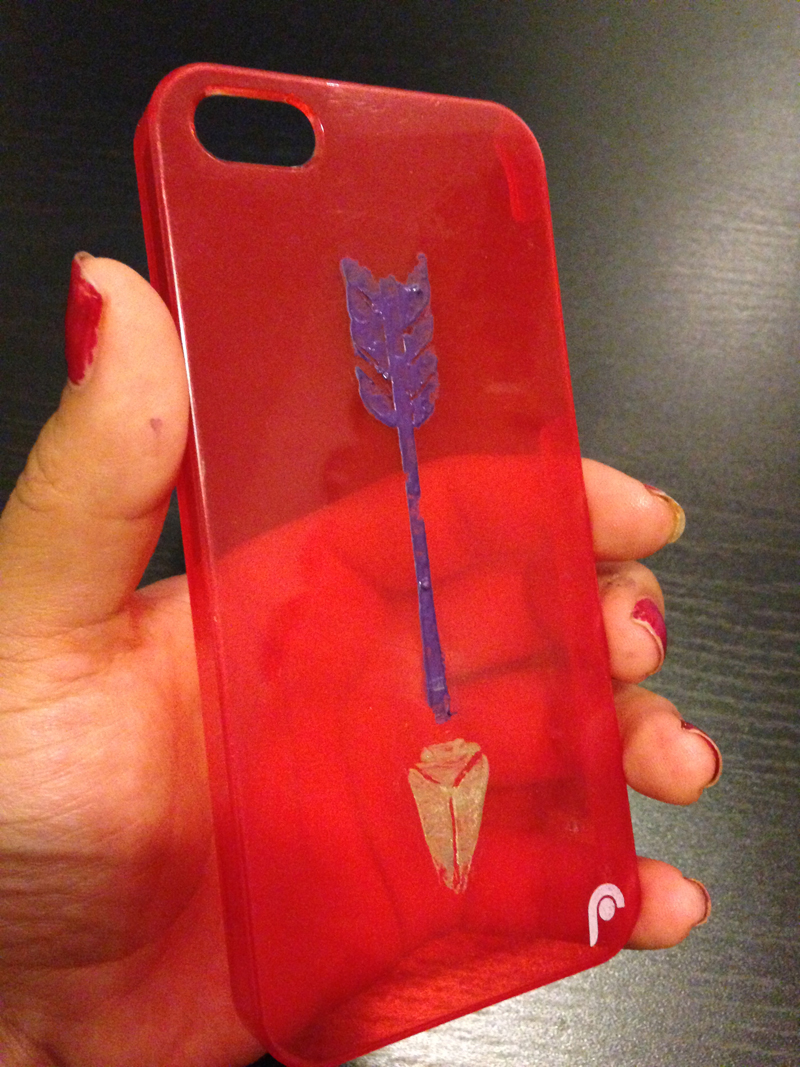
Show us what your iPhone case looks like! @stencil1
I was walking by a tall apartment building in NYC and there it was, a discarded avocado colored wood lamp. Solid wood! I carried it home on the train and got busy on this make-over!
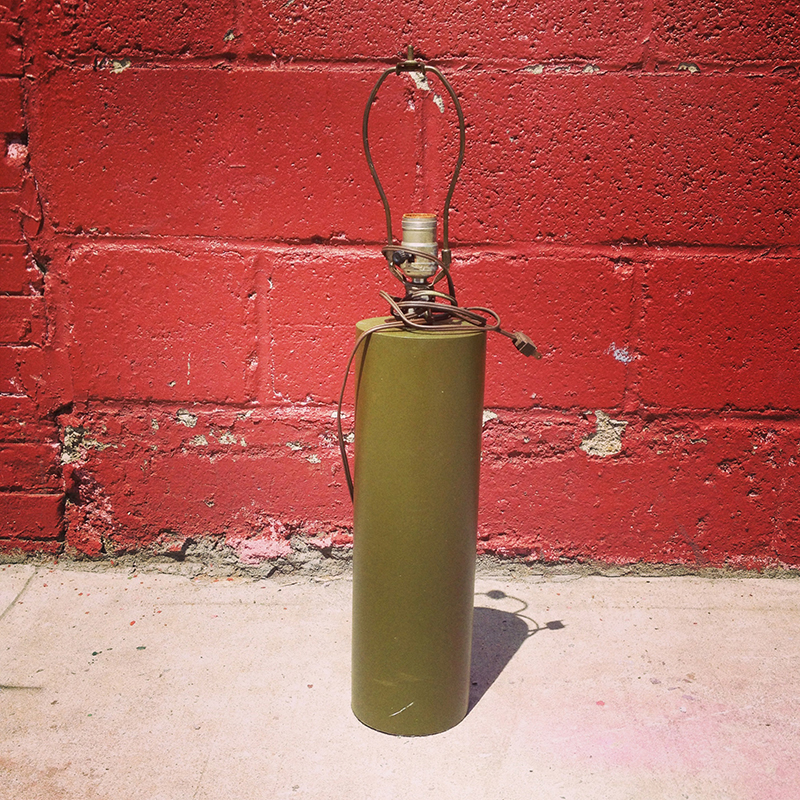
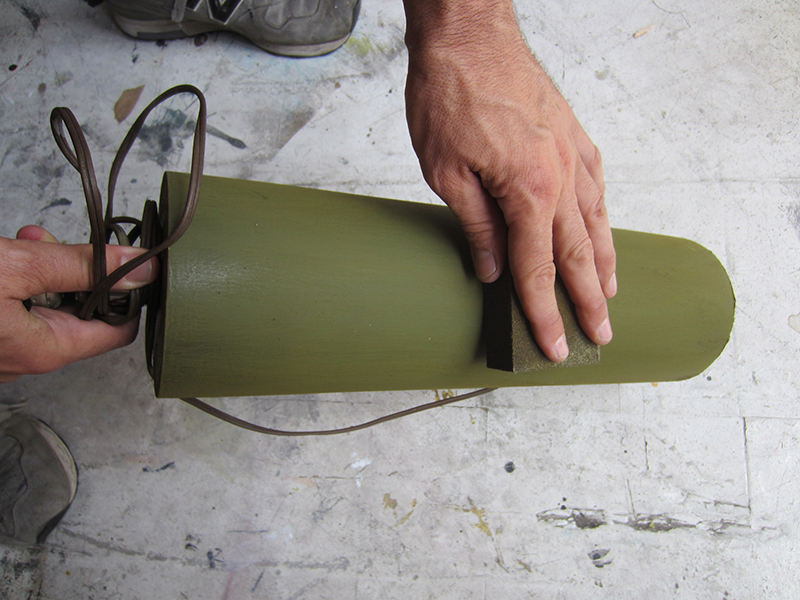
First, I sanded down the surface to make it more receptive to paint. I dusted it off too.
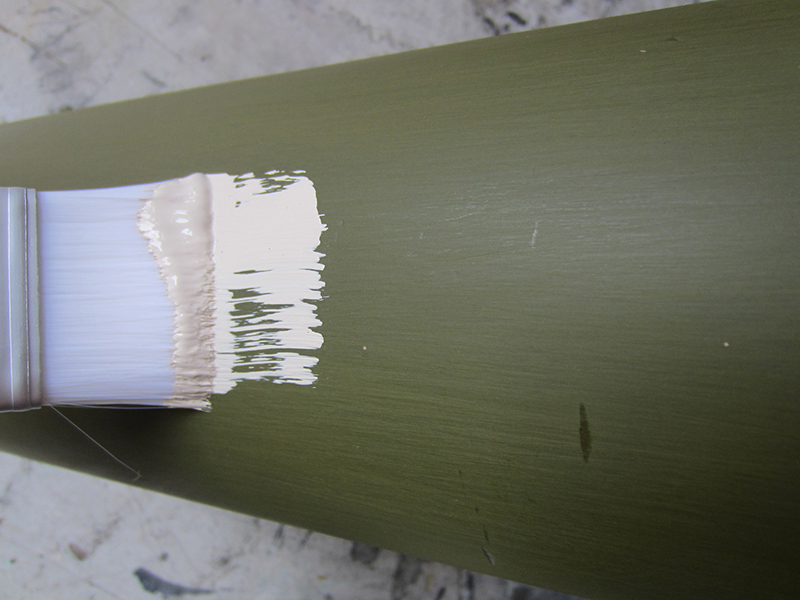
Then I choose a light neutral colored paint as my base, a cream. I love it, it already looks happier.
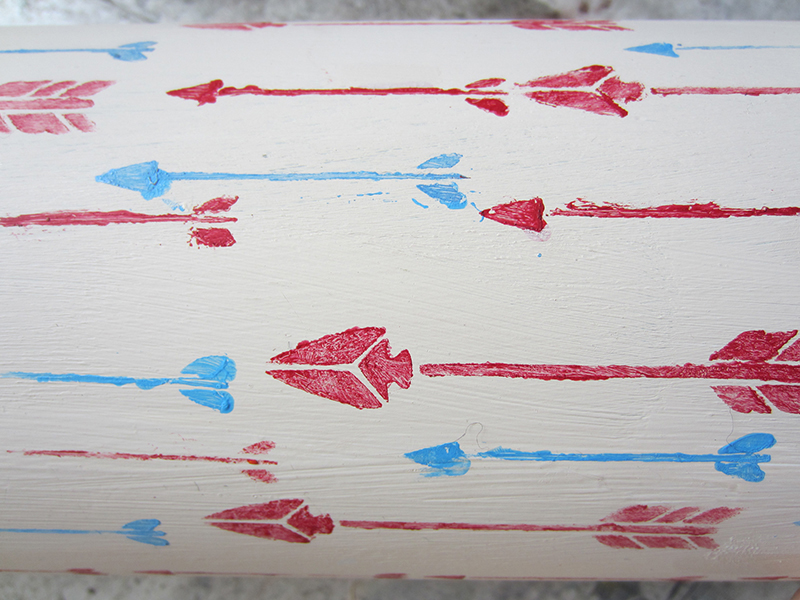
Then I wanted to do something modern, on-trend but also folky so I choose some arrow stencils from the Stencil1 CAMP stencil set and another arrow in Stencil Style 101. I taped off areas to isolate the arrows. I then choose two colors, red and blue for my arrows.
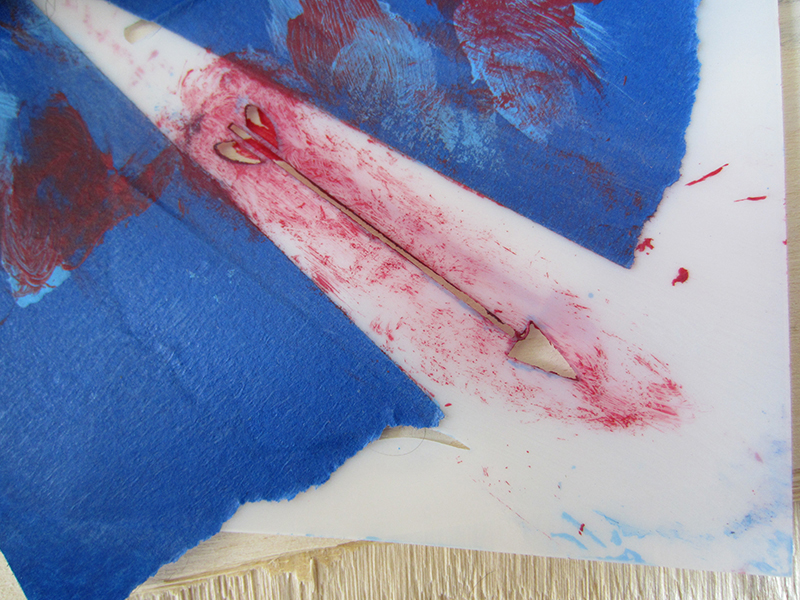
I did a stencil test of my arrows on a piece of scrap wood.
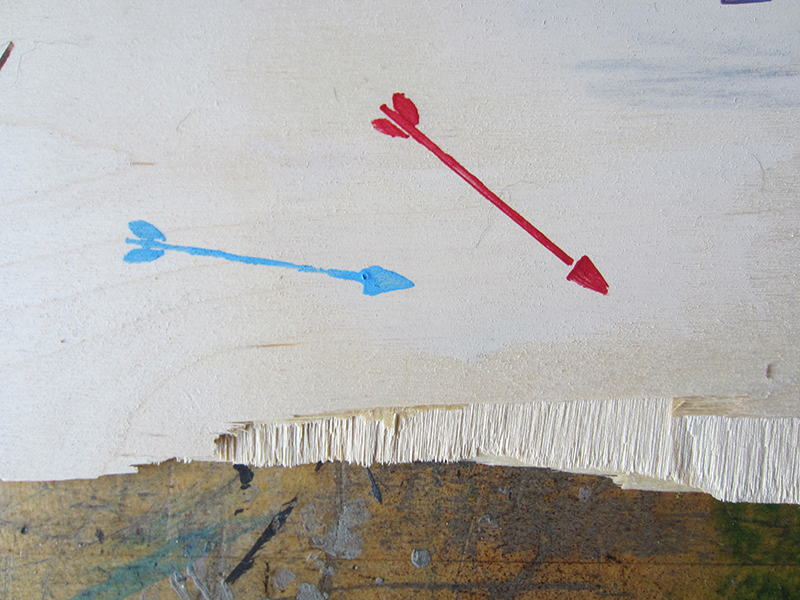
I then stenciled arrows in various positions, all “shooting” upwards! I think it’s more positive in that direction! I used a very dry brush technique to give it a super handmade, folky look to it. Sort of modern folk, no? Anyway, I covered the entire lamp in hundreds of arrows and splurged and bought a new shade for this found treasure!
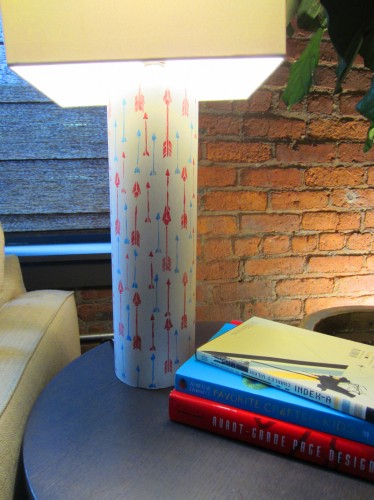
And there it is, to brighten my day!
Регистрация на рабочем зеркале advancearkansas.org и официальном сайте Вавада казион. 100% к первому депозиту и 100 фриспинов за регистрацию на Vavada casino.
Регистрация на официальном сайте ifo-classics.com онлайн казино Вавада в 2023 году: как получить бонусы, задать вопросы и зайти в России. Играйте в Vavada с телефоном и компьютеров.
Официальный сайт Вавада казино и рабочее зеркало y-ishizaki.net предлагает удобный кабинет и тысячи интересных автоматов. Максимальная отдача — 98%. Чтобы испытать удачу, пройдите регистрацию, пополните счет и получите бонус 100 фриспинов.
