Στο νέο online παιχνίδι καζίνο του Nine Casino, εμπνευσμένο από τον κόσμο της κατασκευής στένσιλ, οι παίκτες μπορούν να δημιουργήσουν τα δικά τους μοναδικά μοτίβα για να ξεκλειδώσουν ειδικά επίπεδα παιχνιδιού. Immediate Byte Pro Neoprofit AI

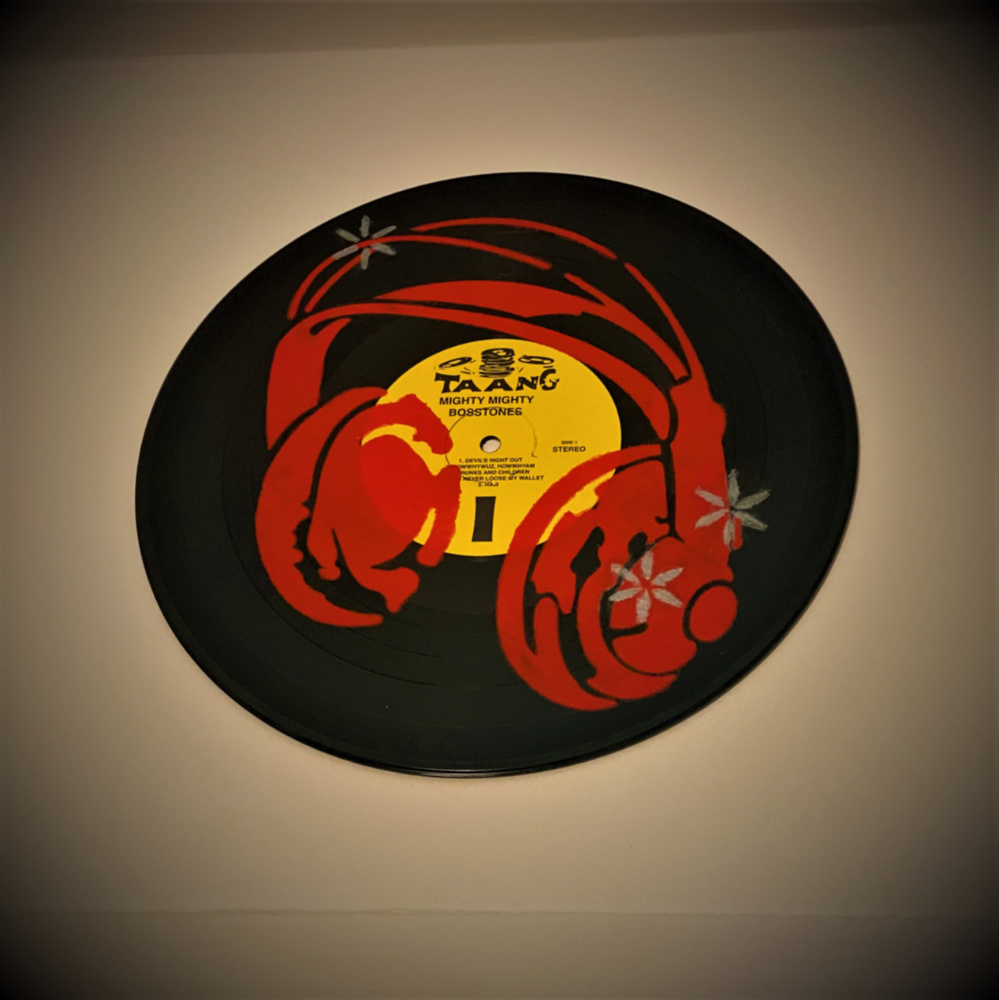
Looking to add a touch of Rock & Roll flair to your home decor? This simple project is perfect for music lovers of all ages!

For part one, you’ll need the following:

-Stencil1’s 8.5” x 11” Headphones stencil

-Acrylic paint (we chose red for this project)

-A sponge brush

-Tape (we liked working with electrical tape the best)

-A vinyl record (we think a 10” record gives the best result, but a 12” will work too)

Tape the stencil onto the face of the record on at least 3 sides – it’s okay if some of the stencil design overlaps the label. You may also find it helpful to use some tape to anchor the record to your work surface as well – make sure your work surface is totally flat!

Stipple the paint over the stencil. Try to avoid using massive globs of paint – if there is too much, it can run through the grooves of the record and ruin the image.

Let the first coat dry, then repeat the process several times until you can no longer see where the label meets the vinyl through the paint – it took 4 coats of paint for us before you could no longer see the difference between the yellow label and the black vinyl through the red paint, but this may be different for you depending on what colors you are working with.

Once your final coat has dried, remove the tape and lift the stencil to reveal the design!

Part 2 is all about the details – a few little sparkles to make it pop. You’ll need the following:
-Stencil1’s Pattern 8-Pack (specifically, the Moroccan petals section)

-Acrylic paint (for our project, we used metallic silver)

-A small detailing paintbrush

-Tape

Start by taping the stencil to the record – try to avoid putting tape over the areas you’ve already painted since it could damage your artwork. For best results, we recommend working at two opposing corners of the design. 

Paint only the inner petals of one or two circles – this creates a quick and easy “sparkle” effect (especially if you’re working with a metallic paint!)

Allow it to dry, then lift and reveal!

The end result is perfect for displaying on shelves or hanging on walls!


Looking for a way to liven up your bedding without having to go shopping? Look at what you can do with set of solid-color sheets and stencils from Stencil1. We used our Headphones stencil on the pillows cases and coupled it with the Graffiti Mini Set #1 on the flat sheet.

It’s the perfect weekend project for you, you and your sweetie,  or the whole family.

The stencils are available individually at www.stencil1.com or some such as the headphones are one of 25 designs in our book Stencil101. Stencil Style 101 also has designs that are great for sprucing up apparel and home decor!

Here’s what you need and how to do it:

Materials: pillowcase, stencil, fabric paint, stencil brush, painter’s tape or spray adhesive, iron, cardboard or shirt box.

1. Choose your pillowcase: You can use a cotton standard bed pillowcase or a canvas throw pillow case for this project.

2. Prep the pillowcase: Insert a sheet of cardboard into the case to stretch the pillowcase flat and provide a flat surface to stencil on.

3. Position your stencil: You may wish to hold the stencil in place with a low tack spray adhesive or painters tape.

4. Begin painting: Using fabric paint and stencil brush, carefully paint in the stencil open areas using a pouncing motion. It’s best to use a non-toxic fabric paint rather than experimenting with spray paint or other paints given that you’ll be sleeping on it. Once completed, lift the stencil to see your design.

5. Finishing: Heat seal the painted design by using a hairdryer for 2 minutes then ironing the pillowcase inside out.