Στο νέο online παιχνίδι καζίνο του Nine Casino, εμπνευσμένο από τον κόσμο της κατασκευής στένσιλ, οι παίκτες μπορούν να δημιουργήσουν τα δικά τους μοναδικά μοτίβα για να ξεκλειδώσουν ειδικά επίπεδα παιχνιδιού. Immediate Byte Pro Neoprofit AI

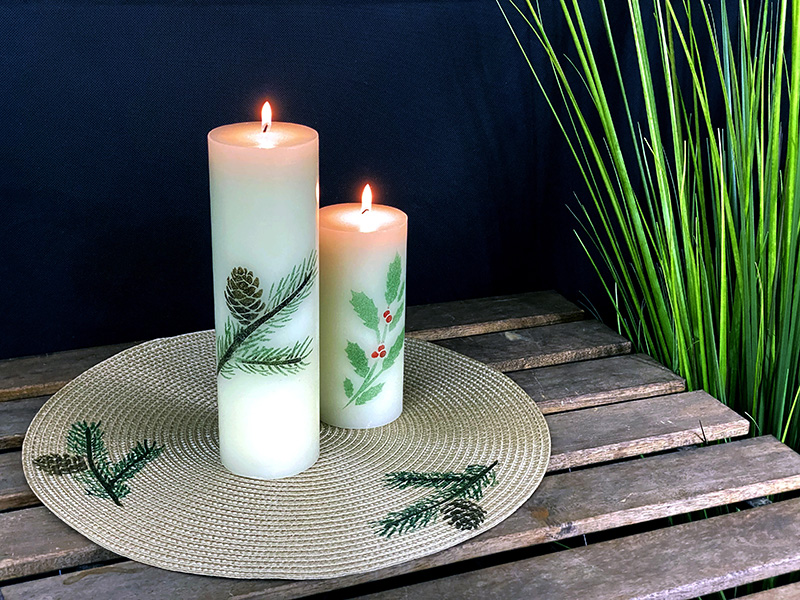
Create a beautiful centerpiece and be ready for the upcoming holidays. Follow these steps to easily add more spirit to your dining table.

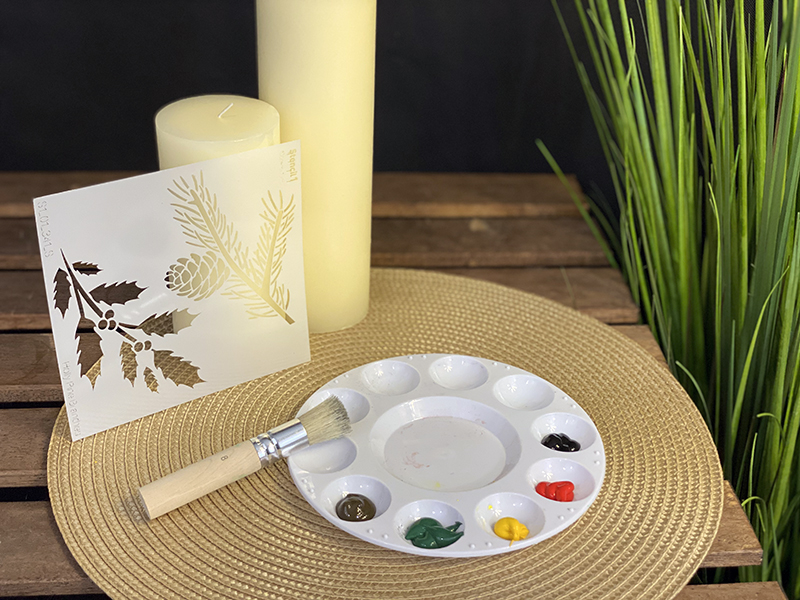
For this project, you will need:

Select which paint colors you will use for this paint job. I chose natural colors for the leaves and acorn, and red for the cherries. I chose the Holly and Evergreen Branches Stencil – Small (5.75″ x 6″) for this project because it’s small enough for the candle and the design really feel happy and calming.
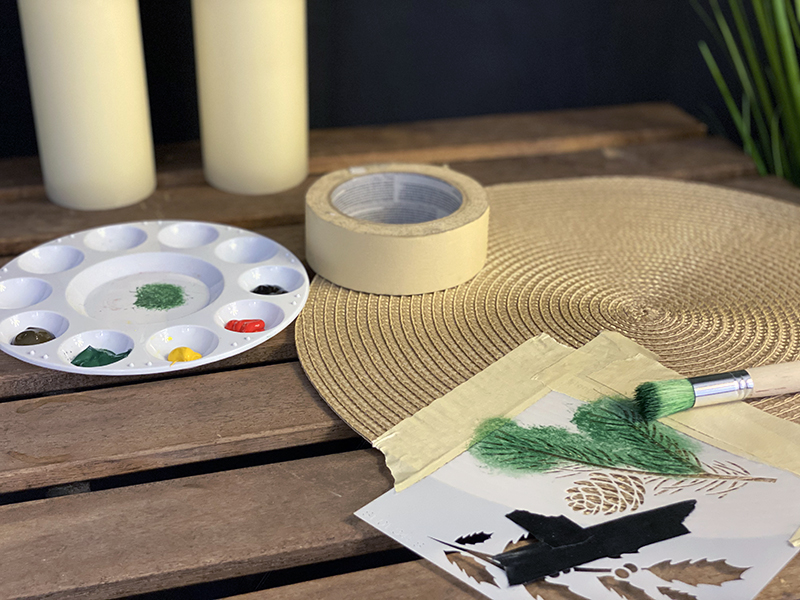
Secure the stencil with masking tape to make sure it won’t move while you paint.
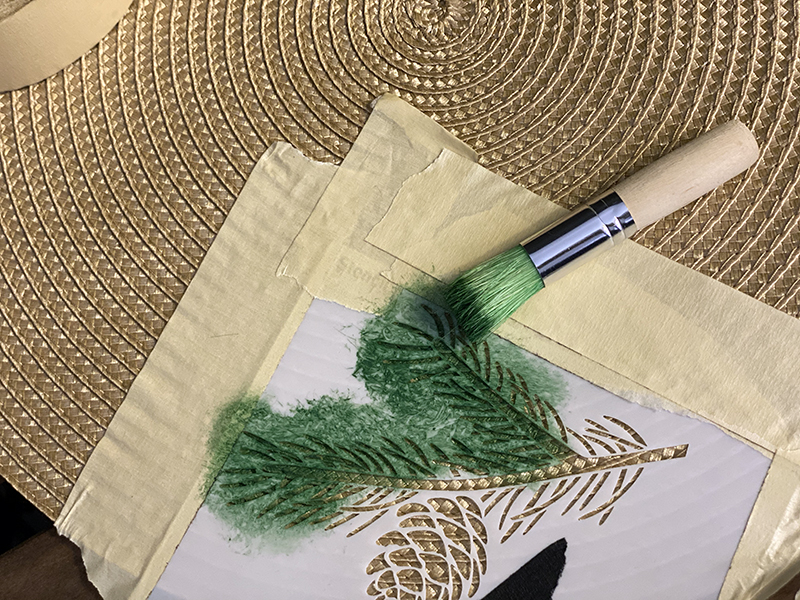
Use a light tapping motion with your brush using a small amount of paint.
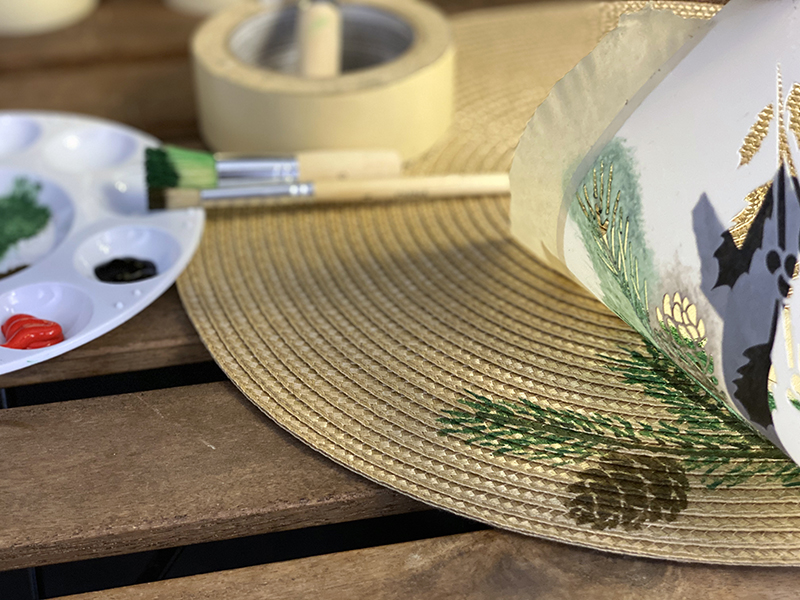
Remove the stencil carefully.
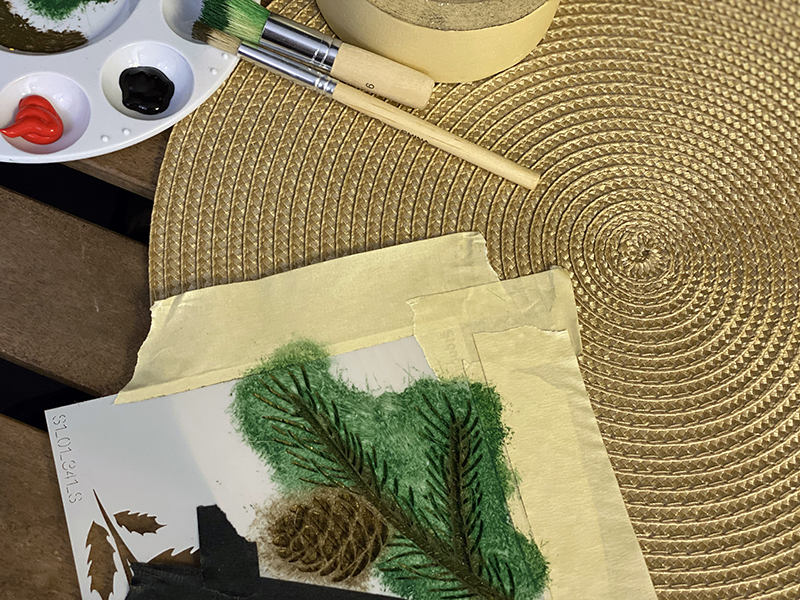
Repeat the last two steps as many times you would like.
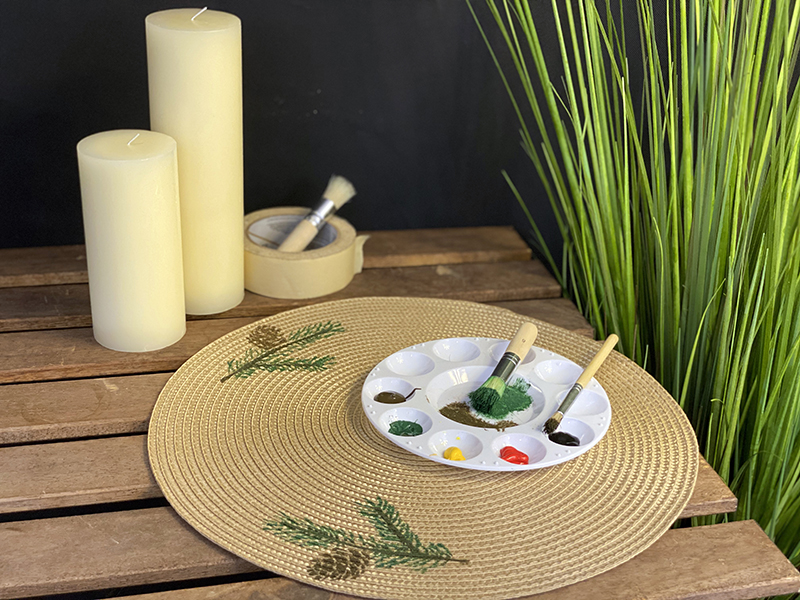
Now, we will stencil the candles.
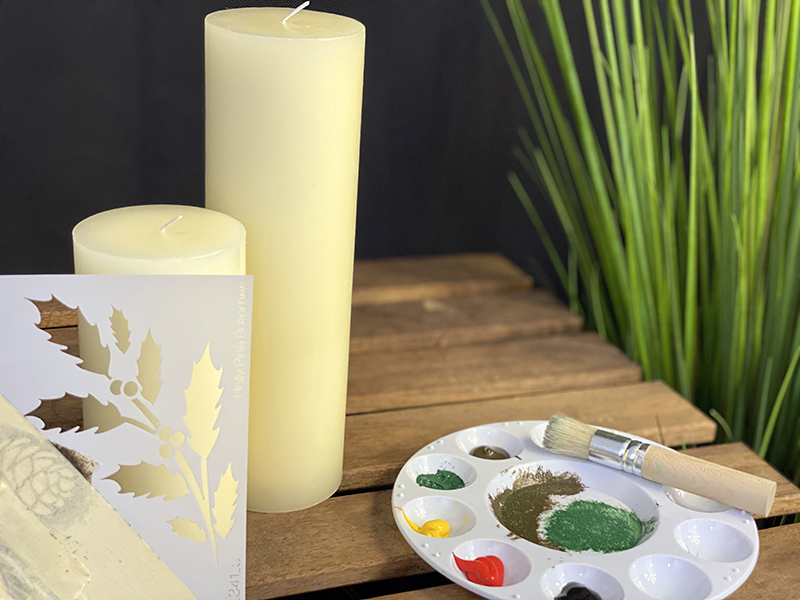
Use your painter’s tape to secure the stencil on the candles.
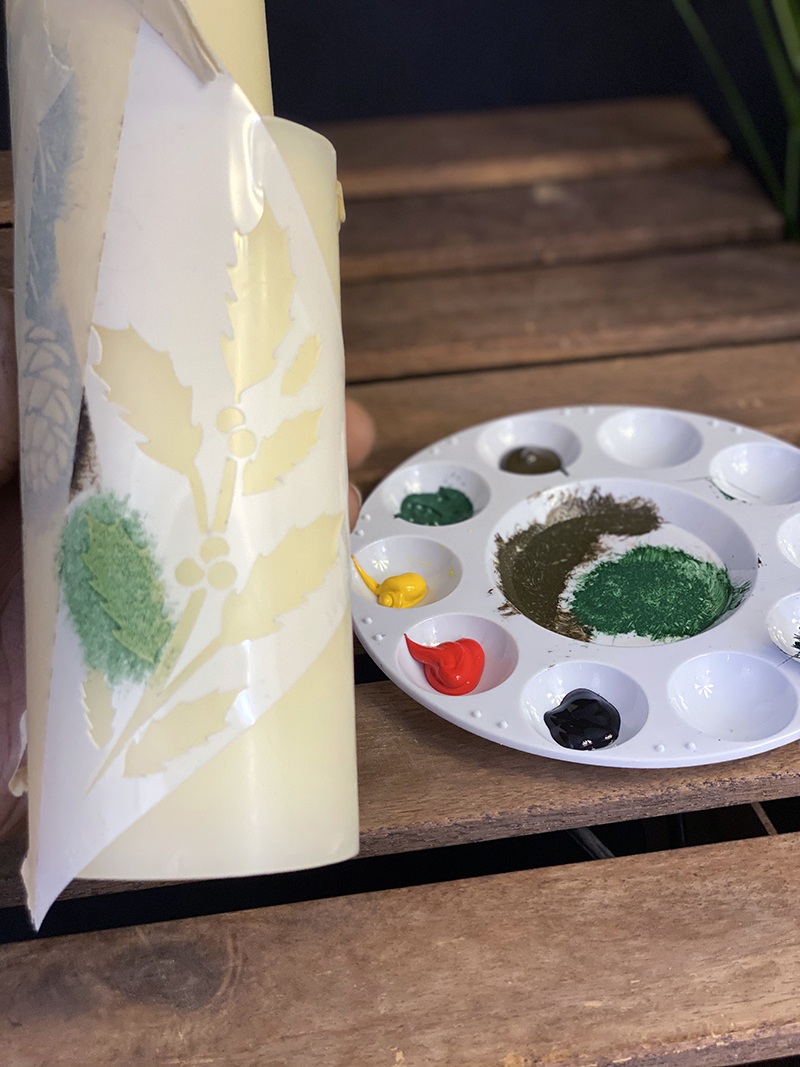
Begin painting with the colors you have chosen.
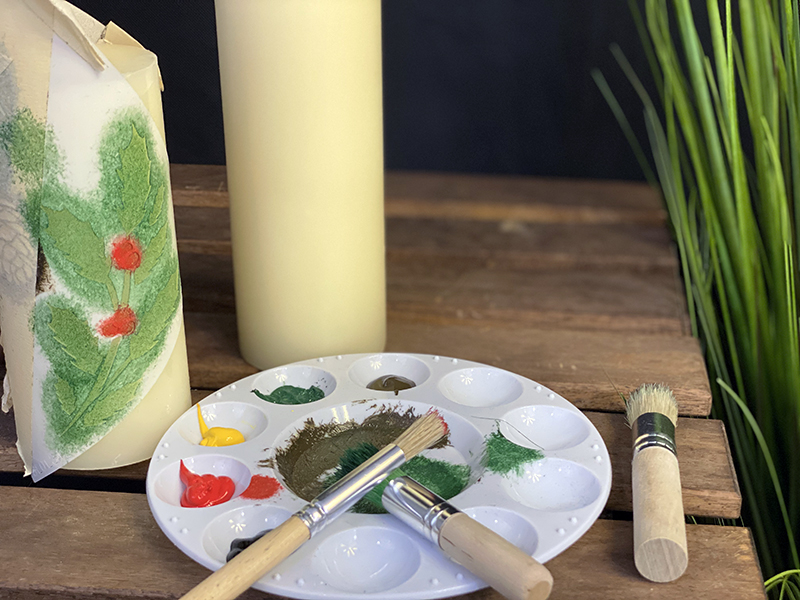
When you’re finished, give the paint enough time to dry off.
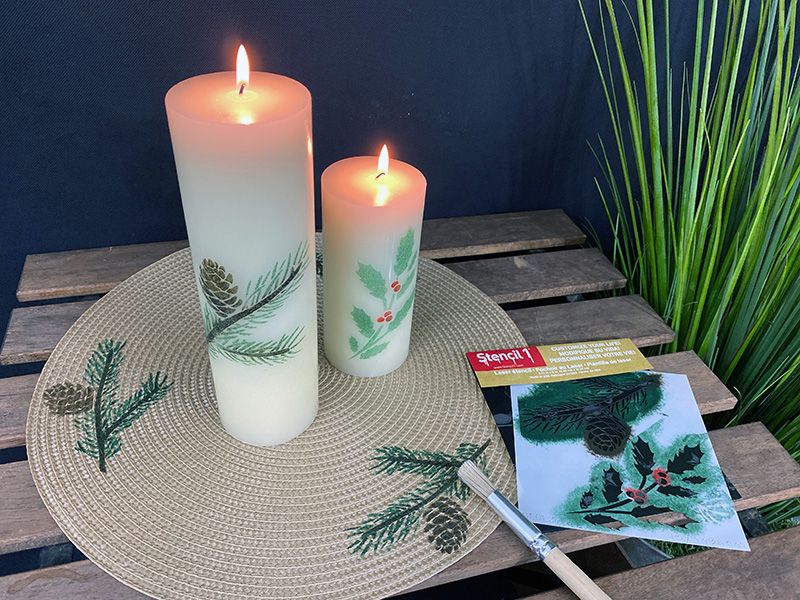
Excellent, now we are ready to decorate our dining tables or counter space if you prefer.

Please share your version with us @Stencil1


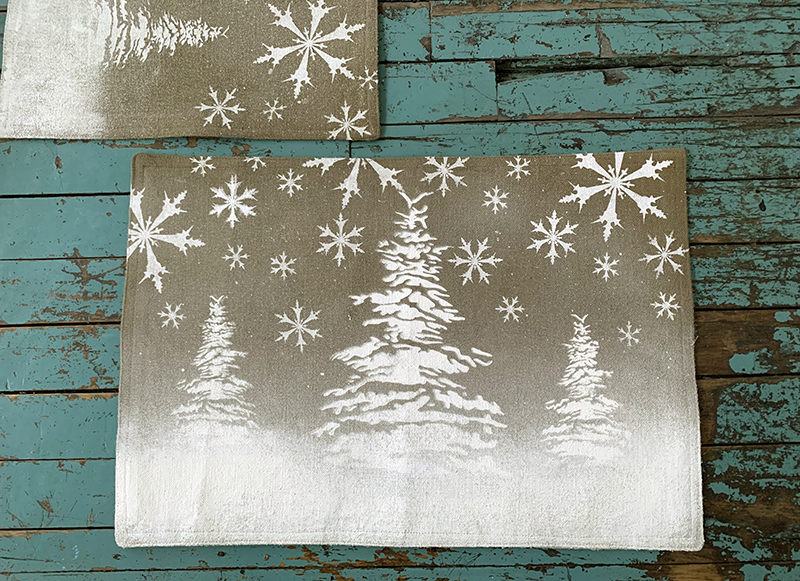
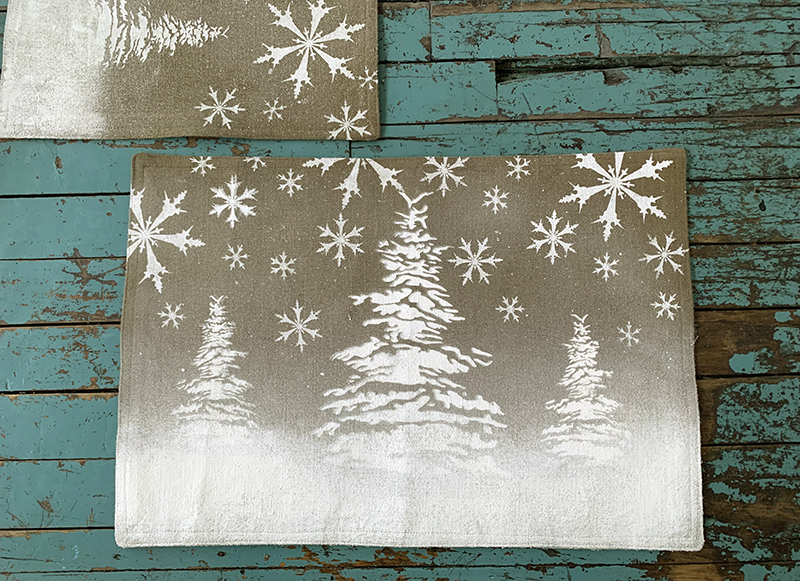
I wanted to add more joy to my home and I found these placemats that gave me the wonderful idea to use stencils and make them more appropriate for the holidays.

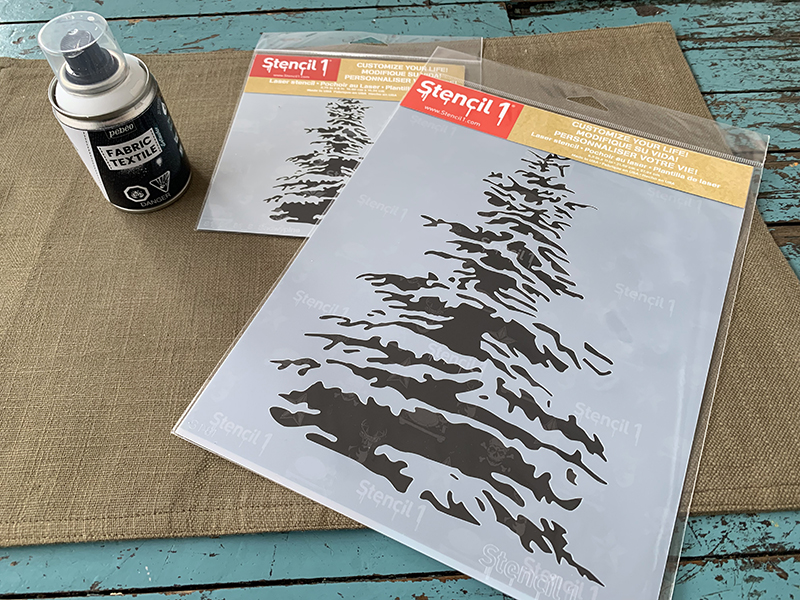
Supplies you will need:

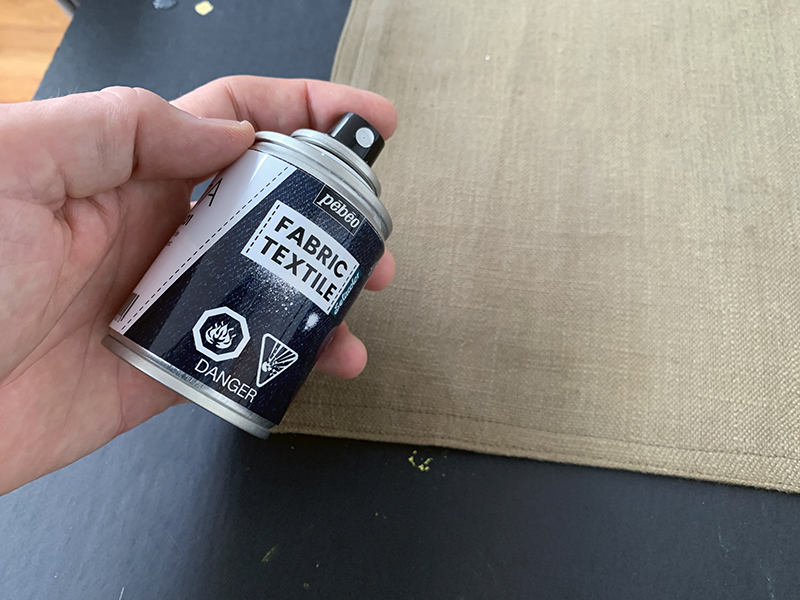
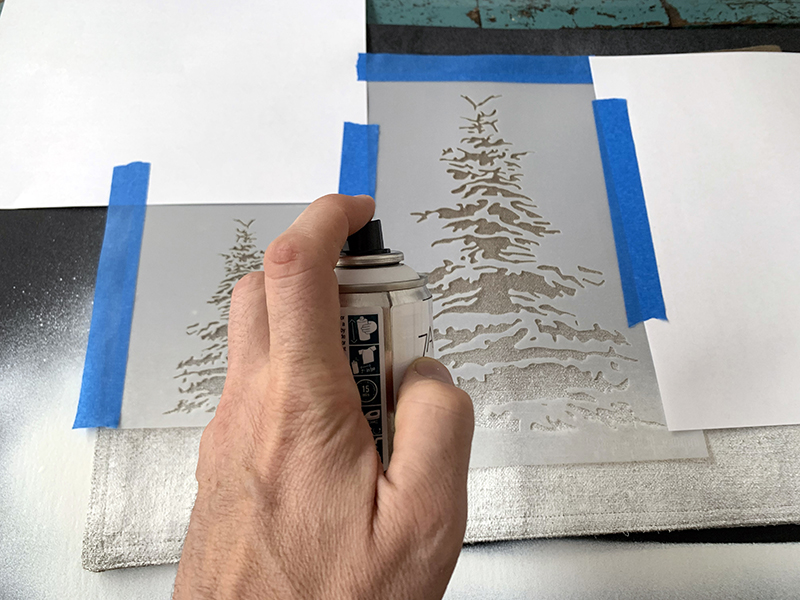
For this how-to, I’m using Pebeo Fabric Textile Spray Paint. They’re great for spray effects and for stenciling with larger stencils.

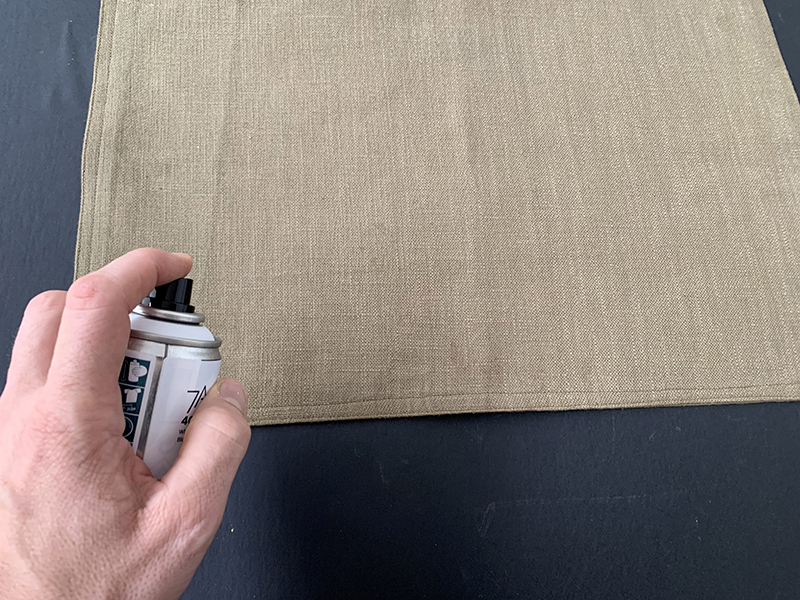
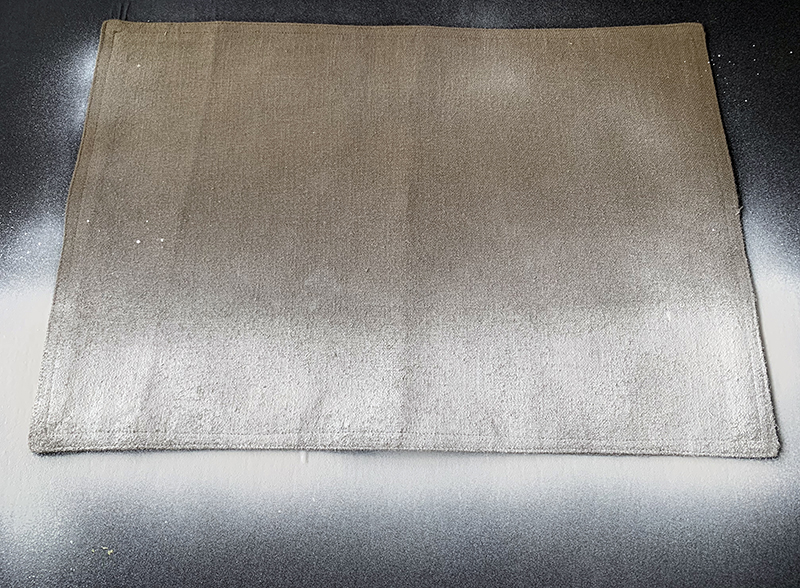
Begin spraying the bottom of the placemat to create your snowy scene.

I am feeling very Bob Ross, doing this landscape effect.

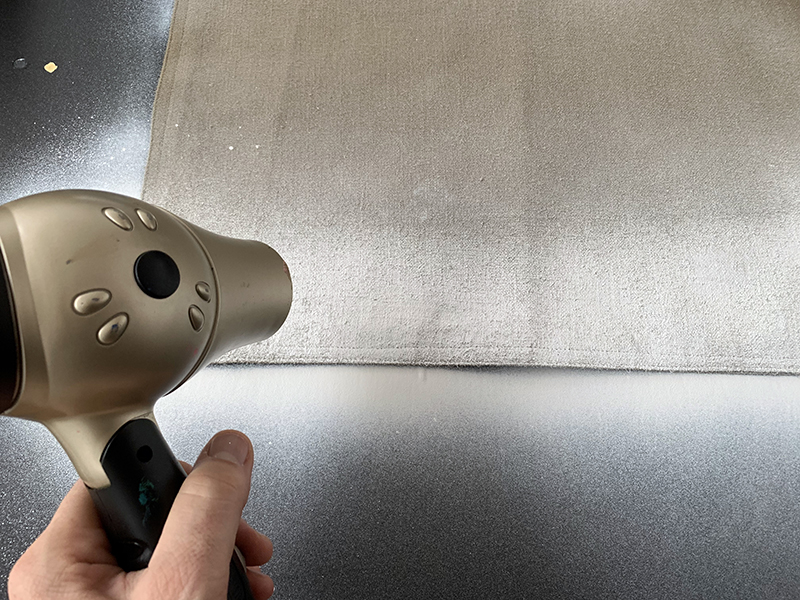
Use a hairdryer to dry the paint.

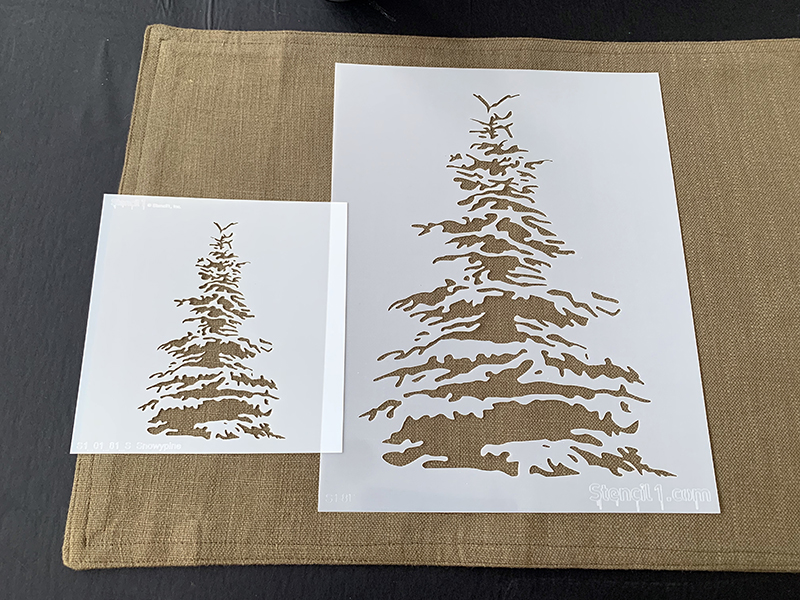
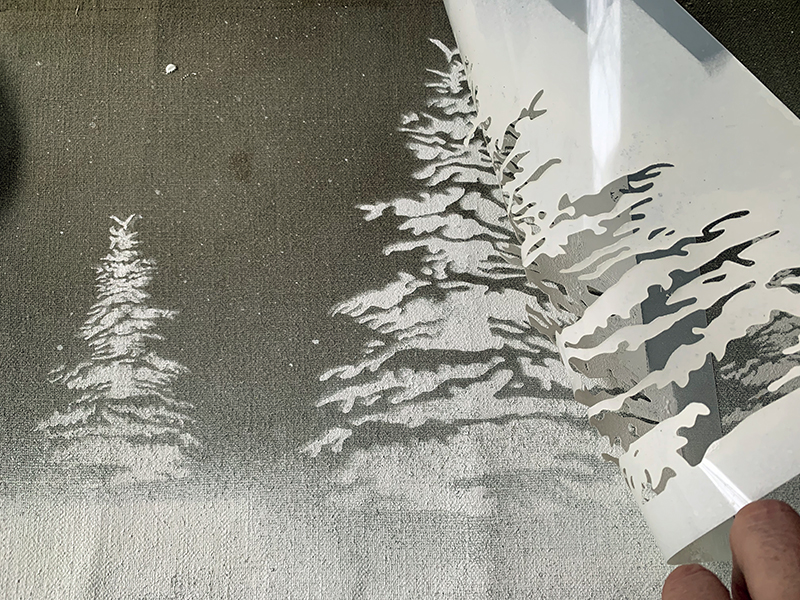
For this craft, I used the Snowy Pine Tree stencil, both the 5.75″ x 6″ and 8.5″ x 11″, to add perspective to the placemats

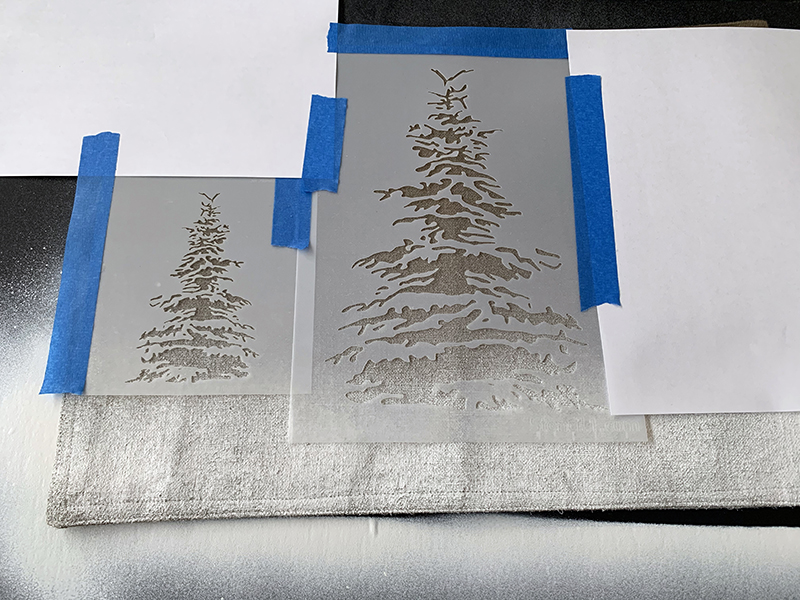
Secure the pine tree stencil with masking tape. You can use low tack spray adhesive to hold the stencil down when spraying as well to get all the stencil design details.

Spraypaint the pine tree stencil.

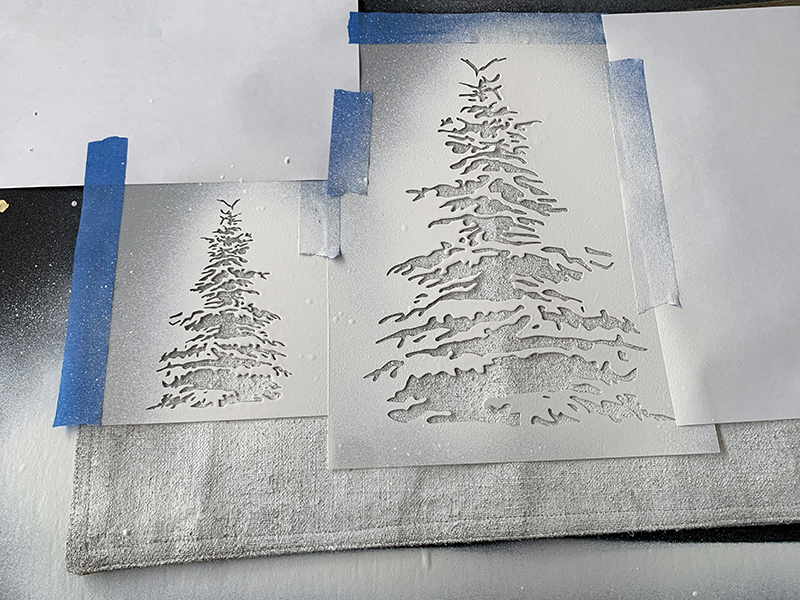
When you’re done spray painting, begin painting the next pine tree.

Remove the masking tape and the stencil and make sure you’re happy with the results.

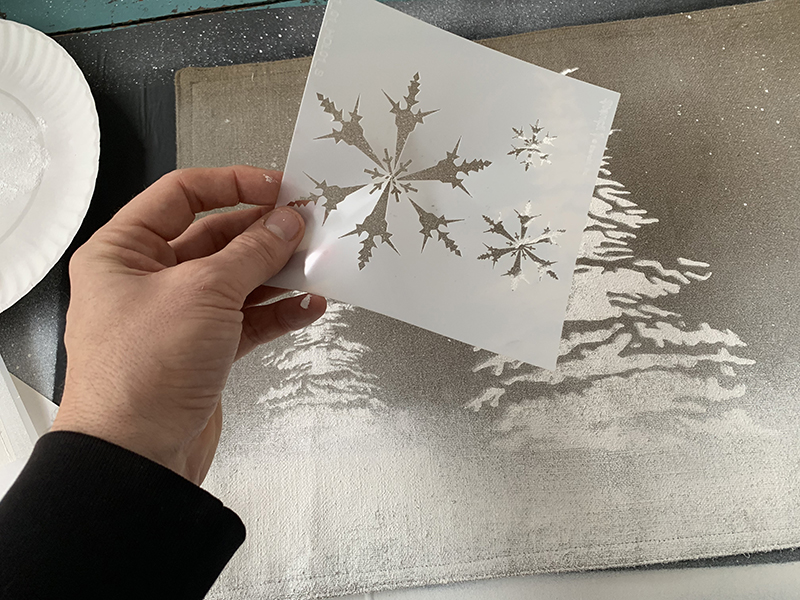
I used the snowflake stencil to add more holiday spirit and make this craft more magical.

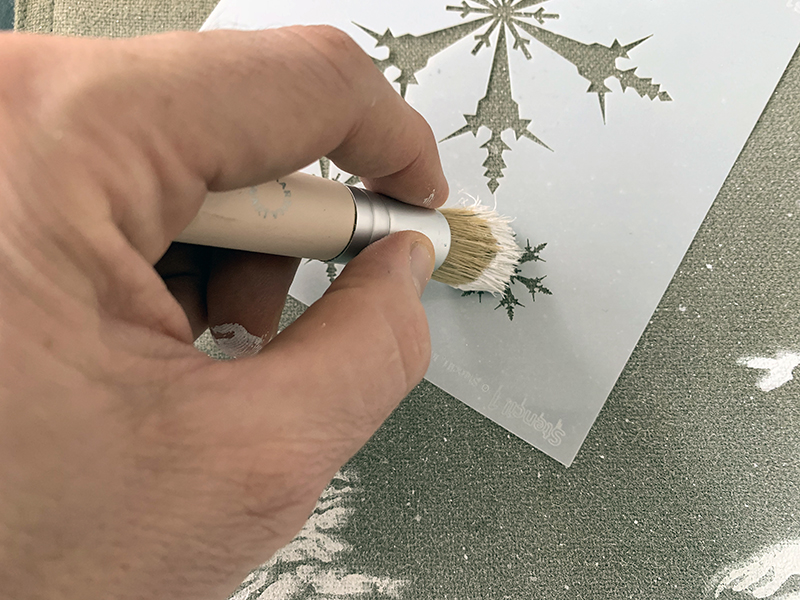
Paint the snowflakes with your brush and Pebeo Setacolor white fabric paint and add many to make it look like snowfall.

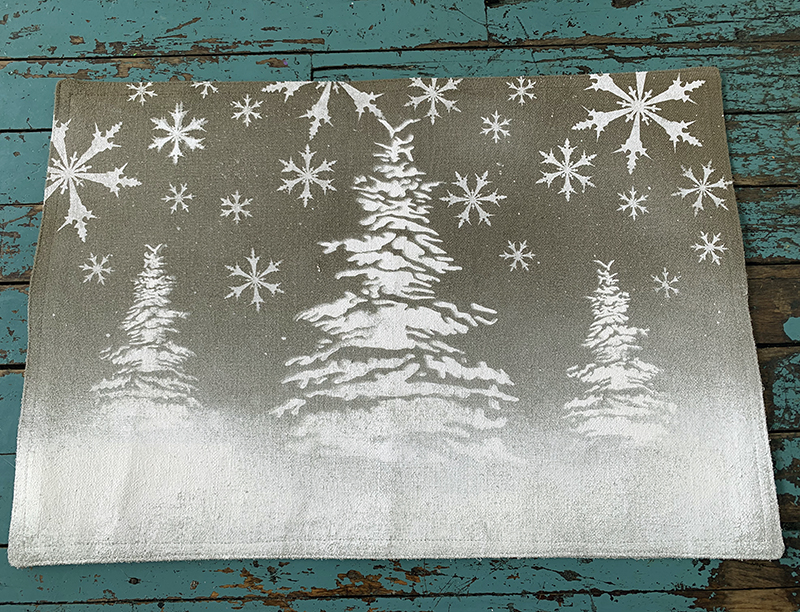
Now that you know how to do it, make enough for your dinner table. This project is also great for creating a runner.

Happy Holidays and please share your creations with is @stencil1


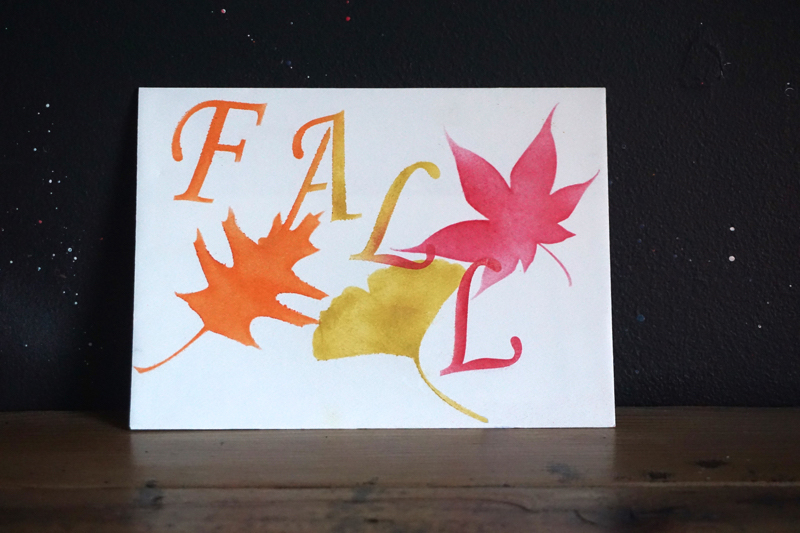
Now that Halloween is over, the Holiday season is in the air! From Thanksgiving to Christmas, it’s definitely not too early to prepping for the season. To start off, here are some Holiday Card ideas for you to try out!

IMG_8065

Reinvent the Holidays: Easy Paper Crafts

Personalize your gifts this Christmas to make them extra special. You don’t have to spend hours to make something that’ll make your special someone smile. Try these personalized cards and gift tags, making them is super easy and super fast!

cards
DSC01886

Ways To Decorate A Card

Get inspired! Customize your very own cards to share with your friends and family. Just in time for the holidays. Perfect for greetings, invitations, and many more!


Picking out ornaments for the tree is one of the best parts of the holidays. Make it extra special and exciting this year by making your own ornaments!

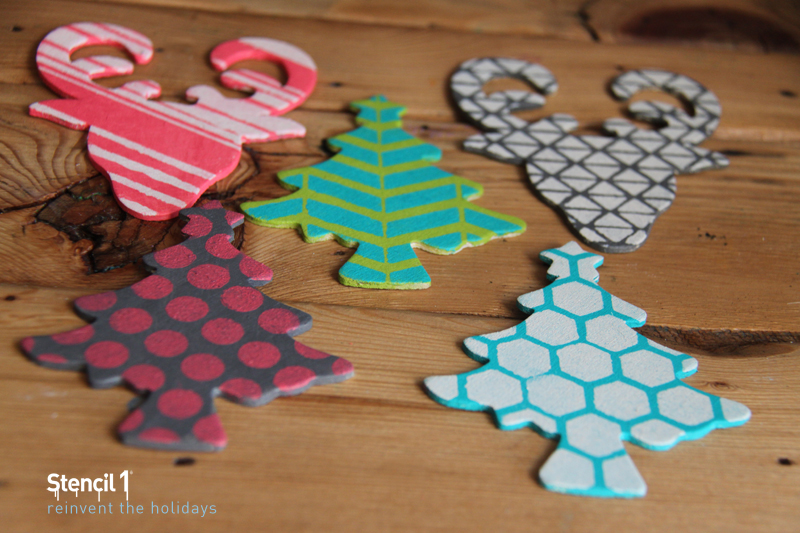
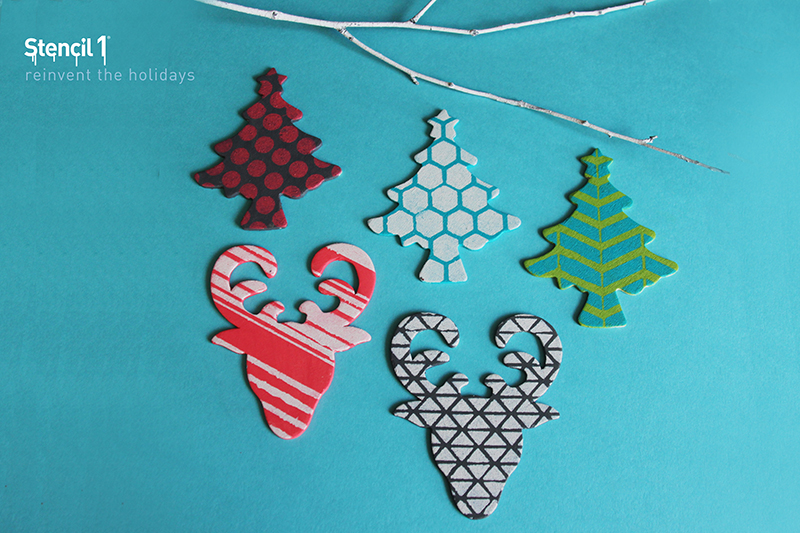
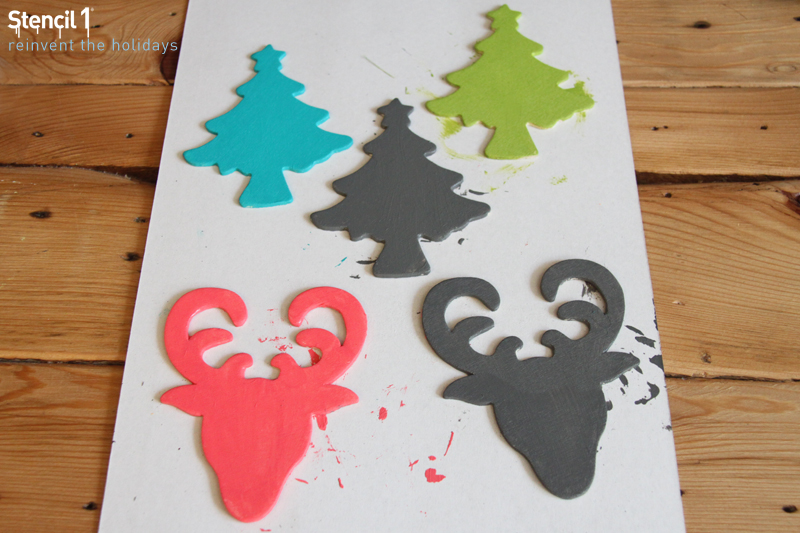
For this how-to you will need: Stencil1 Traditional Ornament Kit, multi-surface paint, stencil brushes (or sponge) and string.

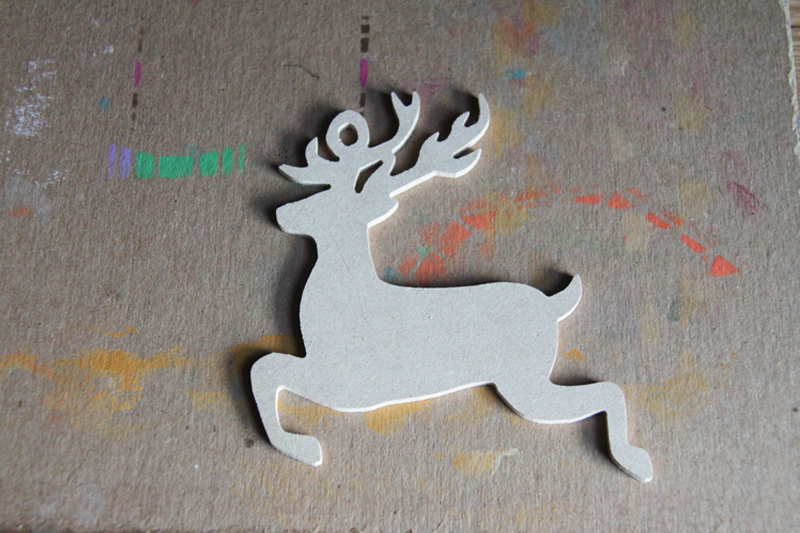
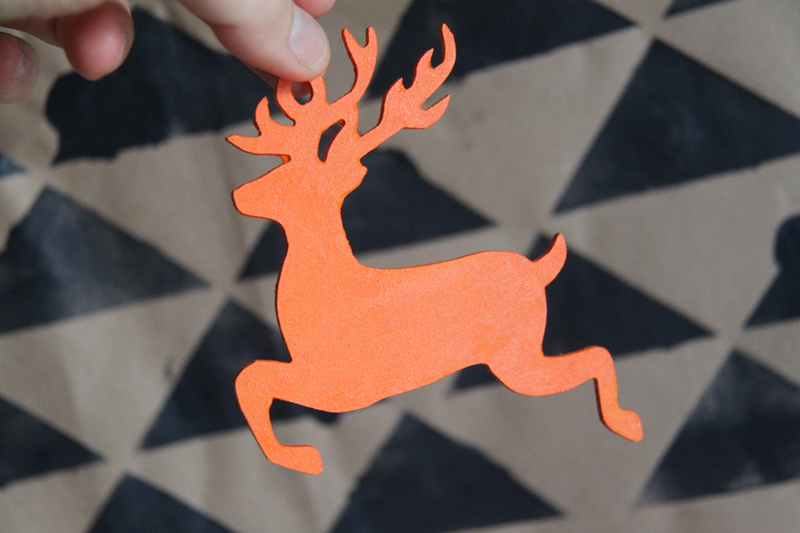
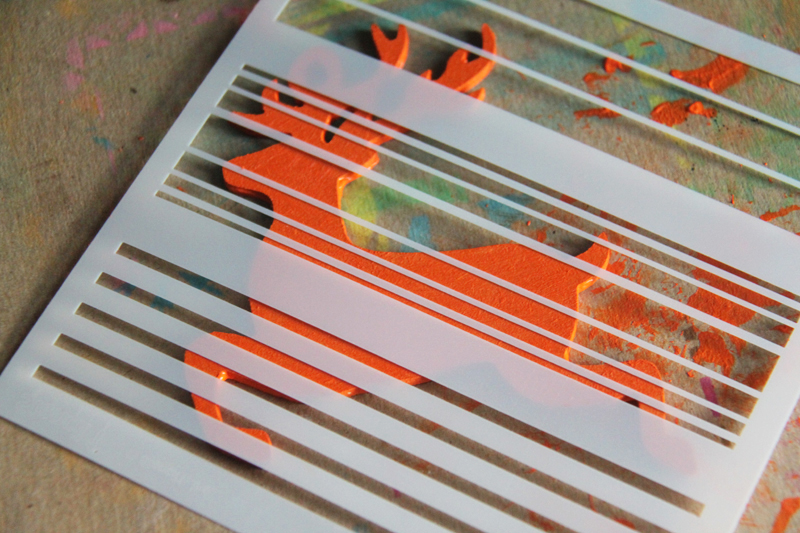
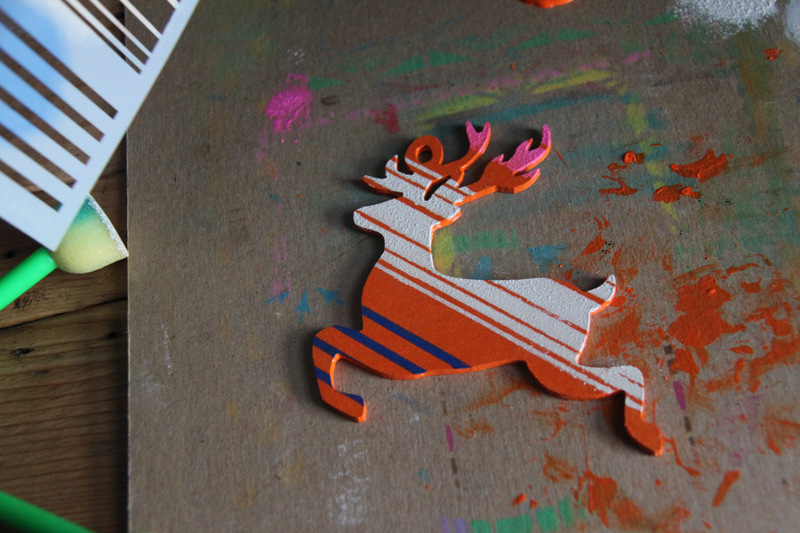
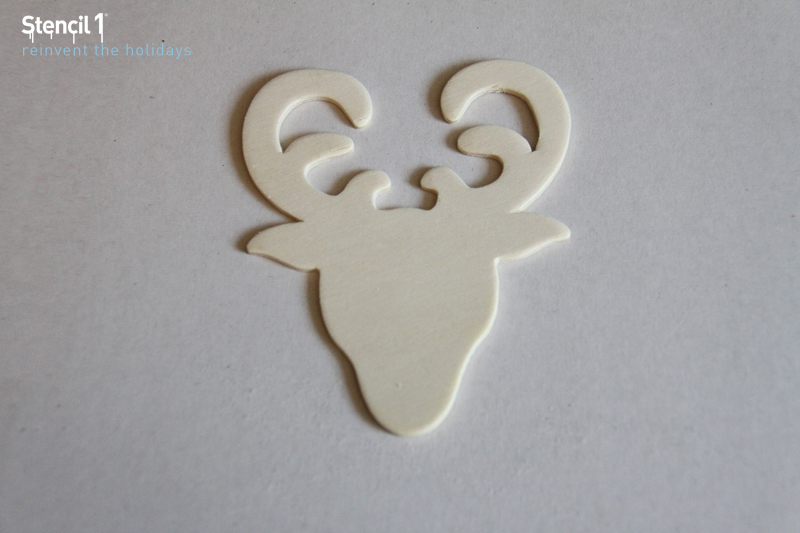
Step 1: Choose one of the shapes and pair it with a stencil. We chose the deer ornament and the stripes stencil.

IMG_8351

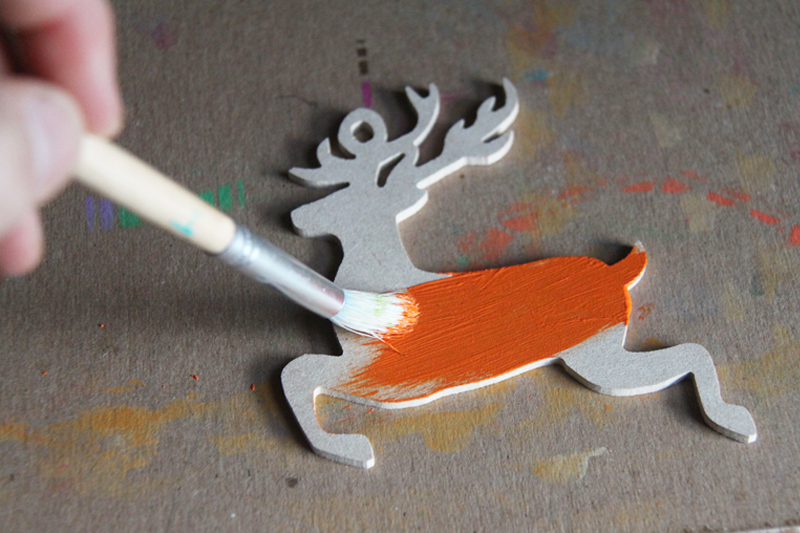
Step 2: Paint the ornament a solid color. Make sure to paint the edges as well. Let the paint dry off completely.

IMG_8353
IMG_8376

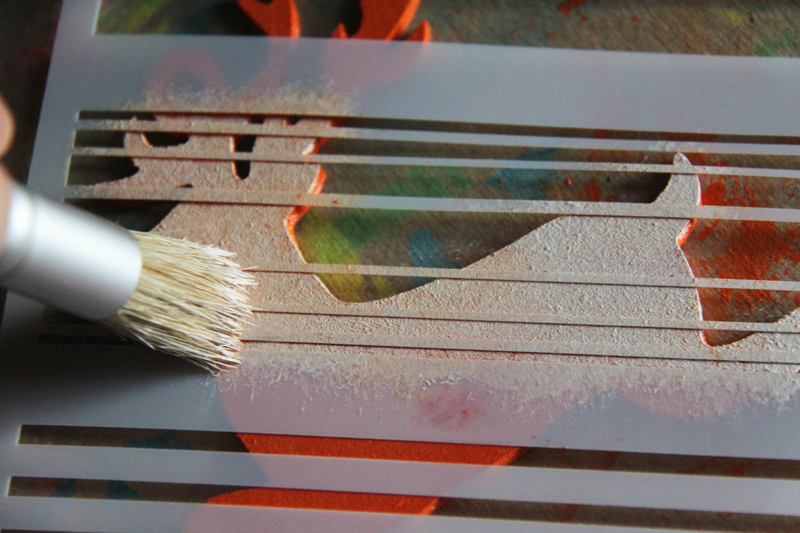
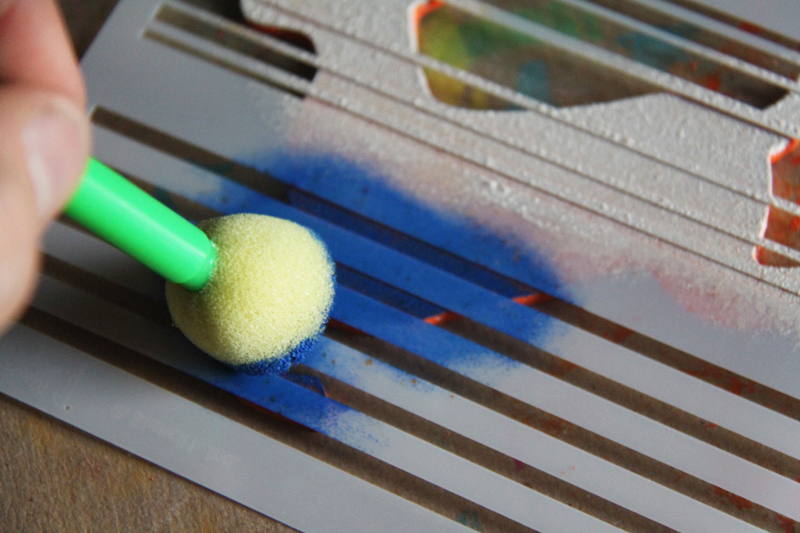
Step 3: Place the stencil on the ornament. Stencil using a dry brush technique. This means stenciling with very little paint and applying multiple layers. You can use a stencil brush or sponge for this step. We decided to stencil with multiple colors but this would also look great with only one accent color.

IMG_8380
IMG_8385
IMG_8390

Step 4: Carefully lift the stencil and allow it to dry.

IMG_8397

Step 5: Use string to hang your ornament. Take a picture and show us what your ornaments look like @Stencil1
final


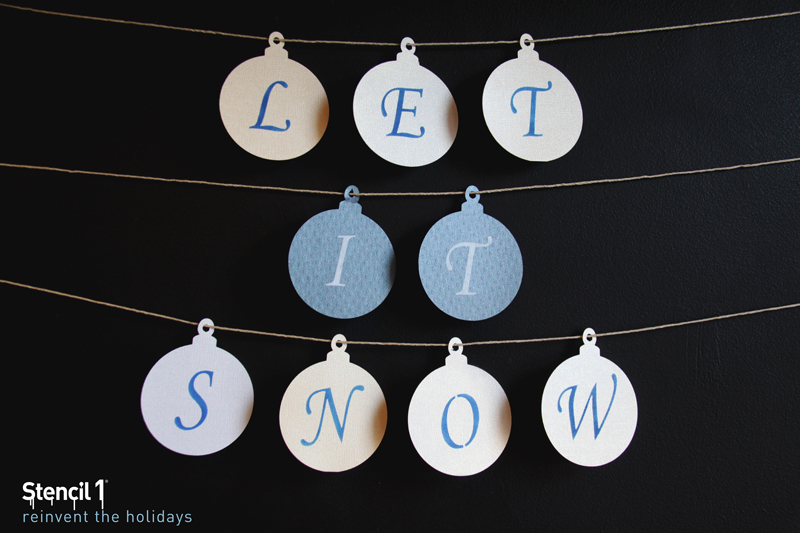
ornaments_LetItSnow

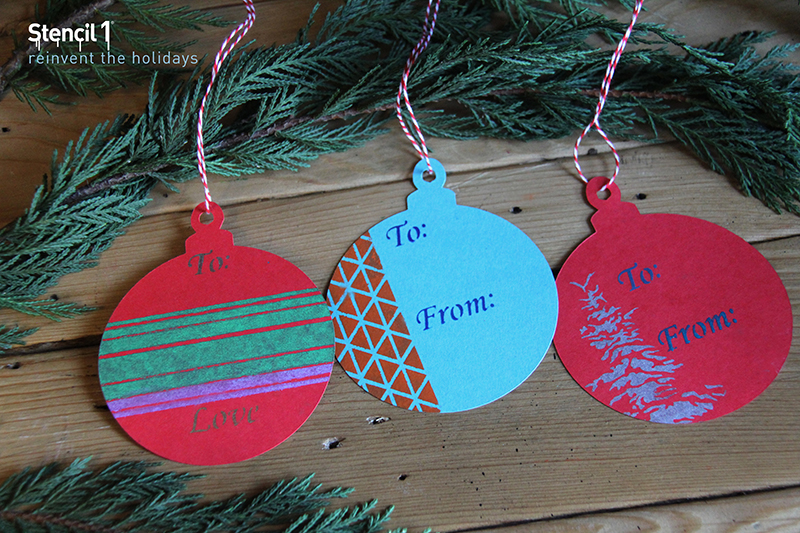
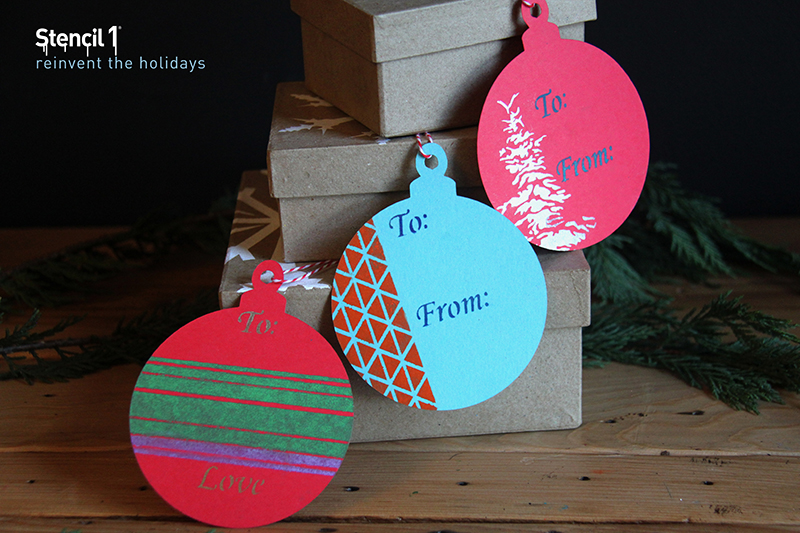
Ornaments are not exclusively for trees. In fact, these paper ornaments look great as a paper garland for your door or wall and they also make great gift tags!

We made these ornaments using a template (download this template for free below!) and Clearsnap Crafter’s Ink. When you stencil these, use very little ink and a sponge! Allow 10 mins for the ink to dry if you use glossy paper.

These are the stencils we used: Corsiva Font , Winter Holiday Pack, Sayings Pack and our new 6 x 6 patterns

ornament_tags_1
ornament_tags_2

CLICK TO DOWNLOAD THE PDF >

Stencil1_ornaments_download