Στο νέο online παιχνίδι καζίνο του Nine Casino, εμπνευσμένο από τον κόσμο της κατασκευής στένσιλ, οι παίκτες μπορούν να δημιουργήσουν τα δικά τους μοναδικά μοτίβα για να ξεκλειδώσουν ειδικά επίπεδα παιχνιδιού. Immediate Byte Pro Neoprofit AI

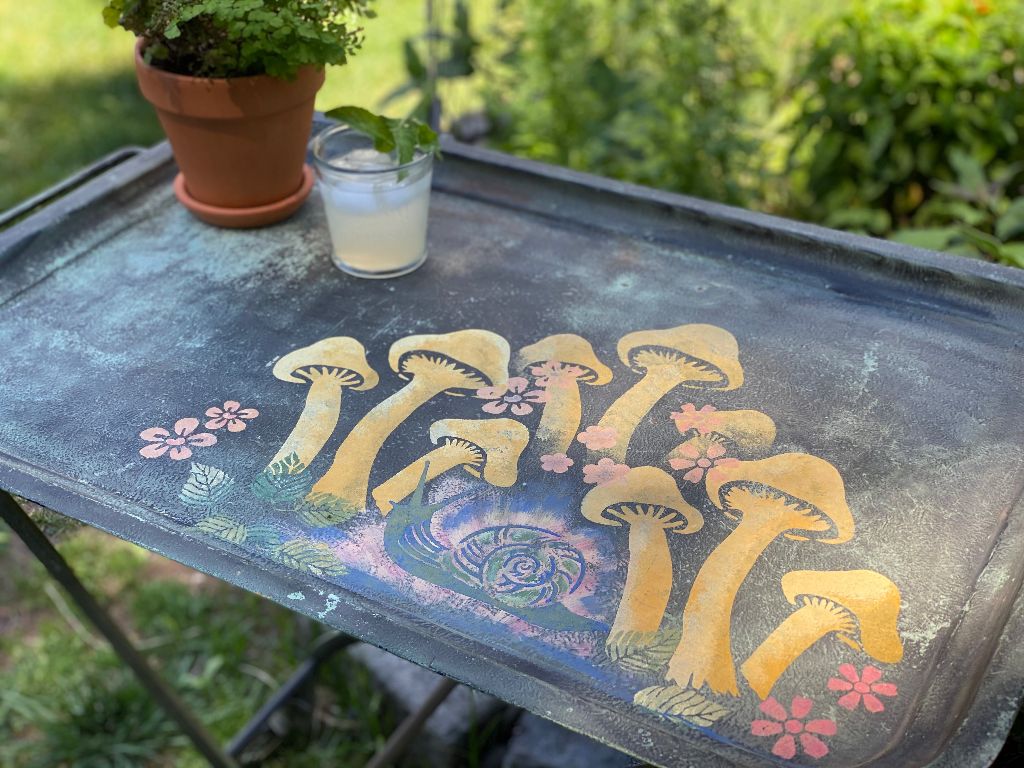
Here’s a DIY post that’s perfect for upcycling an old piece of furniture and giving it new life!This metal garden cart was actually someone’s trash and I decided to make it my treasure!Here’s how I stenciled the cart.

Materials you will need:

Metal cart
Assorted acrylic paints
Assorted stencil brushes
Mushroom stencil (8.5×11)
Spring stencil 4 pack
Snail and flowers stencil (8.5×11)
Matte clear coat spray
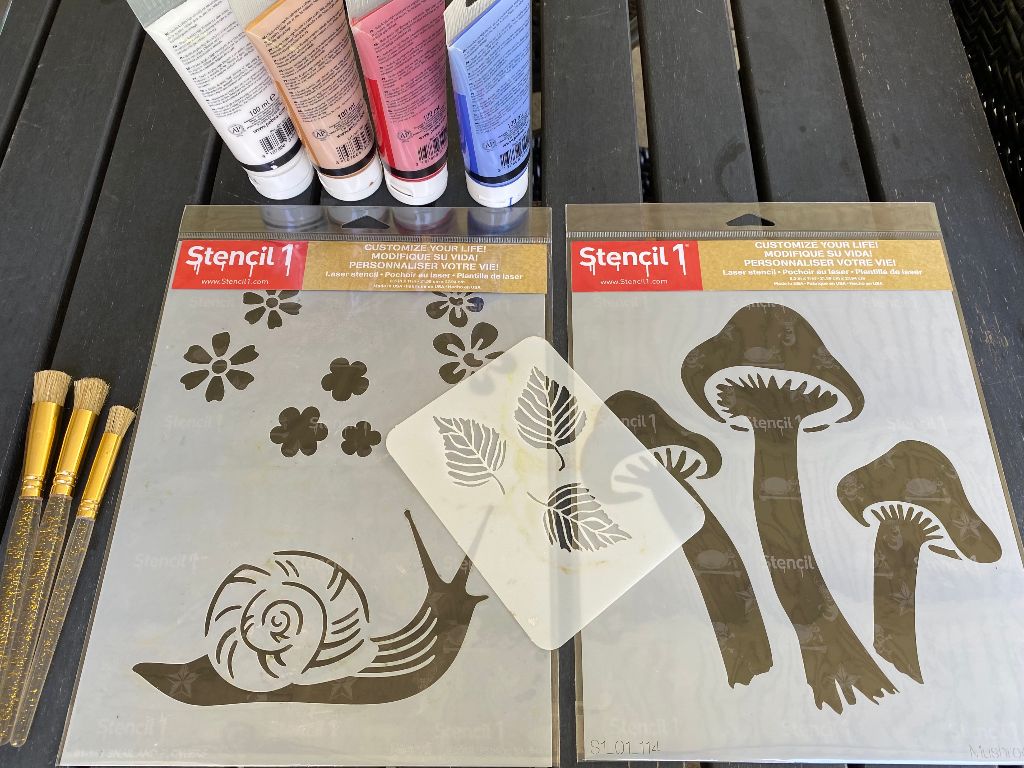
A group of garden themed stencils

Color mixing and process

The process was really fun and easy. I wanted to keep the colors somewhat consistent with what you might find in nature. I mixed a golden yellow for the mushrooms and a lighter, brighter yellow to highlight them.
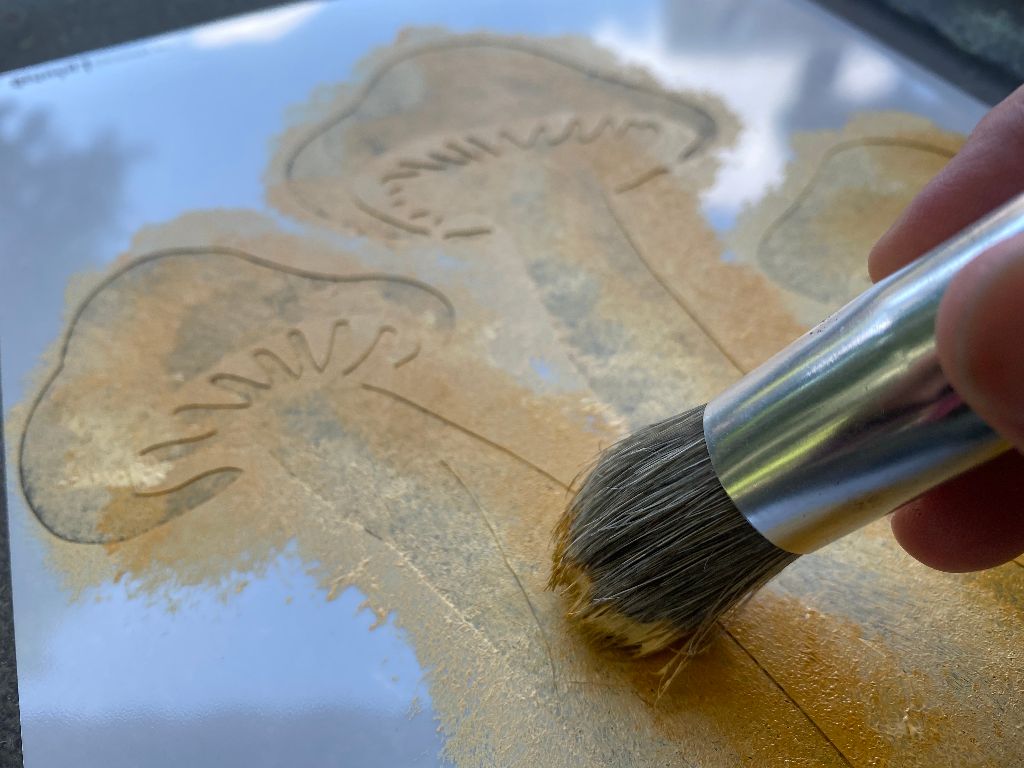
Painting a mushroom stencil

I chose to use the stencil three times at varying heights to create depth.
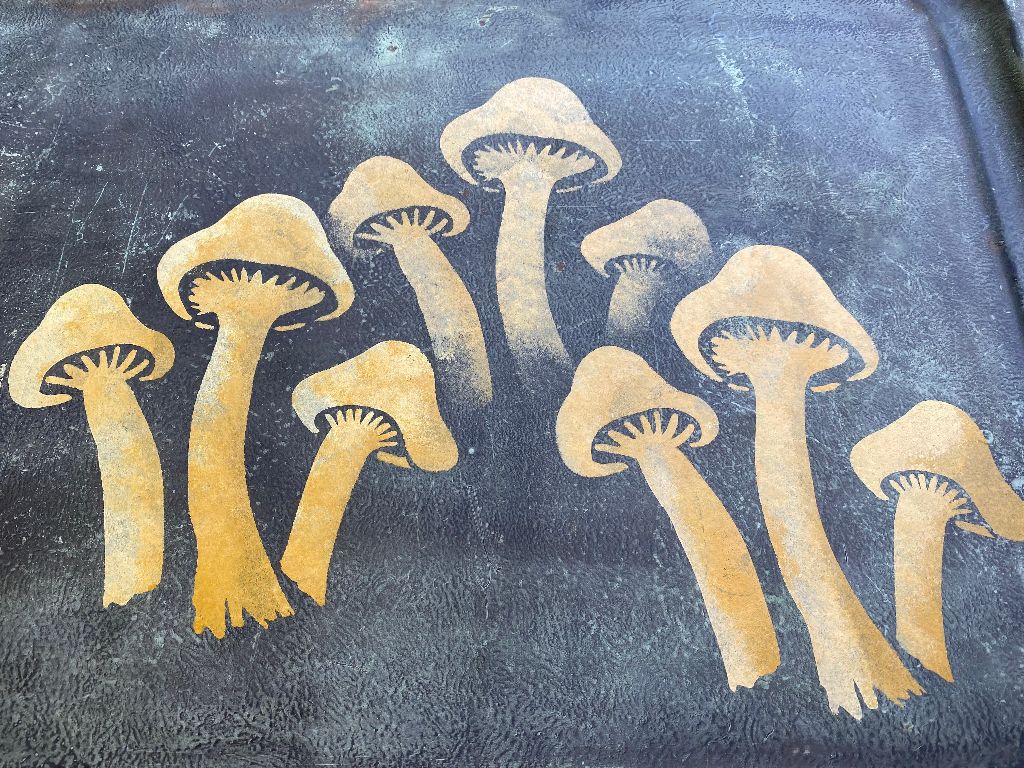
Mushrooms stenciled on a garden cart

Then I mixed a bright blue for the snails first coat because the green I wanted to use would get lost against the green background without it. Then I went over that with the green, leaving some blue peeking through in spots to lift the snail off the background. I decided on a soft pink, with hints on orange and red for the flowers and used the green from the snail and a lighter yellow for highlights on the leaves.
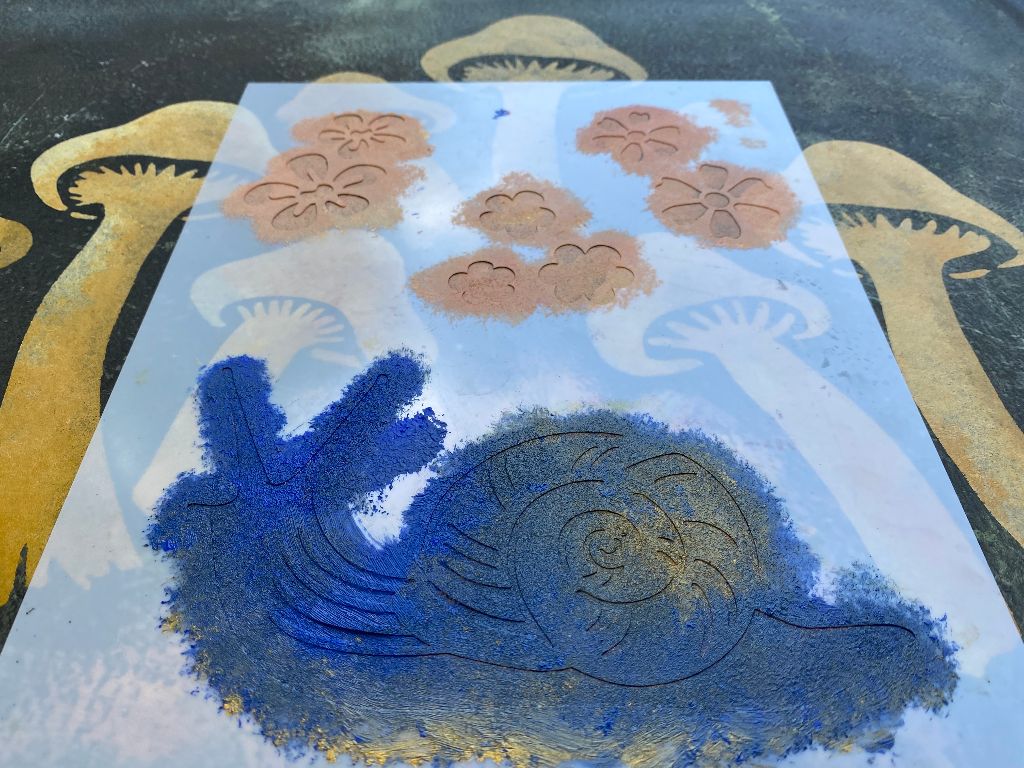
Painting a snail stencil

I added metallic gold to everything I mixed up. After everything dried, I did two quick coats using a rust-proof, matte clear coat spray.
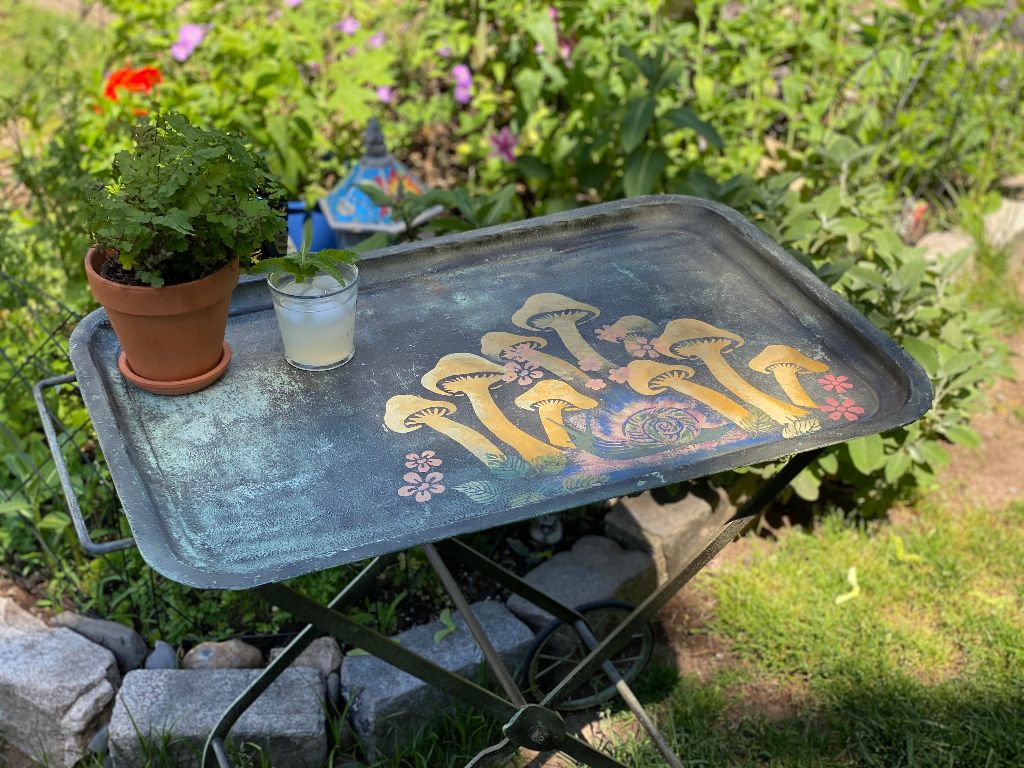
A garden cartwith stenciled designs

I loved doing this project, not only were the stencils adorable and fun but they also were easy to use on this surface. I love making something beautiful for my garden that I can use while spending time outside with friends.

Happy Crafting!
~ Teri @tjaneiro2 on Instagram


Do you create Home Decor Updates with Stencil1?
Please share with us on social @Stencil1 and #stencil1 


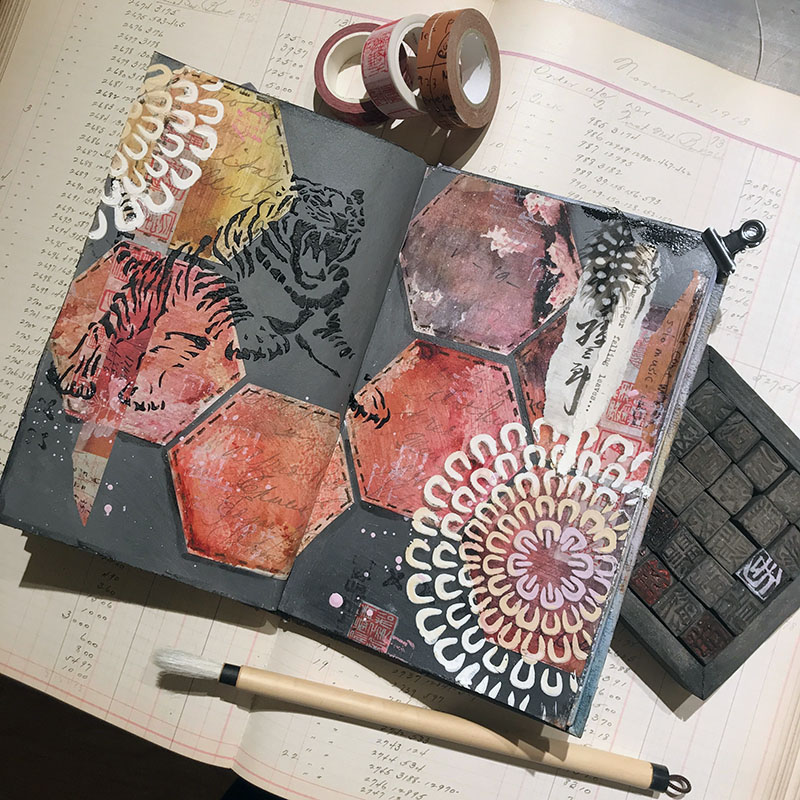
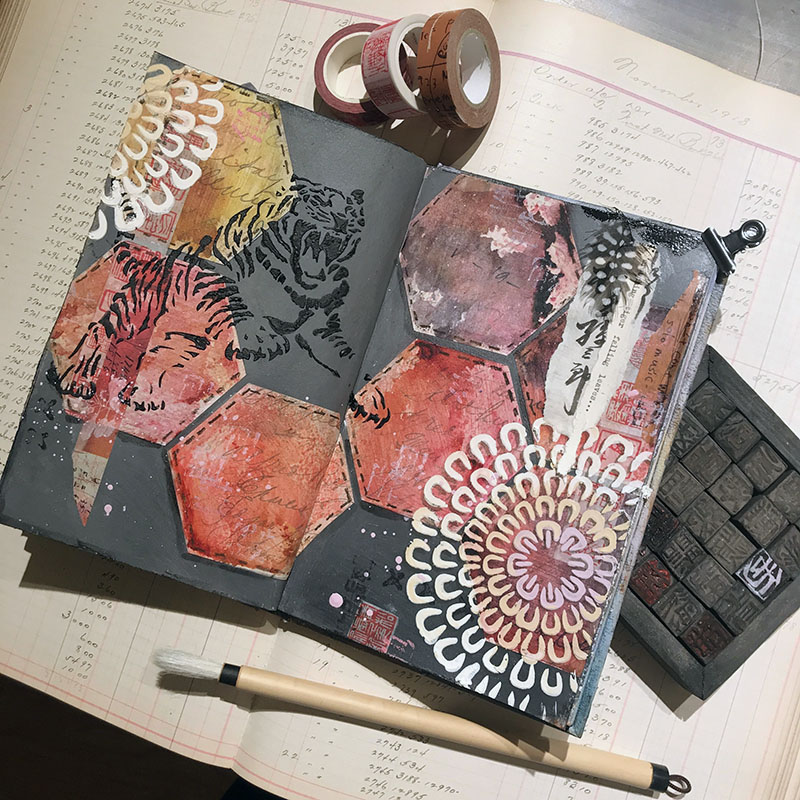
I was inspired this week by the falling leaves here in Northern Michigan and the pouncing tiger stencil from Stencil1

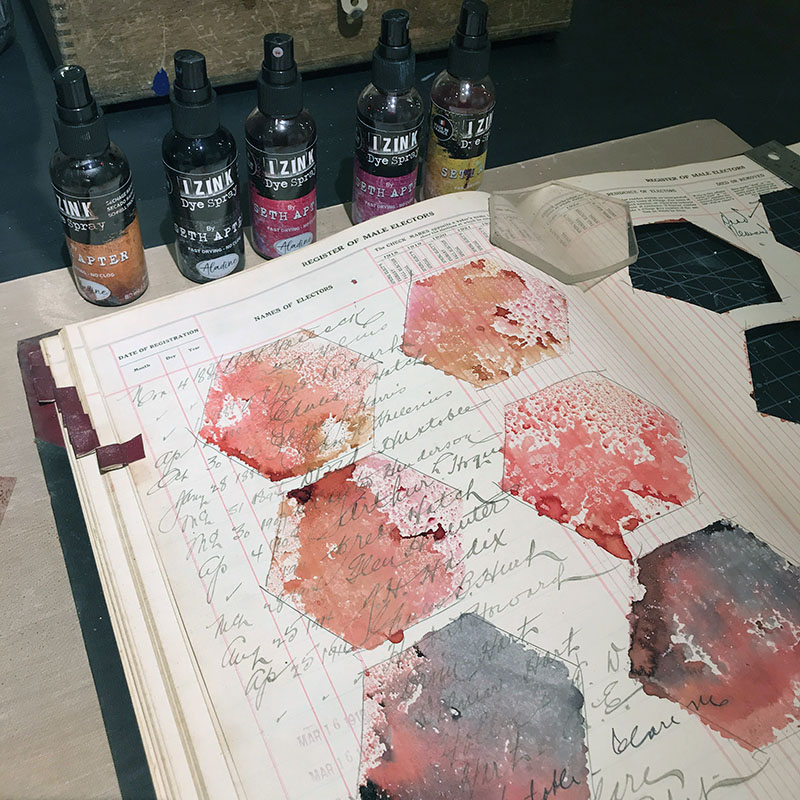
I sprayed SethApter Izink sprays in (Sunflower, Honey, Wild Rose, Pomegranate, and Licorice) onto a silicone mat and pressed a hexagon-shaped Gelliarts gel plate into the ink and then onto vintage ledger pages. 

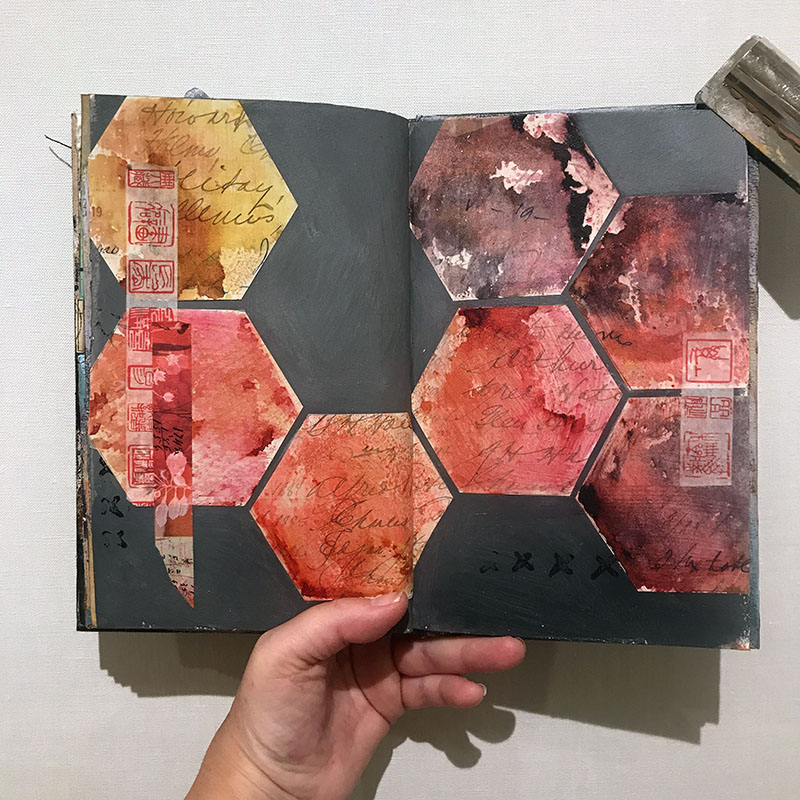
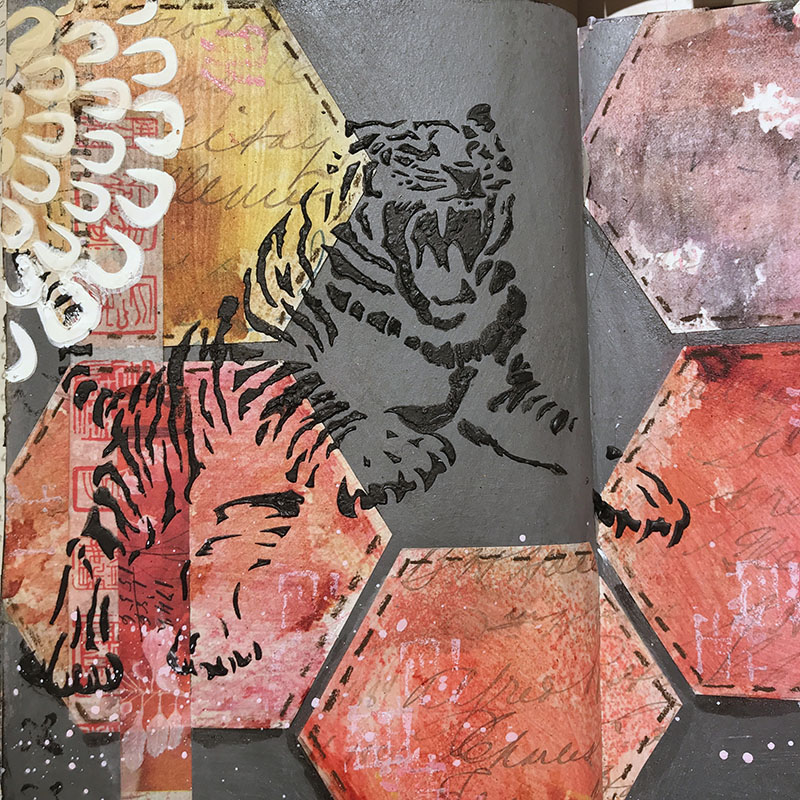
I next used gray gesso and painted both pages in a Stillman and Birns journal. Some black gesso was mixed into the bottom of the pages for variety. After cutting out the dried hexagons, I arranged them on the pages and used some coordinating colored washi tapes in a few spots. I next placed the Tiger Stencil on the left page and using Hard Molding Paste mixed with black gesso and some charcoal powder I spread through using a palette knife. This gave the tiger a nice raised texture.

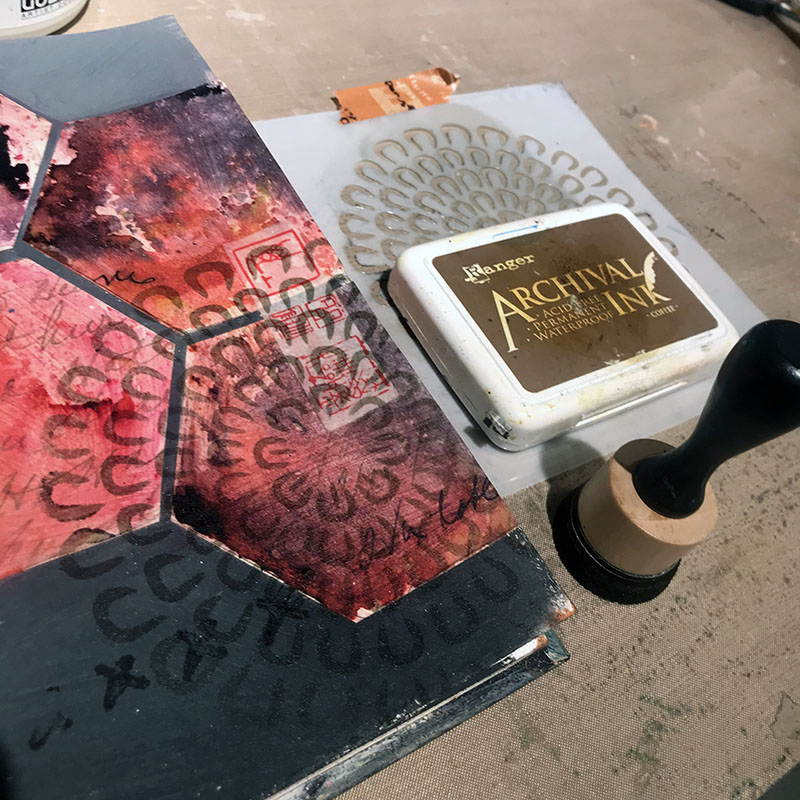
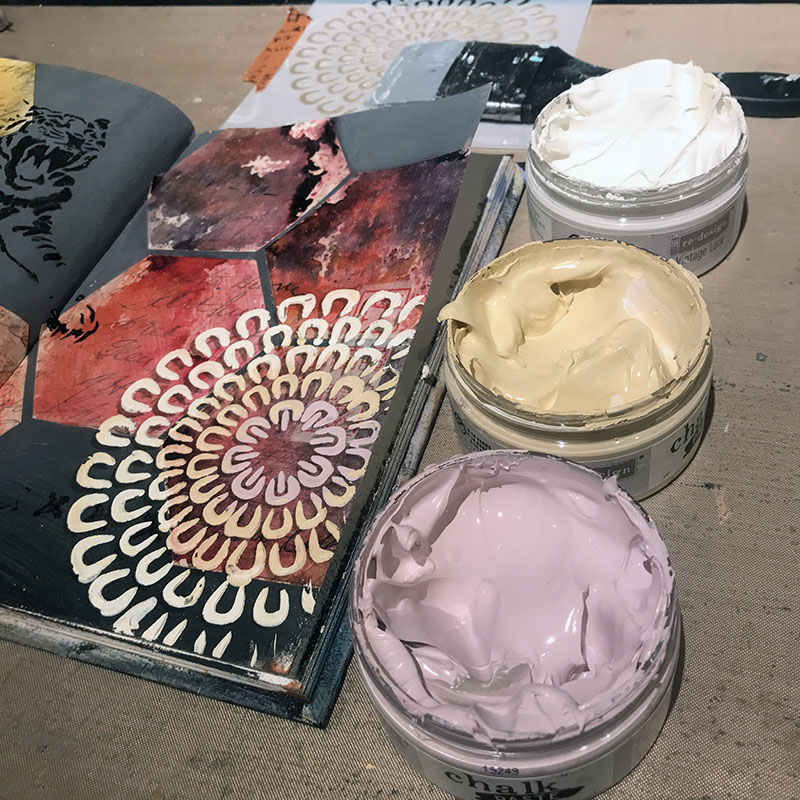
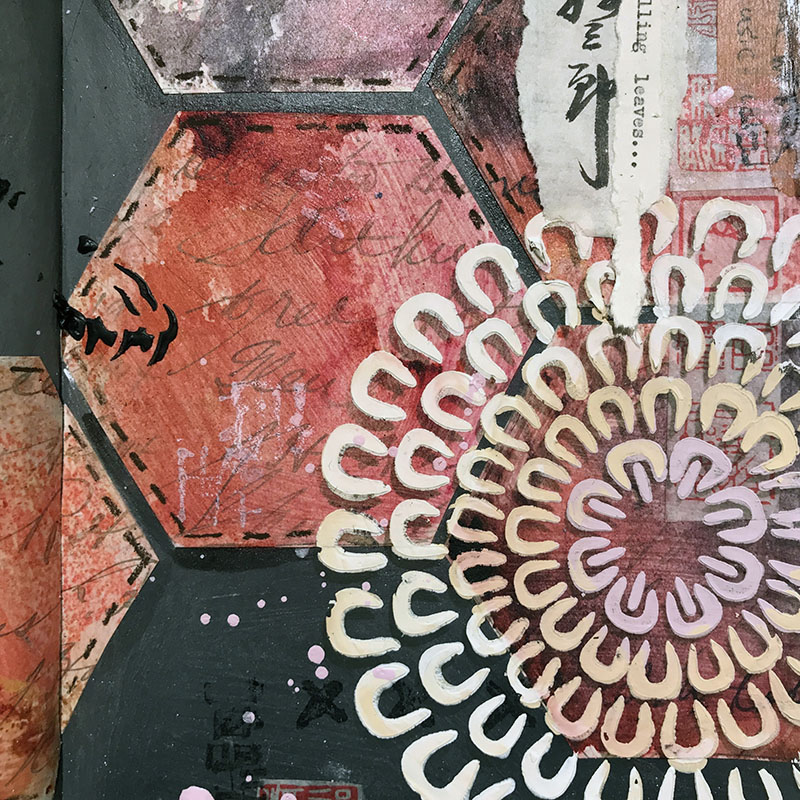
I used the Small Asian Mum stencil and first stenciled Archival Coffee Ink using a sponge applicator. After setting with a heat tool I replaced the stencil slightly off from the original placement so the ink could make a shadow effect. Next, three different chalk pastes from ReDesign were used (Roy croft Rose, Sand, and Chalky White and with a silicone paintbrush applied through the stencil to give an ombré look.

I added some stitched marks around the edges of the hexagons with a brown Stabilio pencil and then stamped using antique Asian woodblock characters in Distressed Oxide Inks (Spun Sugar and Worn Lipstick) onto the collaged hex’s for some added interest.

Vintage Calligraphy in Rice Paper and a typewritten statement of “Crouching Tiger Falling Leaves” was glued at the top of the right page with some Baked Texture embossing powder from SethApter in Eclipse Edged the papers. Splatters in Paper Artsy Cherry Blossom added some contrast against the gray and some distressed black ink edges all the pages.

This is another journal art piece by Tracy Hickman, @anonymous.palette on Instagram.

Please share your creations with us @Stencil1