Στο νέο online παιχνίδι καζίνο του Nine Casino, εμπνευσμένο από τον κόσμο της κατασκευής στένσιλ, οι παίκτες μπορούν να δημιουργήσουν τα δικά τους μοναδικά μοτίβα για να ξεκλειδώσουν ειδικά επίπεδα παιχνιδιού. Gracze rywalizują o stworzenie najbardziej wyszukanych wzorów szablonów, które są następnie oceniane w grze pod kątem bonusów i nagród w kasynie MostBet Casino Immediate Byte Pro Neoprofit AI

I have a crush on a new company, it’s called Devine Color. The creative behind the brand is Gretchen Schauffler and her story of creating the line is an inspiring one ( find out more about Gretchen on her blog). Her twitter username is WhatUpG  – I’m a little obsessed with her down to earth style and humor. With her years of being a color consultant and doing work for thousands, she wanted to simplify the process and make it easier to find the perfect color for your surroundings. Devine Color was born.

Devine Color’s uniquely designed color cards have a cutout window in them with several color swatches around the frame. This allows you to compare and contrast different shades in the room with the colors on the card. As you look through the window, the shade that works the best almost pops out from the color card! It’s almost as if the colors chooses you. You have to see it to actually believe it – in the picture below, we were trying to find a color that compliments the wall behind the sofa the most, and Devine Cocoa immediately stood out from the color card! Personally I think Devine Café and Devine Bavarian would also accommodate the sofa.

444

The colors that Devine Color offers are fool-proof. I want to utilize the system to come up with colors for stencil installations. I often paint with a tone on tone look so choosing two colors from the card to coordinate in your space, now we’re talking. And not only it’s low odor and zero VOC, but it also has an exclusive illuminating formula that allows true, rich, and radiant color to shine through.

Checkout Divine Color paint at Target. The line also offers modern, removable wallpaper and is also expanding into new offerings.



mrstencil10

Placing wood panels in your home is an easy way to make a room look interesting and inviting! They are a great conversation starter when friends and family pay you a visit! Wood panels come ready to install, so almost anyone can install them with ease!

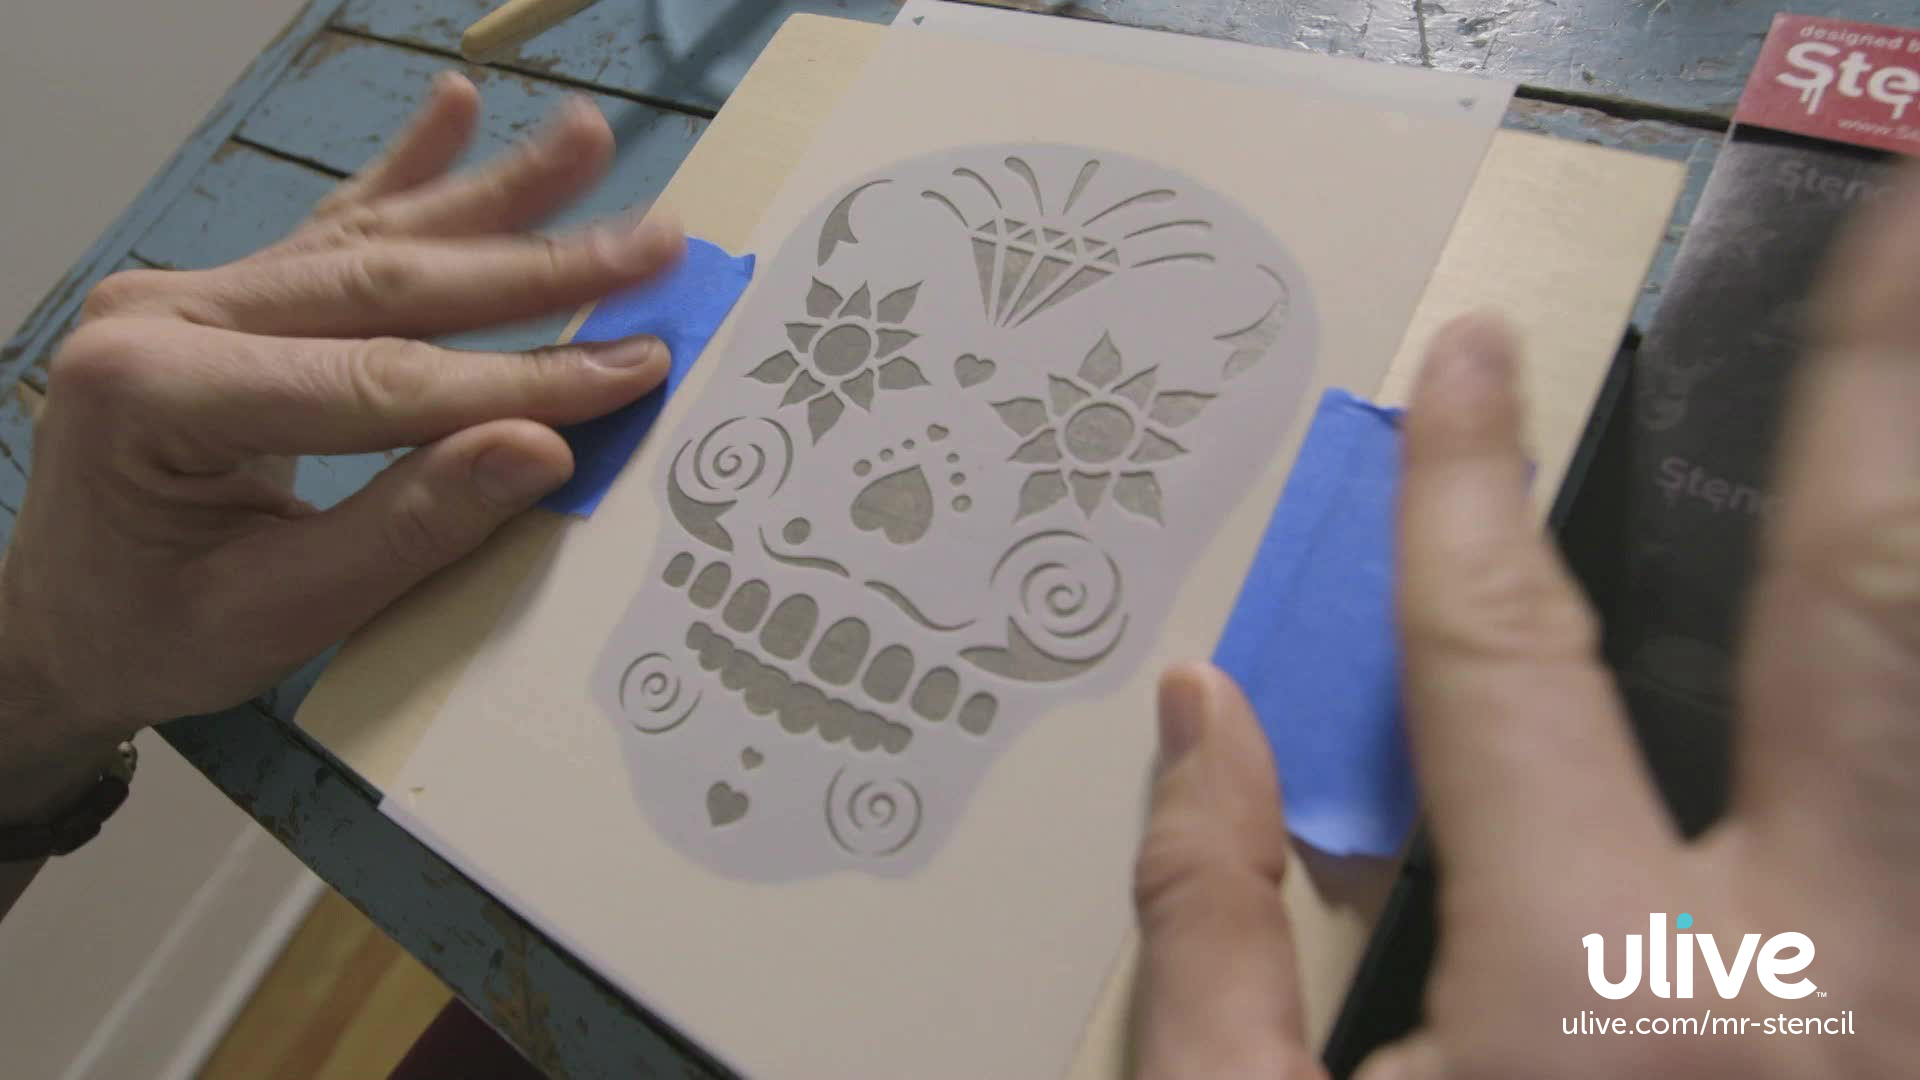
Watch our video, and learn how to stencil wood panels using acrylic paint, a stencil brush, and one of our favorite Stencil1 stencils: sugar skull stencil.

Share your wood panels with us @Stencil1


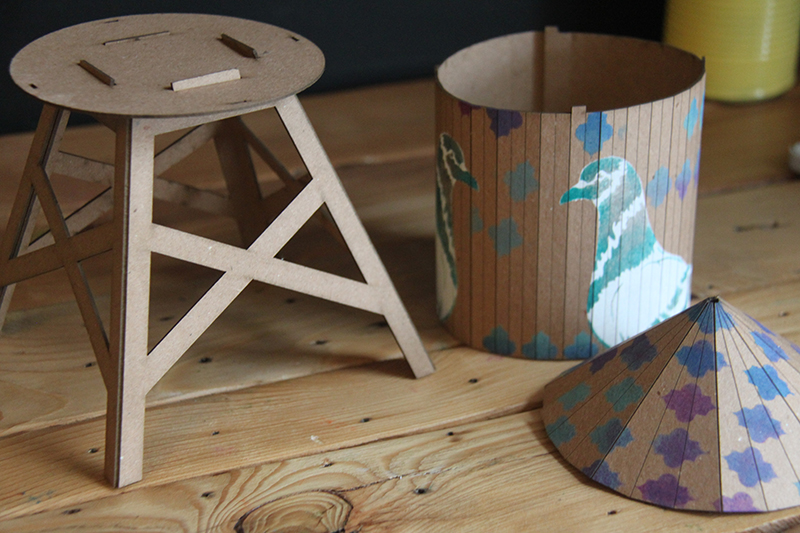
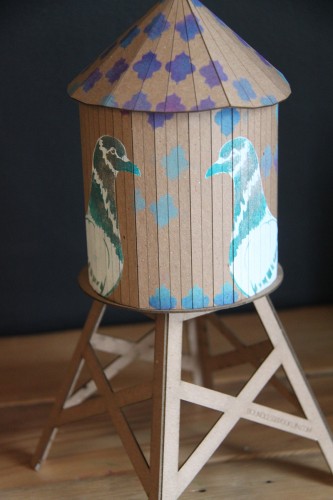
Julis’s shop, Smallhome, is one of out favorite stores to go into. The store is beautifully decorated and they have endless treasures to shop for–most of them from local artists! We bought the small water tower made by Boundless Brooklyn and decided to have some fun with it. The water tower comes in several pieces and you get to assemble it. This is perfect because all the parts are flat, so they are great for stenciling! Take a look at what we made and show us how you transform your water tower @Stencil1

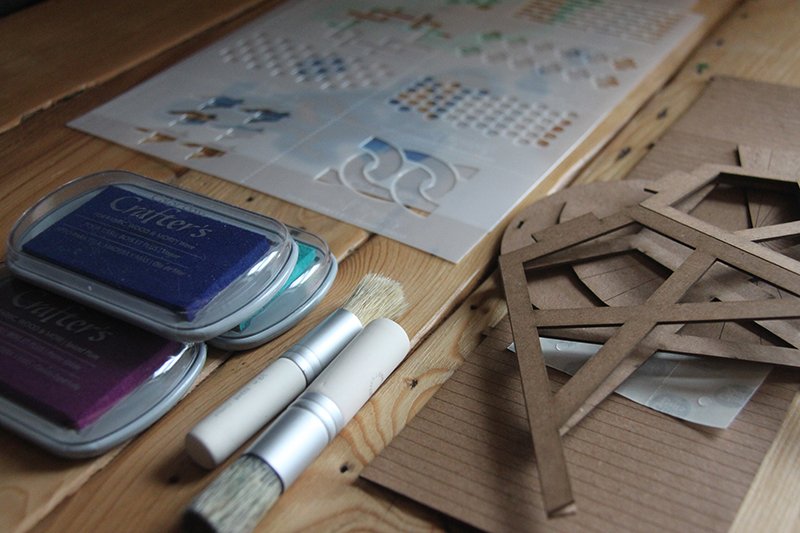
For this how-to you’ll need: A Boundless Brooklyn Water Tower, Stencil1 Pigeon Two-Layer stencil, Stencil1 Pattern 8-Pack Set, ink pads, paint, and stencil brushes.

Stencil1_WaterTower_1

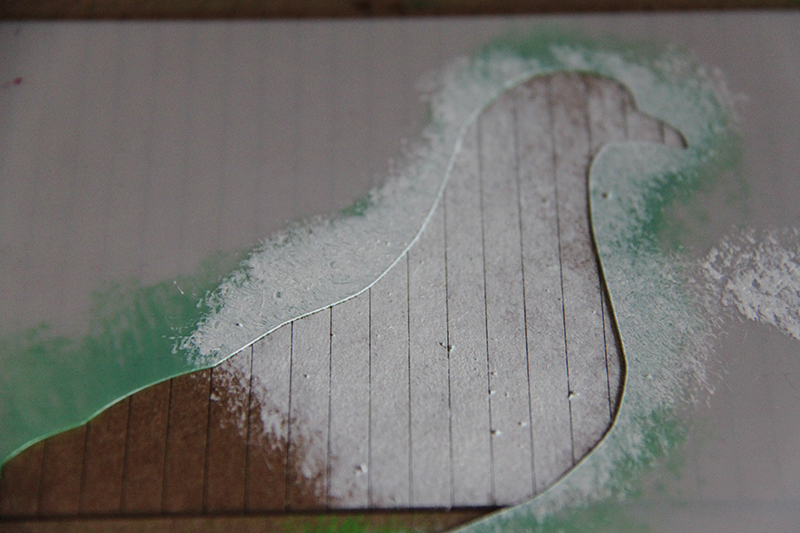
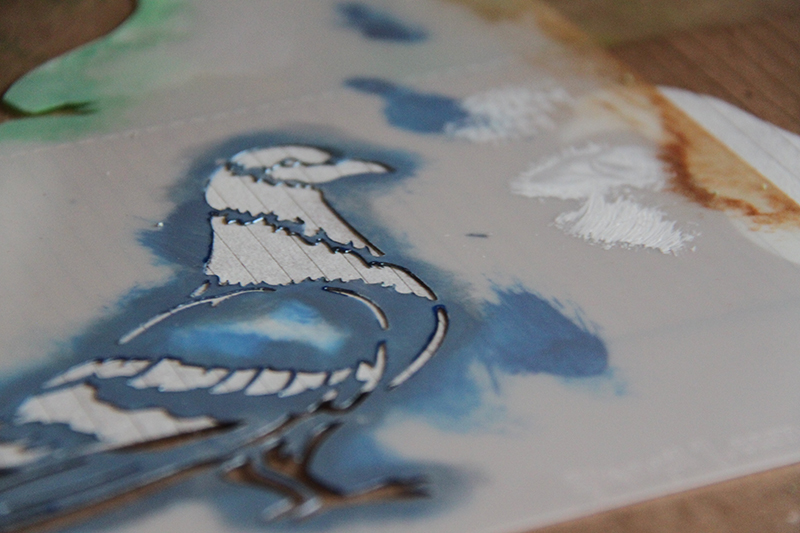
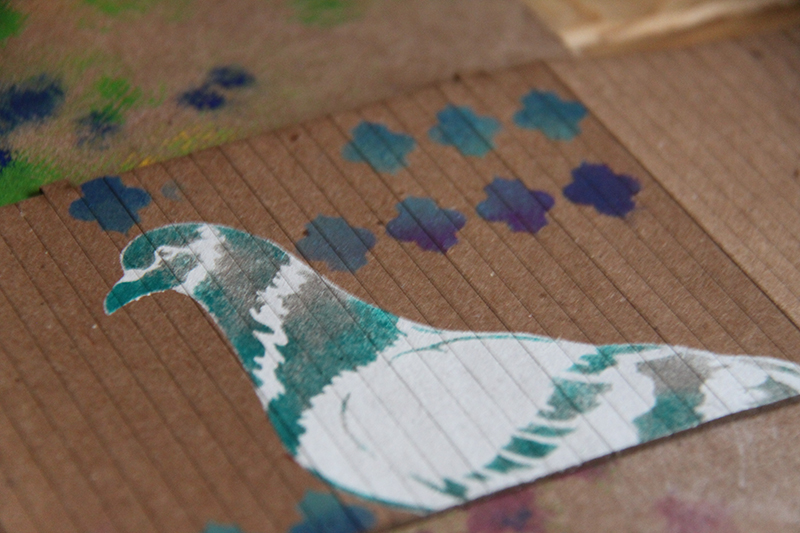
Step 1: Place the first layer of the Pigeon stencil on top of the water tank. You can tape the stencil down using painter’s tape but since this is a flat surface simply holing it with your hand should be fine.

Stencil1_WaterTower_2

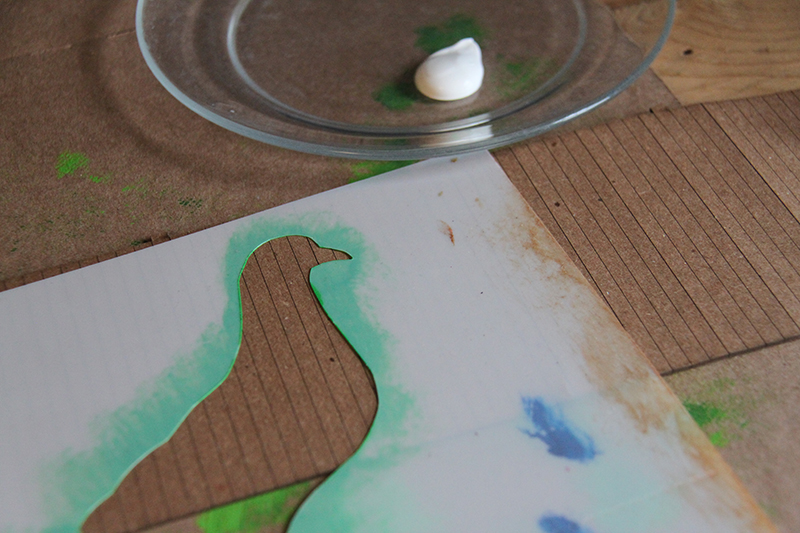
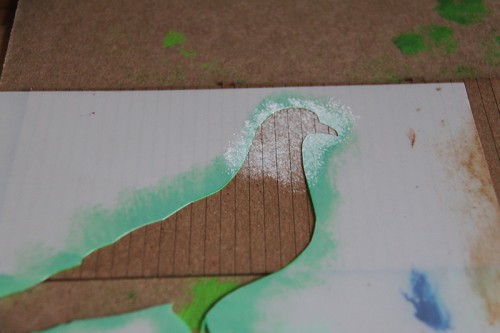
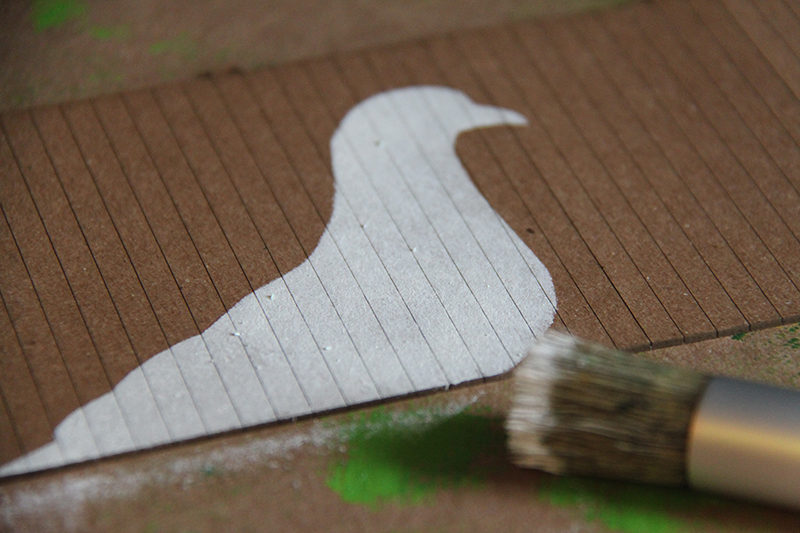
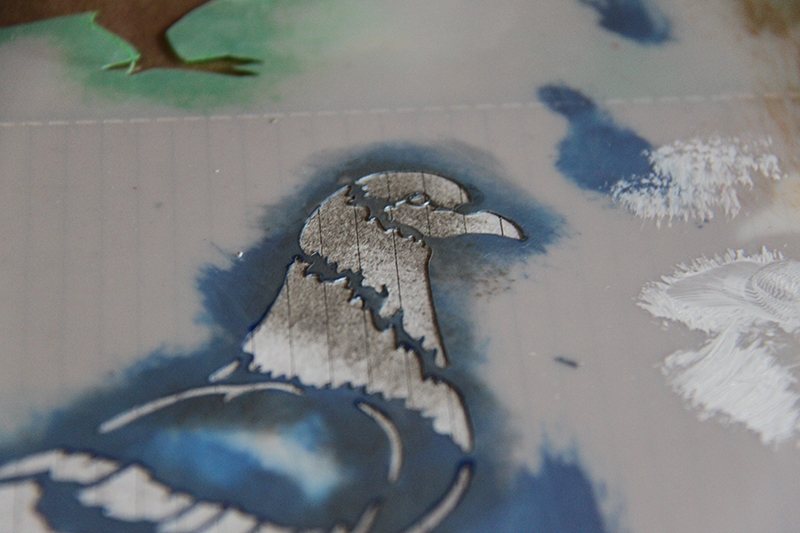
Step 2: Pour paint onto a plate and use the brush to stencil the pigeon. Remember that stenciling is a dry brush technique so use very little paint. You can apply as many layers as you think necessary. Paint using an up and down motion.

Stencil1_WaterTower_3
Stencil1_WaterTower_4

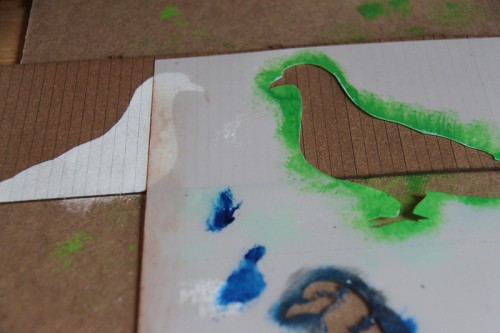
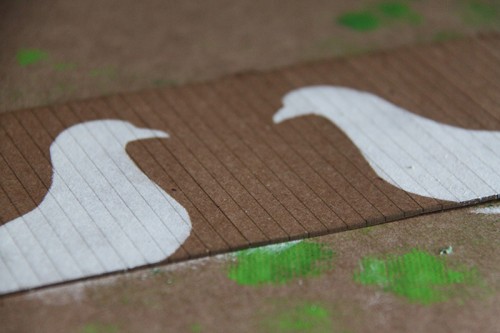
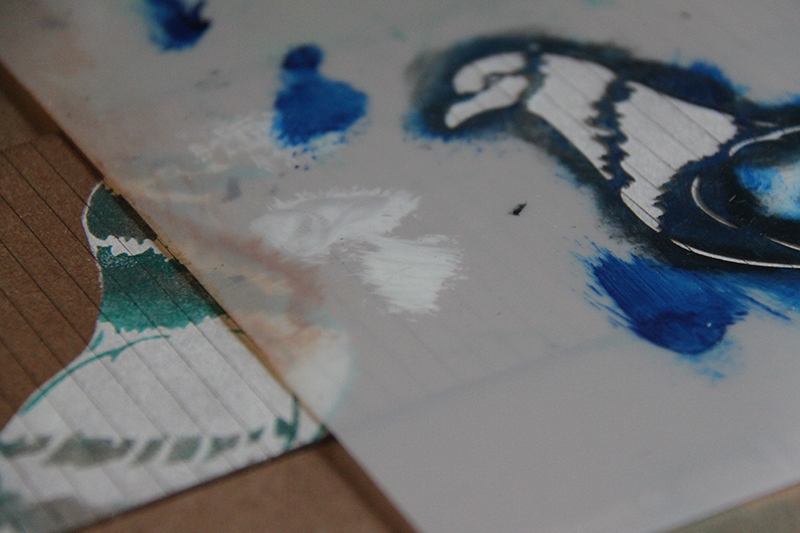
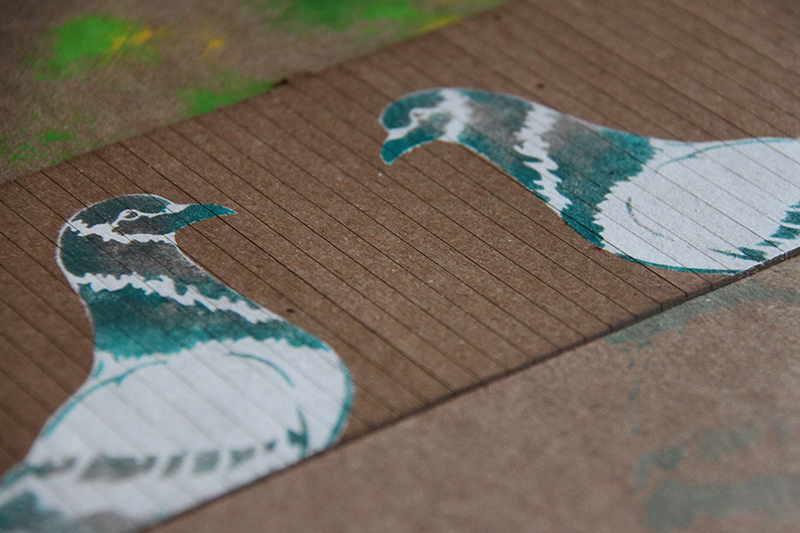
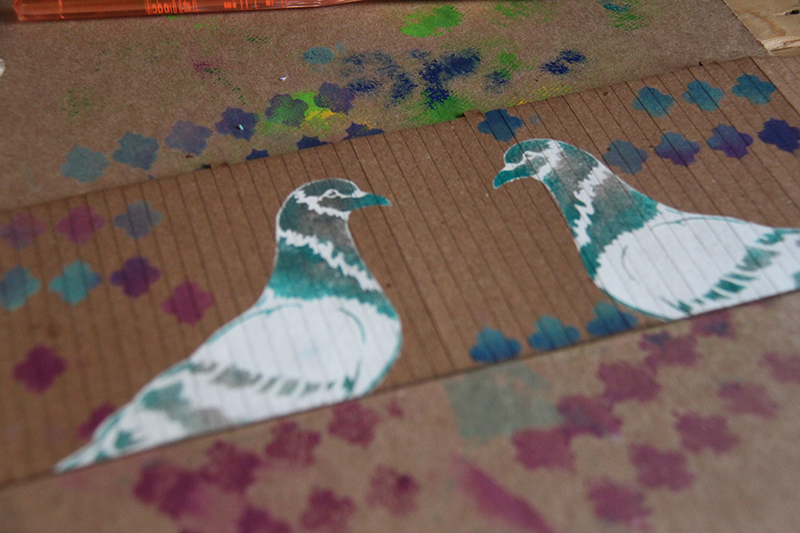
Step 3: Allow the paint to dry. Flip the stencil over (make sure to clean it so that you don’t get the water tank dirty.) Follow step 2 to paint another pigeon that is facing your first pigeon.

Stencil1_WaterTower_5
Stencil1_WaterTower_6
Stencil1_WaterTower_7

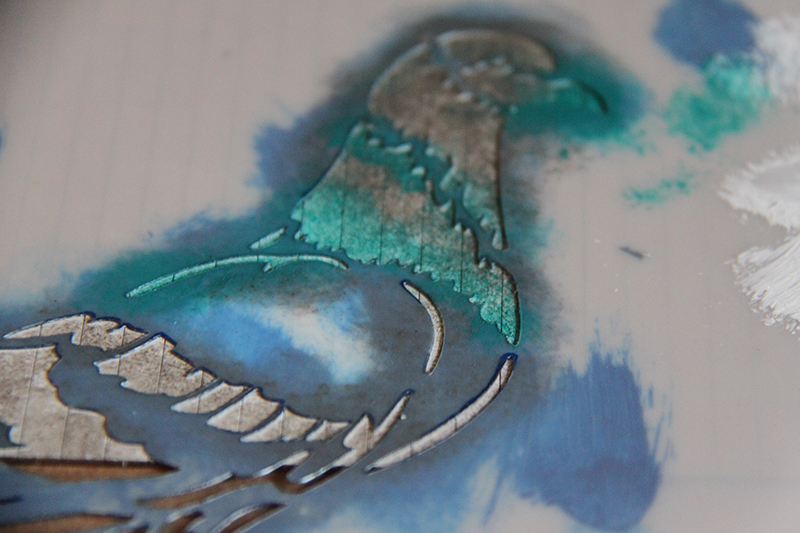
Step 4: Allow the paint to dry. Align the second layer of the pigeon stencil to the layer you already painted.

Stencil1_WaterTower_8

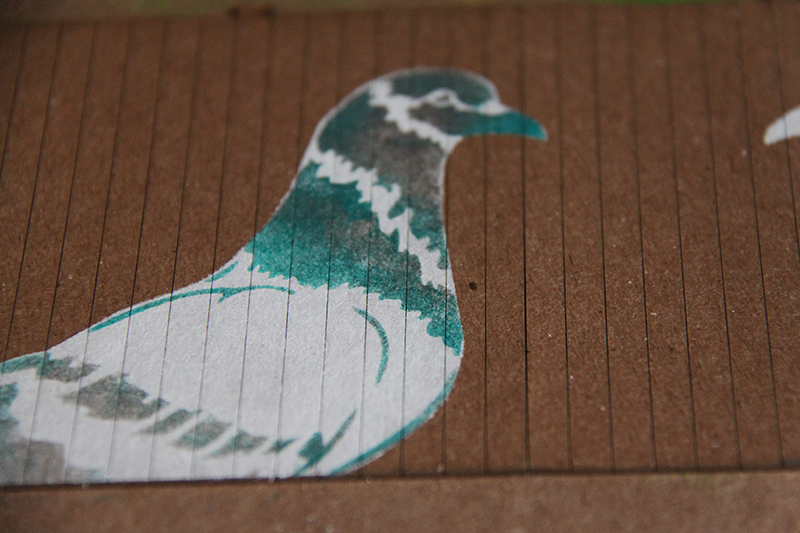
Step 5: Use paint and a stencil brush to paint in the detail the same way you did in step two. We used a combination of gray and turquoise paint. Lift the stencil and allow the paint to dry.

Stencil1_WaterTower_9
Stencil1_WaterTower_10
Stencil1_WaterTower_11

Step 6: Repeat step 5 to paint in the detail for the second pigeon. When you are done painting, lift the stencil and allow the paint to dry.

Stencil1_WaterTower_12
Stencil1_WaterTower_13

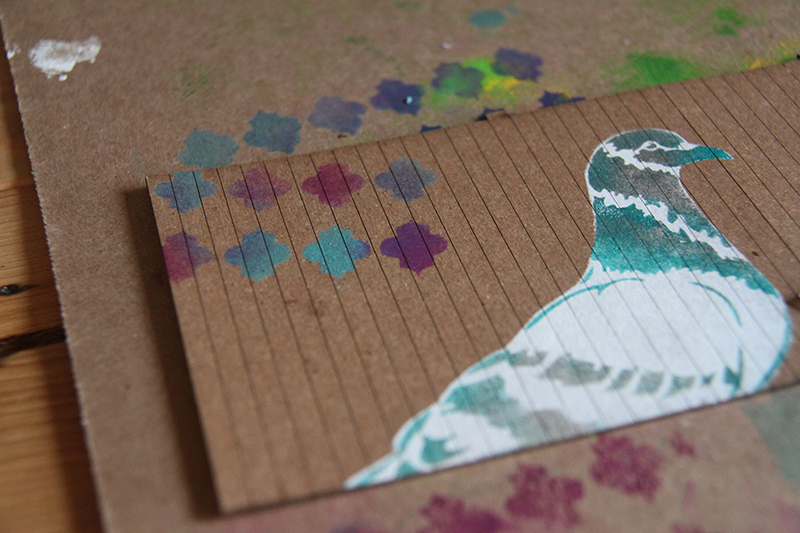
Step 7: We loved how the quatrefoil pattern looks with the pigeon. But any pattern would look awesome with the water tank, so feel free to experiment! We stenciled the quatrefoil pattern in random places on the tank.

Stencil1_WaterTower_15
Stencil1_WaterTower_16
Stencil1_WaterTower_17

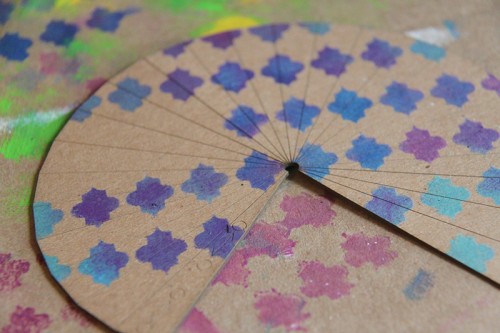
Step 8: Using the same pattern, we stenciled the roof. However, we made it more uniform than on the tank, this way it looks as if the pattern is falling off the roof and onto the tank.

Stencil1_WaterTower_18

Step 9: Allow all the paint to dry and then assemble your water tank!

Stencil1_WaterTower_19
Stencil1_WaterTower_20

mrstencil13

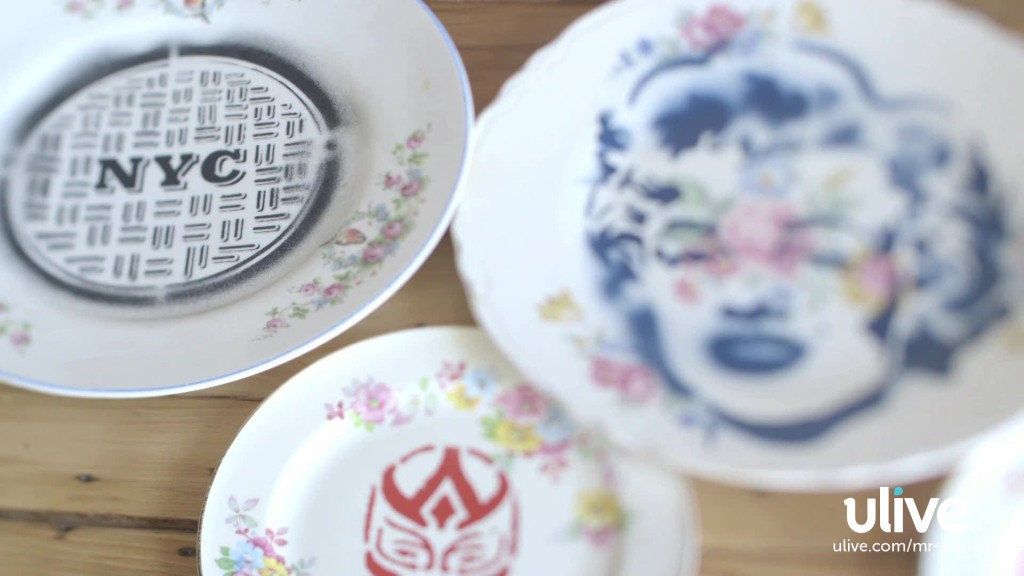
One of the perks of living in Brooklyn is finding amazing treasures at thrift stores like…beautiful vintage plates! Juxtaposing our street art with the patterns on the plates makes them an awesome art piece for your home.

Watch our video and transform your favorite plates into works of art! Remember to use a mask when spray painting!

Share your plates with us @Stencil1


Screen Shot 2014-06-05 at 2.52.54 PM

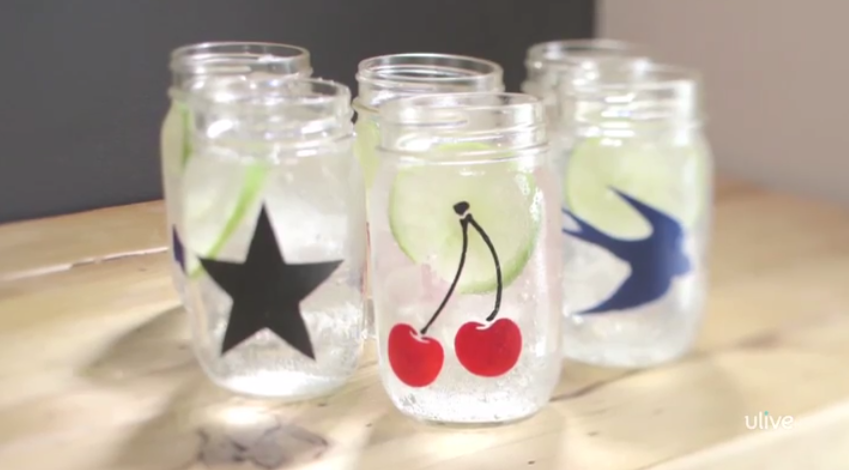
Stenciling glass is a lot of fun and makes a stunning product! However, it can be hard to get it just right, especially if you’re stenciling something that is not a flat surface. In this step-by-step video, I will show you how to stencil mason jars so that they always come out great!

Extra tip: If you have a low-tack spray adhesive, use it to make the back of the stencil sticky. This way, you won’t have to worry about holding down the stencil, making it a lot easier to stencil the glass.

Watch the video, try it at home and show us what you make! Remember to us a dry brush technique and to paint with an up and down motion!