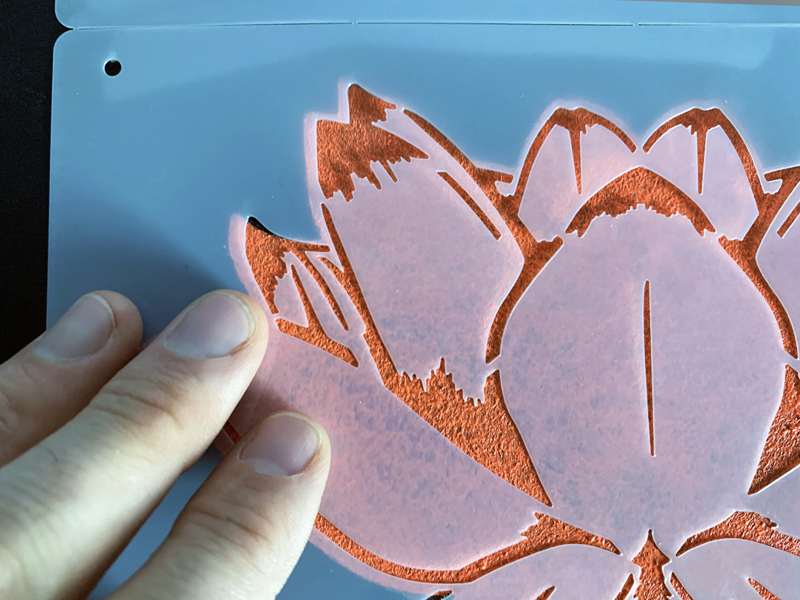
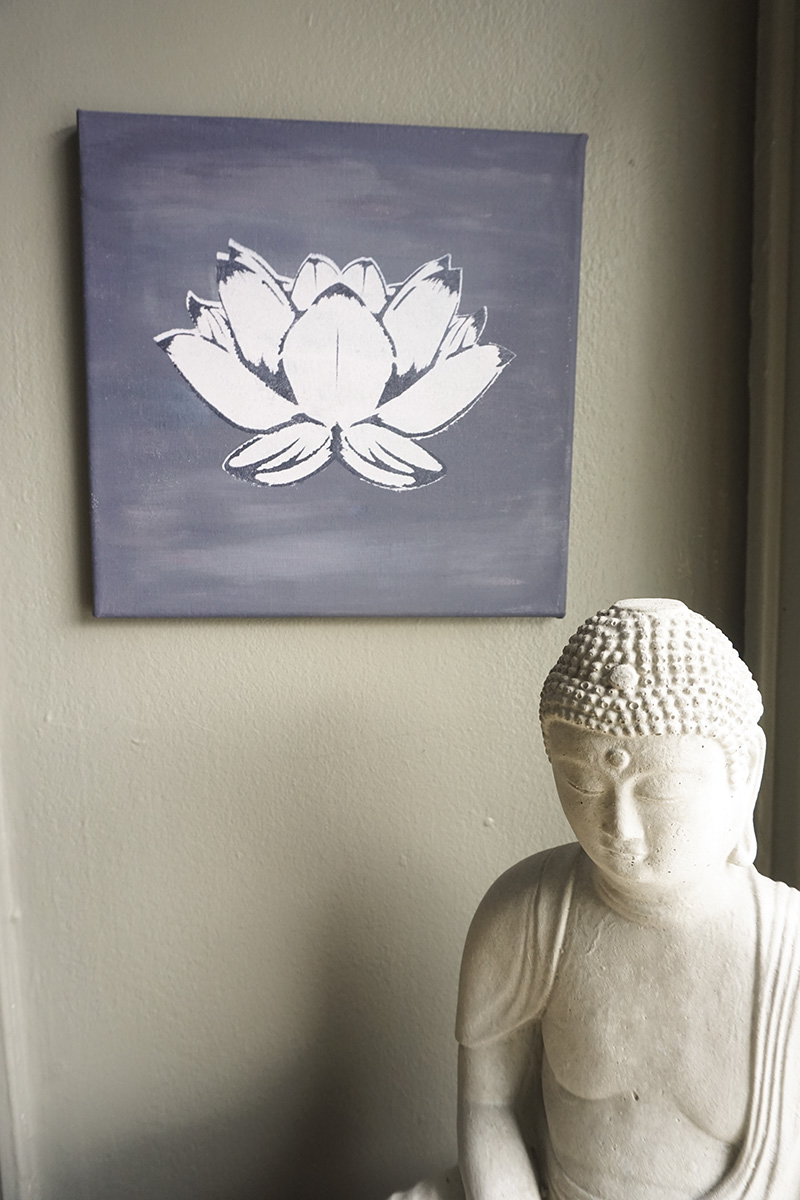
As a stencil designer, painter and owner of a stencil company, it’s really my goal and duty to make sure you have a pleasant experience using stencils. I have compiled the top 10 ways you can perfect your stenciling projects here. These tips have come from my experience in making hundreds of projects, in developing stencils, paints, and tools, and by doing hands-on teaching events. Oh and of course by making a million mistakes along the way! You can watch the video and also read about the 10 tips for stenciling below.
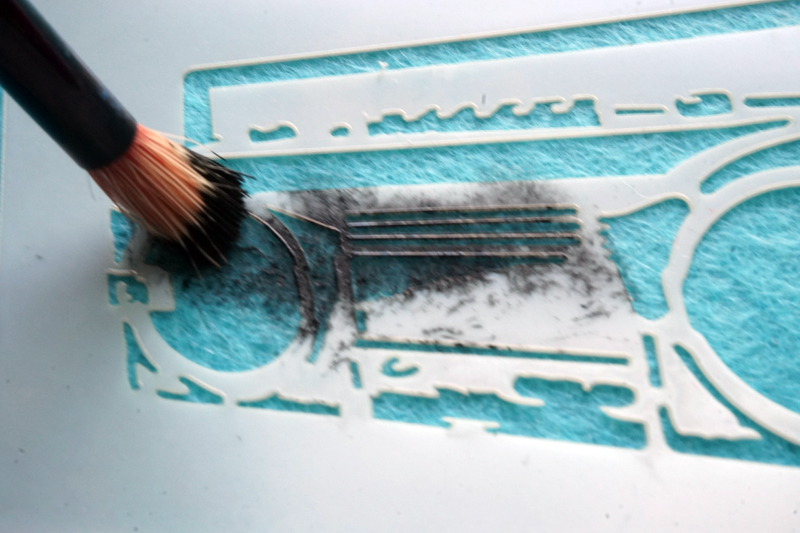
- USE VERY LITTLE PAINT. Stenciling is a dry brush technique, that means you wipe off most of the paint when you load the brush with paint. You have to do this every time you dip the brush into you paint. I think this is a common mistake since when we first learn to paint, you pick up paint with your brush and go right to the surface you are painting with it. With stenciling, you have to wipe the brush off on a paper plate, a paper towel, or a plate. You can always add another application or layer but you can’t take away!
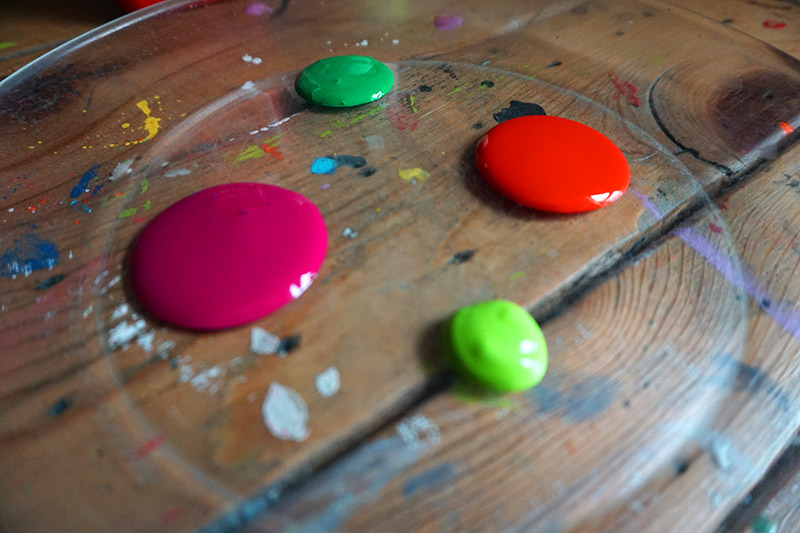
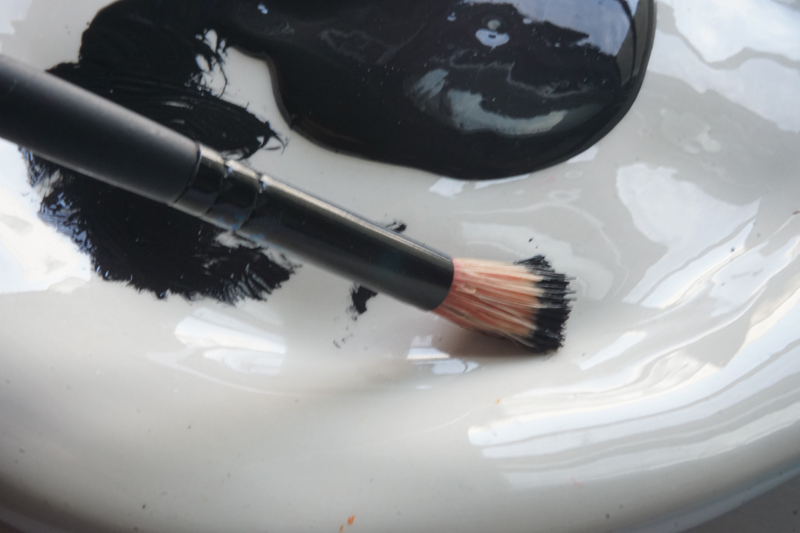
2. QUALITY PAINT. When I say quality I mostly am referring to its viscosity or thickness. If it’s watery or thin, it will bleed under the stencil, if it’s too thick it won’t “move around” or spread nicely with your brush. A good test is it should very slowly pour out of a jar. I have tested so many brands and can recommend certain brands and tell you to shy away from others. Just ask me @stencil1

3. DON’T WATER DOWN YOUR PAINT. Watery paint will creep under your stencil so just by quality paints and don’t water them down.
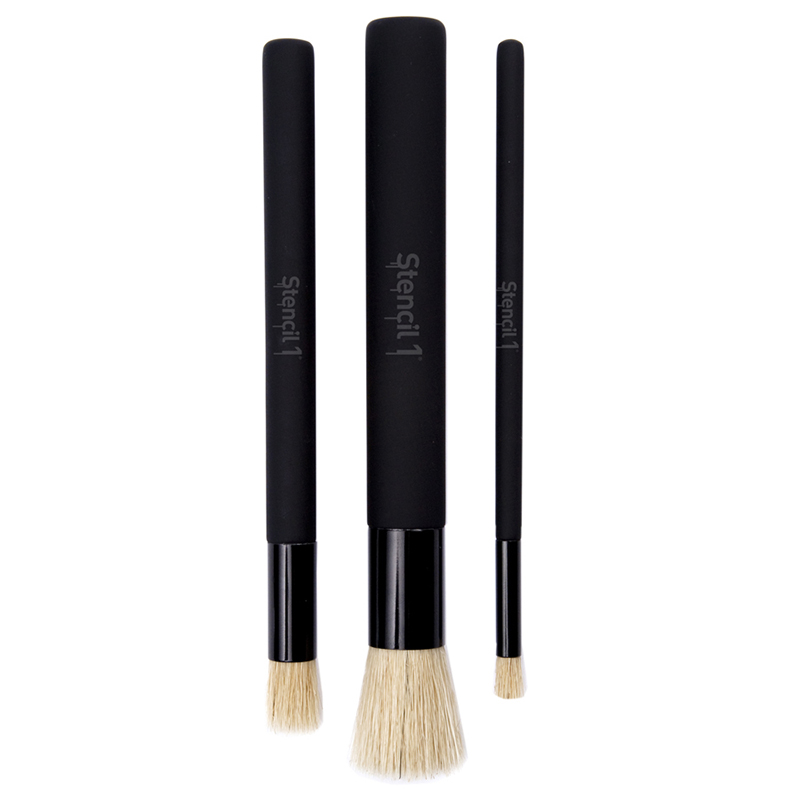
4. QUALITY BRUSHES. A stencil brush is designed with a flat, round head. The best aspects of a good stencil brush are that the head is flat, not rounded. The bristles that I have seen perform best are natural, usually made of boar bristle. The synthetic brushes that are plastic-y and soft in their feel just do not hold paint well and since they are so soft, they spread apart too much. Also, a brush that sheds it’s bristles is just going to ruin your project so brush the bristles with your hand and see the quality before you buy them. I think having a variety of sizes of stencil brushes is also worth mentioning. For example, when I am stenciling small stencils and when I want to vary colors between different shapes inside the stencil design, I like to use small brushes.
5. USE LOW TACK SPRAY ADHESIVE. This spray adhesive aids in holding down all the small details of your stencil. It can be used on fabric, walls, wood, and sometimes paper. You spray a light and even mist onto the back of your stencil, let it dry for a minute and before you stick it to the surface you are painting, you can stick it to a piece of canvas or something flat and lint free. Why? So no gummy glue residue sticks to your surface. I would say don’t rely on the adhesive to make your project perfect, you still have to use all the other tips, but it can help. Warning, it makes your stencil a little harder to clean!
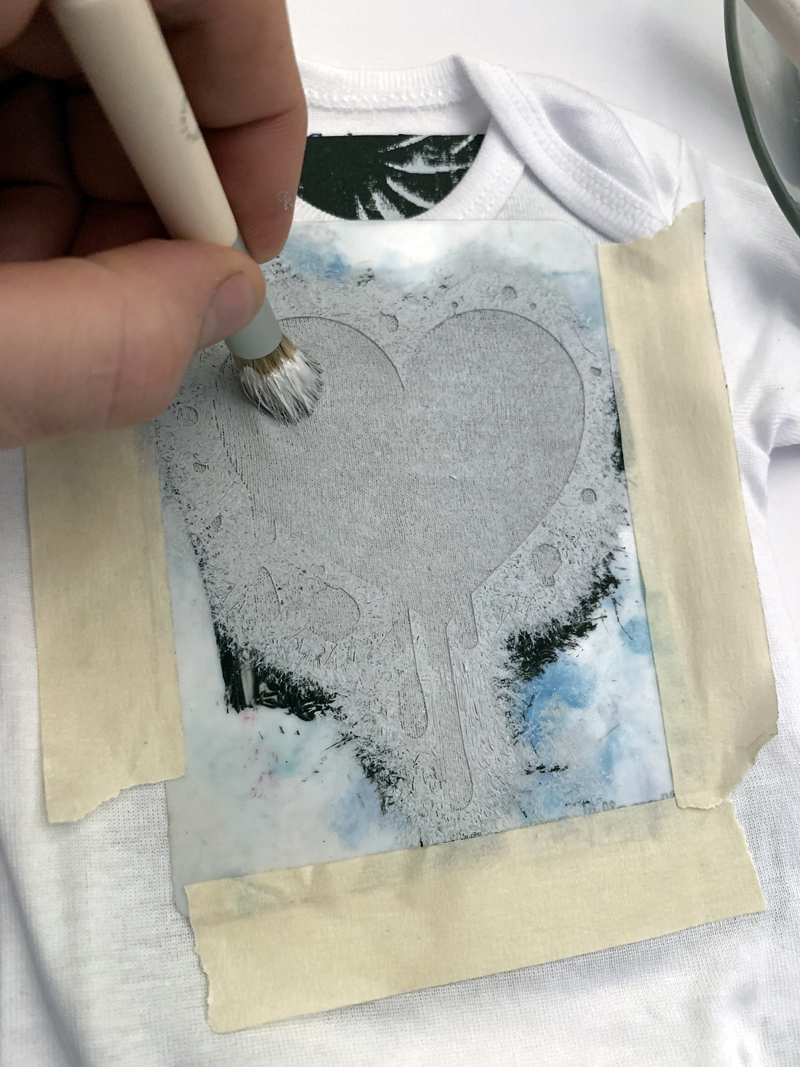
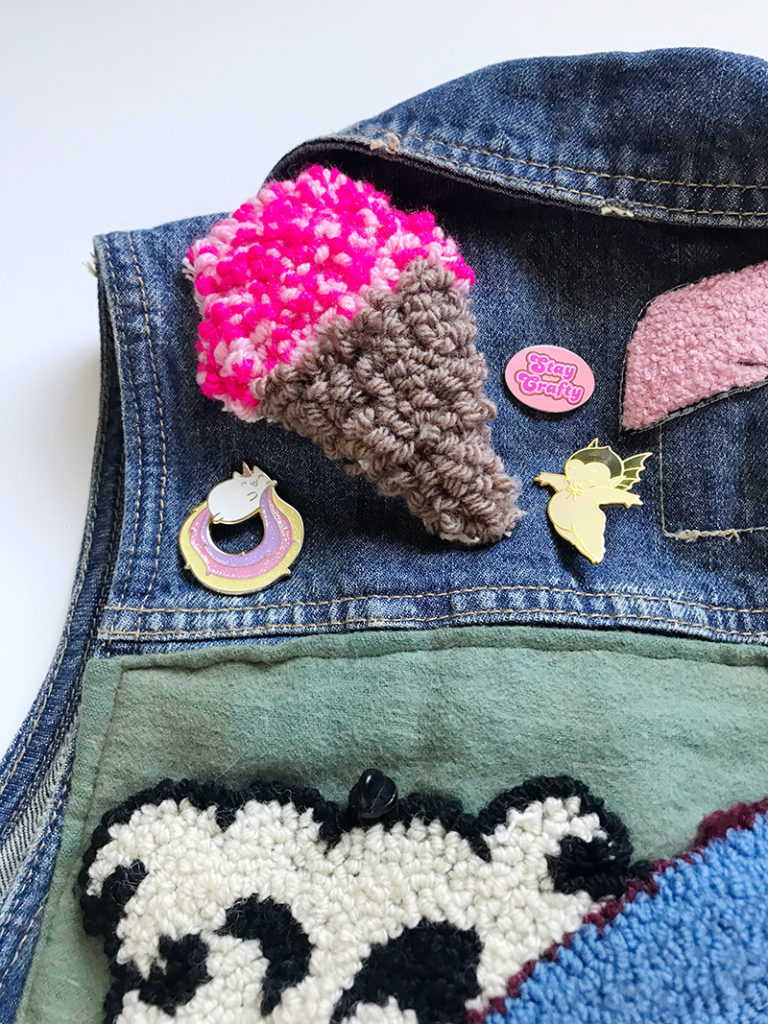
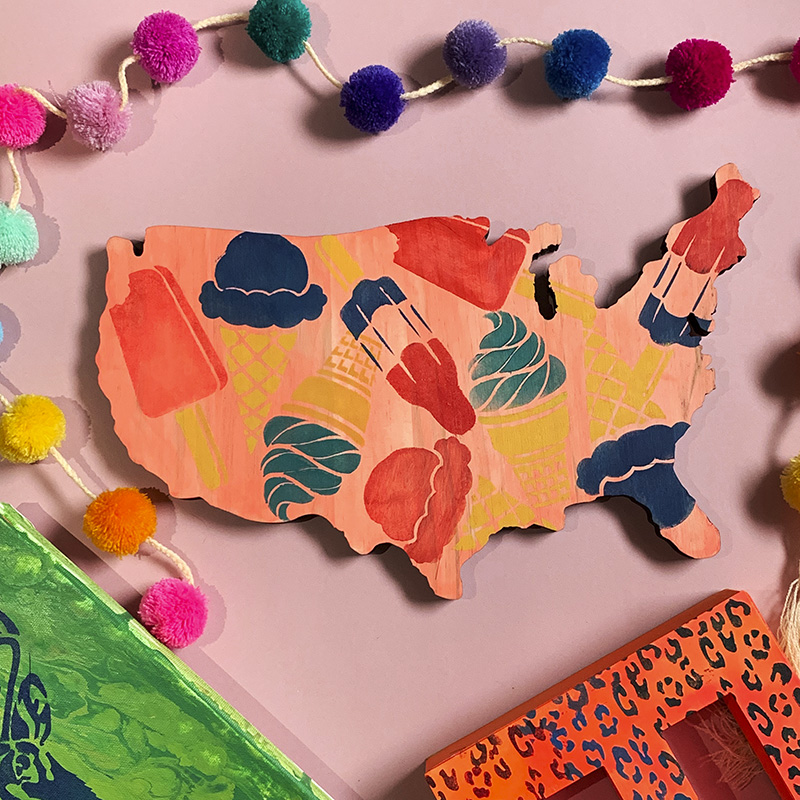
6. USE OF TAPE. Tape is useful for a few reasons. Tape holds your stencil in place of course and using two small pieces of masking or painters tape is helpful. Another way to use tape is if the stencil design is rather close to the edge of the stencil, you can put a small piece of tape over the edge so you don’t “color outside the lines”. Sometimes I thought I will just paint inside the stencil area and then I saw I accidentally painted past the outside. You can also use tape to section off a part of a stencil if you are using a variety of colors. Let’s say it’s a stencil of an ice cream cone and you want the ice cream to be pink and the cone yellow. You can tape off the cone area just lightly with tape while you do the pink ice cream area, allow to dry, then tape off the pink ice cream area while painting the cone area yellow. Side note- small stencil brushes help.

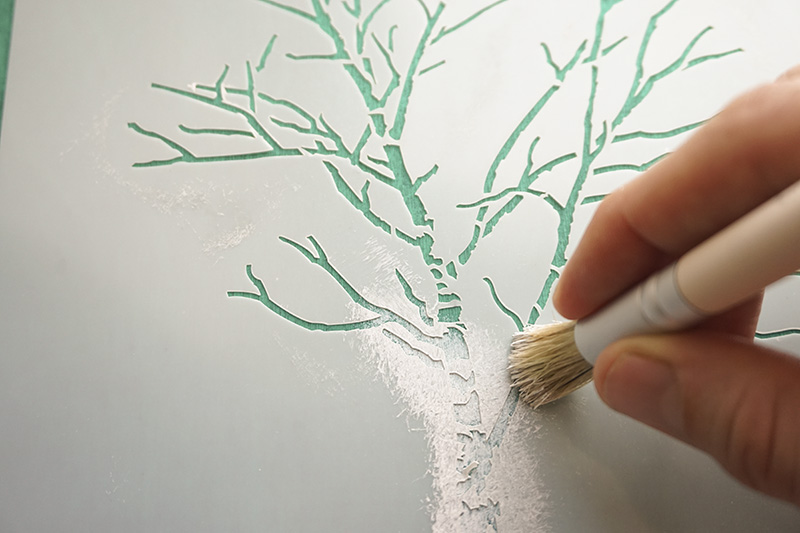
7. UP AND DOWN MOTION. The technique you want to use is sometimes referred to as spouncing, pouncing, or tapping. It’s basically an up and down motion. Think of it as pushing the stencil down in place or hammering at the stencil details. Swirling or brushing is more likely to result in bristles and therefore paint moving under the stencil. Up and down is the way to go.
8. LAYER. I mentioned this earlier and it’s important to remember that you can slowly build up a few applications or layers of paint. Since you want the design to appear nice and filled in, it’s tempting to apply a good coating but if you apply a light application, let dry or dry with a hair dryer or heat gun, then apply another layer you will have cleaner results.
9. CLEAN HANDS. I have messed up many a project with paint on my fingers. You’re touching tape with paint or moving a used stencil away and you get paint on your hands, then you touch your canvas or t-shirt that you are painting next, and boom, ruined with a finger print. So having some wipes accessible is helpful!
10. PATIENCE. Yes, patience helps with stenciling. It’s art and it’s supposed to be enjoyable so take your time with the process. The slower pace will give you great results and you may just enjoy it more too!

Those are my top 10 tips for stenciling. Maybe you have more? Please leave them in the comment area below. As always, share your work with us @Stencil1 THANKS!