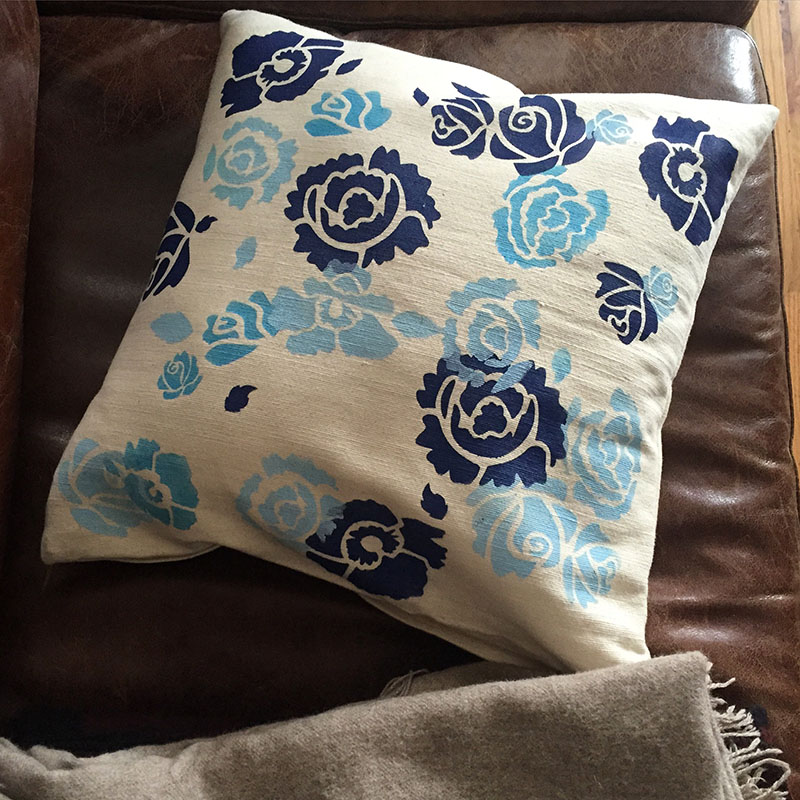
We cannot stop thinking about spring and warmer weather at the Stencil1 studio. So, we made a spring-inspired pillow to remind us that warmer days are here! We chose one of our Product of the Year stencils that can be used as is but can also be more flexible and allow you to improvise a little bit. Grab a pillow case, follow the steps below and snap a picture of what you made. Share your photos with us @Stencil1
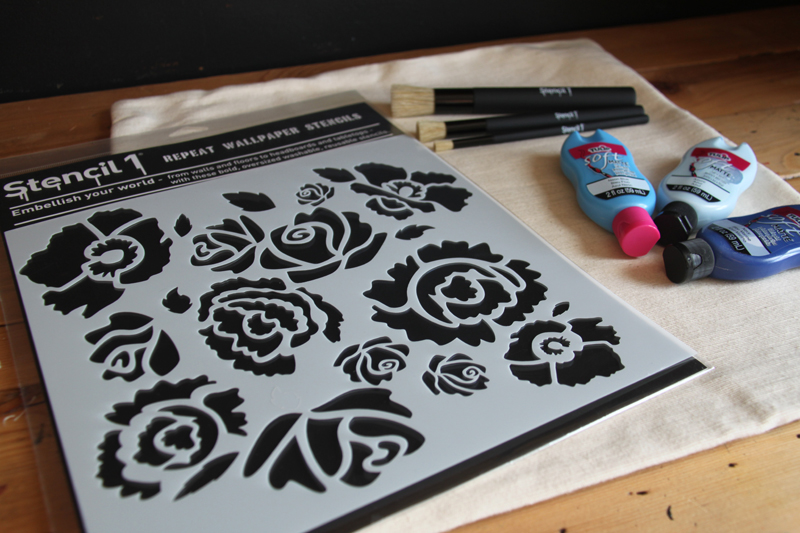
This is what you’ll need to make this pillow-case: Stencil1 Bouquet Stencil, Tulip Soft Paint (we used matte finish and three different tones of blue), stencil brushes, painter’s tape, a cardboard insert, and a pillowcase.
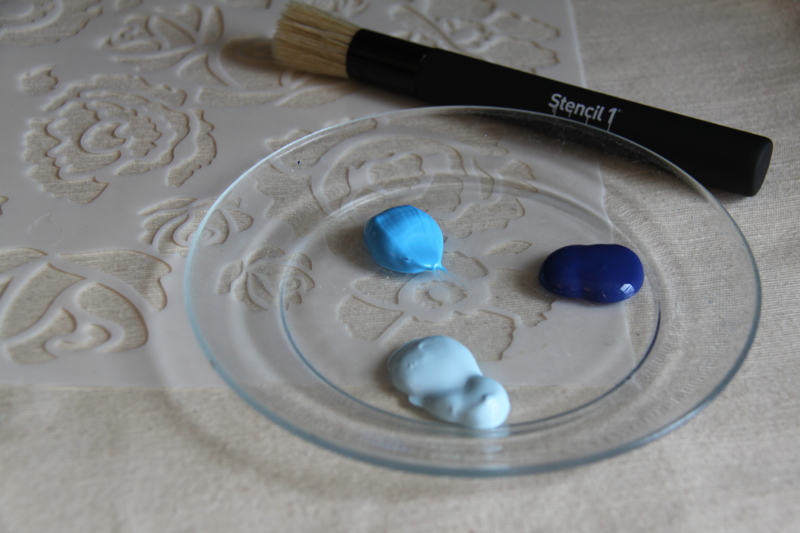
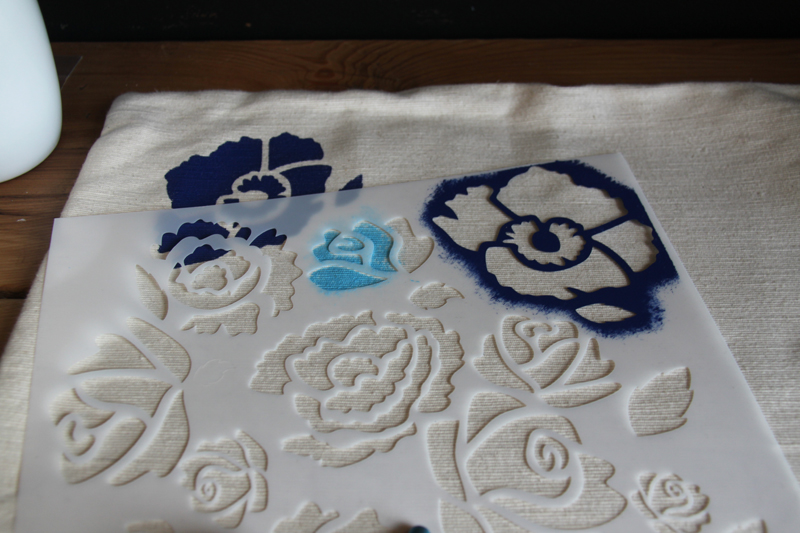
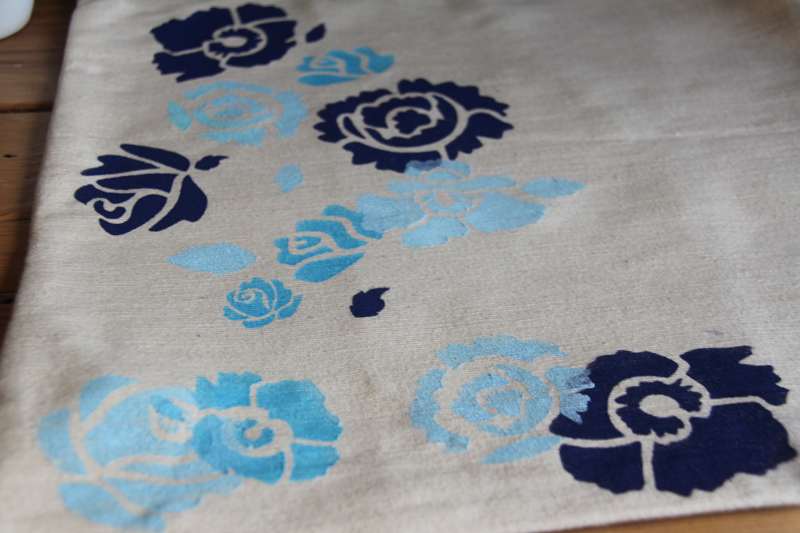
Step 1: Choose your paint. We decided to use different blues but you can use one color or 20 different colors. Get creative! Think about where you’ll use the pillow and the colors in that room. This could be a great accent pillow on your sofa or a subtle pattern on your bed!
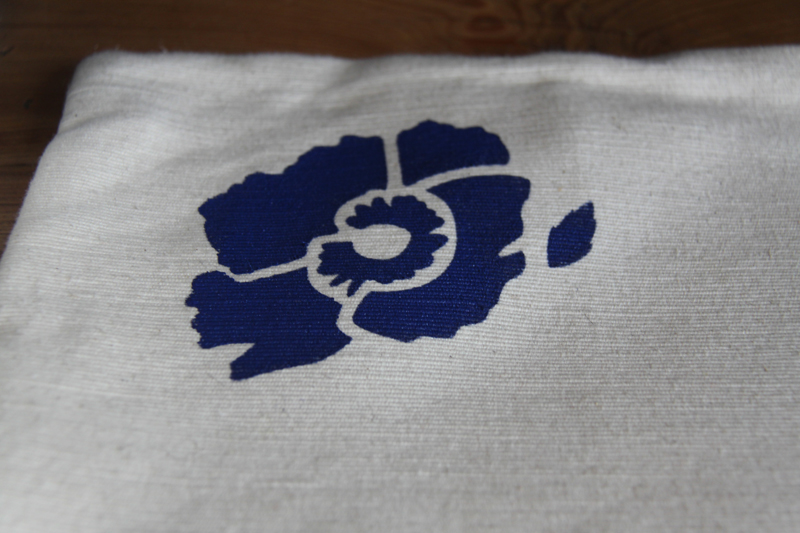
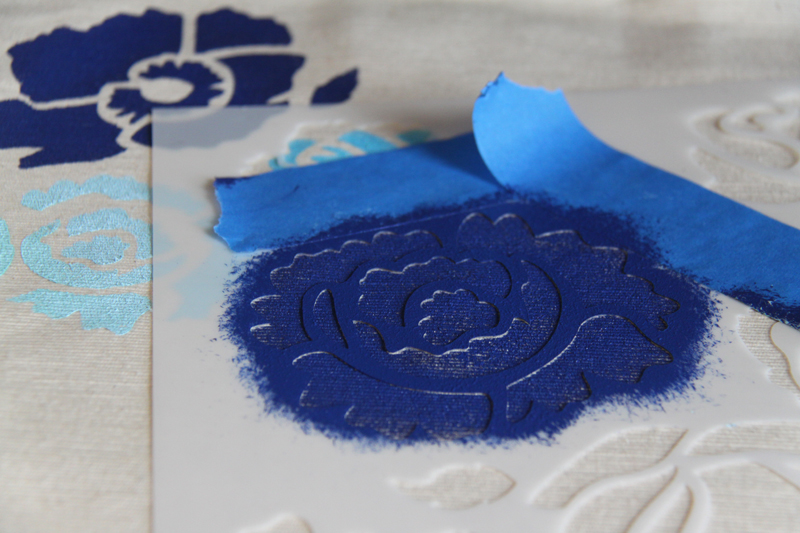
Step 2: Insert a piece of cardboard in the pillowcase so that the paint doesn’t bleed to the other side of the pillow. The fun part of this stencil is that you can secure the entire stencil and paint in all the flowers at once or you can paint one flower (or a couple) at a time and move the stencil around each time! Line up your stencil to the place you’d like to stencil. We decided to move the stencil around so we only used tape if the stencil overlapped a flower we did not want to paint over.
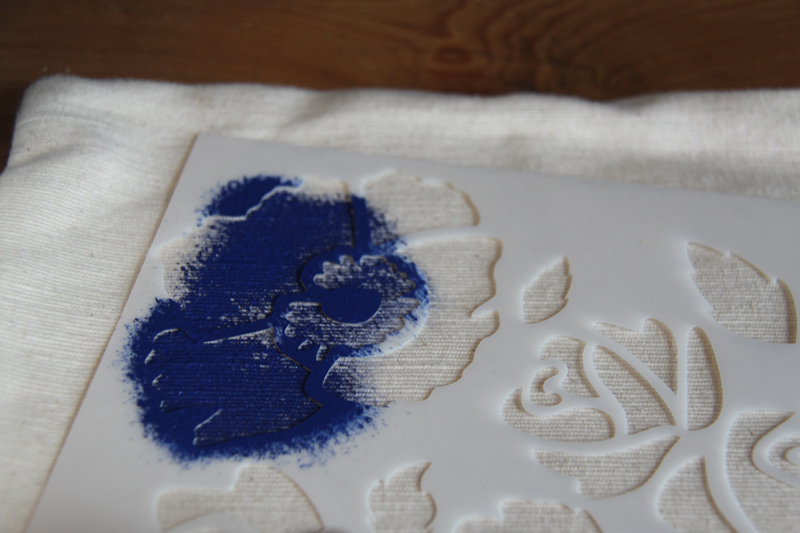
Start stenciling by dabbing the brush up and down or by painting using a circular motion. Remember that stenciling is a dry brush technique. This means using very little paint and adding more layers of paint for a saturated look. Once you are done stenciling, slowly lift off the stencil and allow the paint to dry a bit before moving on to the next flower.
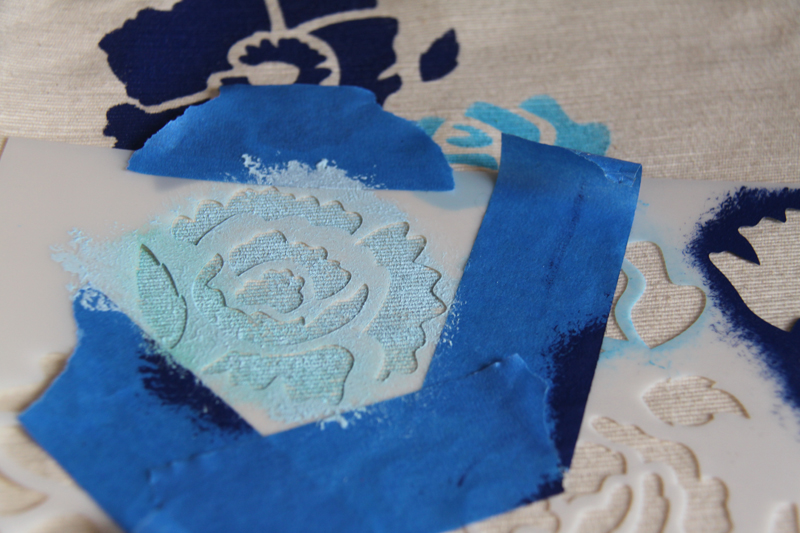
Step 3: Once the paint has dried to touch, move on to your next flower! We used painter’s tape to cover up parts of the pillow we did not want to stencil.
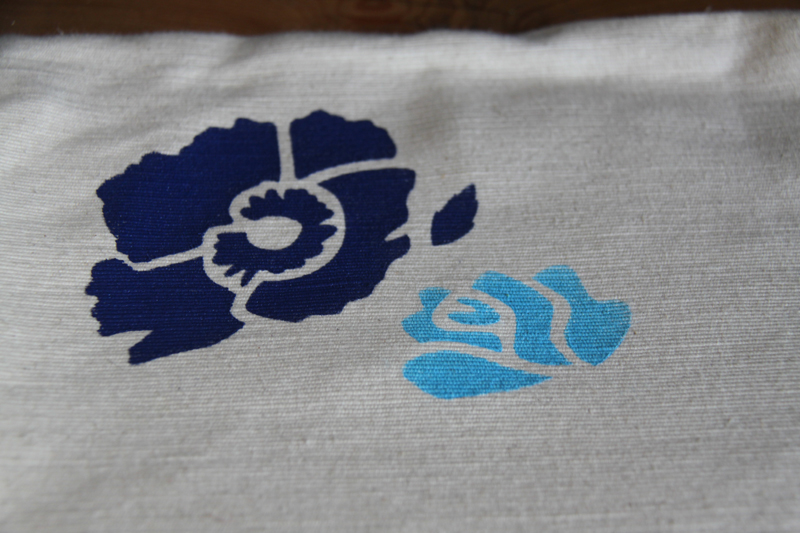
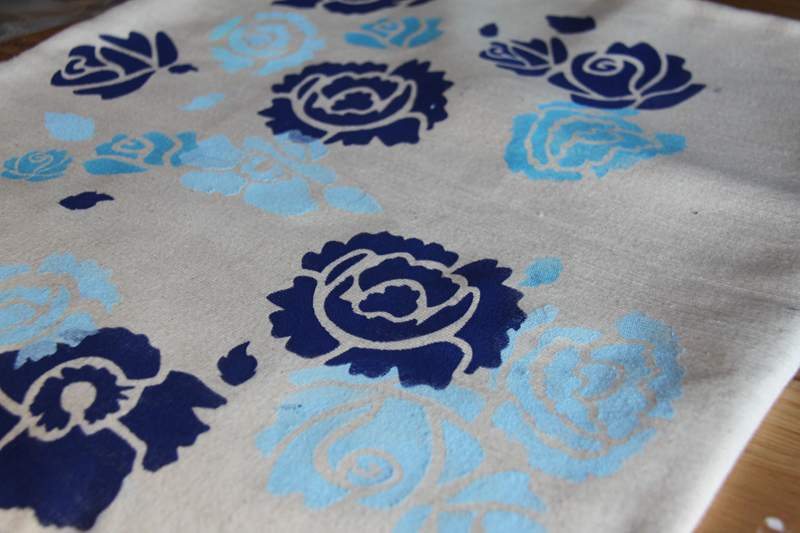
Step 4: Repeat steps 2 and 3 until you have covered the pillow with flowers. We had fun overlapping our flowers from time to time.
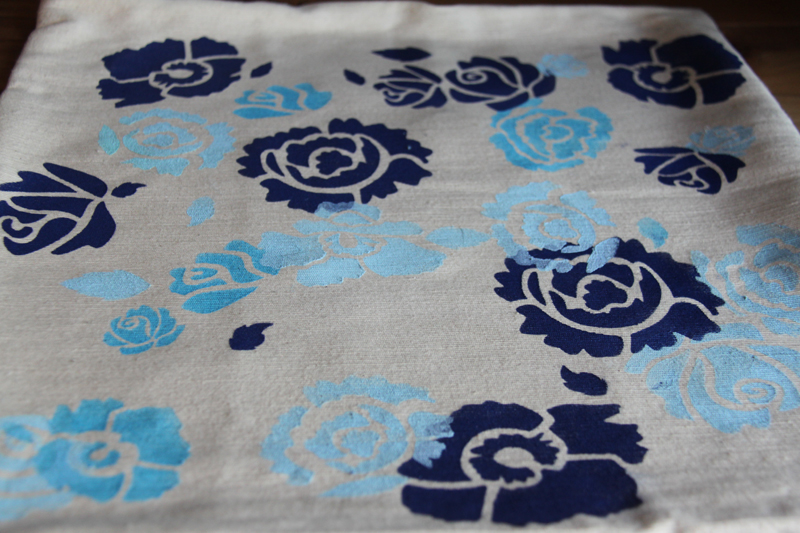
Step 5: Once you are done stenciling, allow all of the paint to dry for about 15 – 20 minutes. Heat-seal the paint by ironing the pillowcase. You can use a piece of cloth between the stenciled pillowcase and the iron. Put a pillow inside the case and snap of picture of it to share with us!