Posted by Jayne, our new Stencil1 intern!
This project will show you how you can make custom wall art for a kid’s bedroom using Stencil1 stencils. I decided to pretend that I was 10 years old again and imagined what I would like to have had on my wall at that age.
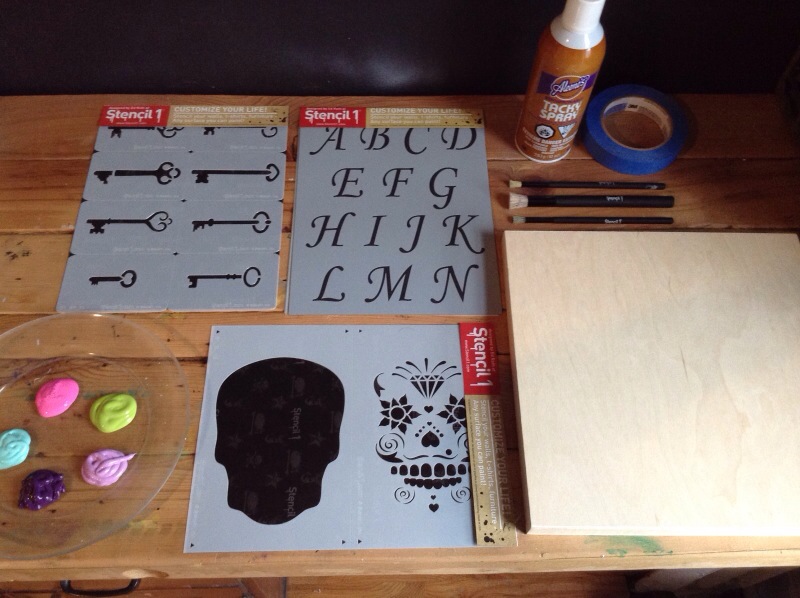
Step 1: Gather your materials. I used the two layer sugar skull stencil, the skeleton keys stencil and the Corsiva alphabet stencil to make this project. You will also need acrylic paint (any color you like, have fun with it!), stencil brushes and a surface to paint on. Optionally, you can have some artist tape and low tack spray adhesive on hand to help keep your stencils in place.
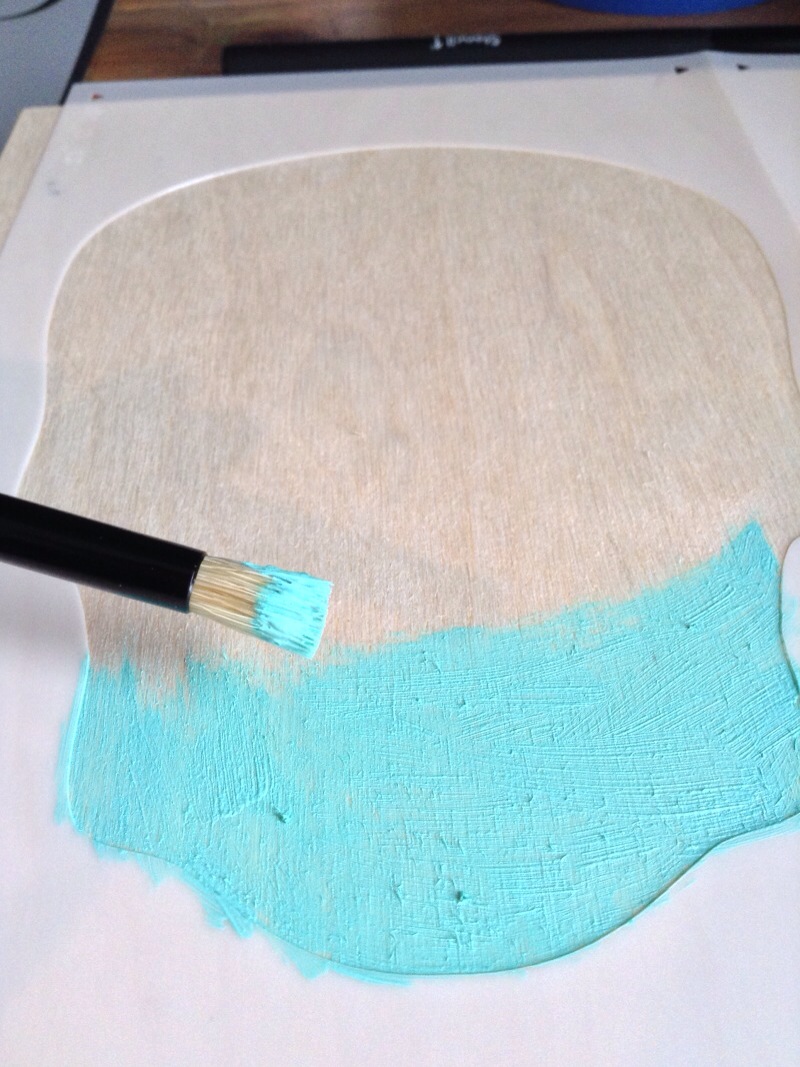
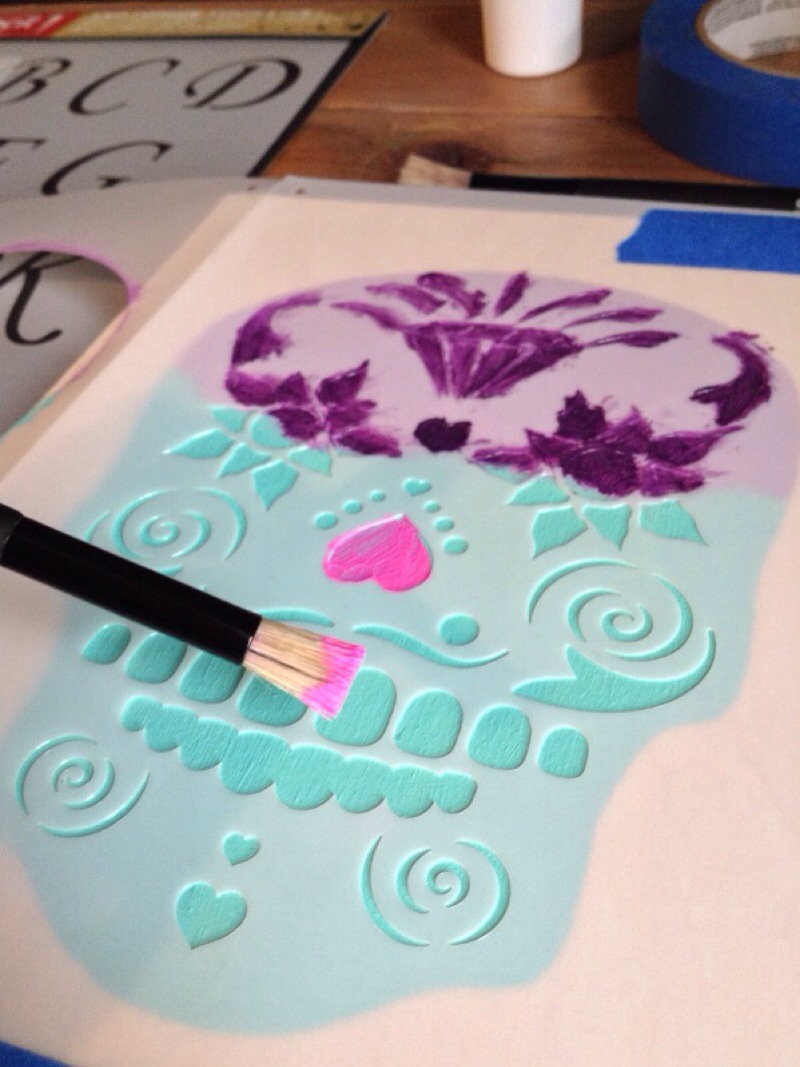
Step 2: Place your stencil and apply some paint to your brush. You only need a small amount for stenciling, and make sure to clean off any excess on a palette before you start working. You should be extra careful around the edges of the stencil so that the paint doesn’t get under the stencil. Work slowly, building up the layers of paint towards the color you desire.
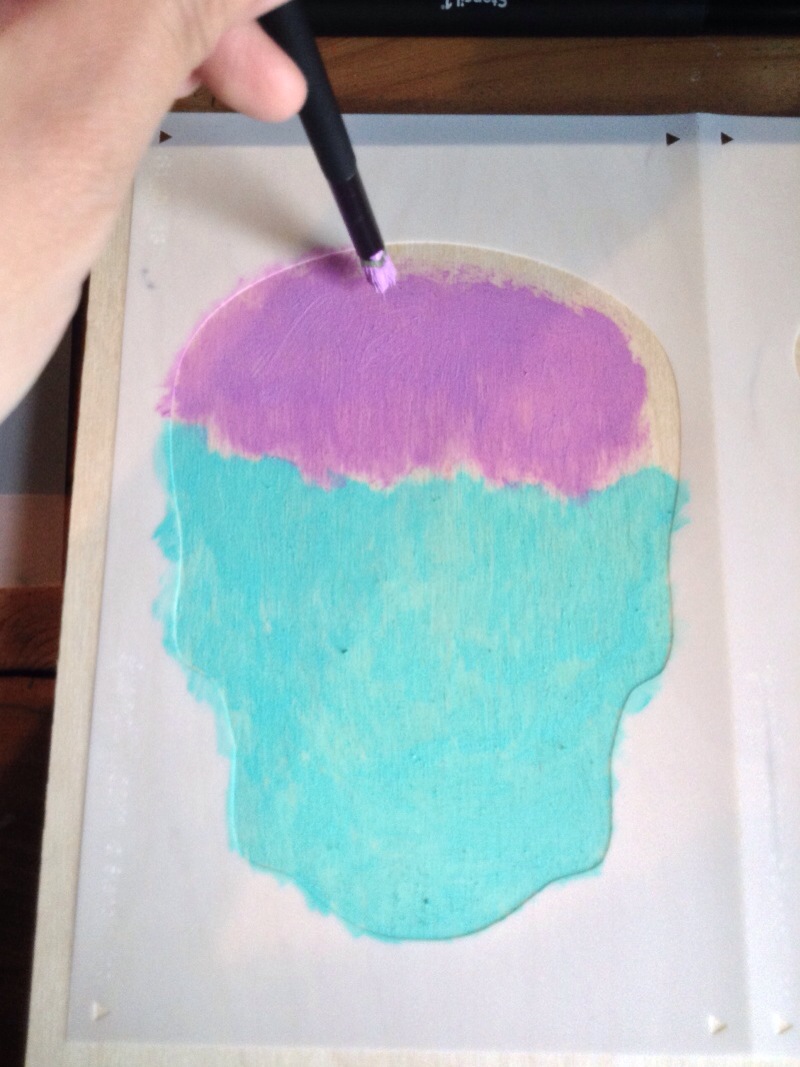
Step 3: You don’t have to limit yourself with stenciling. I decided to use two colors for my skull, to give it a little bit more of a pop. Experiment with the paint and see what happens. Remember to clean your brushes between each new color. Always make sure the brushes are dry before you apply paint to them, because any excess water will make the paint runny and hard to control.
Step 4: After I finished the base color for the skull, I waited for it to dry before I started working on another section of the piece. This way, I don’t have to worry about smudging or messing up what I’ve just worked on when I put another stencil down and start painting.
I used the skeleton key stencils next. I tested out different arrangements of the stencils on the board before I started any painting so that I could decide which composition looked best. I tried stacking the keys vertically, and seeing how many would fit, before ultimately, I decided to arrange them in a falling motion so that the composition would be more active.
The key stencils are small and have more details in them so I had to be extra careful when painting to make sure that the paint didn’t spread outside of the stencil. I also waited for each to dry before starting a new one.

Step 5: Once I finished stenciling the keys, I went back to working on the skull. This stencil has two parts to it, the base shape and the detailing. I wanted the details to align perfectly within the shape so I arranged the stencil on top in the appropriate position, before sticking some artist tape down. The tape keeps the stencil flat and in place, but I applied extra pressure with my hand onto the stencil when filling in the details in order to prevent any paint from getting under the stencil surface.
The cool thing about the detailing stencil is that you don’t have to place the details exactly where they’re “supposed” to be. You can reposition the detailing stencil however you like on top of the base color, and paint in whichever detail you want wherever you want. I went the traditional route with this stencil, but that doesn’t mean you have to!
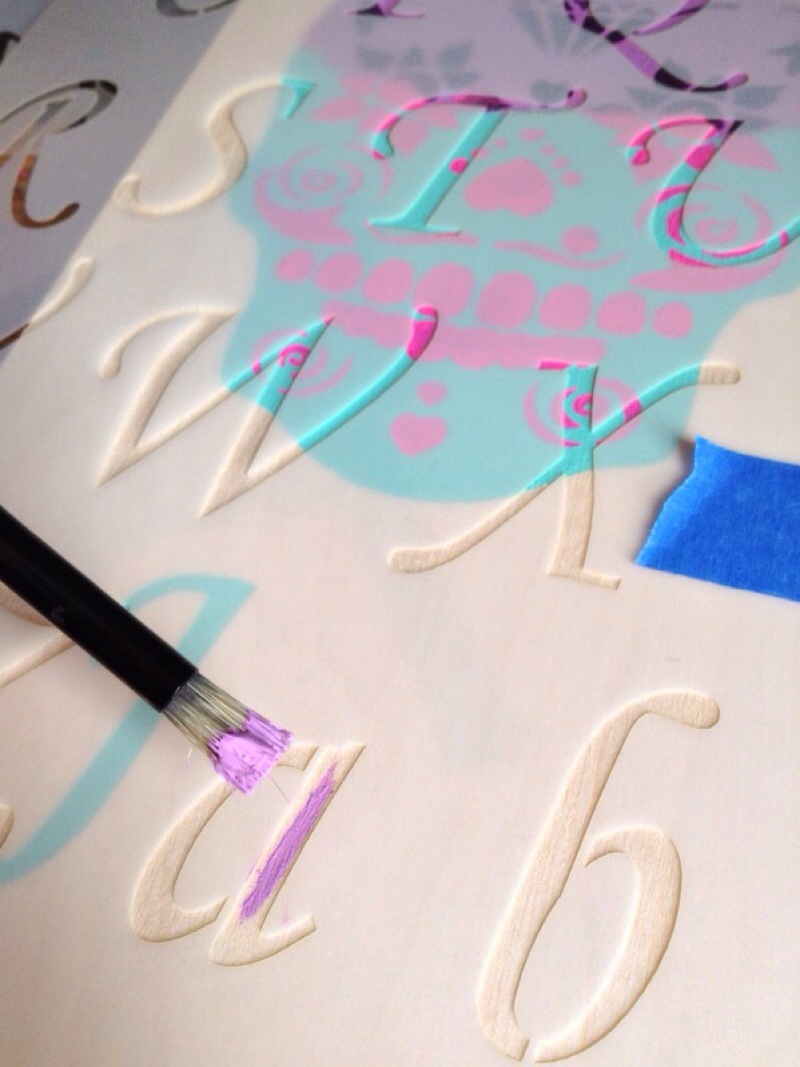
Step 6: Once I finished all the decorative elements, I started to stencil my name. Treat the lettering stencils the same way you treat any other stencil – go slow and be careful.
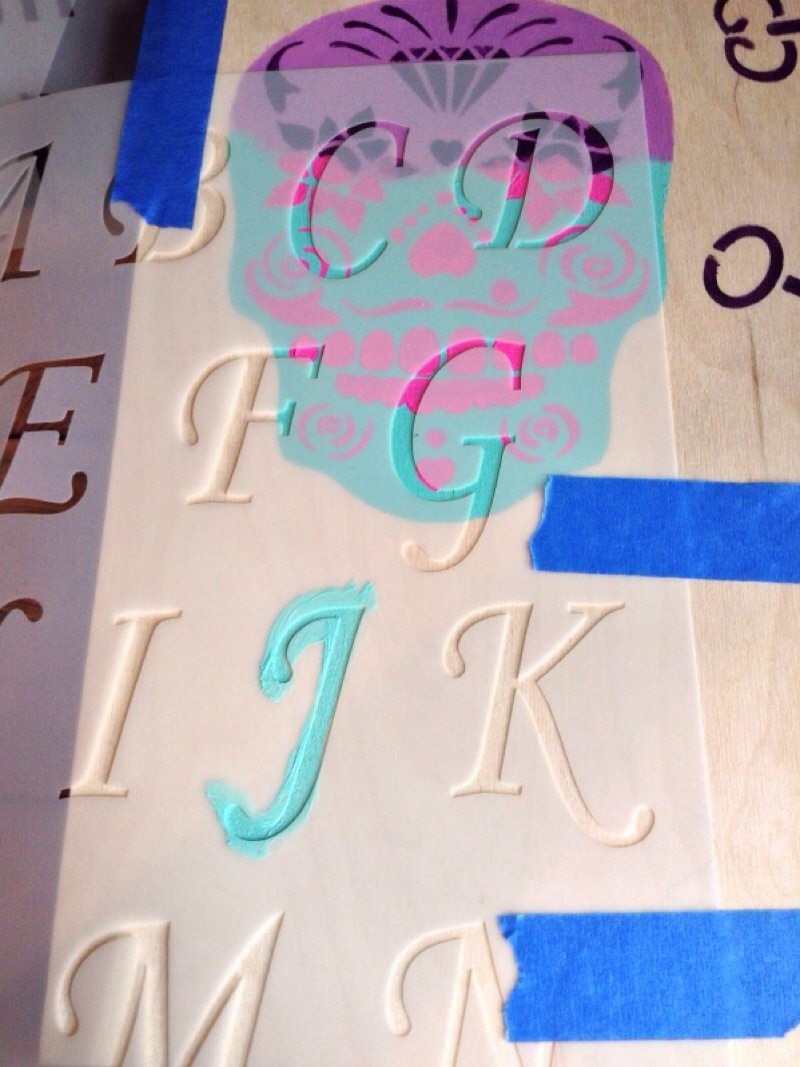
Step 7: Think about how much space you would like to have between each letter and also whether you want them to line up on the same baseline or if you would rather have them move up and down (or just go crazy on the board!). I wanted my name to be simple so I evenly spaced the letters closely together and had them all line up in a straight line. Spend some time planning your design, if you need to.
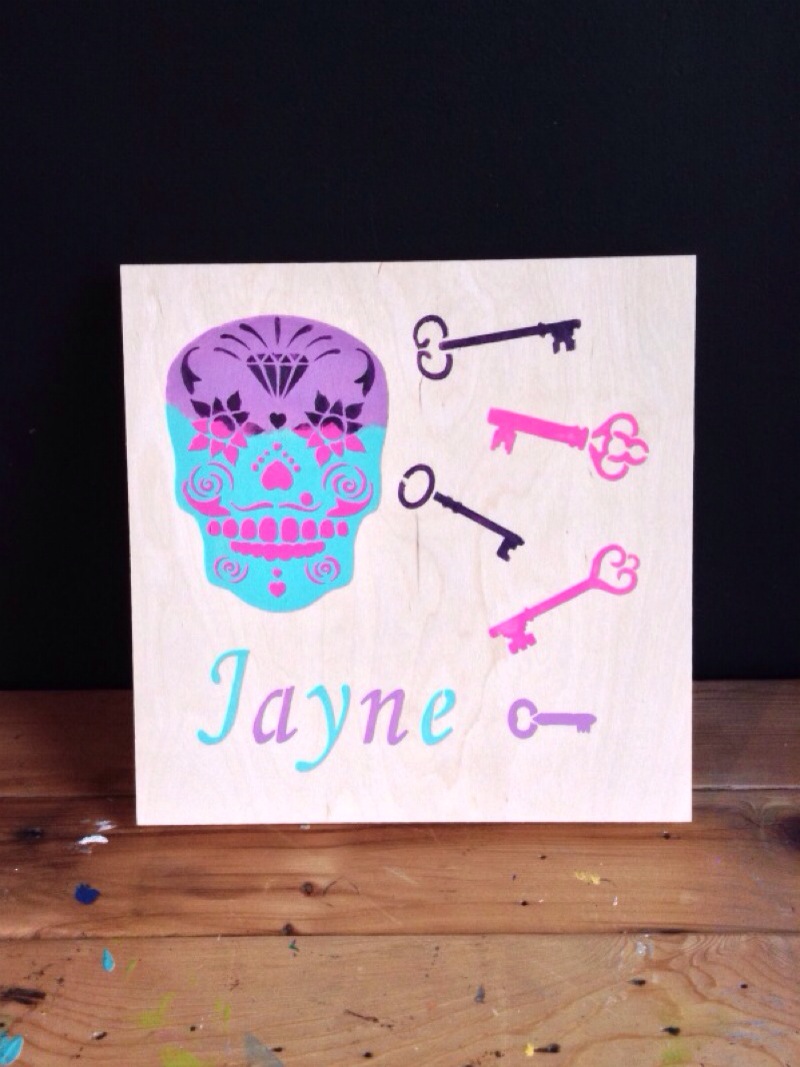
Step 8: After I finished stenciling my name, I realized my composition was still lacking something so I added another tiny key stencil beside my name.

And at last, here is the final product: