We love working with ceramics because there are so many great surfaces to stencil on. From tiles to trays to cups and plates, you can make something awesome to hang on your wall or something beautiful to sip hot cocoa from. We visited our friends at Baked in Brooklyn for a fun and creative night and we’re excited to show you what we made!
For stenciling on ceramics you’ll need: Stencil1 stencils, paintbrushes, sponge stencil brushes (a range of sizes) and ceramic paint.
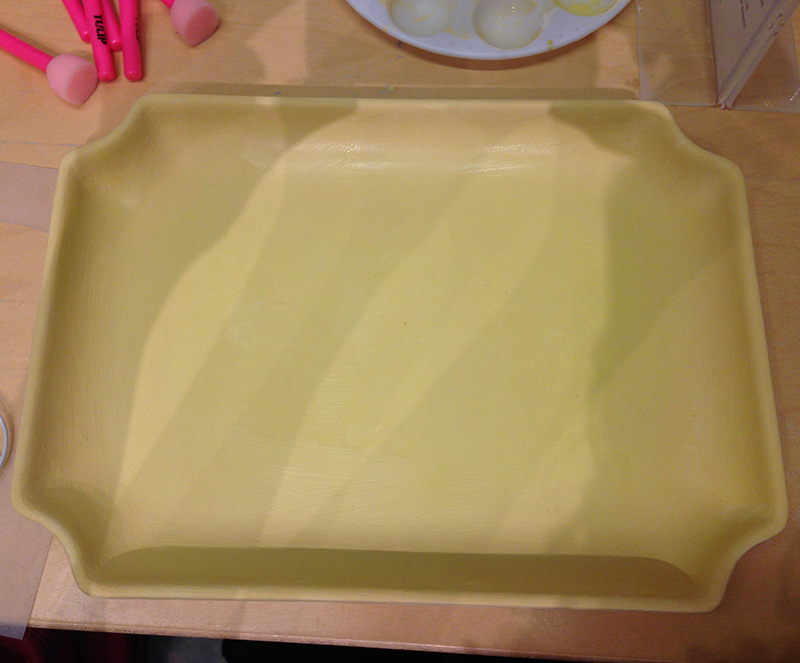
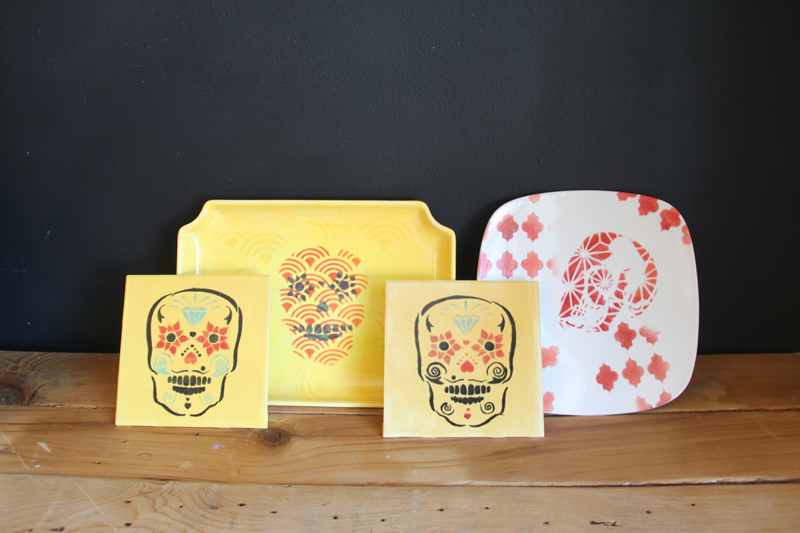
Step 1: Start by planning out your color palette. In order for your images to show after your tray goes in the oven, you’ll want to paint from light to dark. This means your first layer should be the lightest color and your last layer the darkest color. For this tray we combined a soft yellow with a mustard yellow. Apply 2-3 coats of paint.
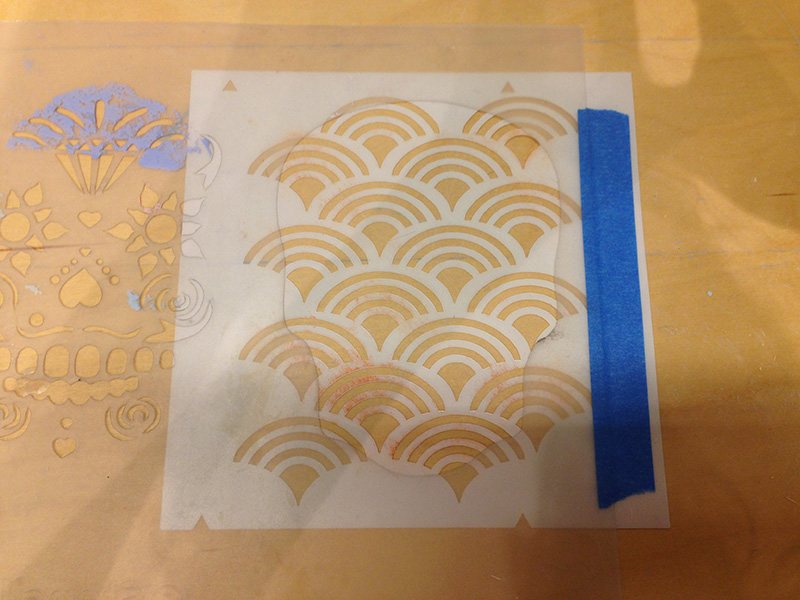
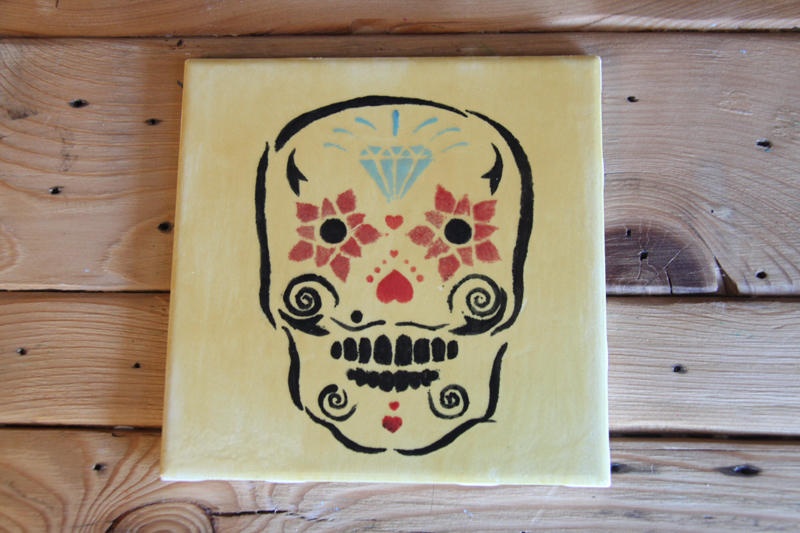
Step 2: Choose your stencil! We combined our two-layer sugar skull stencil with our scallop pattern stencil by attaching the pattern stencil to the first layer stencil with painters tape.
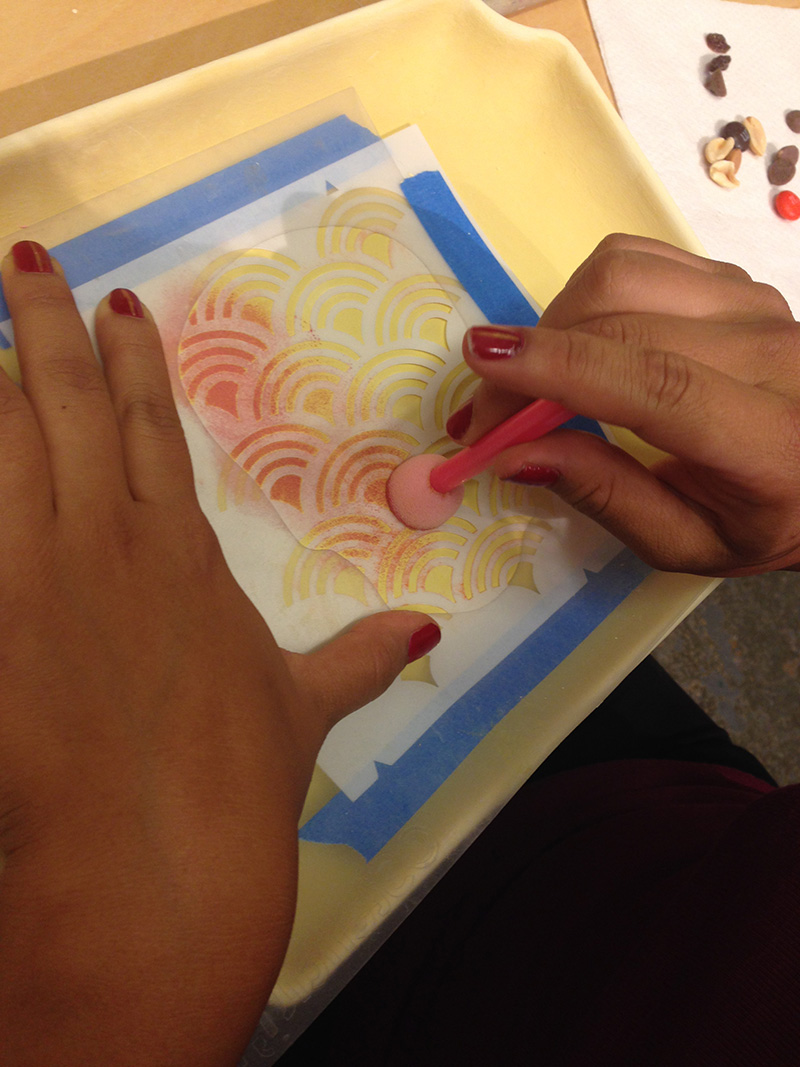
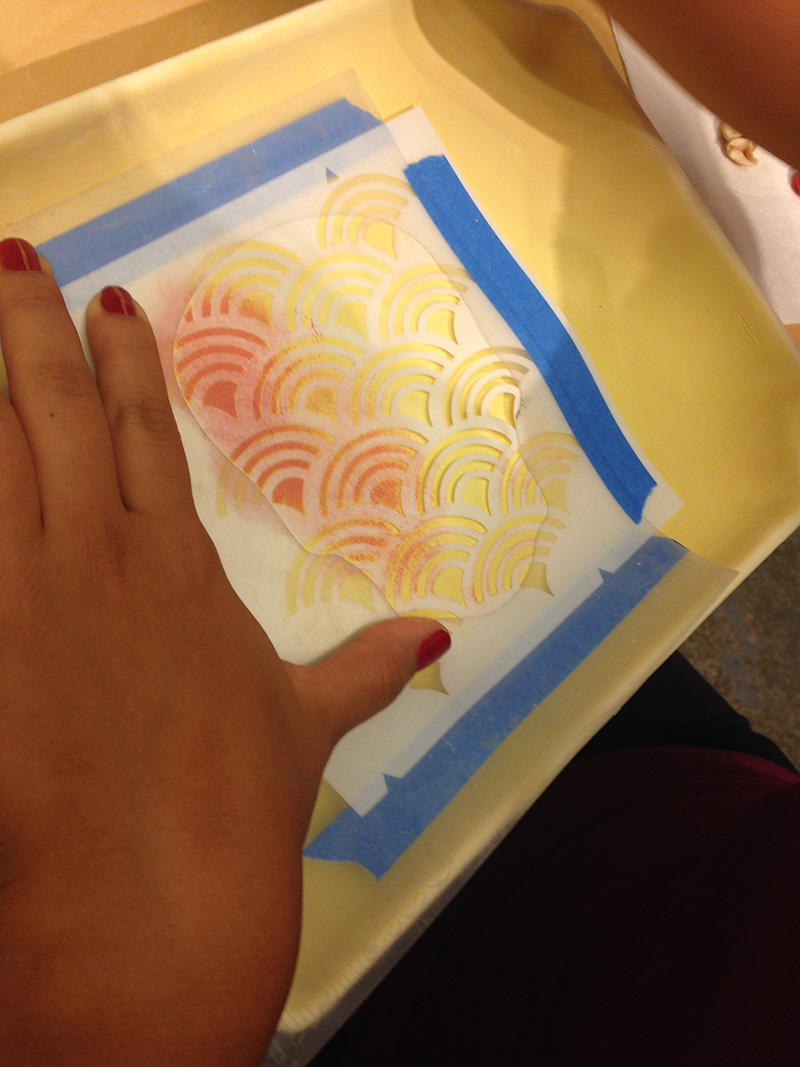
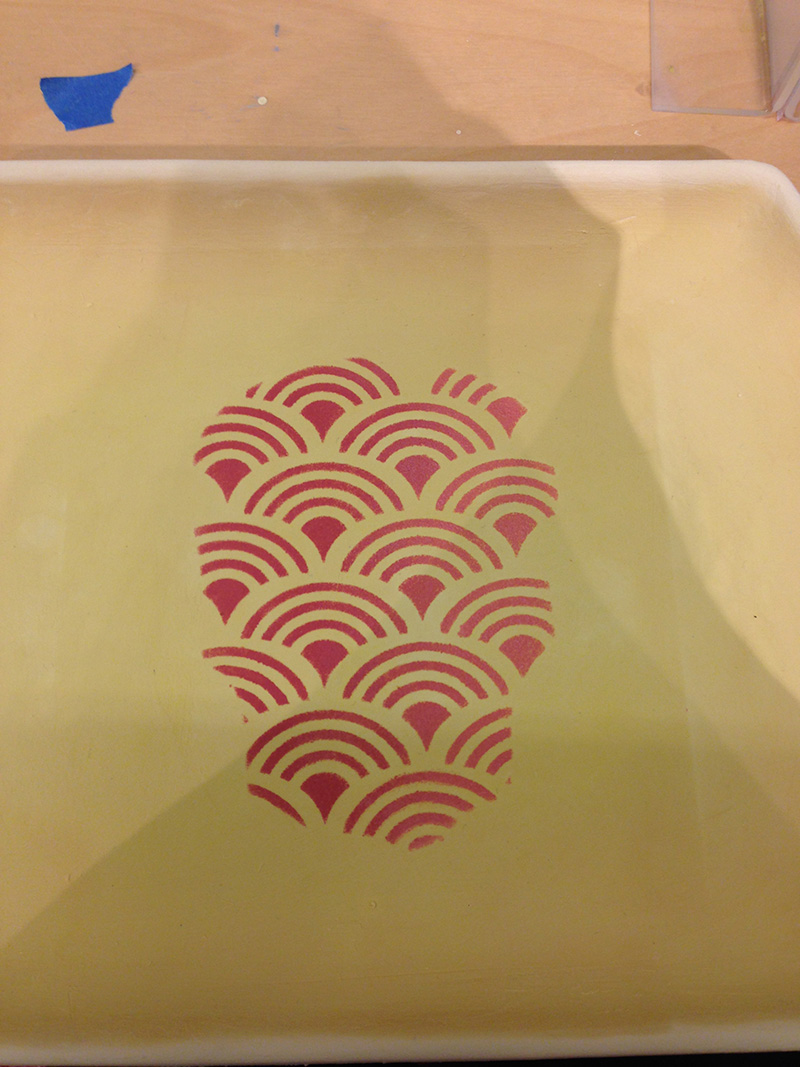
Step 3: Once the first layer of paint is dry (this shouldn’t take too long) place your stencil on the tray. You can use tape to help secure the stencil, although it doesn’t completely stick to the paint so also use your hand to hold down the stencil. Use the sponge brush to paint in your stencil.
We always say stenciling is a dry brush technique and when stenciling ceramics this is especially true. Use very, very little paint. Your brush should have almost no paint on it. At first, the stencil will be very faint, but after a couple of layers, the color will be more saturated. For this layer we used a coral pink and deep red.
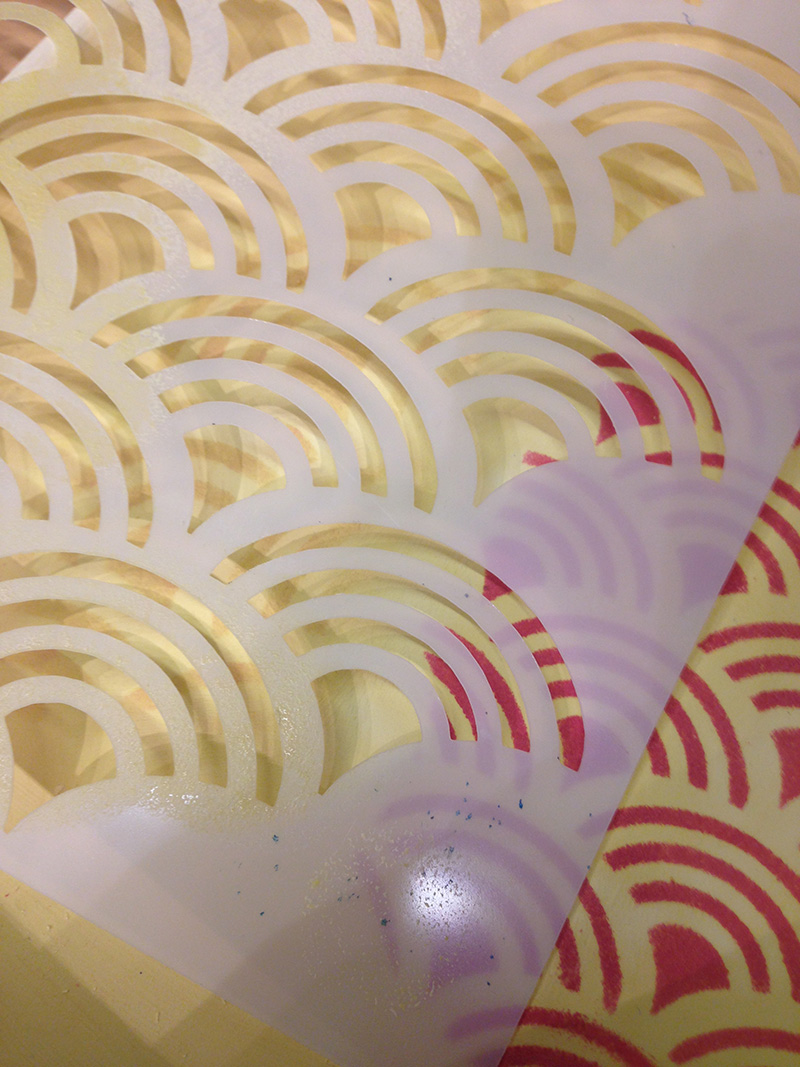
Step 4: Once you are done painting, carefully lift off the stencil and let the paint dry.
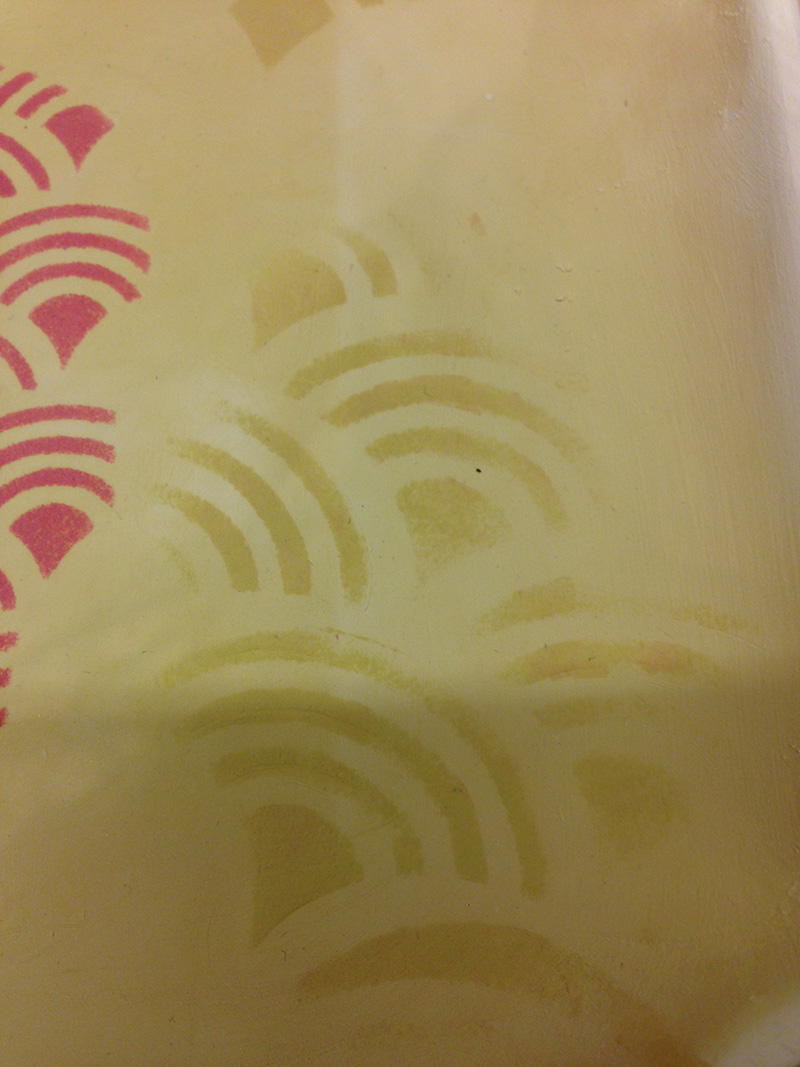
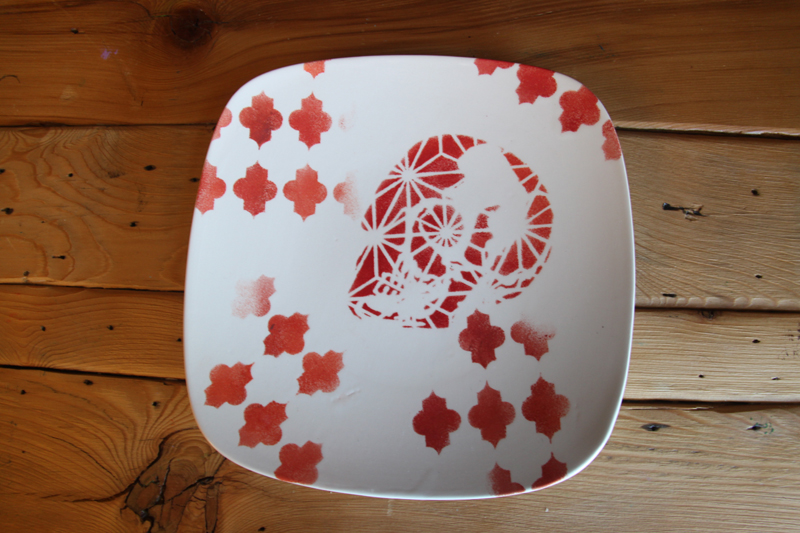
Step 5: We used our larger scallop stencil to subtly scatter some of the pattern on the background. First place the stencil on the tray and then, with the same dry brush technique, fill in the stencil. Lift the stencil and allow the paint to dry.
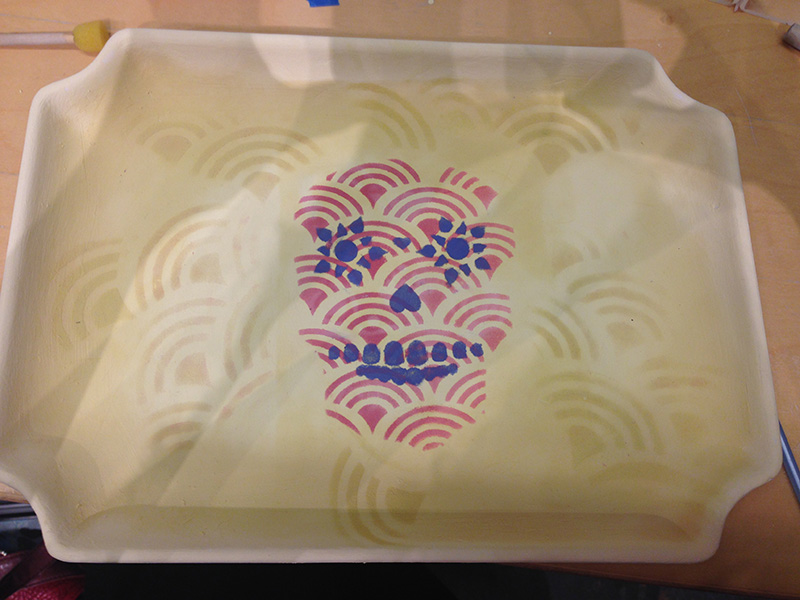
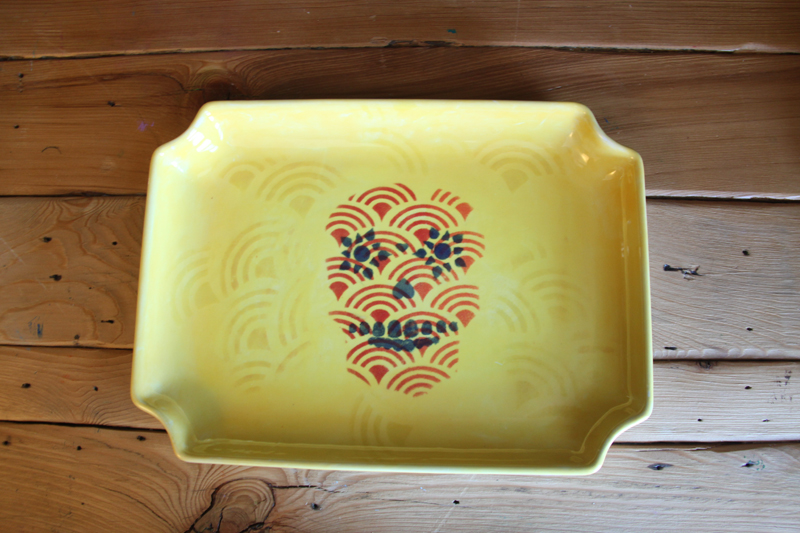
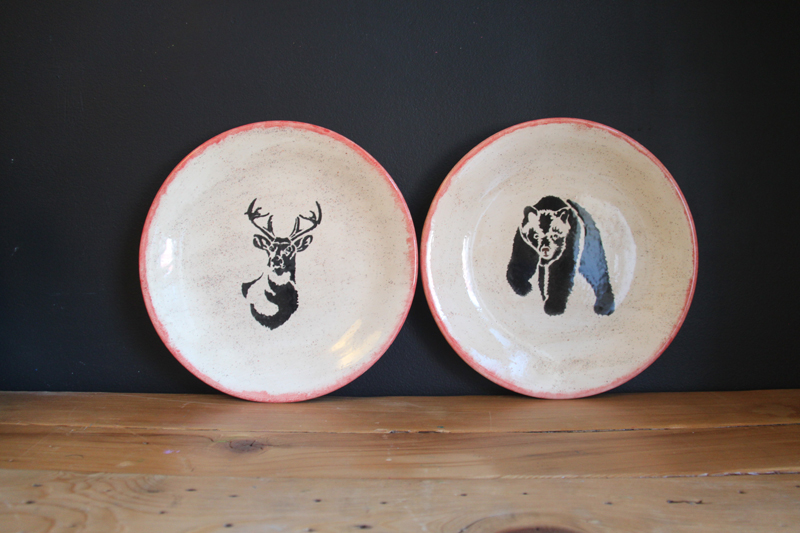
Step 6: One of the best parts of working with ceramics is anticipating what they will look like after firing. This is how our tray came out! We also added images of other things we stenciled as well as what our friends stenciled. Share your final products with us @Stencil1
This are the stencils we used:
Scallop Pattern (sm) and Large