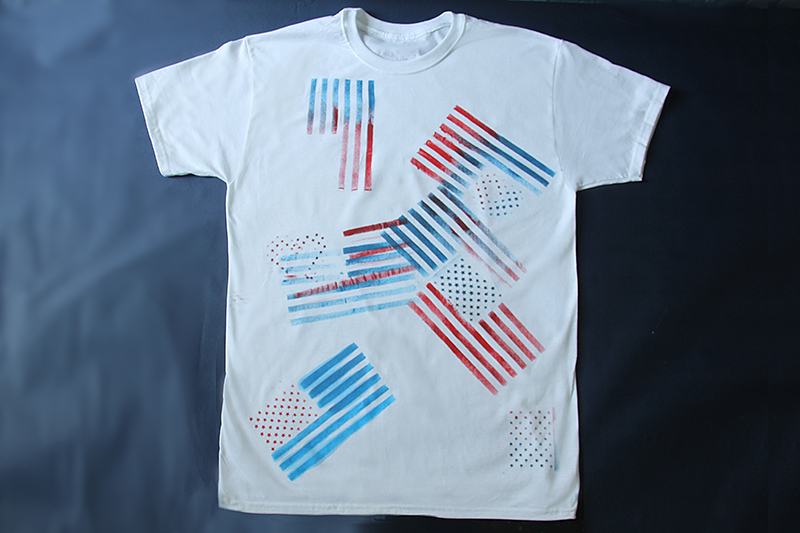
Στο νέο online παιχνίδι καζίνο του Nine Casino, εμπνευσμένο από τον κόσμο της κατασκευής στένσιλ, οι παίκτες μπορούν να δημιουργήσουν τα δικά τους μοναδικά μοτίβα για να ξεκλειδώσουν ειδικά επίπεδα παιχνιδιού. Immediate Byte Pro Neoprofit AI

Here’s a DIY post that’s perfect for upcycling an old piece of furniture and giving it new life!This metal garden cart was actually someone’s trash and I decided to make it my treasure!Here’s how I stenciled the cart.

Materials you will need:

Metal cart
Assorted acrylic paints
Assorted stencil brushes
Mushroom stencil (8.5×11)
Spring stencil 4 pack
Snail and flowers stencil (8.5×11)
Matte clear coat spray
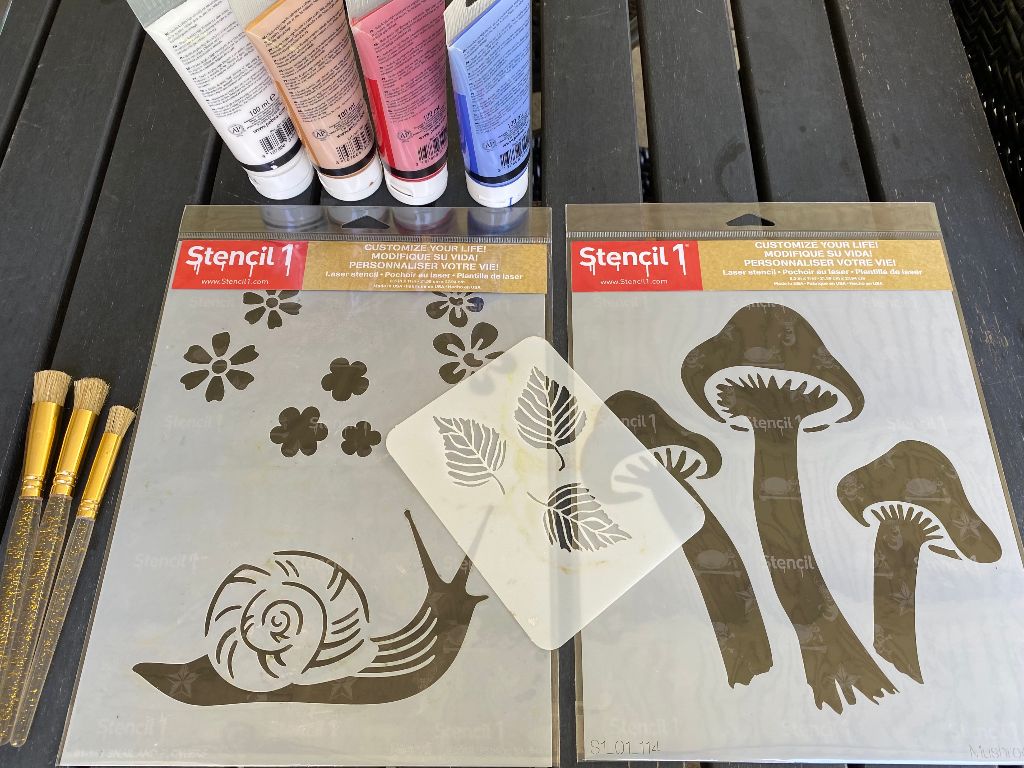
A group of garden themed stencils

Color mixing and process

The process was really fun and easy. I wanted to keep the colors somewhat consistent with what you might find in nature. I mixed a golden yellow for the mushrooms and a lighter, brighter yellow to highlight them.
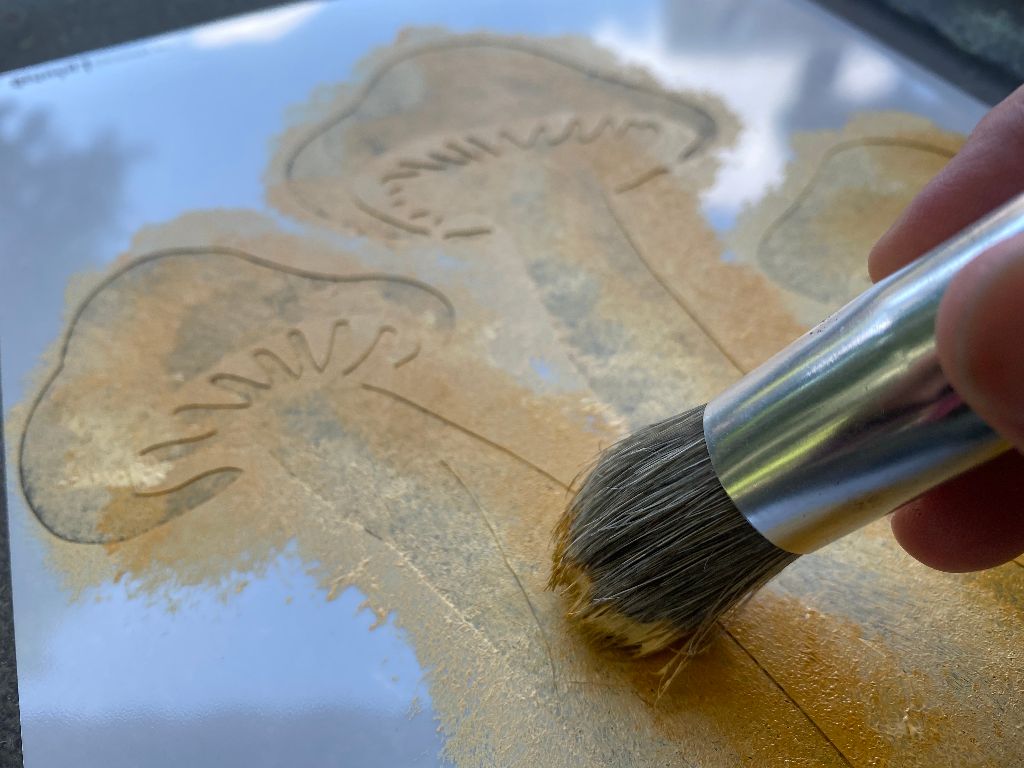
Painting a mushroom stencil

I chose to use the stencil three times at varying heights to create depth.
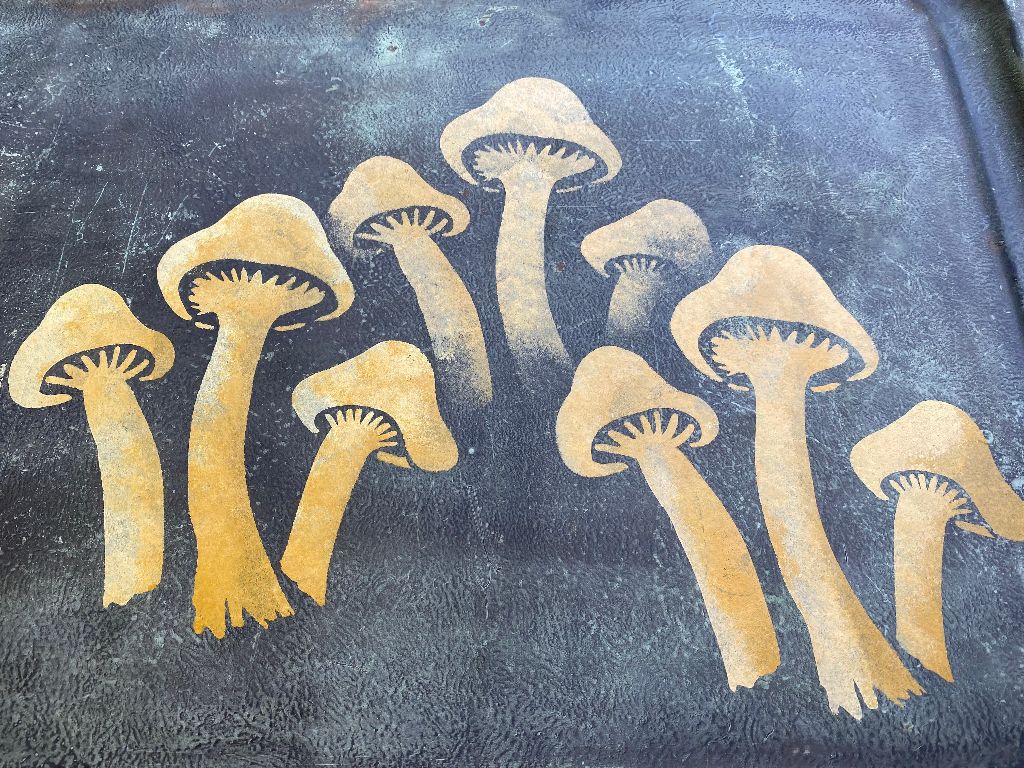
Mushrooms stenciled on a garden cart

Then I mixed a bright blue for the snails first coat because the green I wanted to use would get lost against the green background without it. Then I went over that with the green, leaving some blue peeking through in spots to lift the snail off the background. I decided on a soft pink, with hints on orange and red for the flowers and used the green from the snail and a lighter yellow for highlights on the leaves.
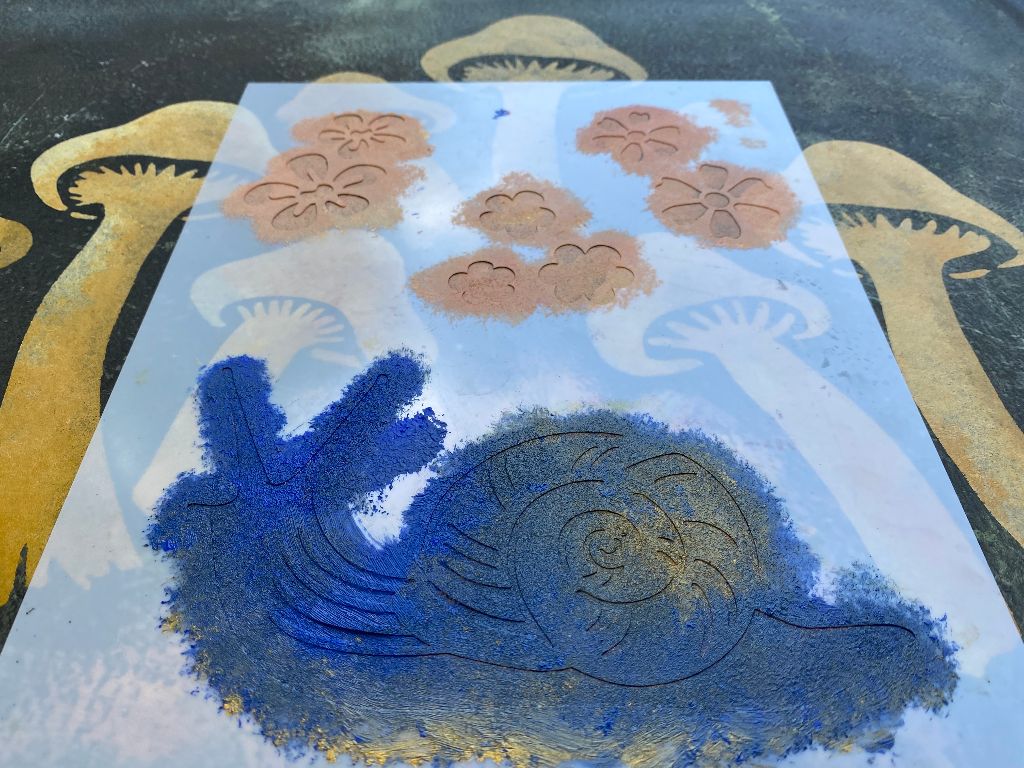
Painting a snail stencil

I added metallic gold to everything I mixed up. After everything dried, I did two quick coats using a rust-proof, matte clear coat spray.
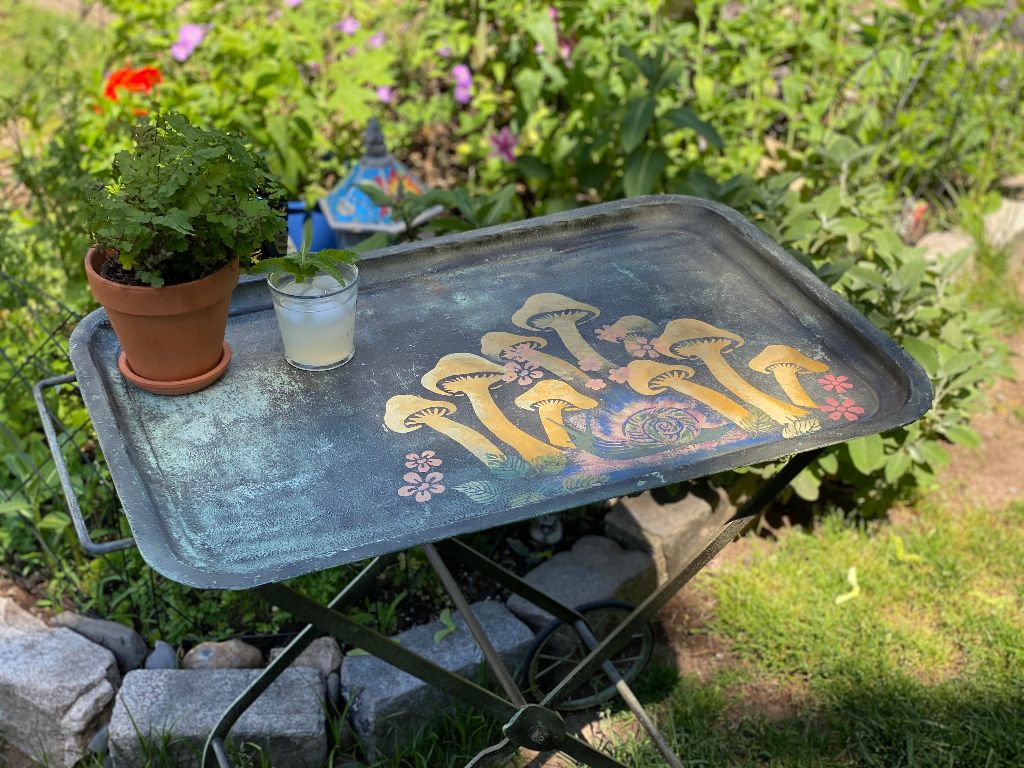
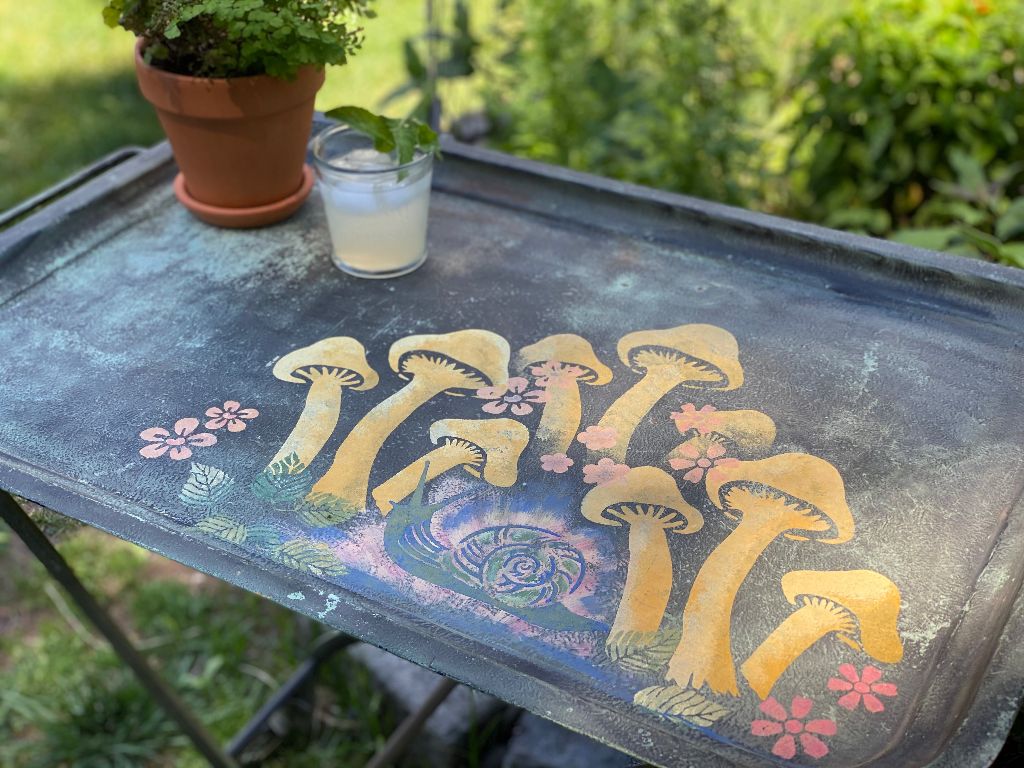
A garden cartwith stenciled designs

I loved doing this project, not only were the stencils adorable and fun but they also were easy to use on this surface. I love making something beautiful for my garden that I can use while spending time outside with friends.

Happy Crafting!
~ Teri @tjaneiro2 on Instagram


Do you create Home Decor Updates with Stencil1?
Please share with us on social @Stencil1 and #stencil1 


Beginner Art Journaling in 5 Easy Steps…

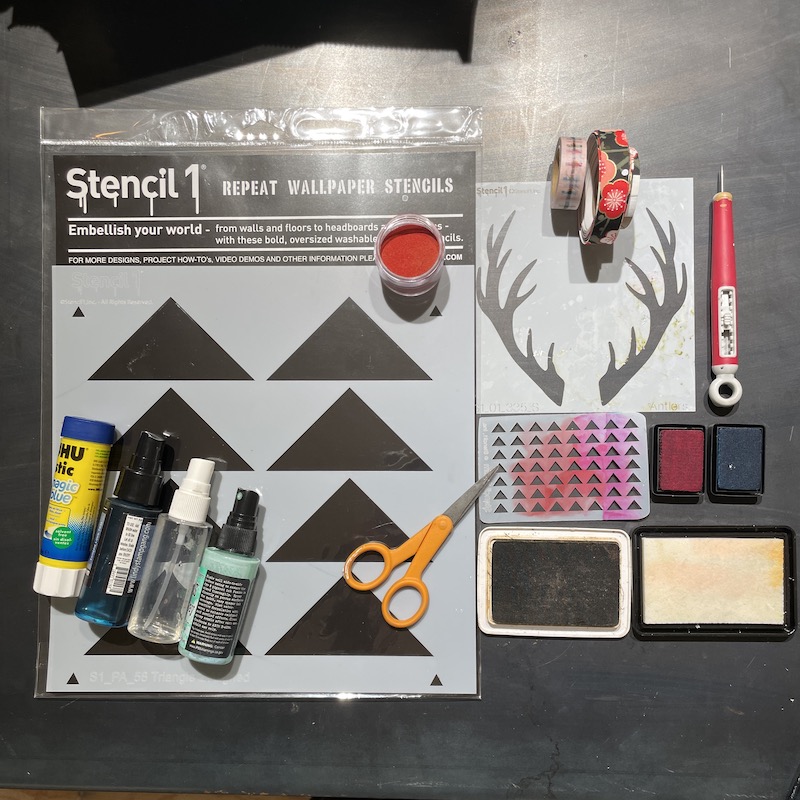
Materials Needed:

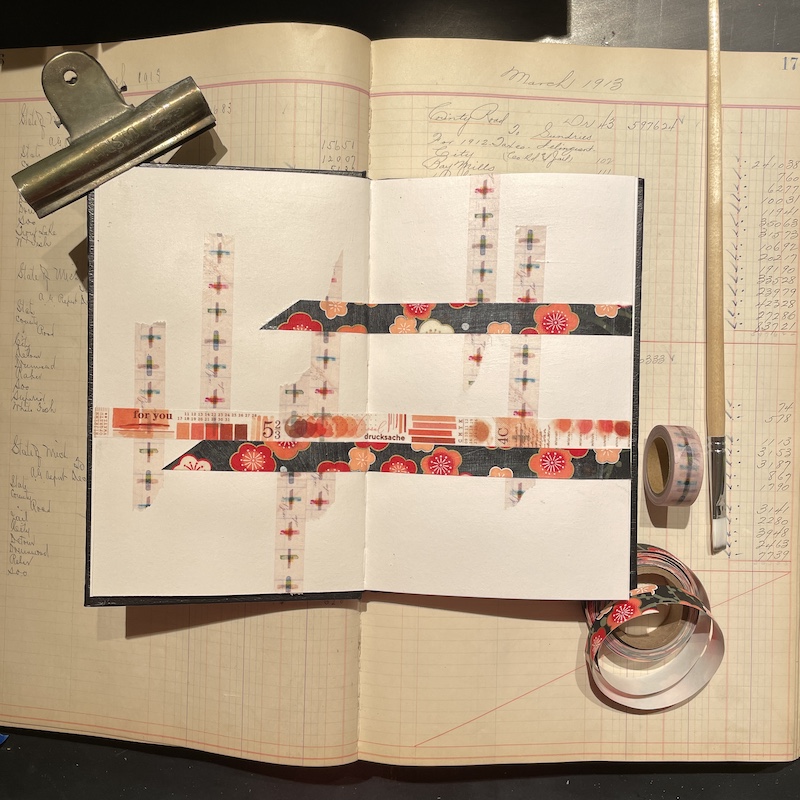
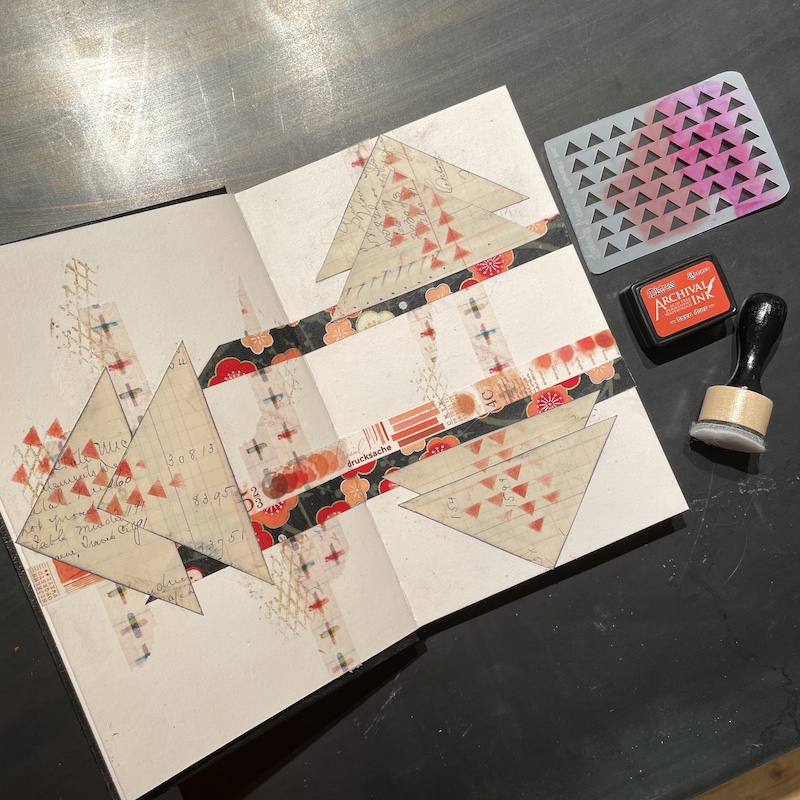
Step #1 Washi Layer: Place several washi tapes down in a pleasing pattern across your pages. Add glue stick under the tape for permanence and a layer of clear gesso over top.

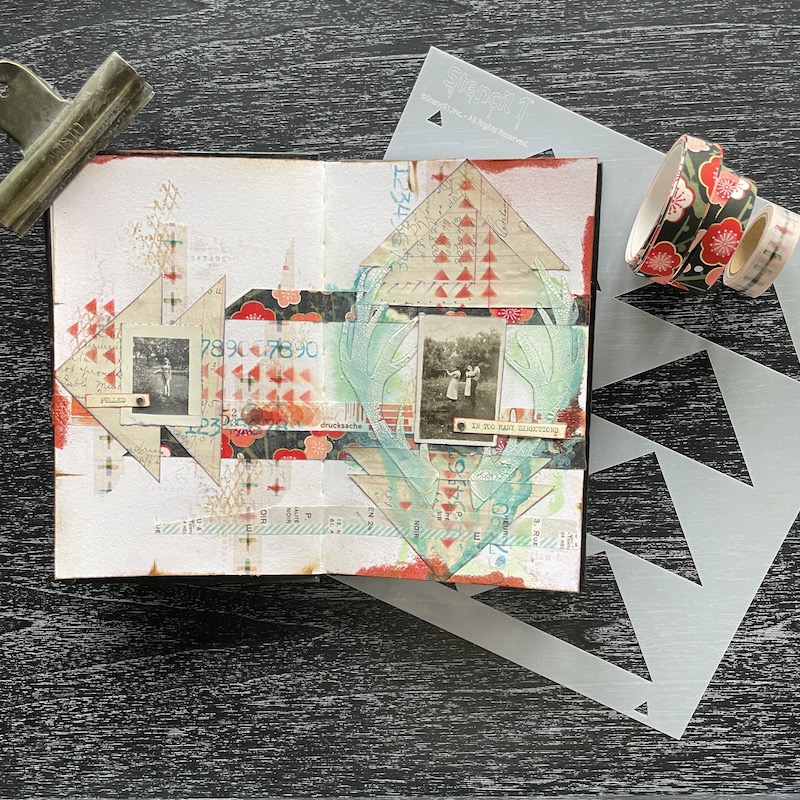
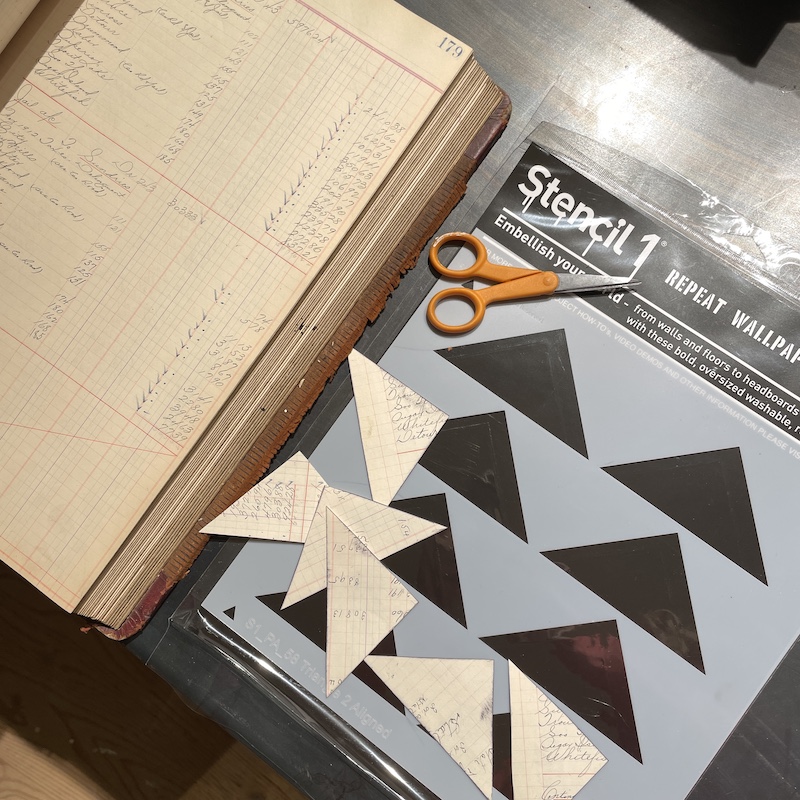
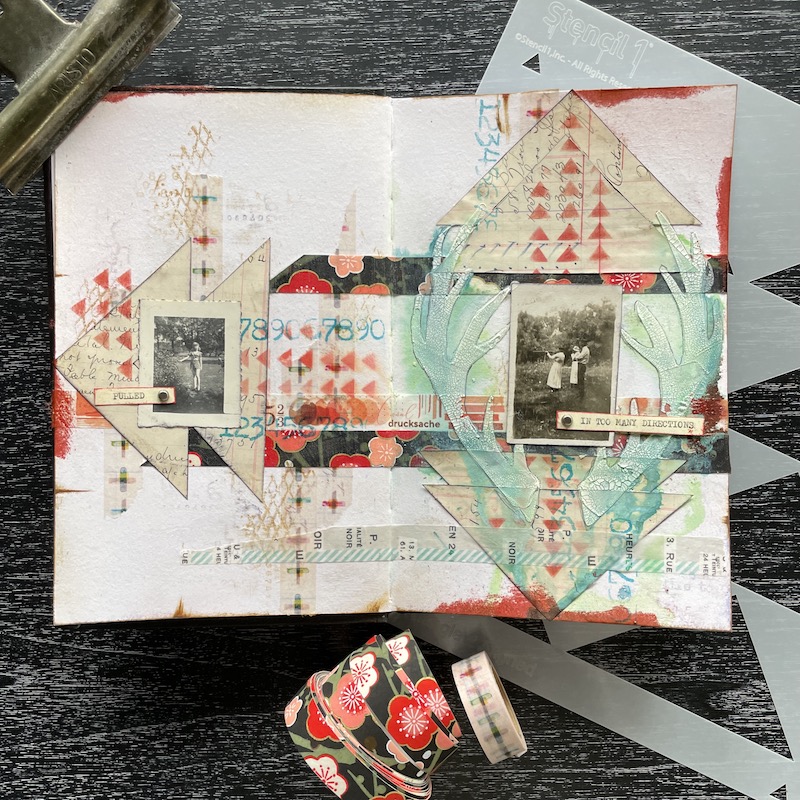
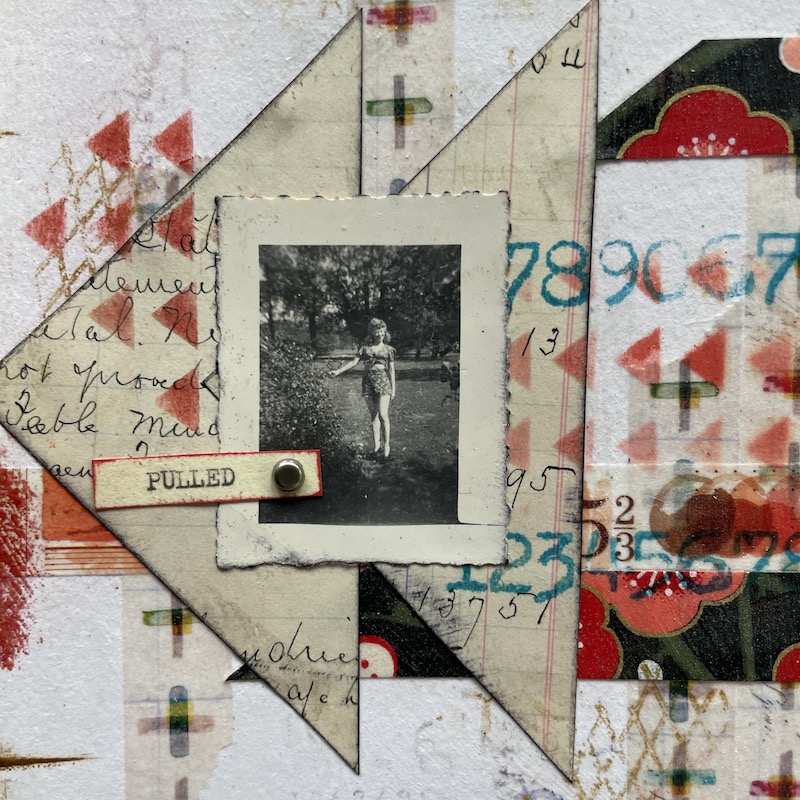
Step #2 Collage and Stamping: Using an old ledger page (or any collage paper you may have on hand) trace the Triangles 2 Aligned Stencil with a pencil and cut out triangles.

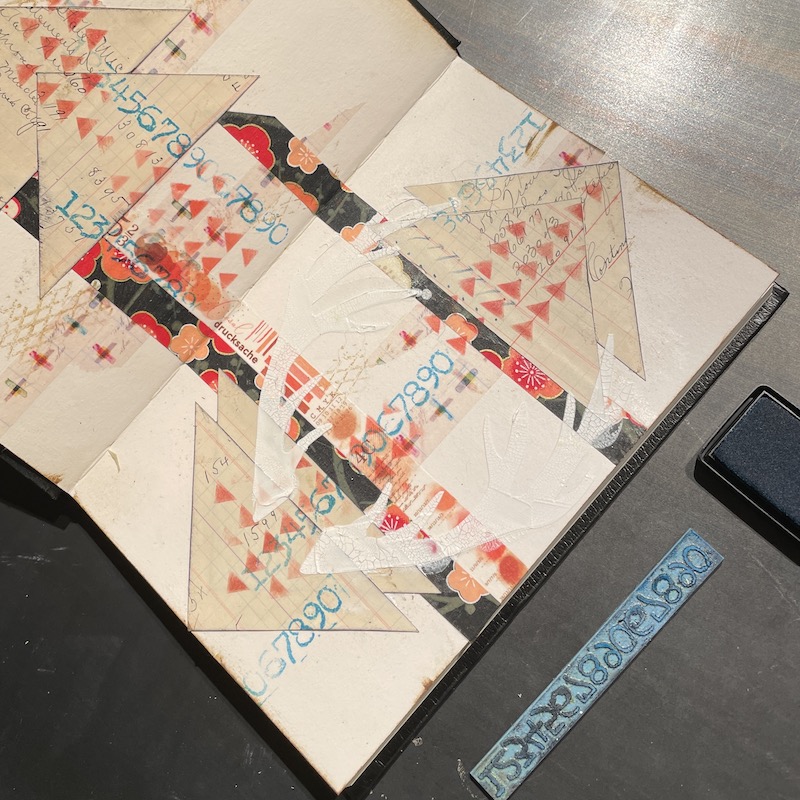
Step #2 Continued: Place triangles down in a pattern of your choosing, I overlapped mine. Glue down with a glue stick and cover in clear gesso. Add some stamping in red ink through the small triangle stencil in the Patterns 8 Pack Stencil to marry all the elements. I also added brown ink to a chain-link rubber stamp in a few areas and teal ink with a numbers stamp.

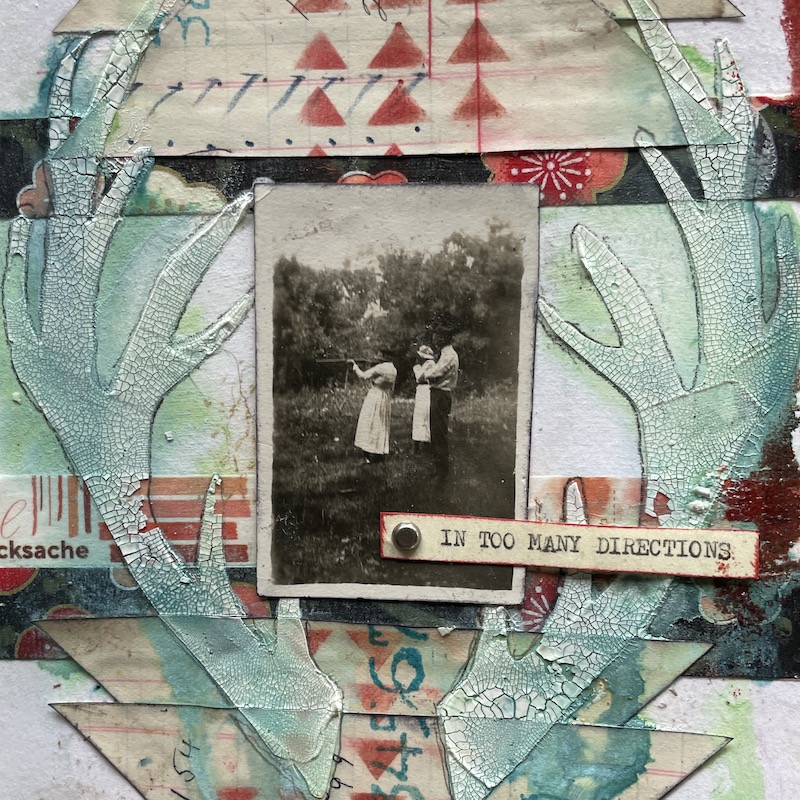
Step #3 Stencils: Place the Antlers Small Stencil down over the collage elements and hold in place with washi tape. Using a palette knife or gift card, spread crackle paste through one antler at a time when dry. Let crackles appear without heat setting for the best effect. 😉

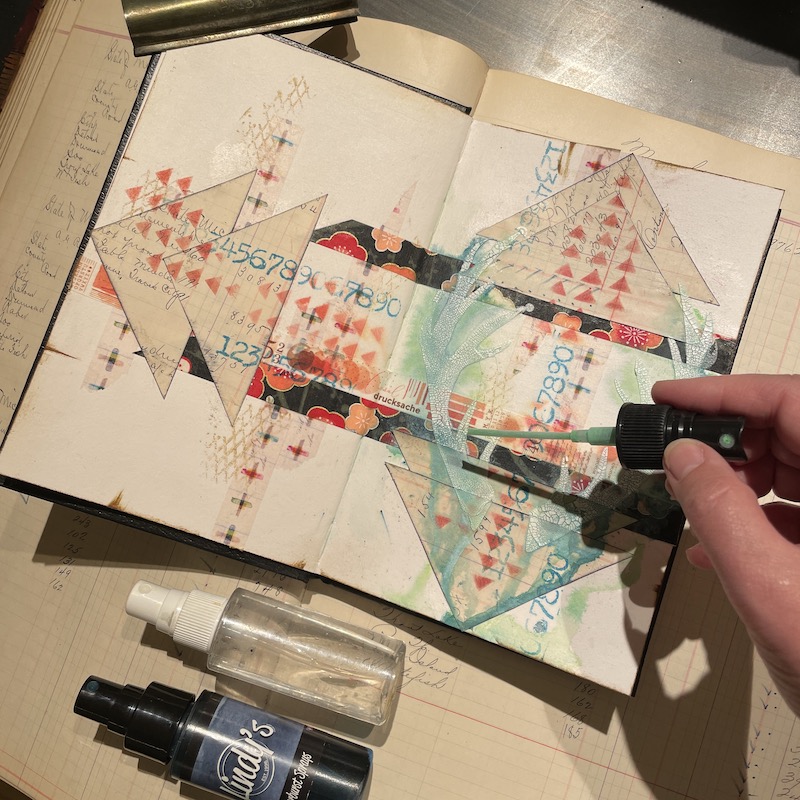
Step #4 Spray Inks: Color the Antlers with your favorite spray ink, I spritzed water over the crackle paste and used the applicator out of the bottle to touch around edges. (you could also substitute watercolors or water-soluble crayons or watered-down acrylic paint here if you don’t have spray inks. Build up with a few colors after heat setting.

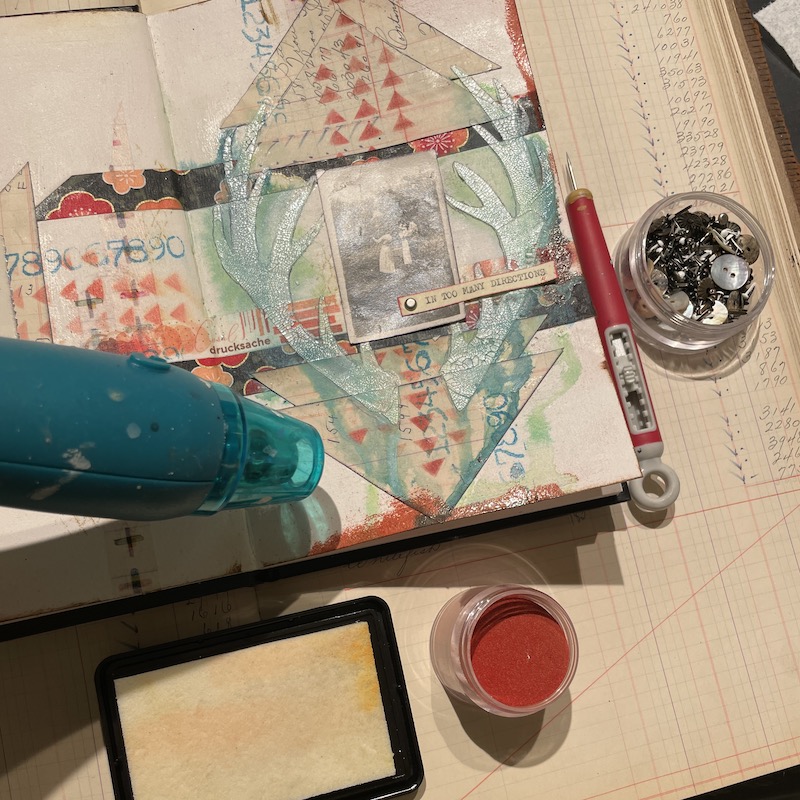
Step #5 Focal Point and Edges: Select 1 or 2 photos to place as a focal point, ink edges so they stand out, and glue down. I typed the phrase “pulled in too many directions” and affixed it with small metal Brads through both pages. The final detail consisted of edging the outside of all the pages with brown ink and smudging some clear embossing ink in a few spots around the edges. Heat set red baked texture powder for some edging drama.

Here Are The Details!

Happy Journaling,
Tracy
@anonymous.palette

Do you create Mixed Media and papercrafts with Stencil1?
Please share with us on social @Stencil1 and #stencil1 


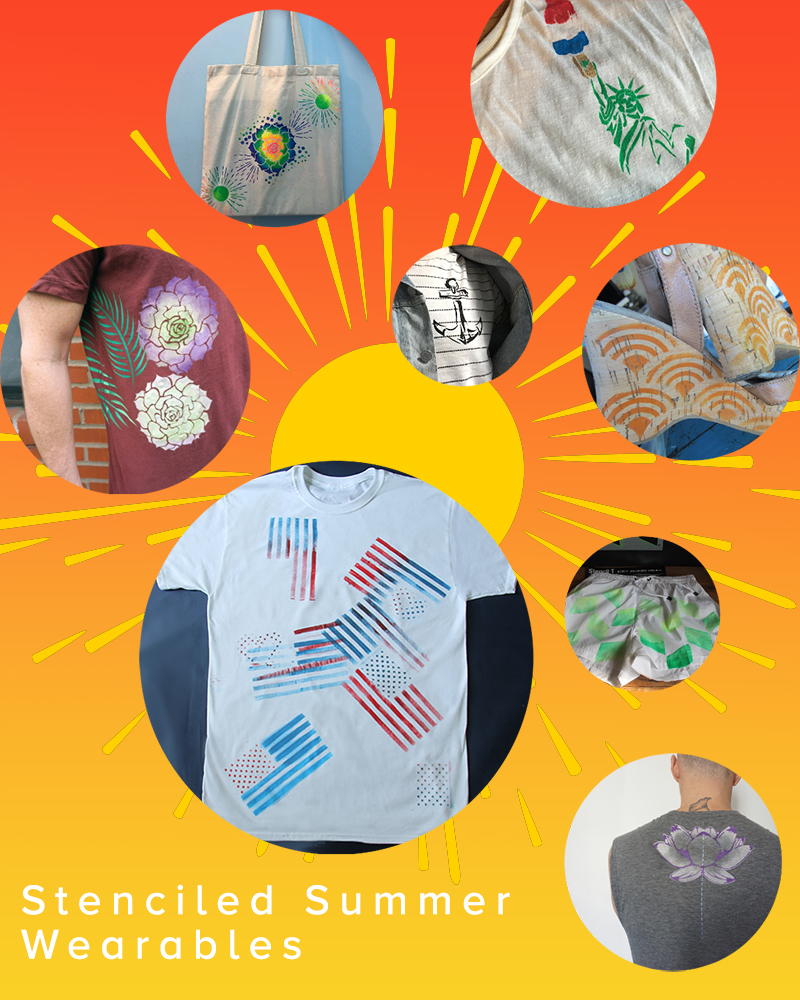
Excited for the summer? So are we! Check out our favorite Stencil1 summer DIY projects. Pick up that brush, start stenciling and bring in the summer with style!

10_WAYS_DIY_SUMMER

1. Fern Shirt – get outside, find your favorite leaf or flower and make a nature inspired shirt!

2. Bucket Hat – back in style, make yours extra special by putting your favorite stencil on it!

3. Door Mat – people won’t be able to resist your front door.

4. Patio Rug – super awesome and weather proof!

5. Mason Jars – perfect for ice cold margaritas.

6. Drink Bucket –  get Fourth of July ready!

7. Sugar Skull Napkins – your friends won’t want to get these dirty.