Στο νέο online παιχνίδι καζίνο του Nine Casino, εμπνευσμένο από τον κόσμο της κατασκευής στένσιλ, οι παίκτες μπορούν να δημιουργήσουν τα δικά τους μοναδικά μοτίβα για να ξεκλειδώσουν ειδικά επίπεδα παιχνιδιού. Immediate Byte Pro Neoprofit AI
Levi's Pride

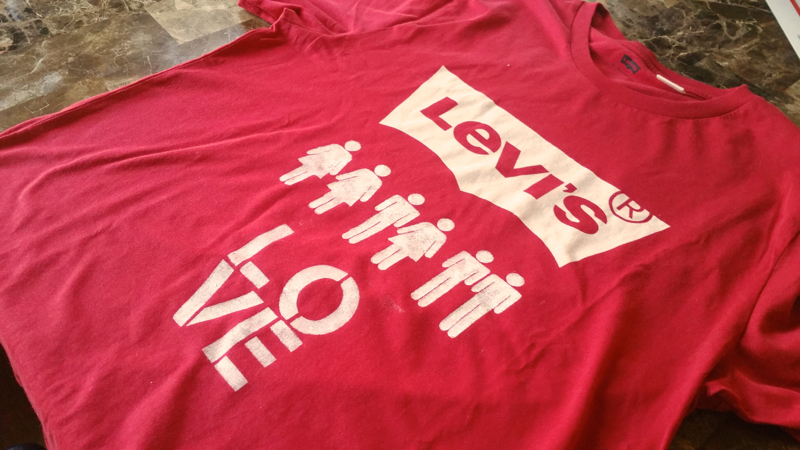
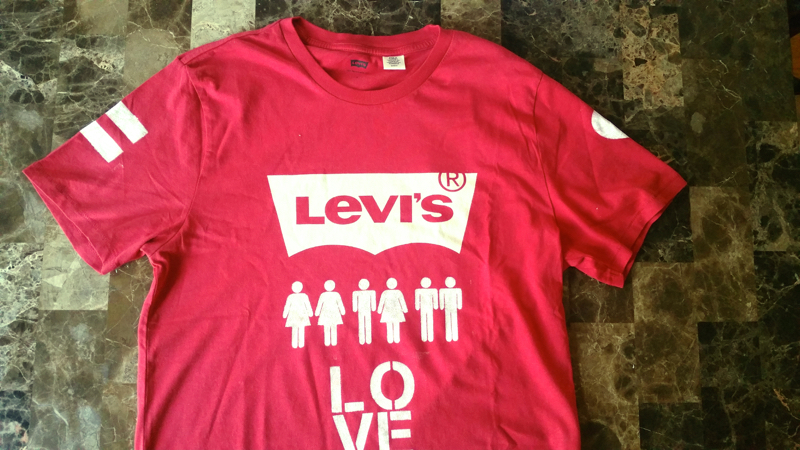
Express yourself! Here’s another sneak peek for an upcoming event we have with Levi’s® this month celebrating the month of LGTB Pride. Spread some love with Stencil1 and Levi’s® with your very own Pride T-Shirt!

Things you will need: Any T-Shirt, paint and a paint brush, and any Stencil1 stencil.
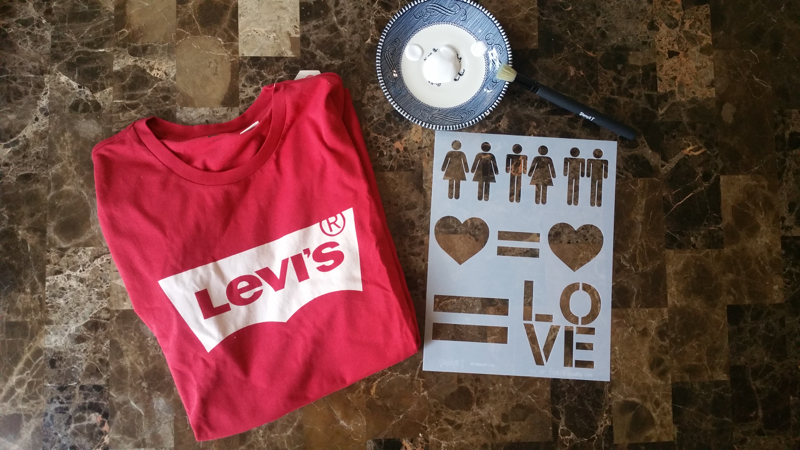
Levi's Pride

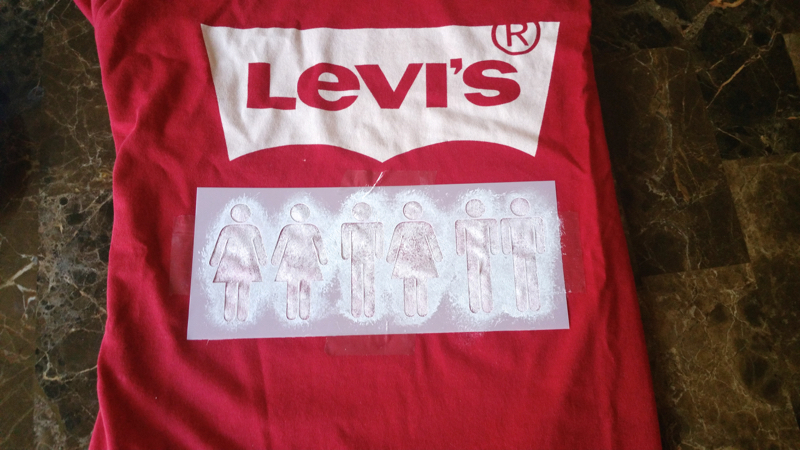
Using the stencil of your choice, place it on the shirt in your desired location. Here, we’re using the *NEW* Stencil1 Equality Stencil 4-Pack!
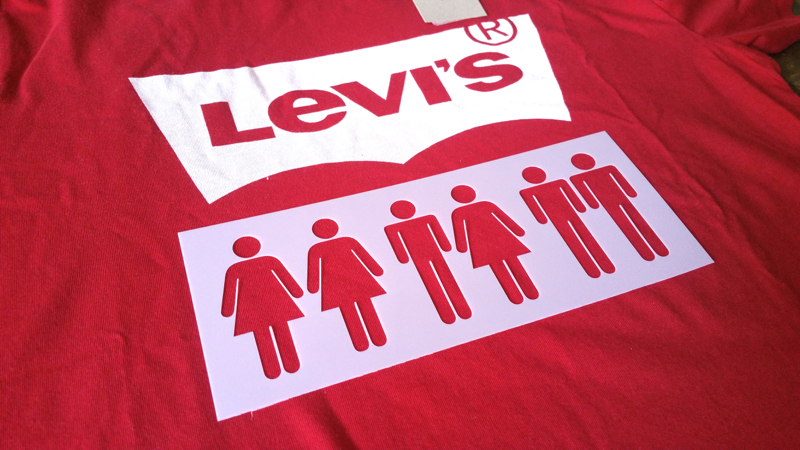
Levi's Pride

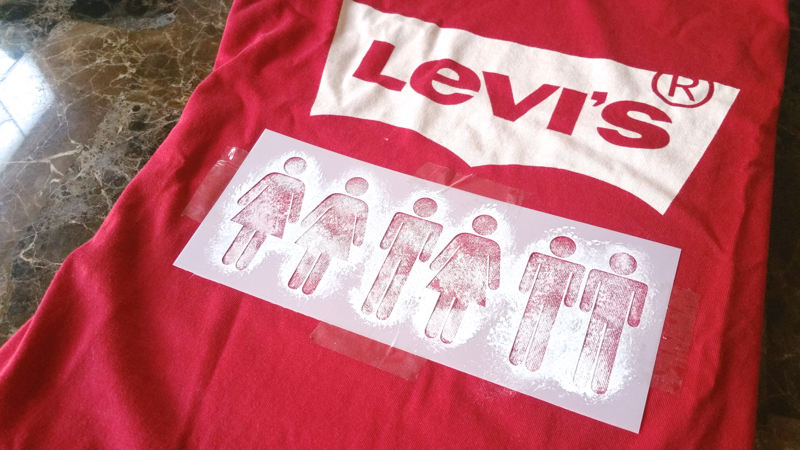
Grab your paint and paint brush and load your brush with paint. Remove any excess paint on a plate or paper towel to prevent any bleeding underneath the stencil. Start painting over stencil in a dabbing motion. This dry brush method is perfect for any detailed stencil! (Tip: add a piece of tape to each side of the stencil to keep it in place)
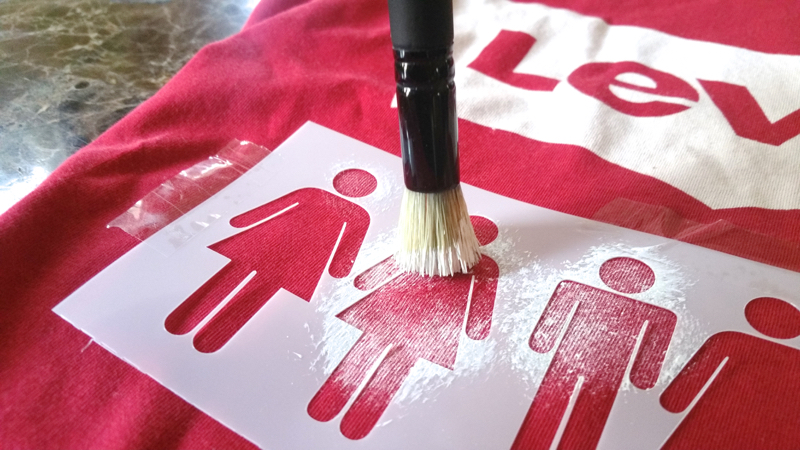
20160602_140342
Levi's Pride

Keep building multiple layers of paint until you have reached your desired opacity.
20160602_141222

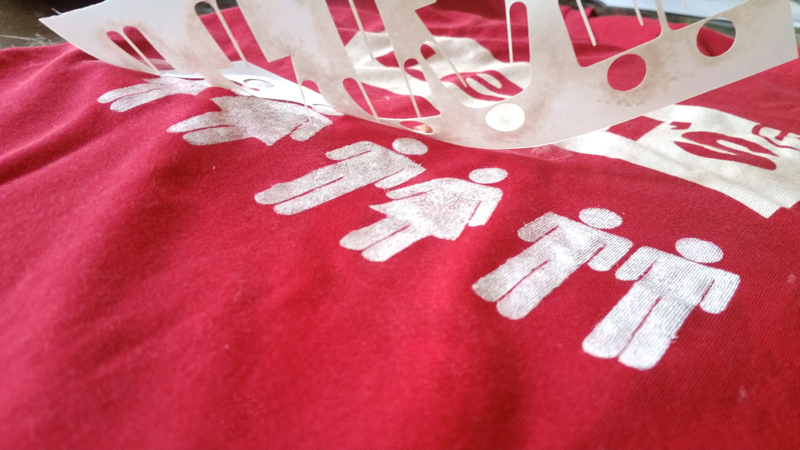
Once dry, carefully remove the stencil.
20160602_141414

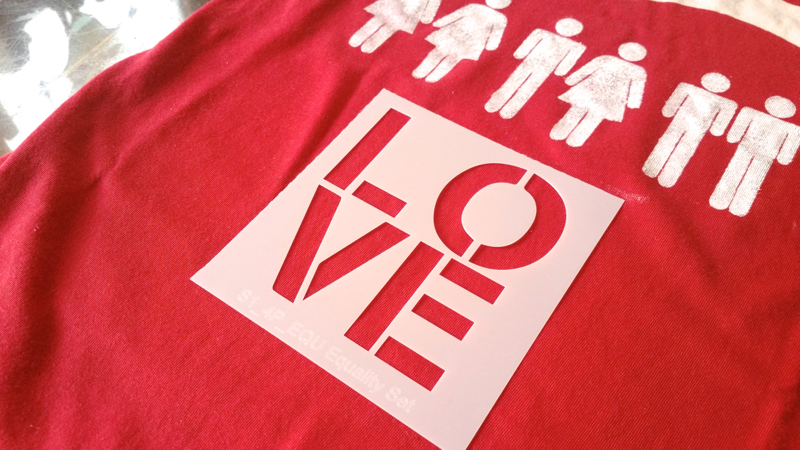
Continue to decorate your shirt. The more stencils, the more love! Maybe a Stencil1 Letters & Numbers stencil will help you get your message across!
20160602_141607

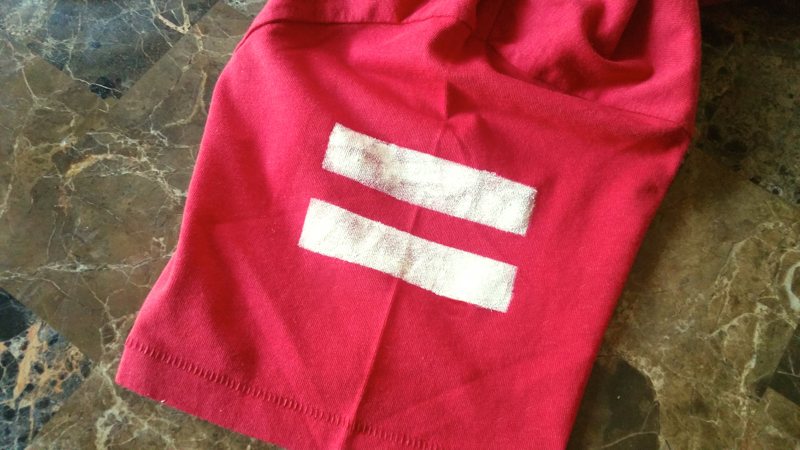
You don’t have to only use the front of the shirt! Here we added an equal sign to the sleeve of the shirt.
20160602_144434

There you have it. Love for ALL! How do you plan on celebrating LGBT Pride Month? Share it with us @Stencil!
20160602_150144

Interested in a custom stencil? Find out how you can order your very own custom stencil here!


SNEAK PEEK!

We’re gearing up for an upcoming event with Levi’s® this mid-June where we will be customizing purchased items in-store using our very own Stencil1 stencils! More details to come. Here’s a little preview of what you can expect for the event.

Levi's T Shirt

Things you will need: Any T-shirt, paint and a paint brush, and a Stencil1 Small Image stencil.

Levi's T Shirt

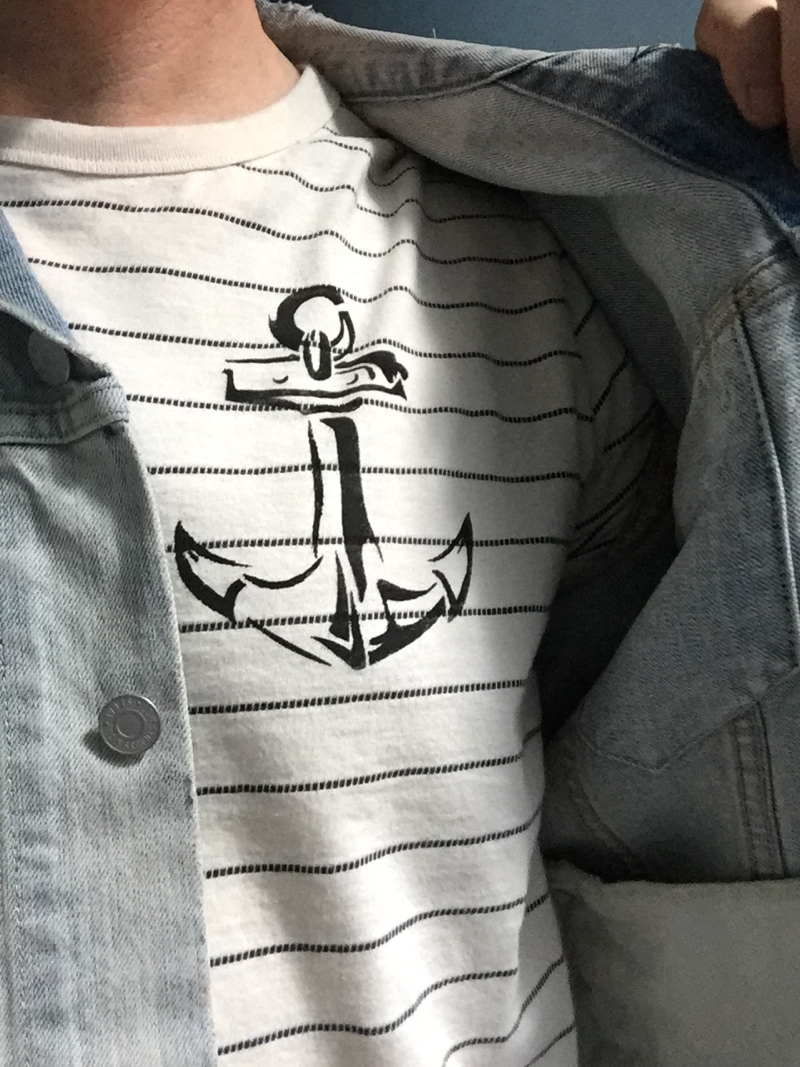
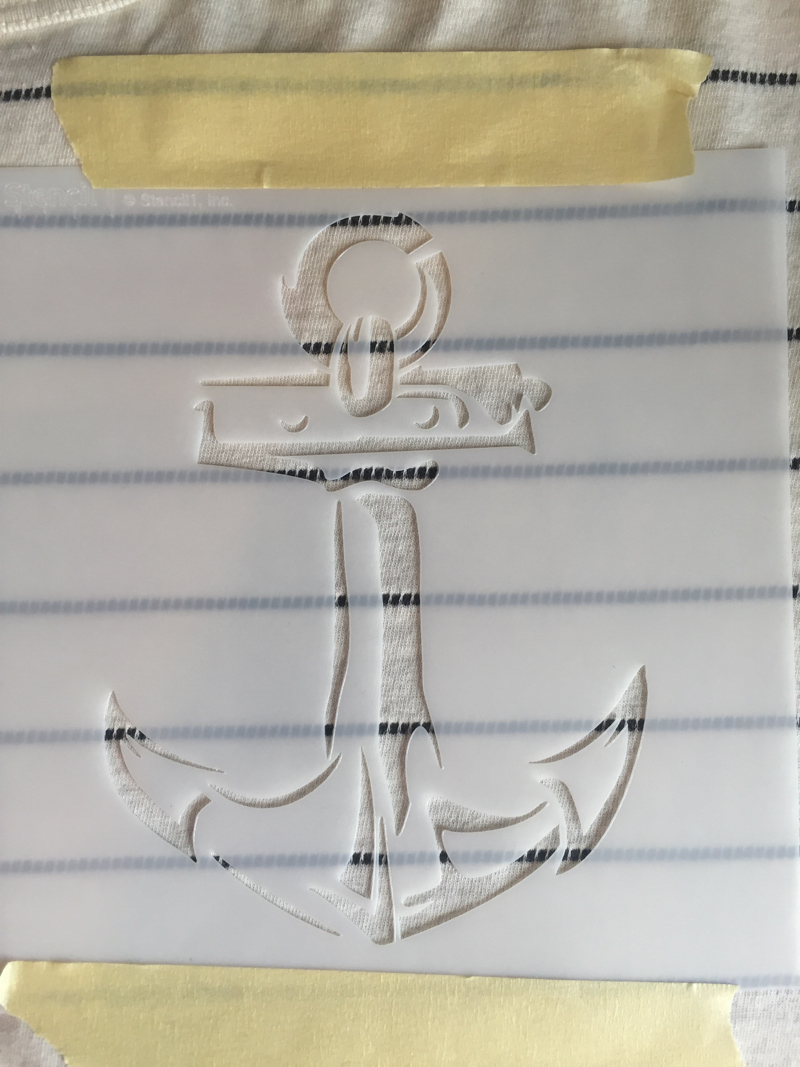
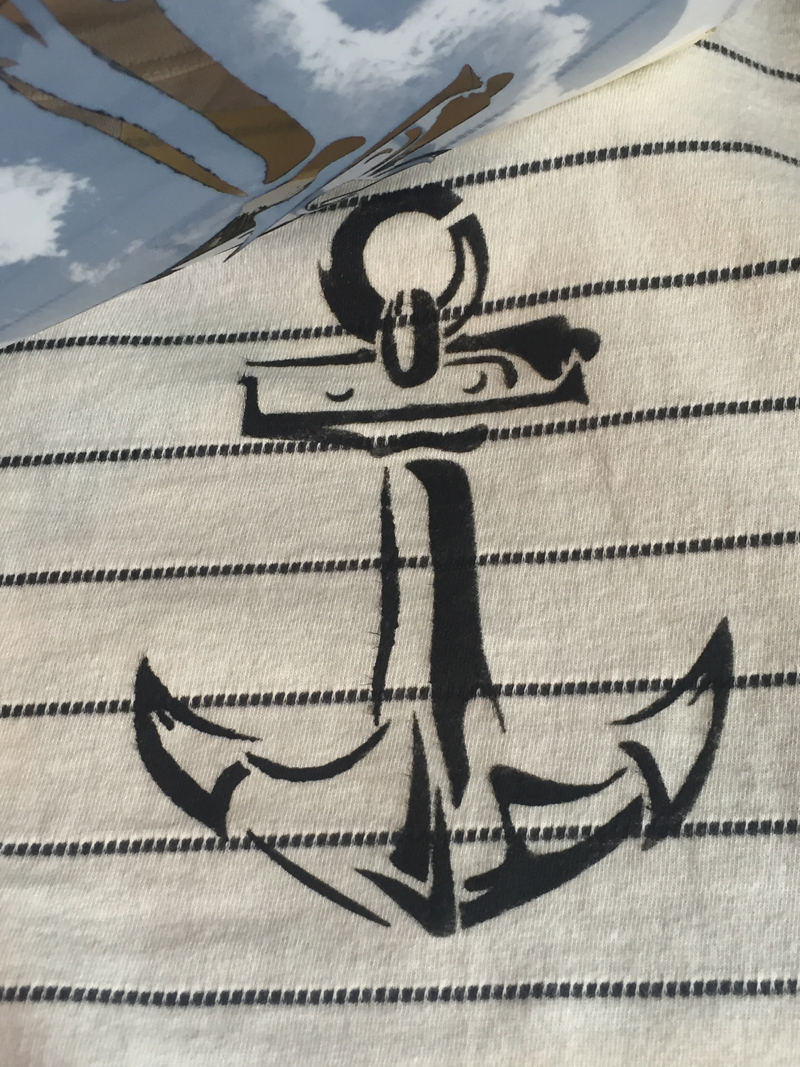
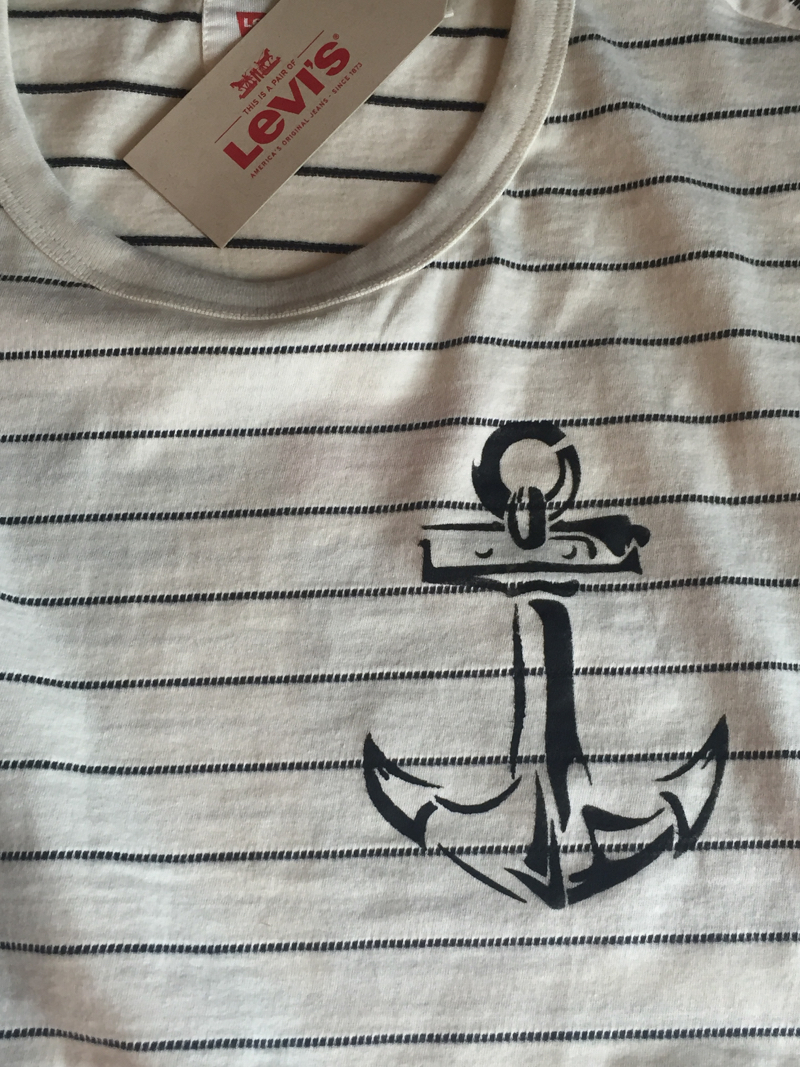
Place the stencil of your choice on the shirt. We placed the 6 x 6 Anchor Stencil right above the chest area on the left. Use some tape, if necessary, on the top and bottom of the stencil to hold the stencil in place.

Levi's T Shirt

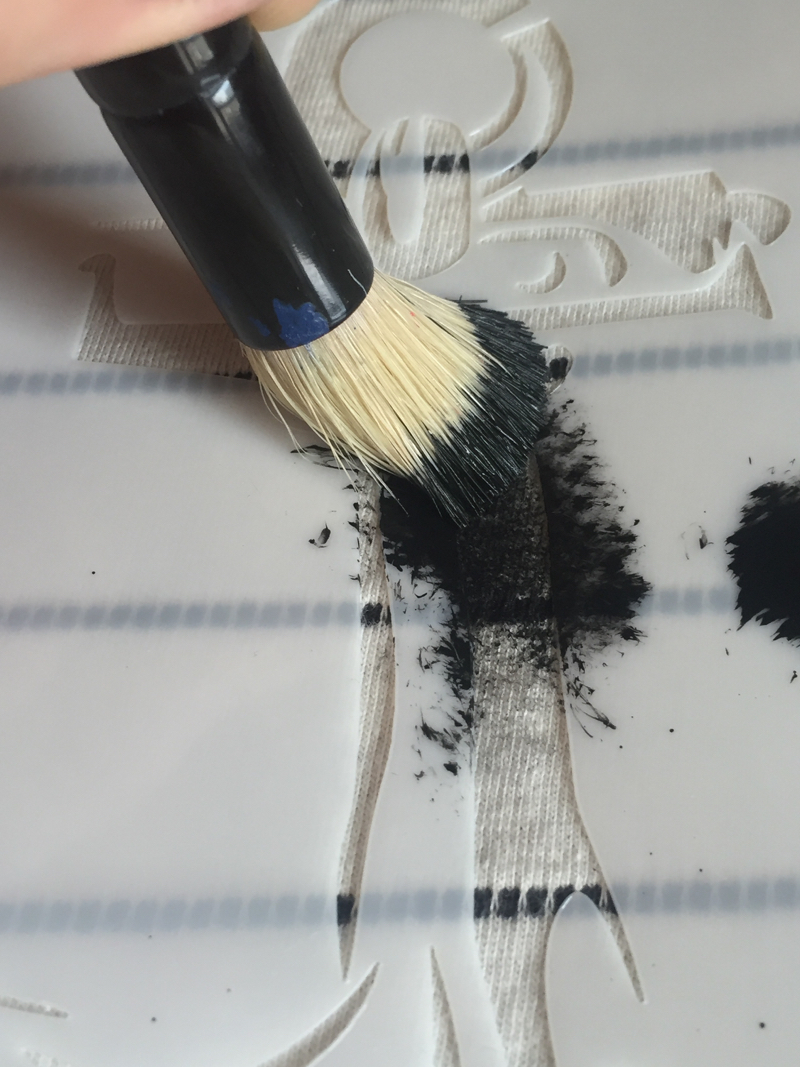
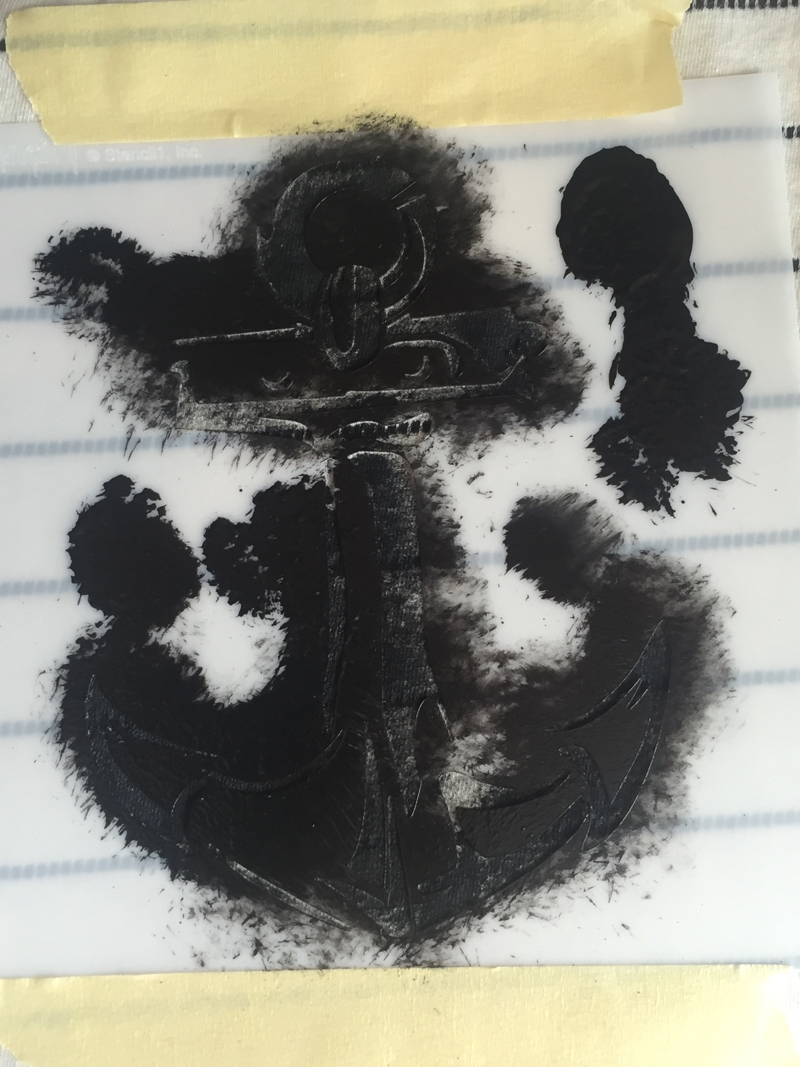
Using your brush, pick up some paint and dab the excess paint on a paper towel or plate. This will ensure that paint will not seep through under the stencil or through the shirt.

Levi's T Shirt
Levi's T Shirt

Once the paint is dry, carefully lift the stencil to reveal the final product!

Levi's T Shirt

Repeat throughout the shirt as much as you’d like! We decided to stop here and keep it minimal. This is a perfect way to amp up your wardrobe for the Summer.

Levi's T Shirt

We want to see your amped up Summer wardrobe! Share it with us @Stencil1


Summer is just around the corner! Finally, a break from the cold, rainy weather. Step out and enjoy the sun with a Stencil1 DIY tote bag! This how-to will teach you transform your eco-friendly, yet plain, recycled tote bag into a brand new, edgy tote!

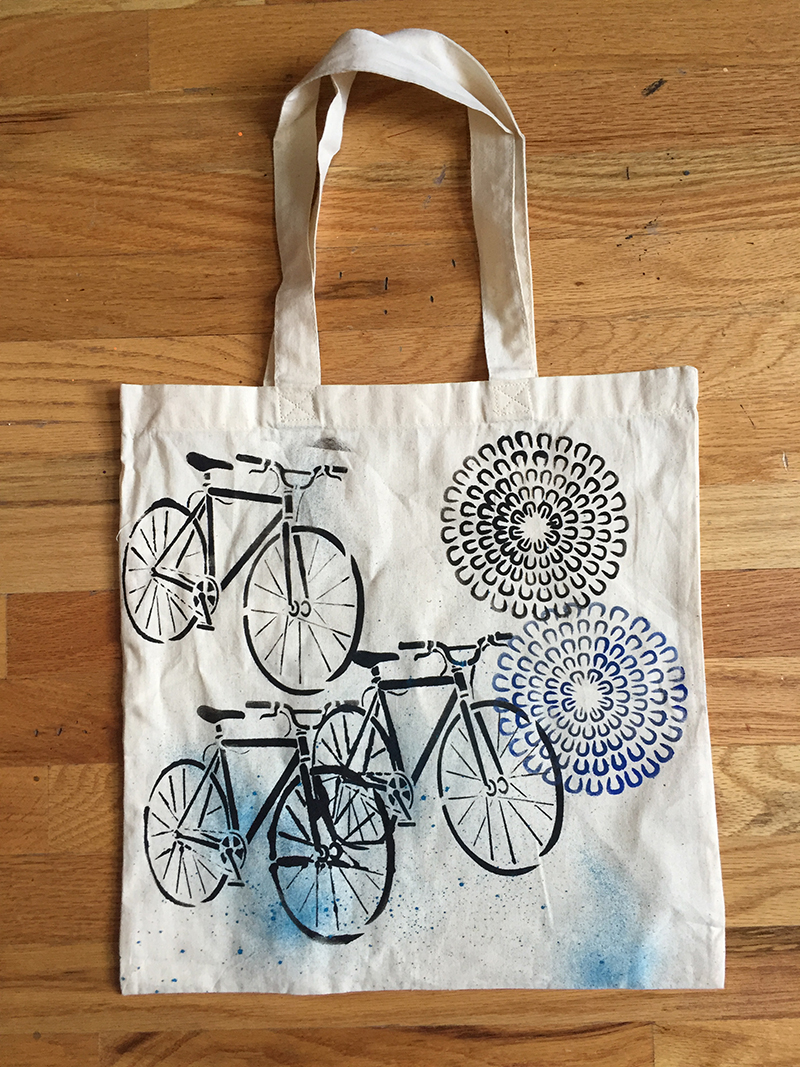
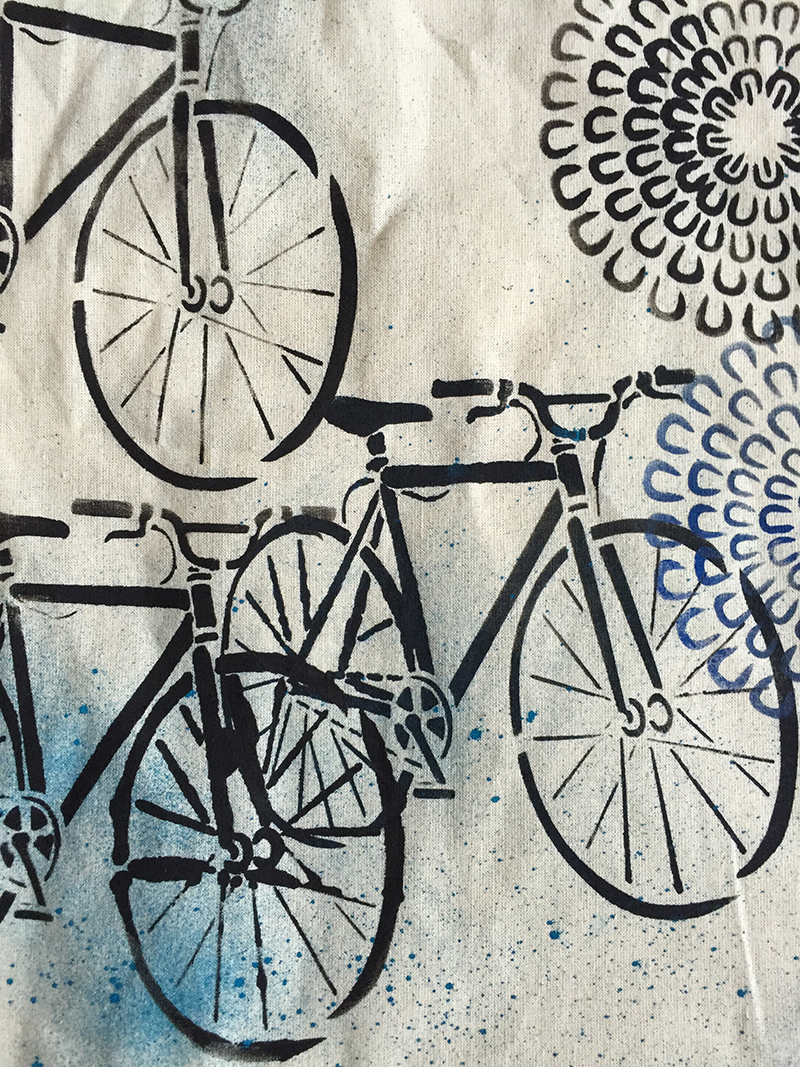
For this tote bag, we used the Stencil1 Sprayers, Fixed Gear Bike stencil, and Asian Mum stencil.

Summer bike tote

Get creative! Start off by spraying your bag with the spray ink. Then, continue to layer over the ink with your favorite stencils until you are satisfied.

Summer bike tote

Now hop on your bike and you’re good to go!

We want to see your DIY Summer tote bag. Share it with us @Stencil1!


blog post graphic2

Just in time for the new season, We compiled this list of our Top 10 colorful DIY projects! Look no further for colorful ideas and DIY inspiration! Also check out our Spray Inks and Markers for the perfect wash of color on any paper or wood surface.

1) Mum Frame: Hang up a special memory with this DIY picture frame.

2) Colorful Helicopter Wall: Decorate your walls to add the perfect pop of color.

3) Stenciled T-Shirts: Take that shirt from drab to fab with some colorful paint.

4) Stenciled Swimwear: Get beach ready with your customized swim suit!

5) Mermaid Chair: Soak up the sun on this chair, inspired by the mermaids.

6) Ways to Decorate a Card: Nothing is better than a hand made card!

7) CAMP 2014: Check out the cool projects we made at the CAMP 2014 event!

8) For the love of Jewelry: Never tangle your favorite necklace again.

9) Indigo Mum Wall Art: A work of fine art makes the perfect accent piece to any room!

10) Bunny Easter Cards and Tags: Spread the love with these Easter cards!

Let us know what your favorite way to add some color into your life is @Stencil1


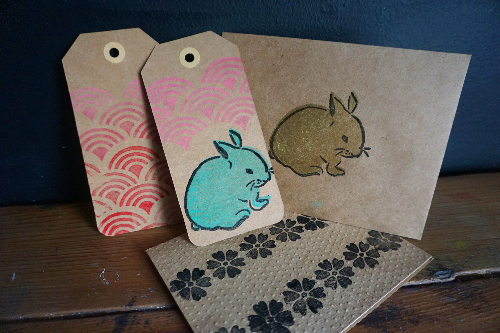
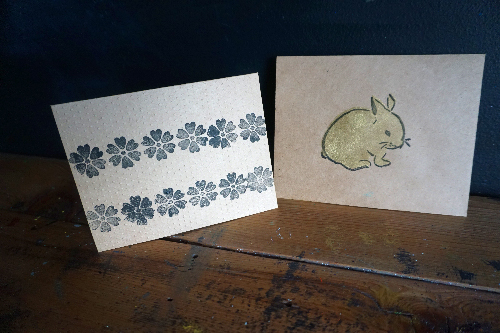
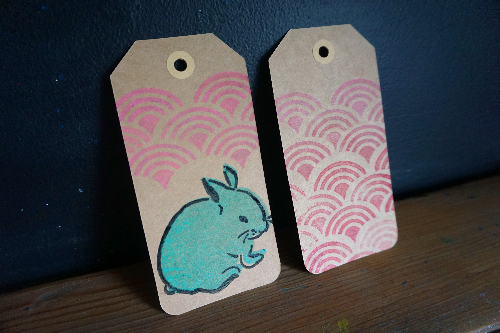
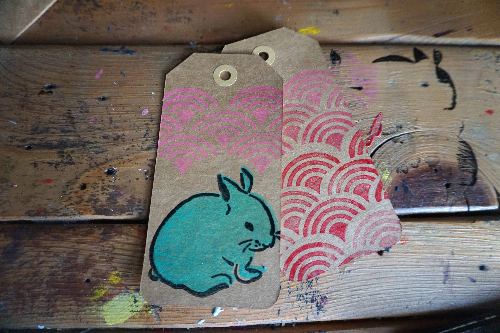
Easter is on its way! Get ready for the joyous holiday with Stencil1! We created these adorable bunny cards and gifts tags perfect for any gift basket or bag.

Easter Cards and Gift Tags

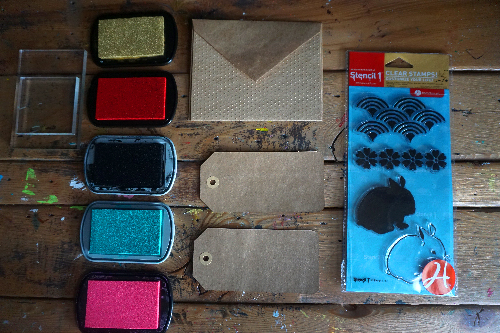
You will need a blank card set and gift tags, a Stencil1 Stamp Set, and a variety of ink pads in different colors.

Ink Pads, Blank Card Sets and Gift Tags, Rubber Stamps

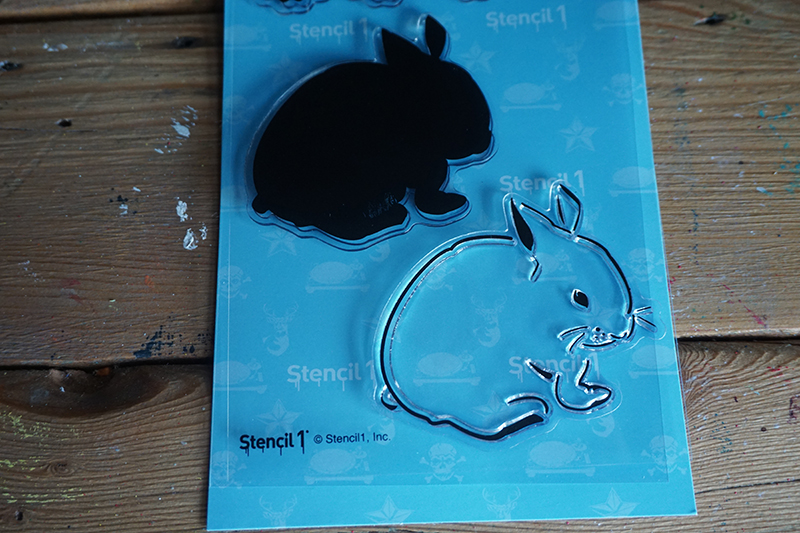
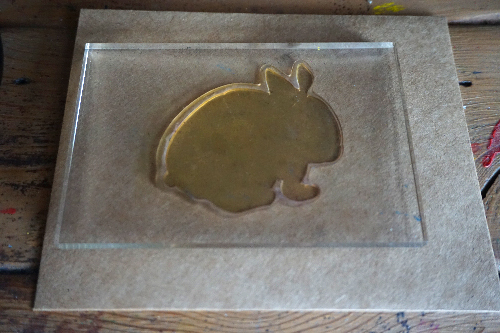
First, choose the stamp you would like to use first. Here, we are using the we’re using the first layer of the bunny stamp from the Bunny, Flower, and Scallop Stamp Set. Peel off the backing of the stamp and attach it to a clear stamp block.

Bunny 2-Layer Rubber Stamp

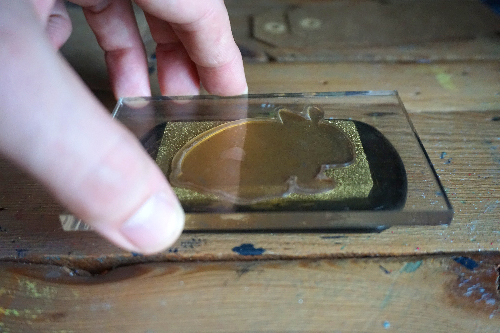
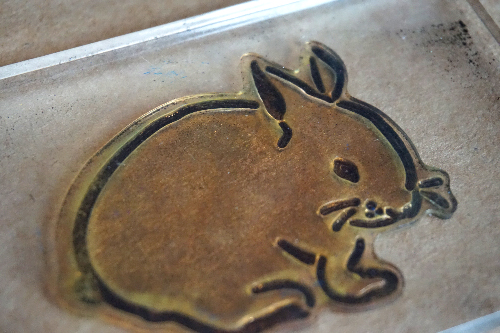
Next, grab the ink pad of your choice and dip your stamp into the ink pad.

Bunny Rubber Stamp in Gold Ink

Get your surface ready and stamp away!

Bunny Rubber Stamp

Using the second layer of the bunny stamp, dip your stamp into a contrasting ink pad and stamp right above the first layer.

Bunny Outline Rubber Stamp
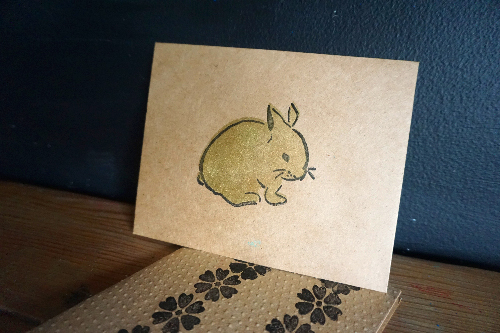
Completed Bunny Rubber Stamp

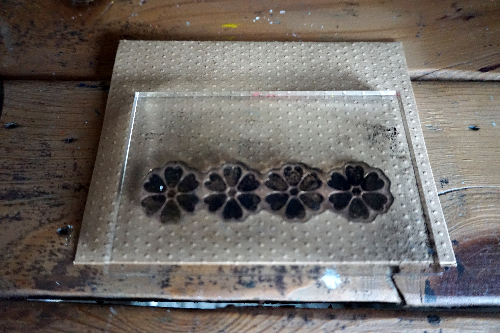
Continue to play with different stamps and colors when completing your card set and gift tags. What’s so amazing about these stamps is that they’re super easy and clean to use. Great for any small DIY projects.

Flower Rubber Stamp
Easter Cards Using Rubber Stamps
Easter Gift Tags Using Rubber Stamps

Be sure to share your cards and gifts with the people around you as you celebrate the Easter holiday! Share your creation with us @Stencil1!


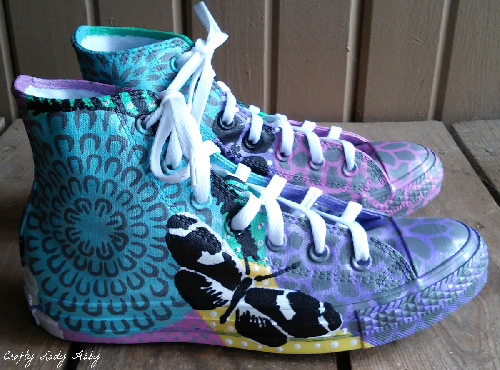
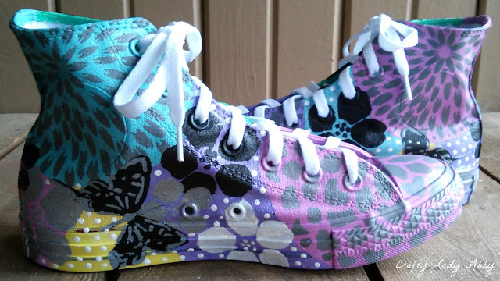
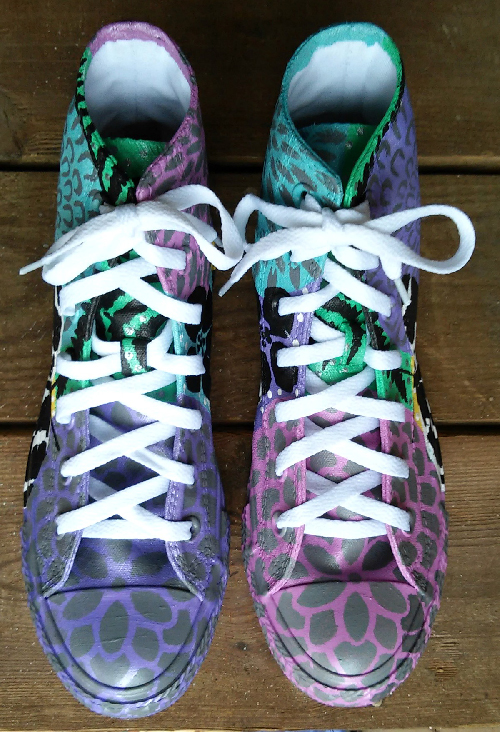
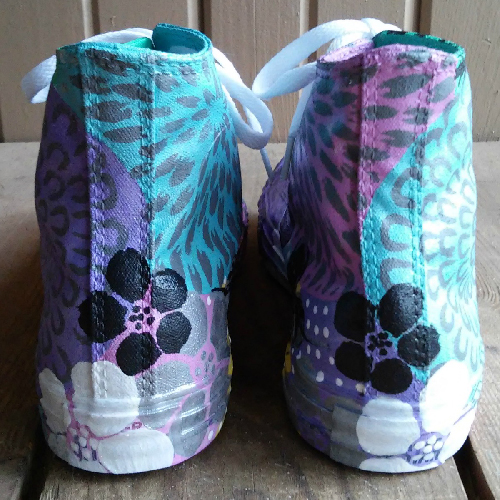
What better way to prepare for Spring than to customize your own pair of sneakers with Stencil1! Take a look at Crafty Lady Abby‘s painted sneakers using Stencil1 stencils! Check out the full tutorial here! The stencils that were used in this project can be found in our Stencil1 store. check out our Asian Mum Curved Petals StencilExotic Mum Pointed Petals StencilMum Stencil, Blossom Stencil, Fern Stencil, and the Butterflies Stencil 3-Pack, 2 layers

Stenciled and painted sneakers

Abby did an amazing job turning a plain pair of sneakers into a colorful work of art. She’s well known for her projects that combine the latest trends in fashion with arts and crafts. These are a pair of sneakers that will definitely turn heads for all the right reasons!

stenciled and painted sneakers
Painted Spring Mums Stencil1 Sneakers 3
stenciled and painted sneakers

Be sure to check out Abby’s blog for her other creative and unique projects for inspiration this Spring season! We want to see your DIY sneakers using our stencils! Snap a picture and share it with us @Stencil!