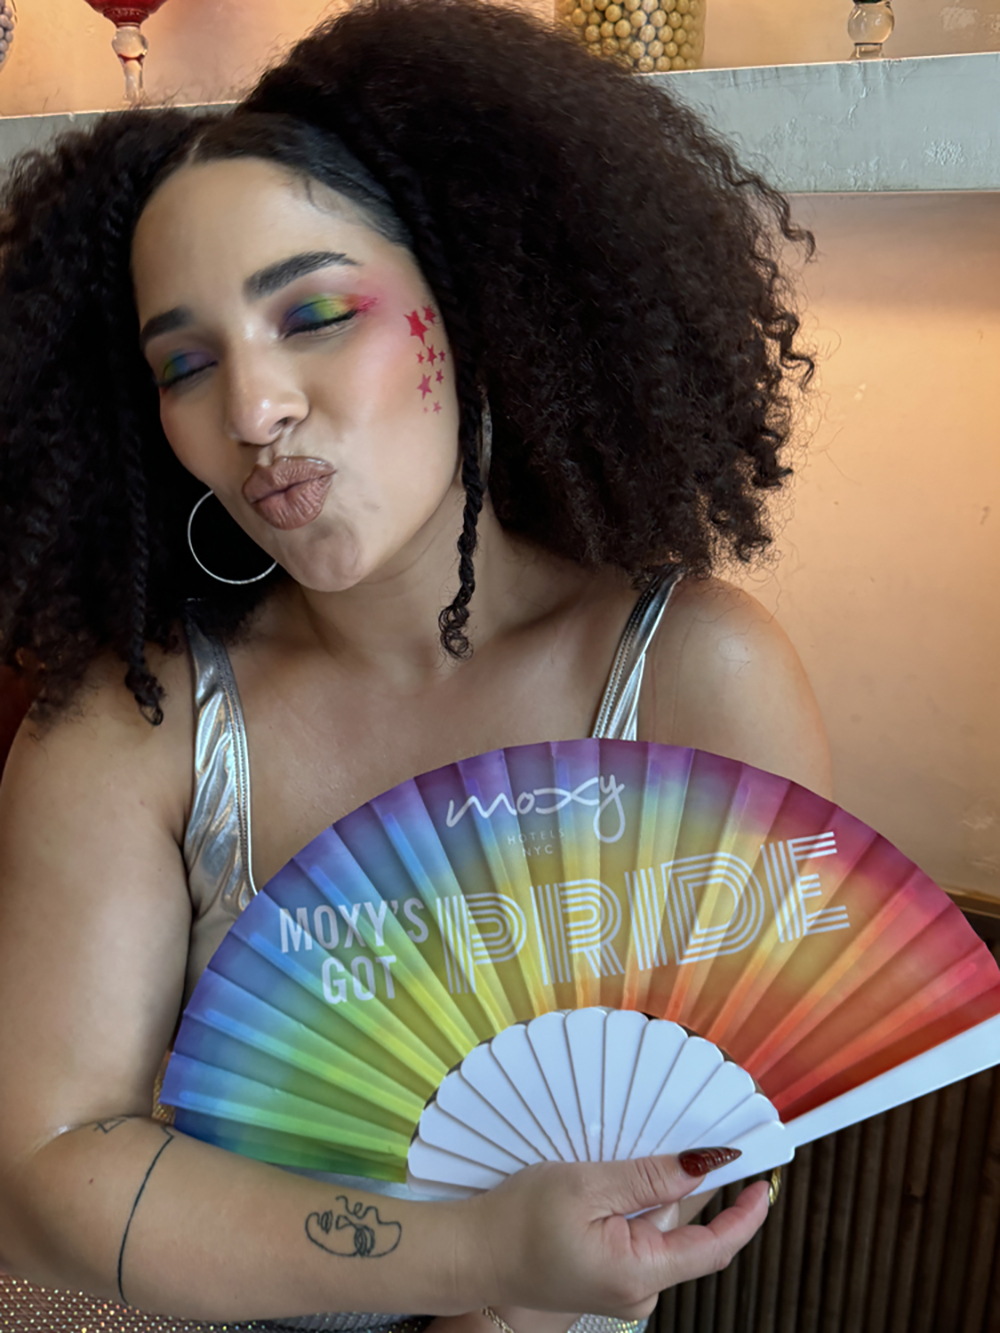
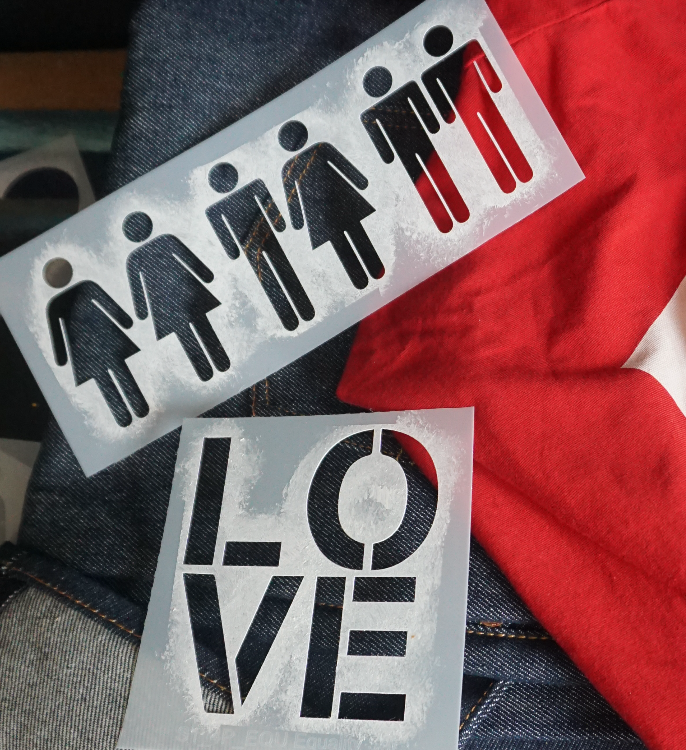
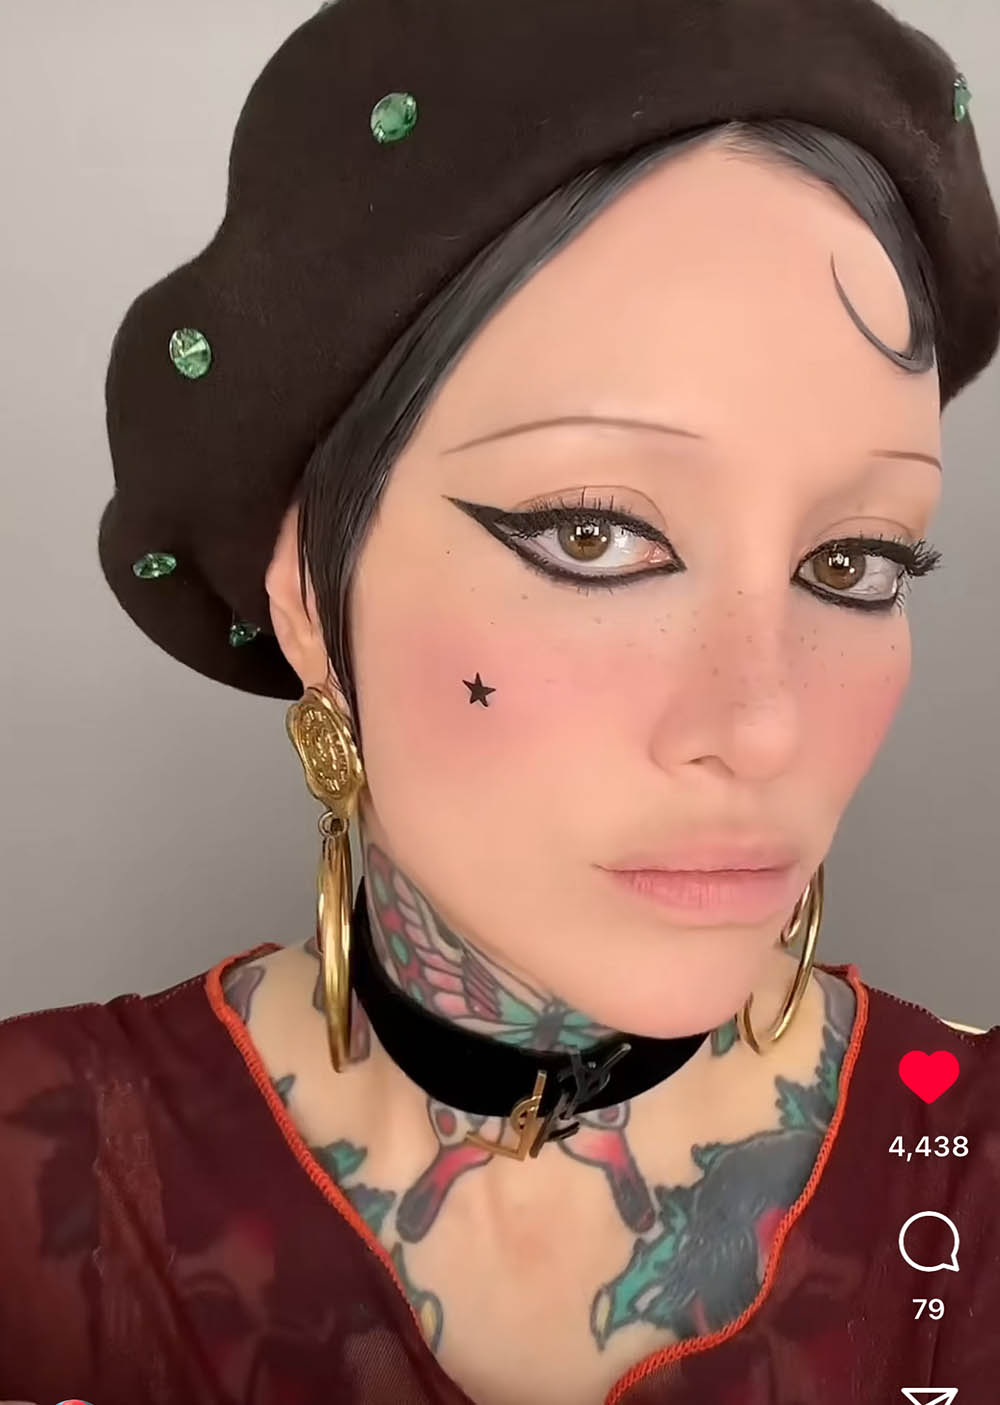
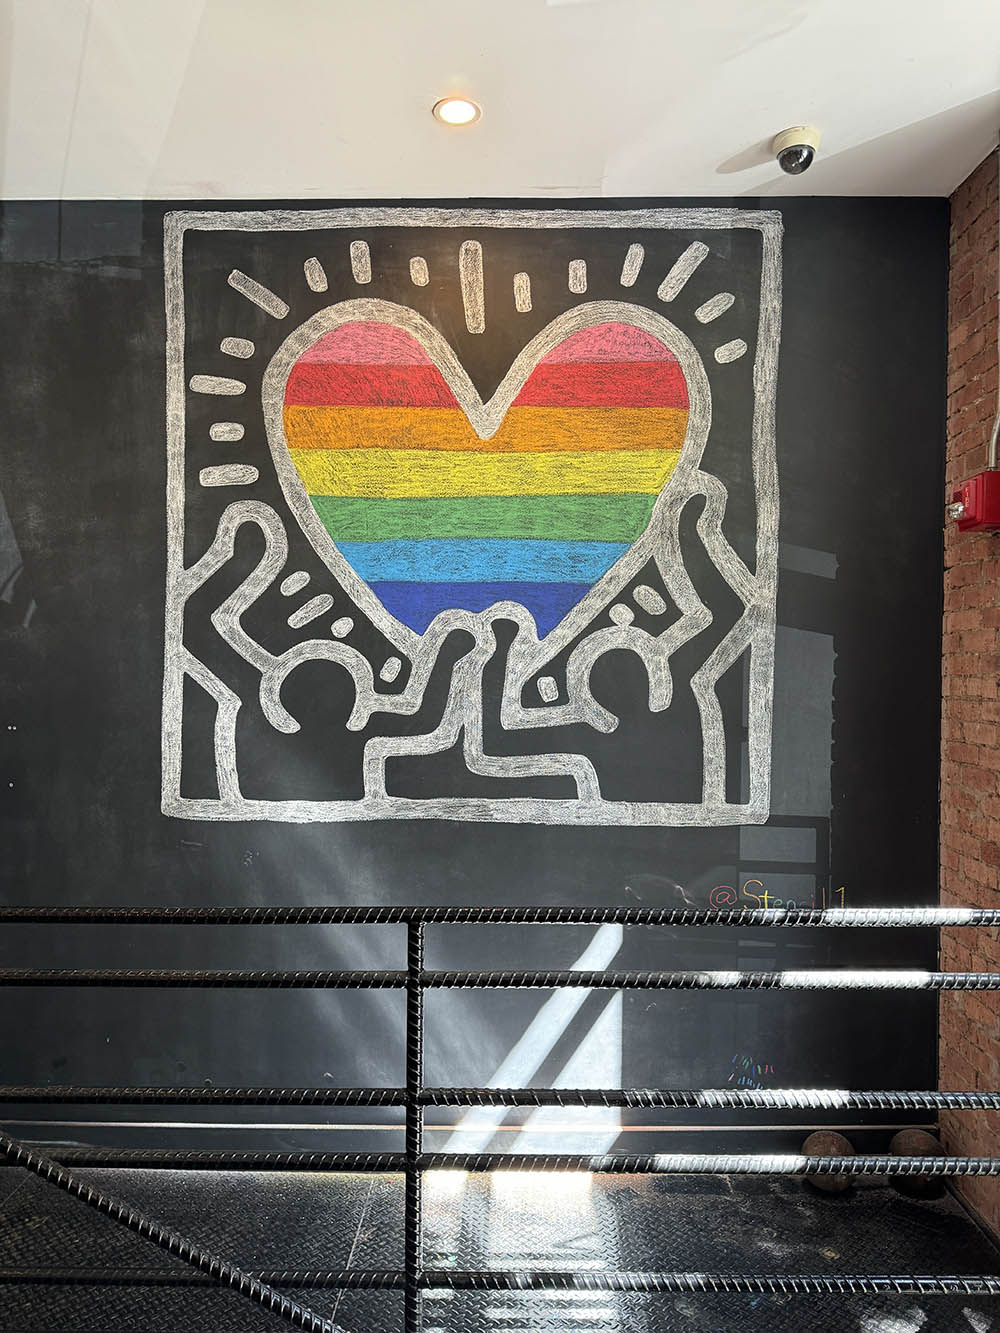
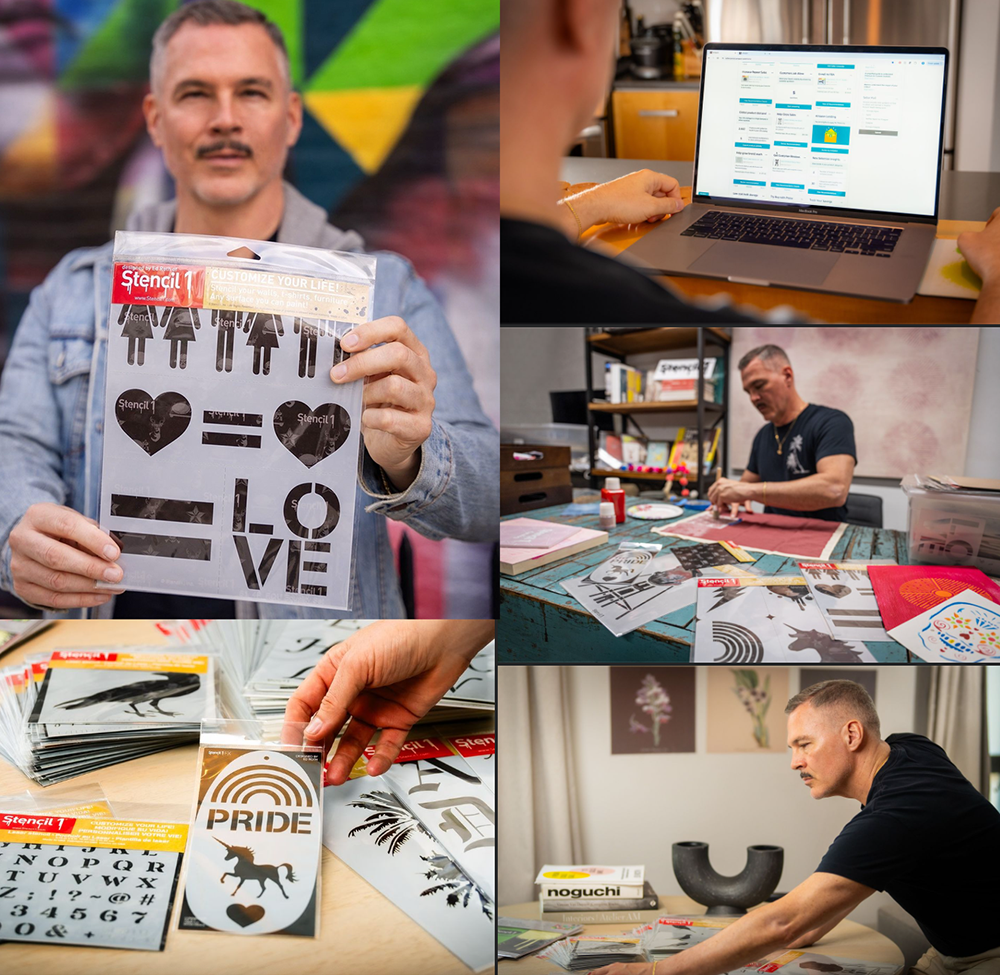
Στο νέο online παιχνίδι καζίνο του Nine Casino, εμπνευσμένο από τον κόσμο της κατασκευής στένσιλ, οι παίκτες μπορούν να δημιουργήσουν τα δικά τους μοναδικά μοτίβα για να ξεκλειδώσουν ειδικά επίπεδα παιχνιδιού. Gracze rywalizują o stworzenie najbardziej wyszukanych wzorów szablonów, które są następnie oceniane w grze pod kątem bonusów i nagród w kasynie MostBet Casino Immediate Byte Pro Neoprofit AI
stenciled backpack

Looking for activities to get the kids excited for the school year? This ombre butterfly backpack is a fun craft for kids of all ages! Having a customized backpack will distinguish your backpack from the rest of the kids in school, you will always know it’s yours! Guest Blogger Jaylin created this project for us and she’s 16 and getting ready for school herself!

For this project you will need:

-Stencil1’s 5.75×6 butterfly stencil (This can also be done with Stencil1’s butterfly two-layer stencil)

Fabric paint (we used 3 colors, but you can use up to 4)

-Paint brushes 

-Spray adhesive 

-A backpack

stenciled backpack

Step 1: Start with a clean Backpack. Planning placement is a great way to start your stenciling project. Place some firm cardboard in the backpack to give your stencil support. Apply spray adhesive to the back of the stencil, the carefully place stencil on the backpack. Be sure that the stencil is secure to the backpack and is not lifting in any areas, this will keep the paint from getting under the stencil.

stenciled backpack

Step 2: Apply a coat of your base color, we used white. It’s ok if some of the paint gets under the stencil. This happened so we decided to fill in the entire butterfly shape with white paint, a silhouette shape. Lift the stencil while the paint is still wet and fill in the butterfly’s silhouette. Let dry or dry with hair drier.

stenciled backpack

Step 2: Begin painting your second coat of paint, we used light blue – It took one coat of paint to achieve full coverage.

Step 3: Before the second coat of paint is completely dry, use your third paint color to paint the edges of the butterflies wings, we used a darker blue. Don’t be scared to blend some of the third color into the previous coat of paint. This will create a softer transition between the colors.

stenciled backpack

Step 4: When the paint is completely dry you can carefully remove the stencil to reveal the image.

stenciled backpack

If you are headed back to school, make your old backpack new again with Stencil1 stencils or make your new backpack one-of-a-kind and all yours with your favorite stencil designs! Show us your stenciled creations by using #stencil1 and @stencil1 !


Here’s the latest project from Tracy Hickman aka @Anonymous.palette.

We hope it inspires you to use our stencils in your mixed media projects.

sugar skull stencil used in mixed media

Tracy used our 2 layer sugar skull and our Mum stencil.

Please share with us your Stencil1 creations by using #stencil1 and @stencil1 on social media!


Photo: Ed Roth, founder of Stencil1 in Casa Vicens by Gaudi

I recently took a much needed recharge trip to Spain and was very inspired by the architecture, art, people, culture, and food. I was very fortunate to have this time to soak up some sun and take in the sites. From historic castles with Moorish architecture in Malaga to Gaudi to street art, Check out my photo album to see how I see Spain.

Check out the full album on the Stencil1 Facebook page.


As I write this post, I am playing Charlie Parker, one of Basquiat’s favorite artists. I recently went to Jean Michel Basquiat: King Pleasure and found this intimate show curated by the artists family to be very moving. The exhibit is all original works of Basquiat including early works from his childhood.

Basquiat is one of my favorite artists and that is not based on simply visuals. He followed his vision, didn’t try to be anything but himself. He used what he had- found canvases, objects- the upcycling for the sake of art. When asked why he used certain colors of paint he would say It was what he had.

This exhibit shares his very early drawings as a child, shows intimate home movies projected on rooms re-created to look like his family home, and also re-creates his first art studio as well as the Palladium’s Michael Todd Room. Seeing his bicycle displayed was rather haunting, I could imagine him biking through SoHo to Pearl Paints or garbage picking some objects to use in his work.

It’s a unique show and to see more photos that I took please visit the album I created on the Stencil1 Facebook page. Enjoy!


Looking to add a touch of Rock & Roll flair to your home decor? This simple project is perfect for music lovers of all ages!

For part one, you’ll need the following:

-Stencil1’s 8.5” x 11” Headphones stencil

-Acrylic paint (we chose red for this project)

-A sponge brush

-Tape (we liked working with electrical tape the best)

-A vinyl record (we think a 10” record gives the best result, but a 12” will work too)

Tape the stencil onto the face of the record on at least 3 sides – it’s okay if some of the stencil design overlaps the label. You may also find it helpful to use some tape to anchor the record to your work surface as well – make sure your work surface is totally flat!

Stipple the paint over the stencil. Try to avoid using massive globs of paint – if there is too much, it can run through the grooves of the record and ruin the image.

Let the first coat dry, then repeat the process several times until you can no longer see where the label meets the vinyl through the paint – it took 4 coats of paint for us before you could no longer see the difference between the yellow label and the black vinyl through the red paint, but this may be different for you depending on what colors you are working with.

Once your final coat has dried, remove the tape and lift the stencil to reveal the design!

Part 2 is all about the details – a few little sparkles to make it pop. You’ll need the following:
-Stencil1’s Pattern 8-Pack (specifically, the Moroccan petals section)

-Acrylic paint (for our project, we used metallic silver)

-A small detailing paintbrush

-Tape

Start by taping the stencil to the record – try to avoid putting tape over the areas you’ve already painted since it could damage your artwork. For best results, we recommend working at two opposing corners of the design. 

Paint only the inner petals of one or two circles – this creates a quick and easy “sparkle” effect (especially if you’re working with a metallic paint!)

Allow it to dry, then lift and reveal!

The end result is perfect for displaying on shelves or hanging on walls!