Στο νέο online παιχνίδι καζίνο του Nine Casino, εμπνευσμένο από τον κόσμο της κατασκευής στένσιλ, οι παίκτες μπορούν να δημιουργήσουν τα δικά τους μοναδικά μοτίβα για να ξεκλειδώσουν ειδικά επίπεδα παιχνιδιού. Immediate Byte Pro Neoprofit AI
ChefsTable_Stencil1_3

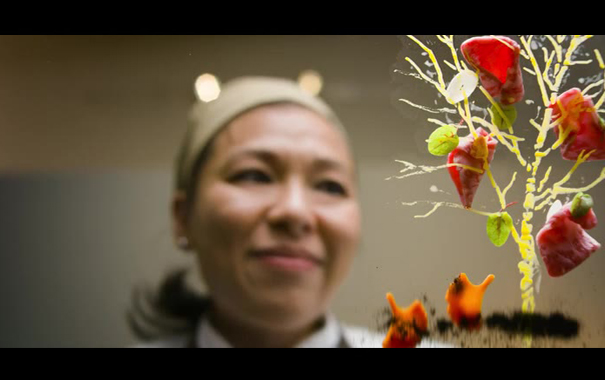
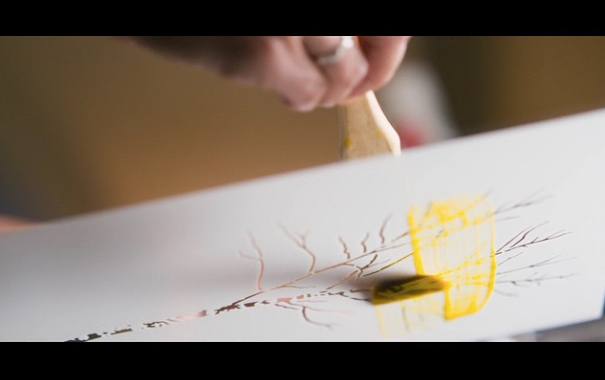
Hi fellow Stencilers and food lovers! Have you been watching Chef’s Table on Netflix recently? Maybe you might have noticed, but our birch tree stencil made an appearance on the show! We’re thrilled and honored to have chef Niki Nakayama use our birch tree stencil to create one of her stunning dishes.

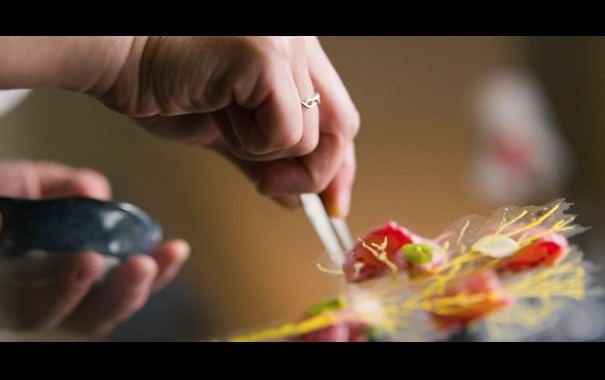
Chef’s Table showcases a behind-the-scenes look at the kitchen of a different culinary genius in each episode. In her episode, Nakayama uses our stencil to make an edible tree which is then decorated with sushi and salad greens. These then act as the tree’s fruit and leaves. Her novel approach to using the stencil and how it created a lovely new way of presenting her dish is amazing! During her plating of this dish, she says

“Someday when all is set and done, I am going to do my own thing and just be free.”

We love her entrepreneurial spirit! Watch the episode and find out more about Niki Nakayama!
ChefsTable_Stencil1_2

Hopefully, this inspires you to think outside the box the next time you make dinner. What culinary masterpieces can you come up with using our stencils?
ChefsTable_Stencil1_1

Posted by Jayne, our new Stencil1 intern!

This project will show you how you can make custom wall art for a kid’s bedroom using Stencil1 stencils. I decided to pretend that I was 10 years old again and imagined what I would like to have had on my wall at that age.

Step 1: Gather your materials. I used the two layer sugar skull stencil, the skeleton keys stencil and the Corsiva alphabet stencil to make this project. You will also need acrylic paint (any color you like, have fun with it!), stencil brushes and a surface to paint on. Optionally, you can have some artist tape and low tack spray adhesive on hand to help keep your stencils in place.


Step 2:  Place your stencil and apply some paint to your brush. You only need a small amount for stenciling, and make sure to clean off any excess on a palette before you start working. You should be extra careful around the edges of the stencil so that the paint doesn’t get under the stencil. Work slowly, building up the layers of paint towards the color you desire.

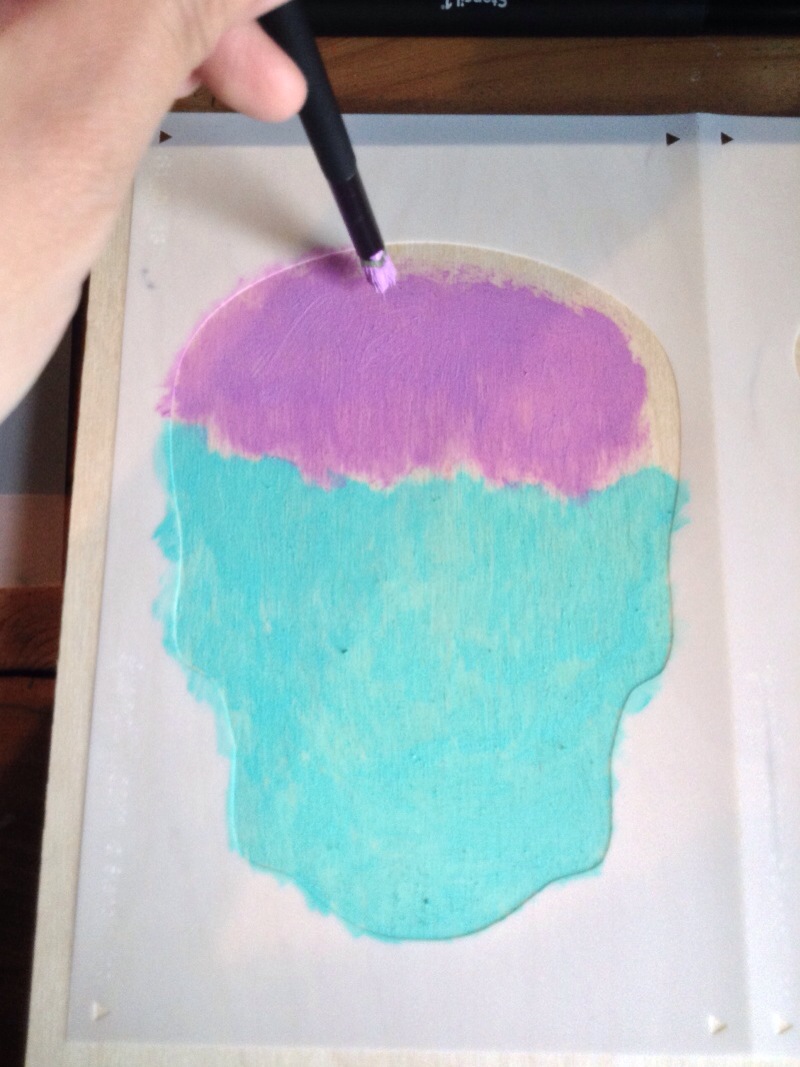
Step 3: You don’t have to limit yourself with stenciling. I decided to use two colors for my skull, to give it a little bit more of a pop. Experiment with the paint and see what happens. Remember to clean your brushes between each new color. Always make sure the brushes are dry before you apply paint to them, because any excess water will make the paint runny and hard to control.

 
Step 4: After I finished the base color for the skull, I waited for it to dry before I started working on another section of the piece. This way, I don’t have to worry about smudging or messing up what I’ve just worked on when I put another stencil down and start painting.

I used the skeleton key stencils next. I tested out different arrangements of the stencils on the board before I started any painting so that I could decide which composition looked best. I tried stacking the keys vertically, and seeing how many would fit, before ultimately, I decided to arrange them in a falling motion so that the composition would be more active.

The key stencils are small and have more details in them so I had to be extra careful when painting to make sure that the paint didn’t spread outside of the stencil. I also waited for each to dry before starting a new one.

Step 5: Once I finished stenciling the keys, I went back to working on the skull. This stencil has two parts to it, the base shape and the detailing. I wanted the details to align perfectly within the shape so I arranged the stencil on top in the appropriate position, before sticking some artist tape down. The tape keeps the stencil flat and in place, but I applied extra pressure with my hand onto the stencil when filling in the details in order to prevent any paint from getting under the stencil surface.

The cool thing about the detailing stencil is that you don’t have to place the details exactly where they’re “supposed” to be. You can reposition the detailing stencil however you like on top of the base color, and paint in whichever detail you want wherever you want. I went the traditional route with this stencil, but that doesn’t mean you have to!


Step 6: Once I finished all the decorative elements, I started to stencil my name. Treat the lettering stencils the same way you treat any other stencil – go slow and be careful.


Step 7: Think about how much space you would like to have between each letter and also whether you want them to line up on the same baseline or if you would rather have them move up and down (or just go crazy on the board!). I wanted my name to be simple so I evenly spaced the letters closely together and had them all line up in a straight line. Spend some time planning your design, if you need to.

Step 8: After I finished stenciling my name, I realized my composition was still lacking something so I added another tiny key stencil beside my name.


And at last, here is the final product:


Turn your break from the city into a creative play date with Mother Nature. One of the best things about Botanical Garden Wear is that it’s fun, easy, and can be done in the great outdoors! So go grab a t-shirt and see what Mother Nature has to offer.

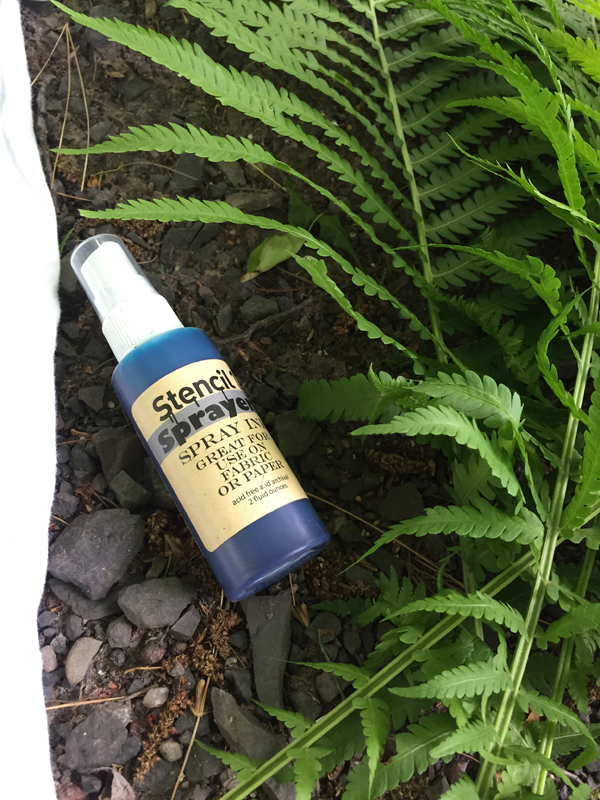
Things you will need to make this shirt: Stencil1 Sprayers, t-shirt, the great outdoors, cardboard, Holiday Cocktail (optional)

IMG_1906

Step 1. Start by placing t-shirt on a flat surface. Remove any debris that is visible on the shirt.

IMG_1908

Stencil1 Sprayers are great for fabric and paper projects!

IMG_1909

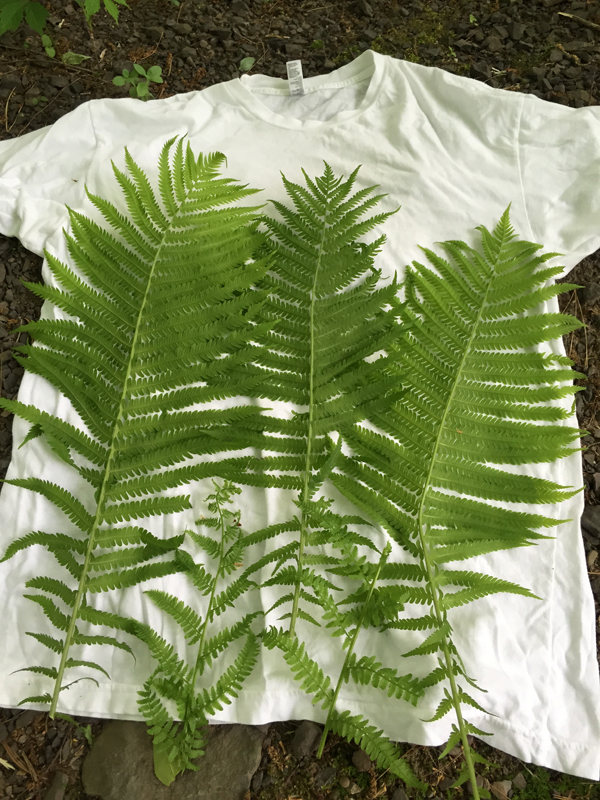
Step 2. Place ferns, leaves, or flowers in the position for the desired design.

YouTube Preview Image

Step 3. Spray Stencil1 Sprayers lightly over ferns equally. Here’s a high speed video to show you how easy it is!

IMG_1913

Step 4. After a few minutes, slowly remove the fern and check out your new wardrobe.

Use hairdryer to dry the t-shirt, otherwise shirt will remain wet for a long period of time.

Before wearing the t-shirt, make sure to iron it with a piece of fabric between the iron and the t-shirt.

Snap a picture of it, and share it with us @Stencil1!


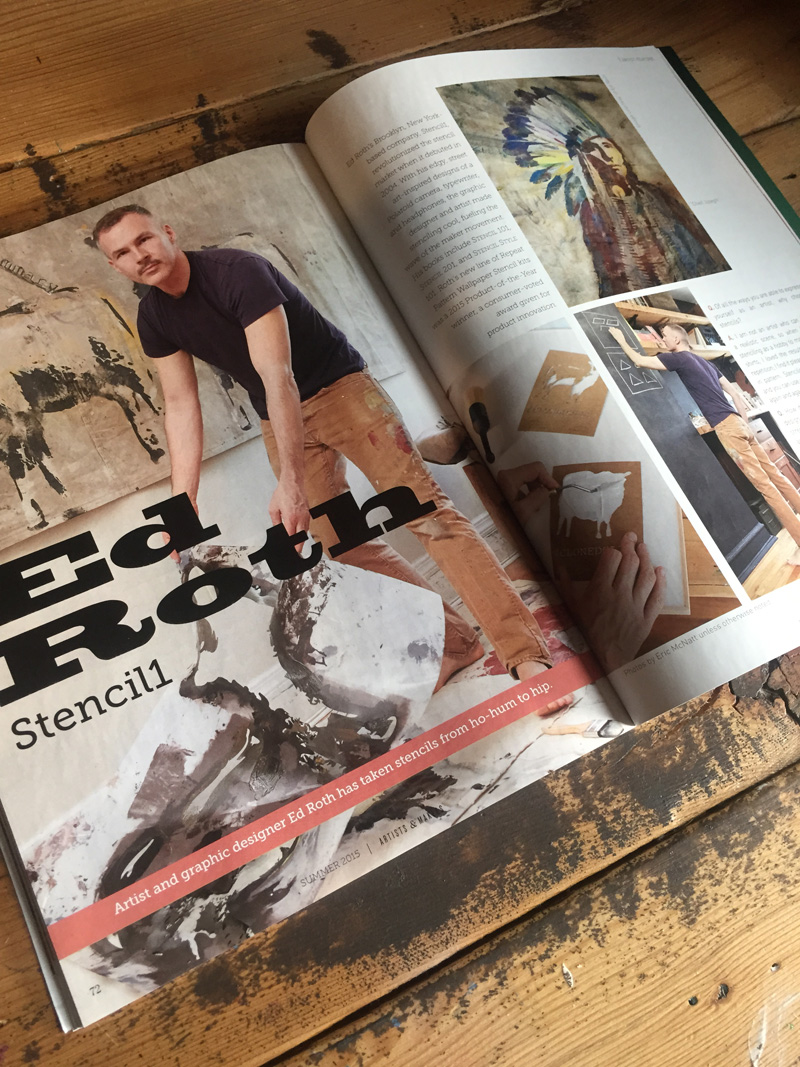
We are very excited to be featured in the Summer 2015 issue of Artists & Makers Magazine, published by F+W media! It’s humbling to be among so many other great creatives with entrepreneurial spirit in this issue such as Drew Trophy and Kirsten Lepore. We love this magazine since it covers art, business and those making their career using their creative talents.
cover
spread1
                                                                                                                        photo by Eric McNatt
You can get your copy in print or
digitally here:
Print issues can be purchased here: http://www.interweavestore.com/artists-and-makers-2015


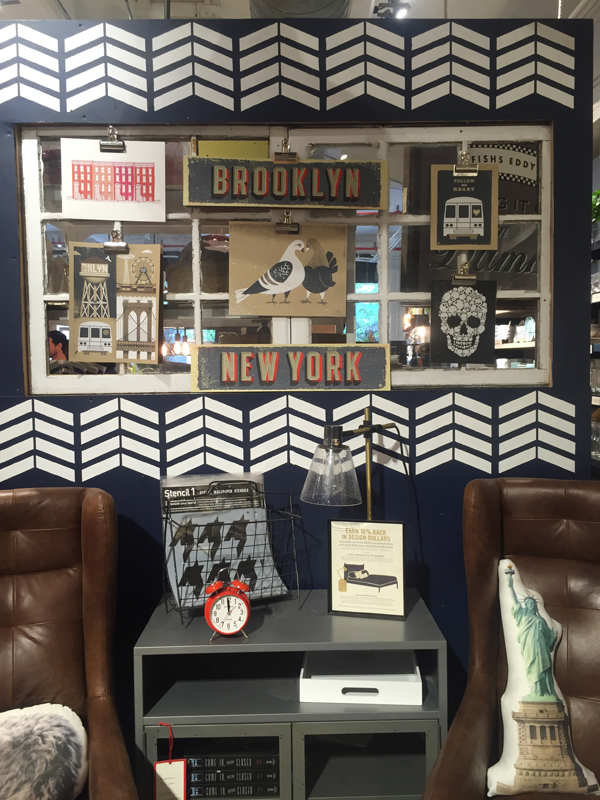
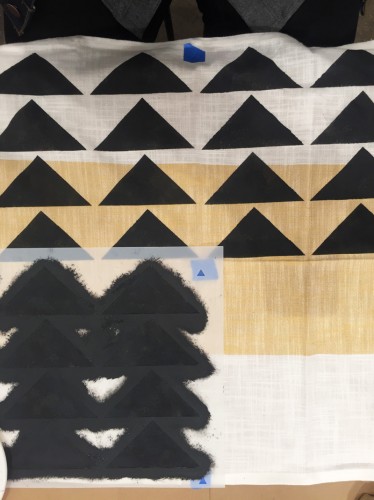
We had a sweet time at the Stencil1 Demo & DIY event with West Elm Market! To announce that West Elm Market is carrying our new Repeat Pattern stencils we did a demo showing the versatility of a stencil.  The West Elm display crew stenciled this beautiful wall with our Chevron stencil…

1_westel_stencil1_wall
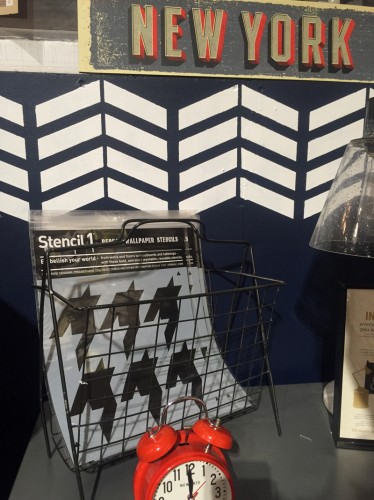
2_stencil1_rack

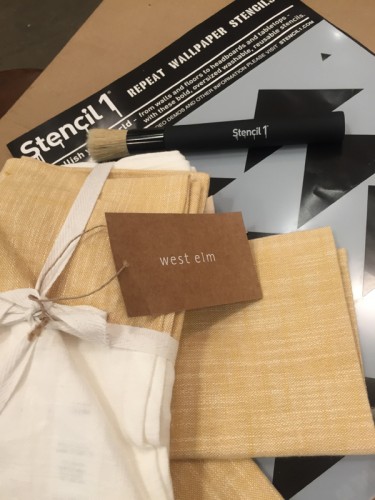
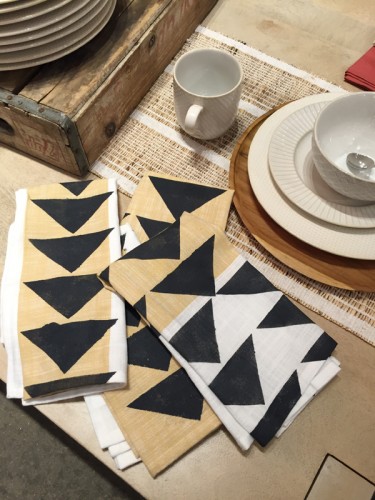
I demonstrated how to use fabric paint to stencil some West Elm napkins.

3_napkins

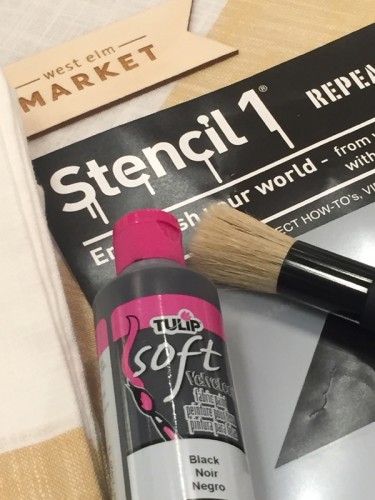
I used Tulip SOFT fabric paint. Once you heat seal and wash your napkins, the painted areas become soft, it’s quality fabric paint.

4_tulip_stencil1

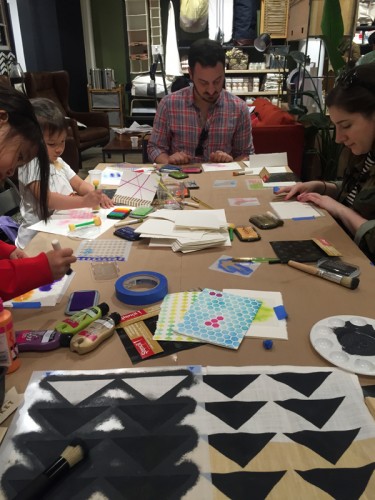
I did the repeat process while the attendees got a chance to be creative with our smaller patterns.

5_painting_napkin_sections

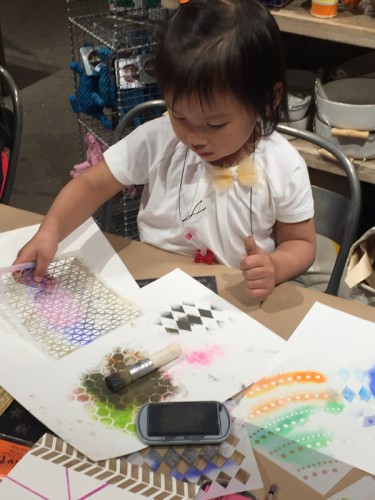
The DIY project was card-making.

6_cardmaking_1
6a_cardmaking_2

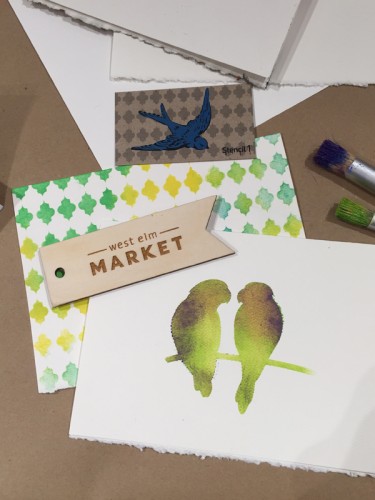
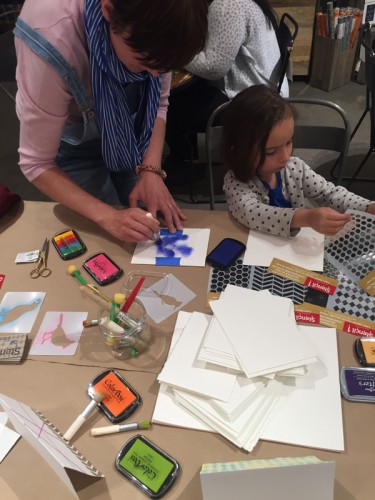
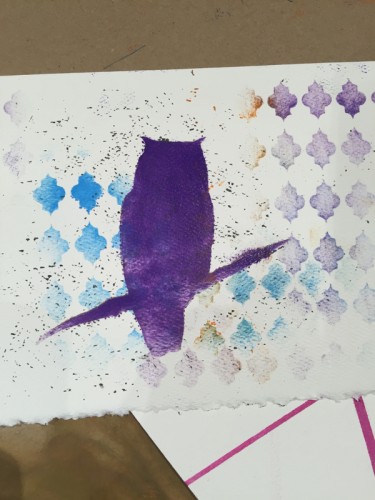
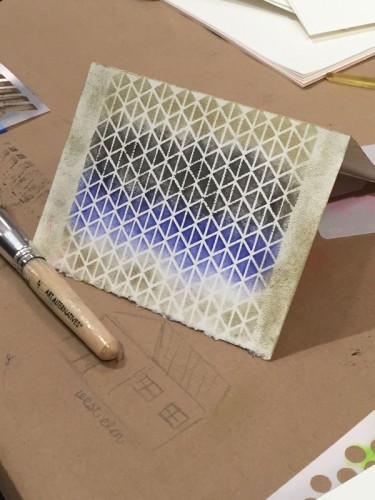
We used ClearSnap ink pads, stencil brushes and our geometric designs as well as some bird stencils. All ages were getting into it!

7_cardmaking_mom_daughter
8_child_cardmaking

A wise choice…

9_card_owl
10_card_triangles

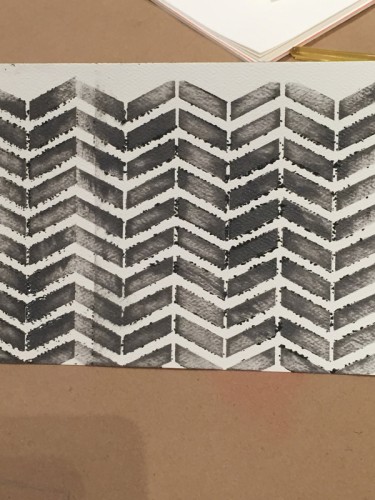
I love this distressed chevron card!

11_chevron_cards

Here’s the final napkin shots, I can’t wait to use these for a fun dinner party! Show us how you use Stencil1 stencils @stencil1 !

15_napkins_final1
16_napkins_final2