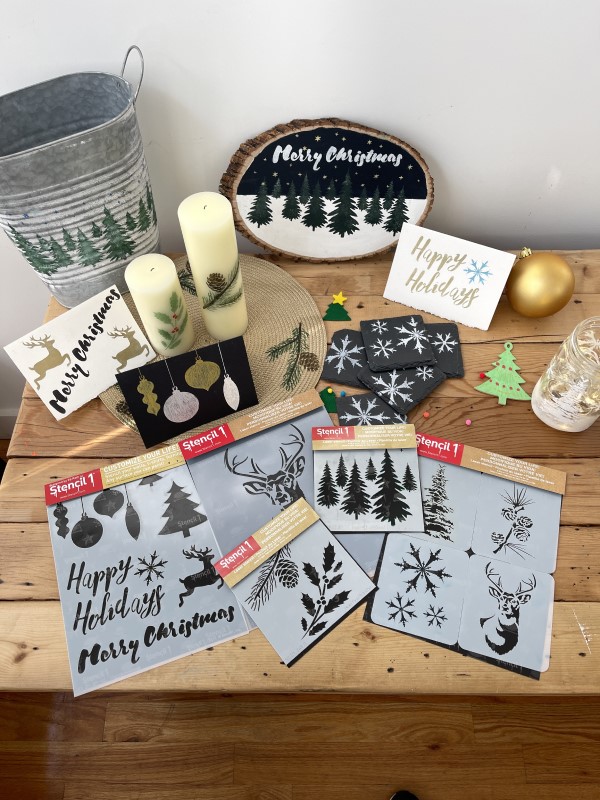
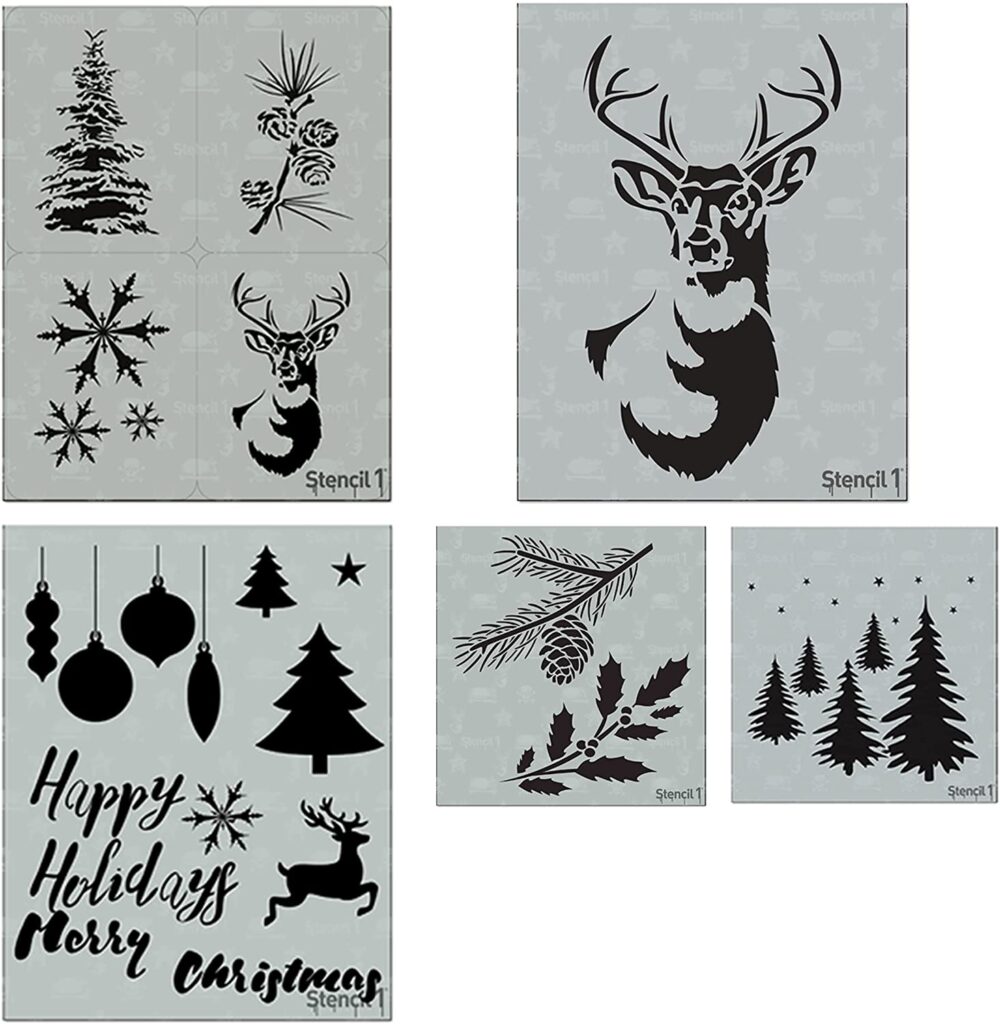
Our Winter Holiday 5-Pack has every stencil you need for the projects below!


Buy this 5 pack Holiday set here
What will you make with Stencil1 stencils? Please share your creations with us at Stencil1.com
Our Winter Holiday 5-Pack has every stencil you need for the projects below!
What will you make with Stencil1 stencils? Please share your creations with us at Stencil1.com
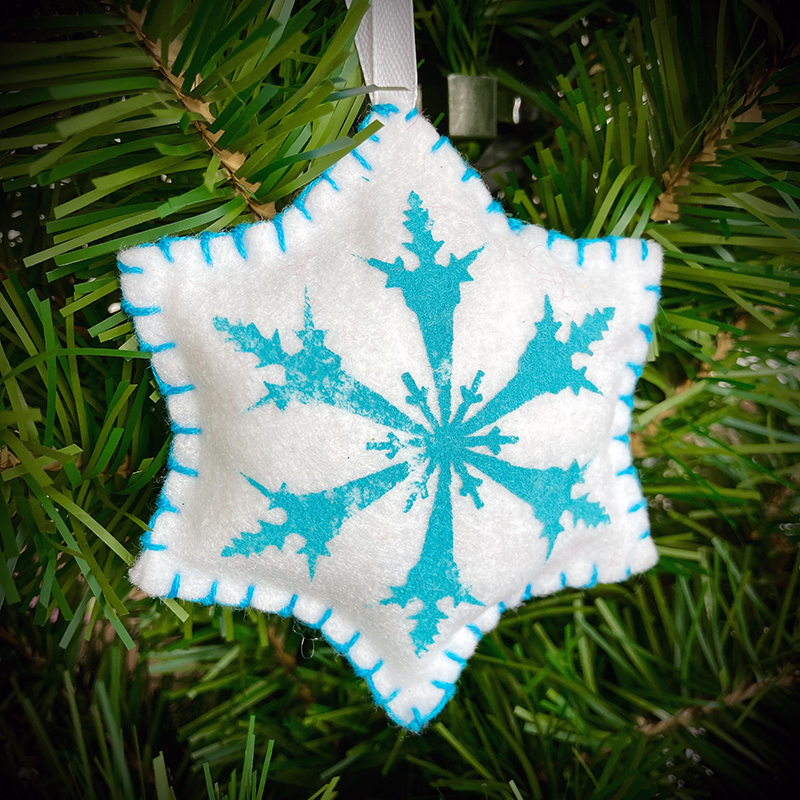
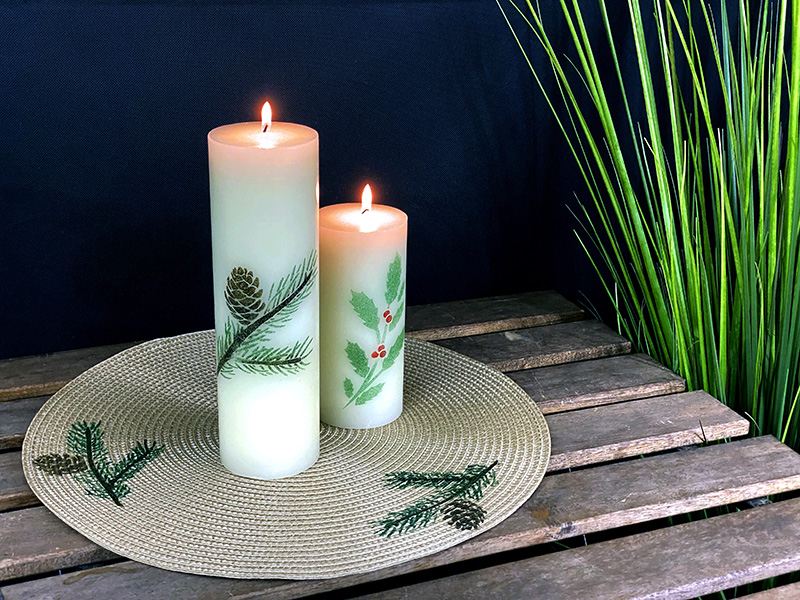
Get festive this holiday season with Stencil1! Create your own customized ornaments for a handmade holiday feel! Perfect for dressing up a wrapped present, hanging on a wine bottle for a hostess gift, or just decorating the tree!
What’s Needed:
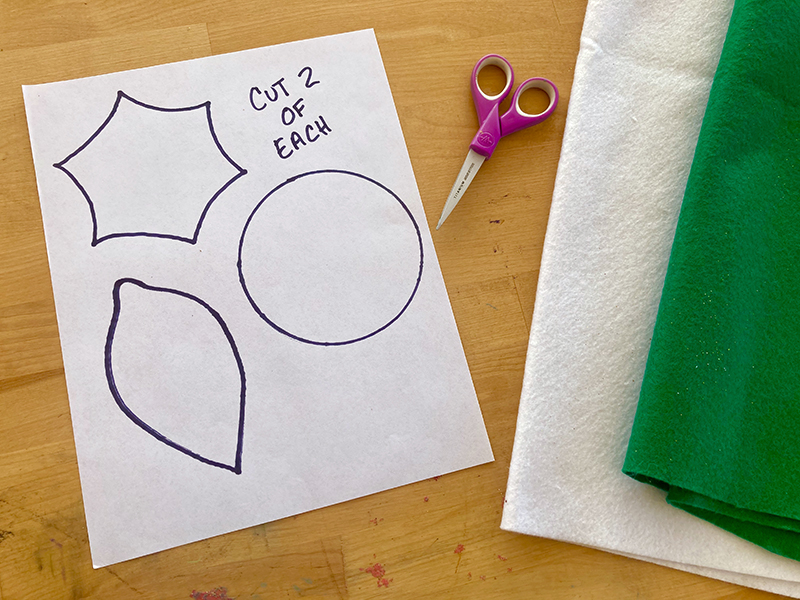
Cut out the 6 pointed star shape from the printable pattern.
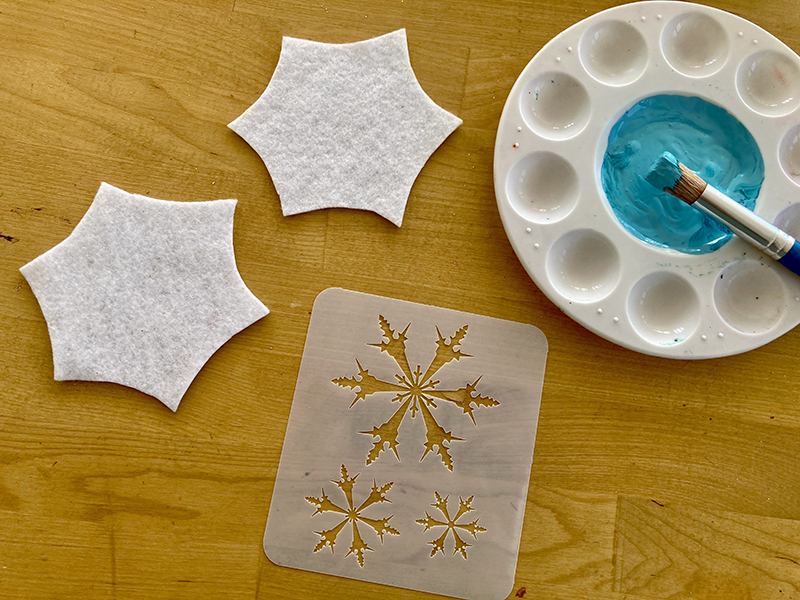
Use the pattern as a guide to cut out two pieces of felt.
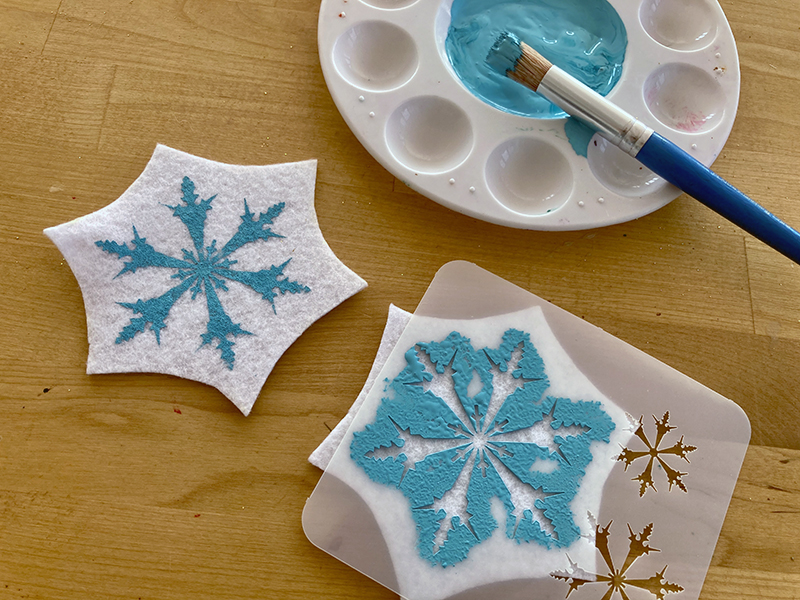
Stencil the snowflake design onto both of the felt pieces.
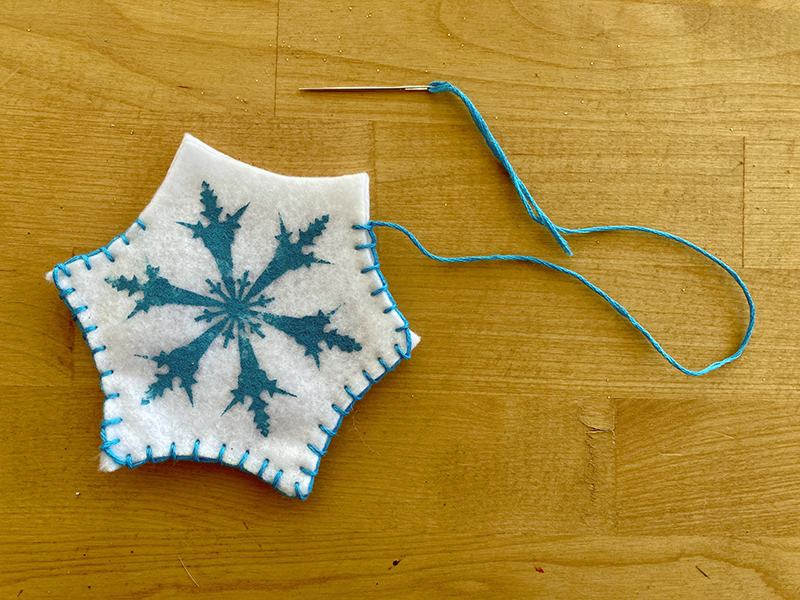
Stitch the two pieces together with embroidery floss using a basic blanket stitch. Be sure to leave an area open for the next step.
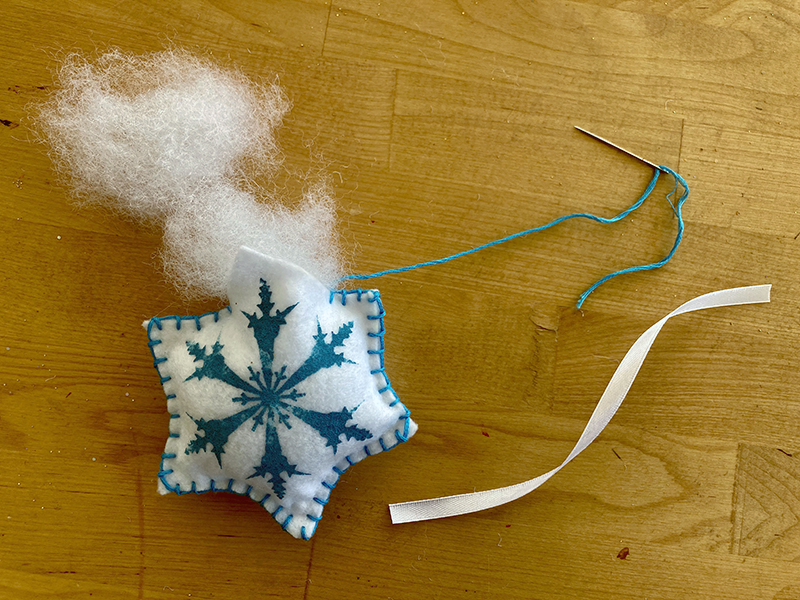
Fill the ornament with stuffing, and cut a small length of ribbon for a hanging loop.
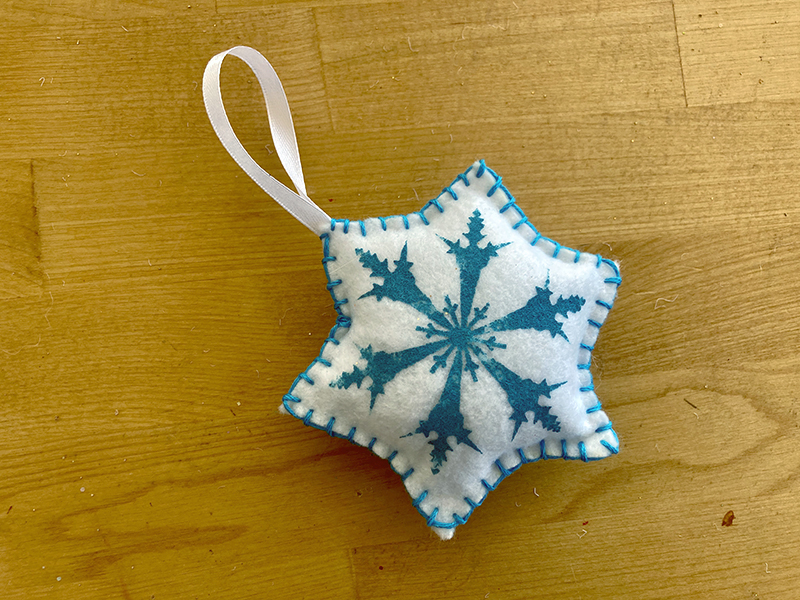
Finish stitching around the perimeter, securing the ribbon loop in place.
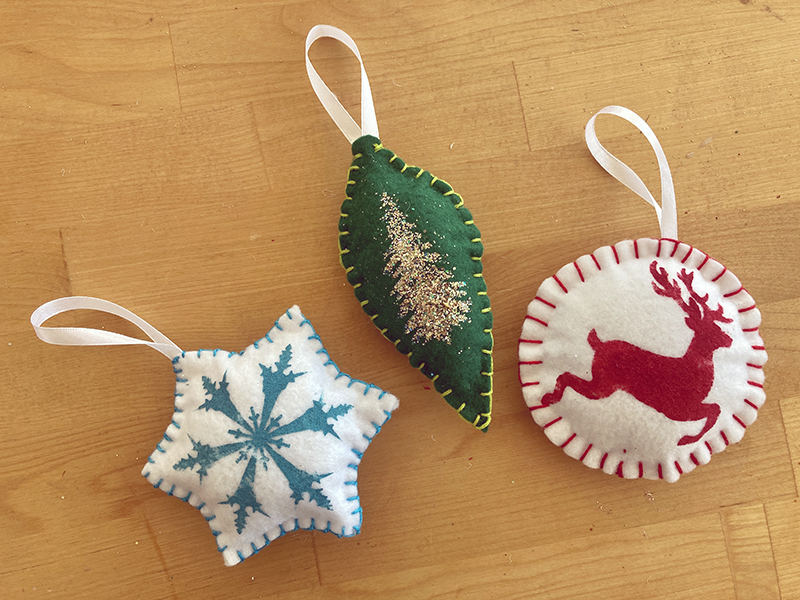
Repeat these steps to create an array of unique ornaments in the styles and colors of your preference!
This How-To was brought to you by Marisa from Modern Surrealist.
Please share your version with us @Stencil1
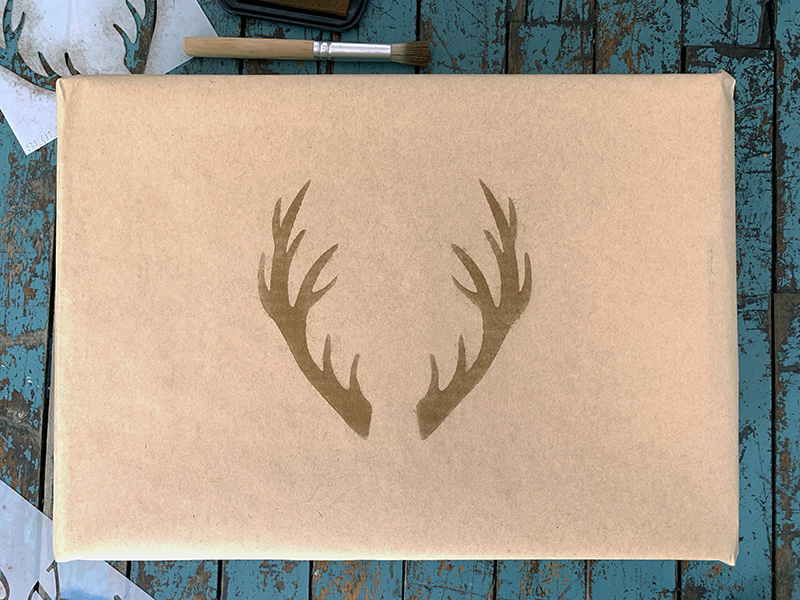
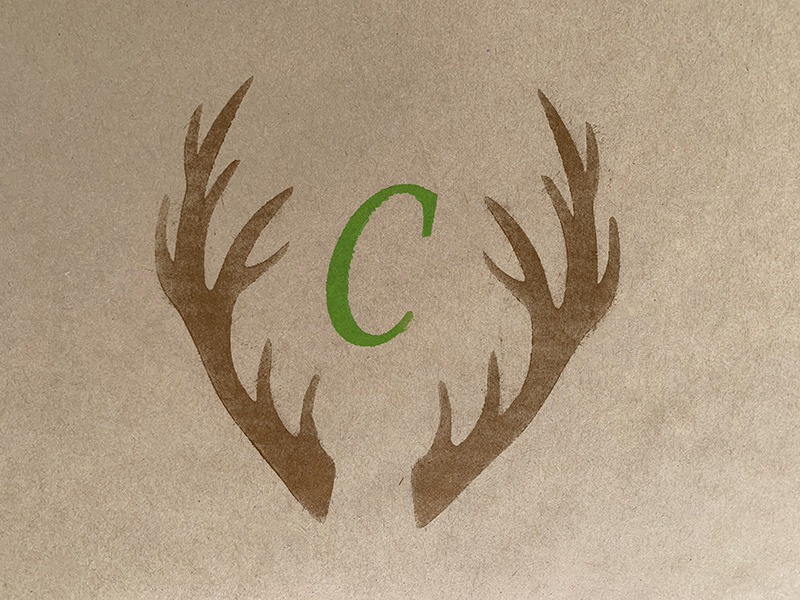
This monogrammed holiday gift wrap is a great way to add a personal touch to the gifts you’ll give out these holidays.
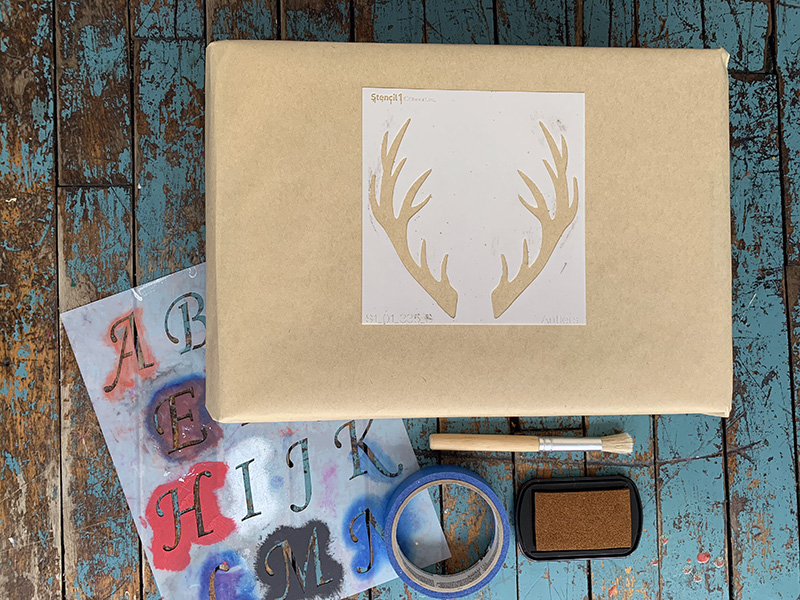
Tools you’ll need:
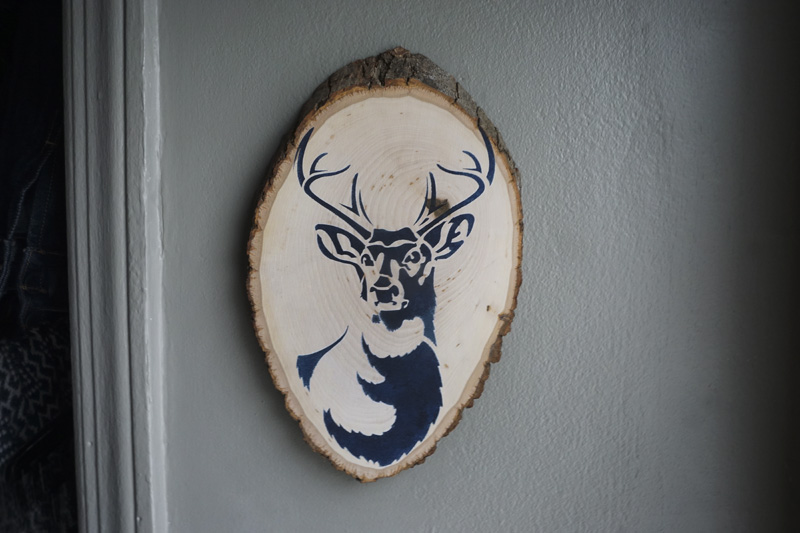
Place your antlers stencil in the middle of the top portion of the gift wrap.
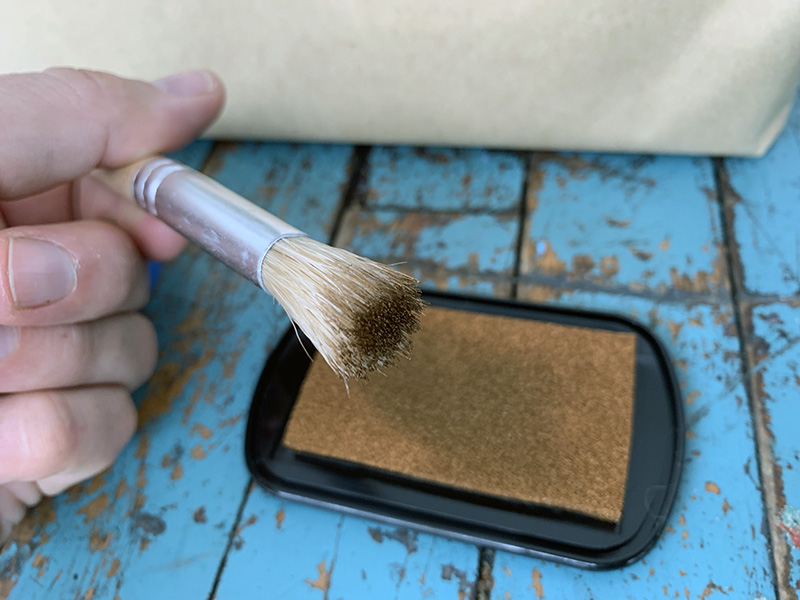
Take your brush and tap your ink pad to begin to ink your stencil.
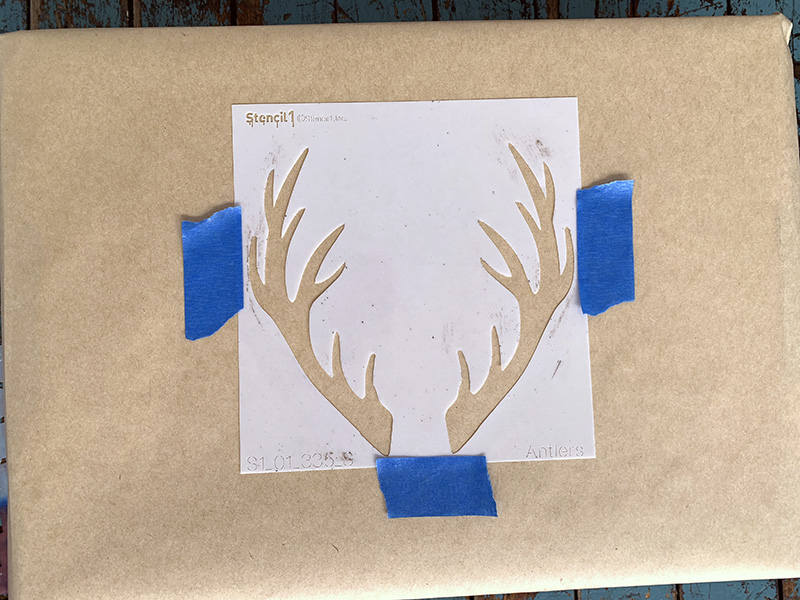
Using painter’s tape to hold the stencil steady while you ink it.
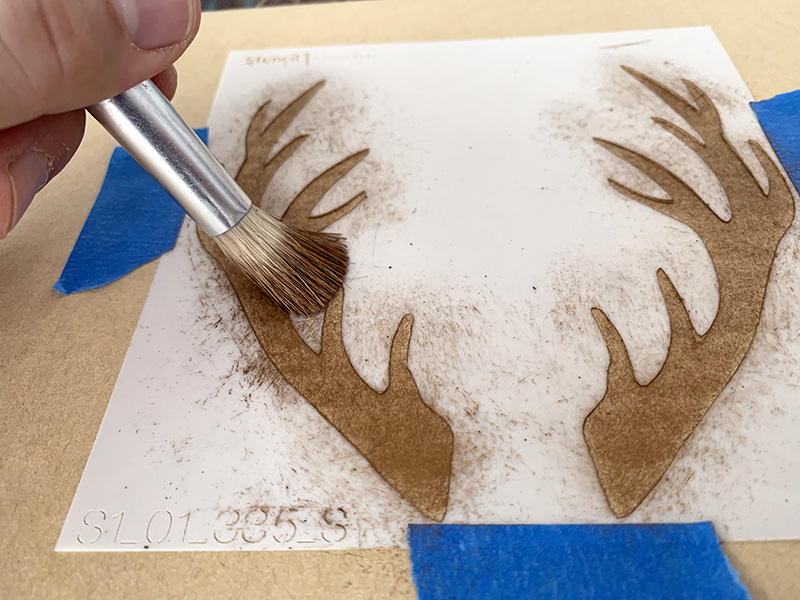
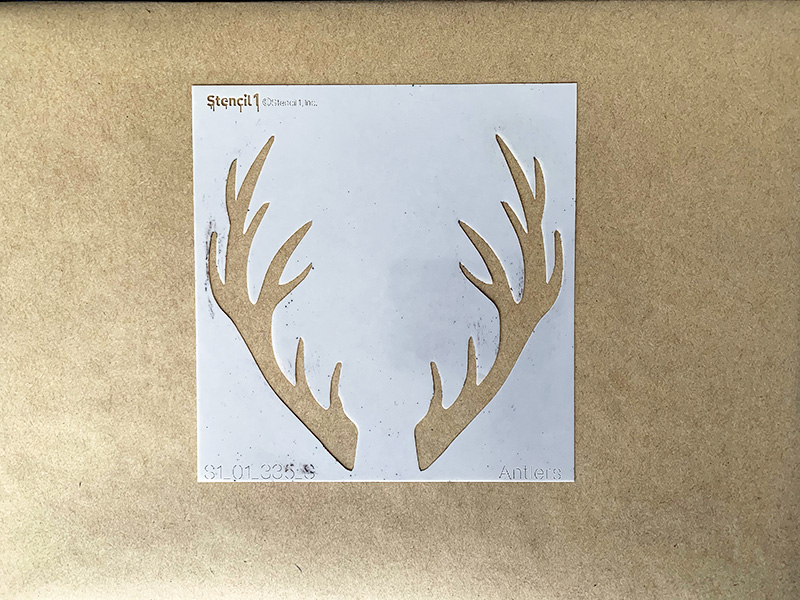
Begin to paint with a tapping motion using a small amount of ink.
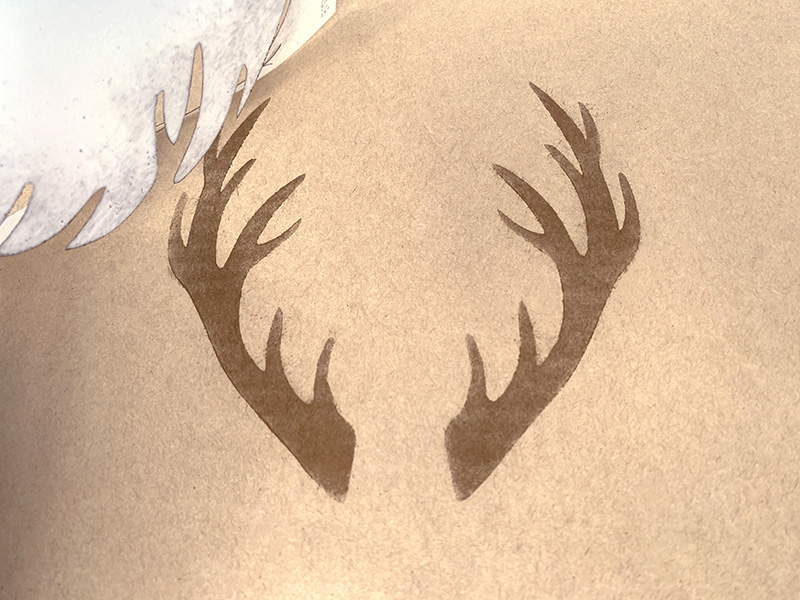
Remove the stencil to check on your ink job.
You are almost done. Now we are going to apply the monogram to make this project more customized.
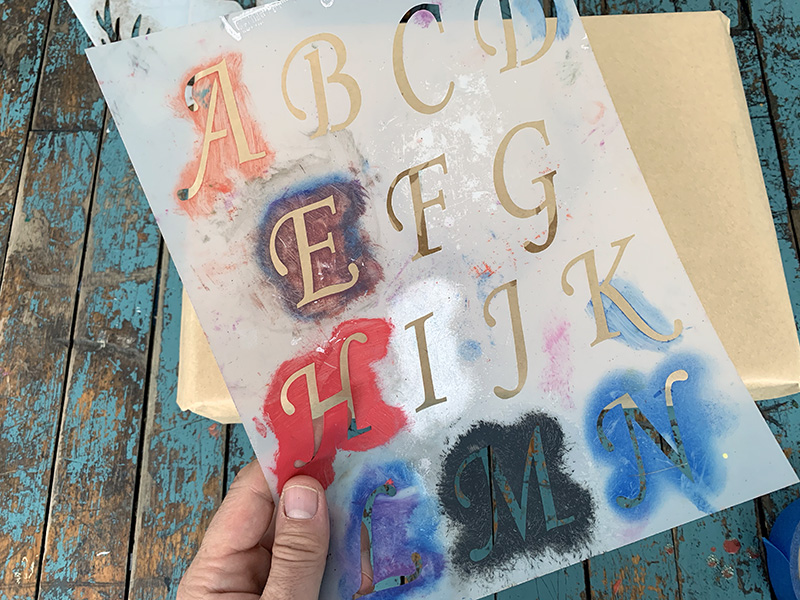
Take your letter stencil and choose what letter you want for your monogram, choose the initial of the receiver of the gift.
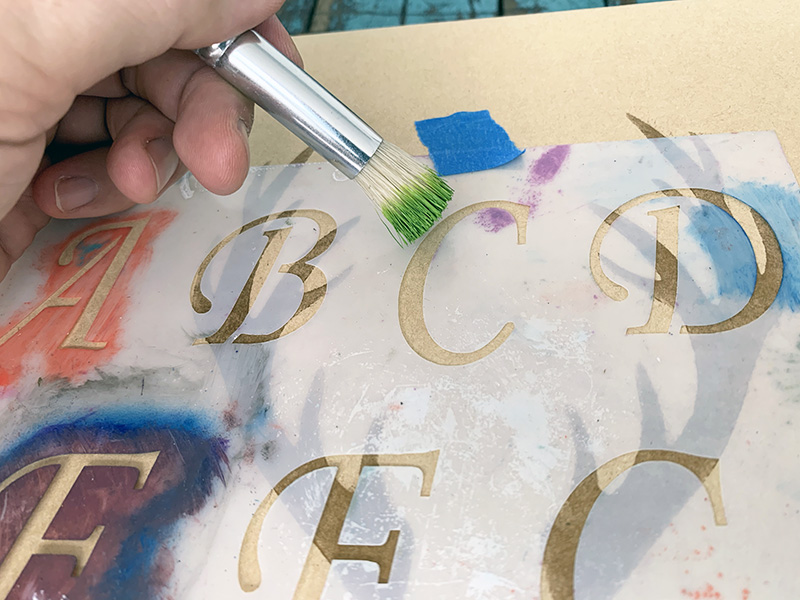
Secure the stencil with painter’s tape and make sure to adjust the stencil so the letter will out in the middle of the antlers.
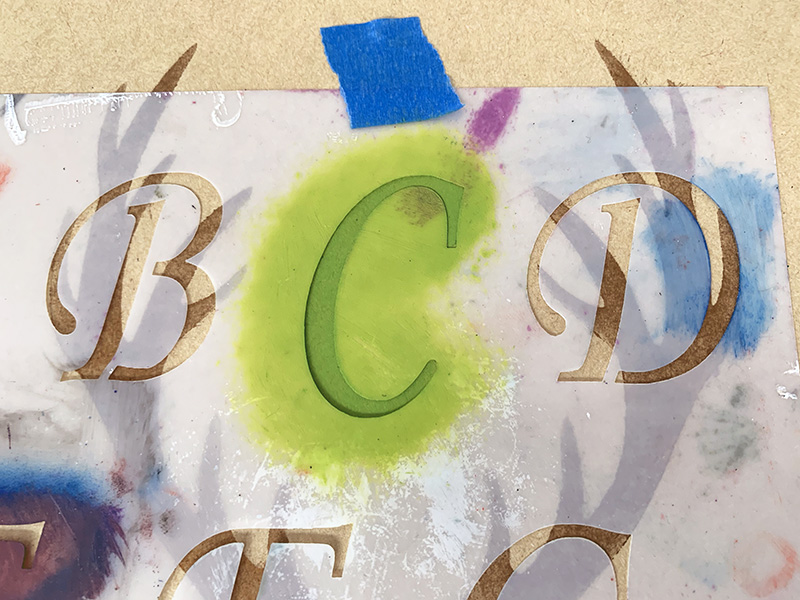
I chose green for the monogram because I wanted a really vibrant color. You can choose any color you want. You could also use the gift recipient’s favorite color as a choice.
Check on your results.
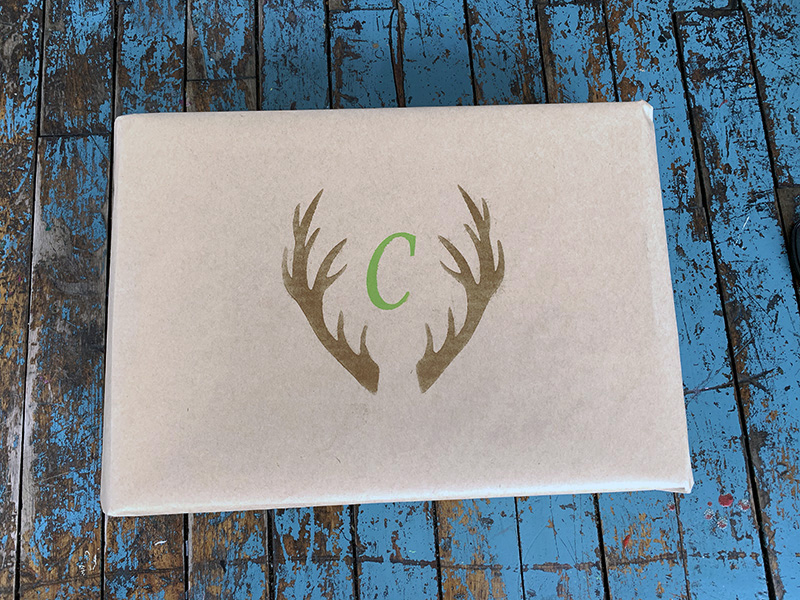
And now you’re finally ready for creating more customized gifts. Another perk about this is that it will be easier to spot which gift belongs to whom.
Please share your version with us @Stencil1
Holiday-themed coasters are an ideal way to add the holiday spirit to your table. With these slate coasters, they easily add a modern look to your dining and coffee tables.
What you will need:
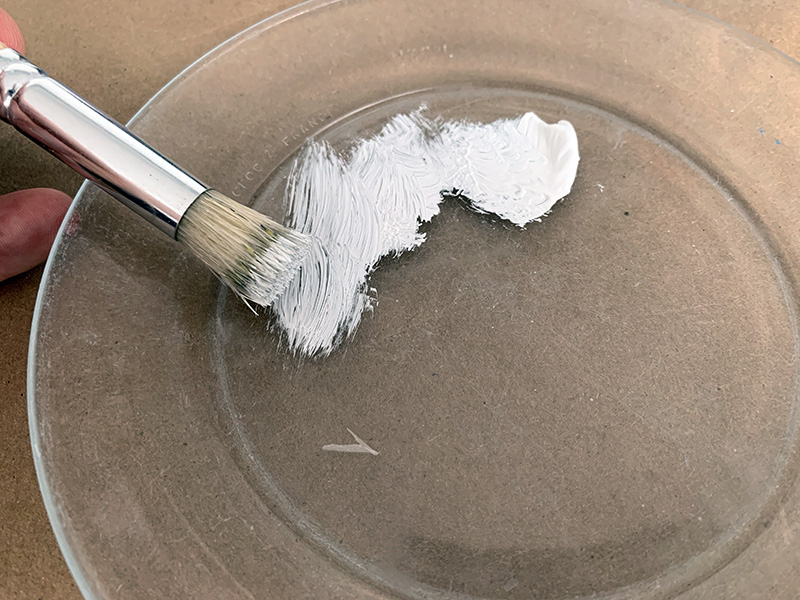
Use a plate to place your paint and remember to use a small paint of paint with your brush,.
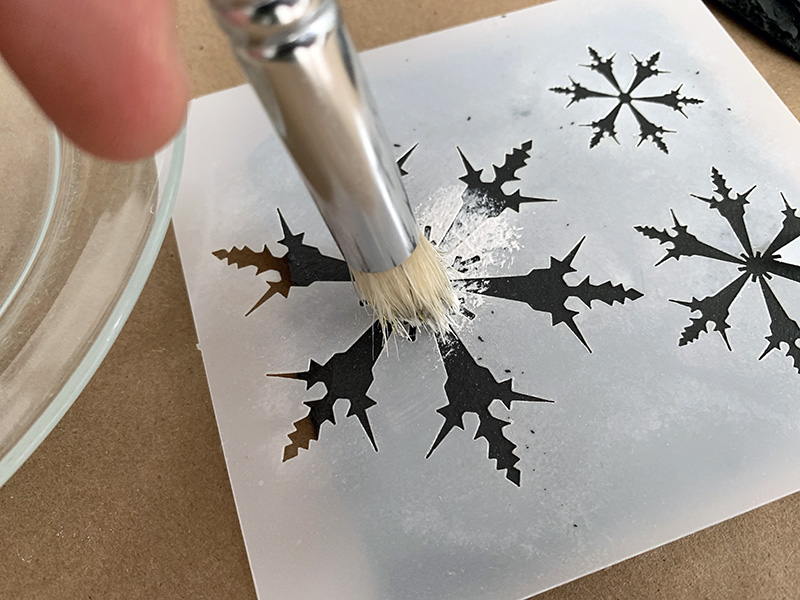
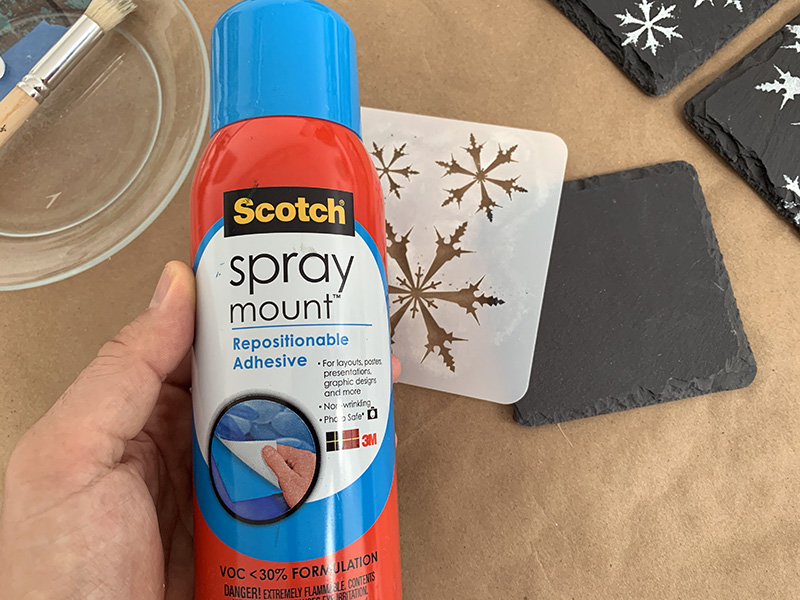
I recommend using an adhesive spray to secure the stencil before you start painting. With a tapping motion, begin painting the stencil on the coaster.
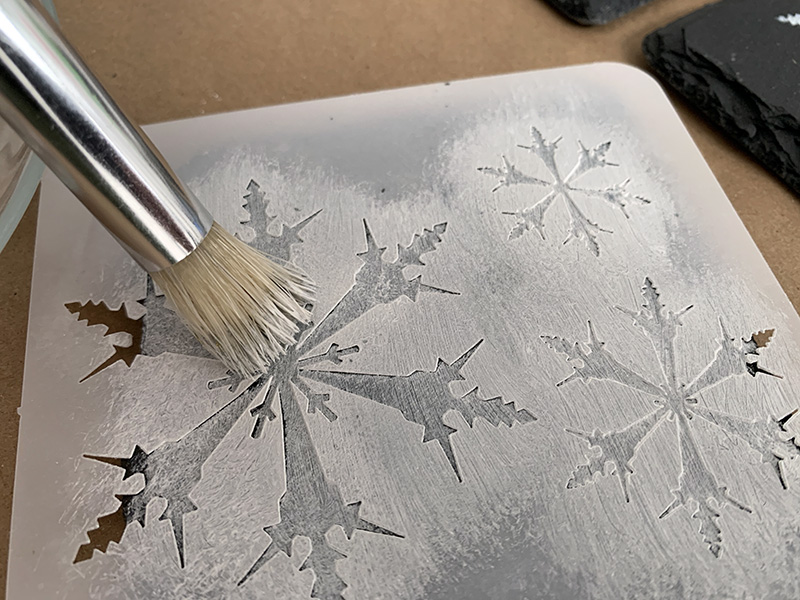
Paint the stencil with your white paint until you reach the edge of the coaster.
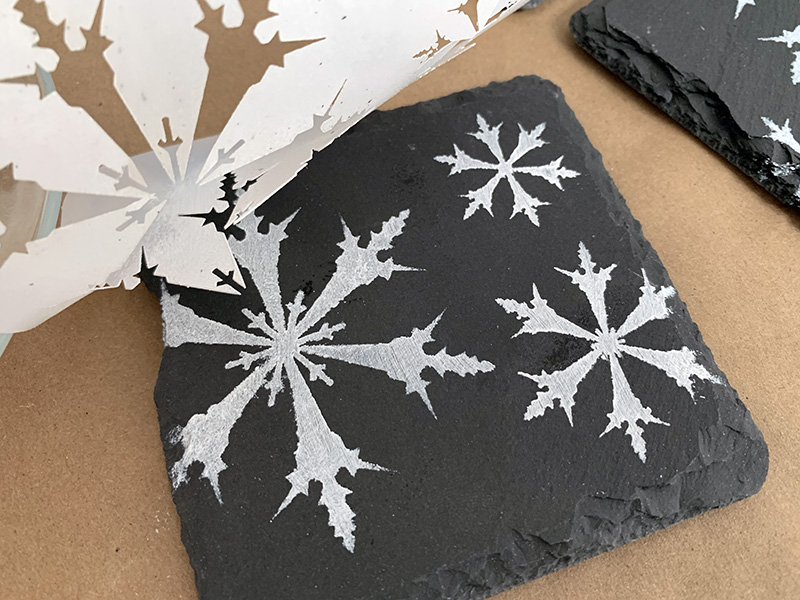
Remove the stencil and now they can be used on any table you would like.
Please share your version with us @Stencil1
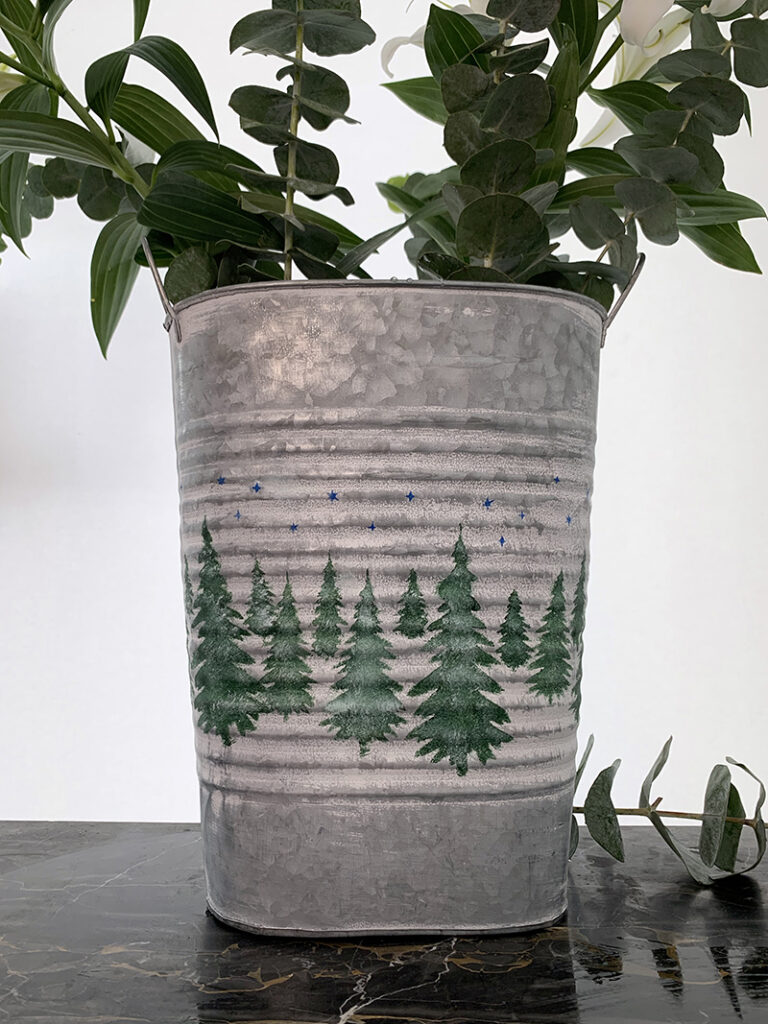
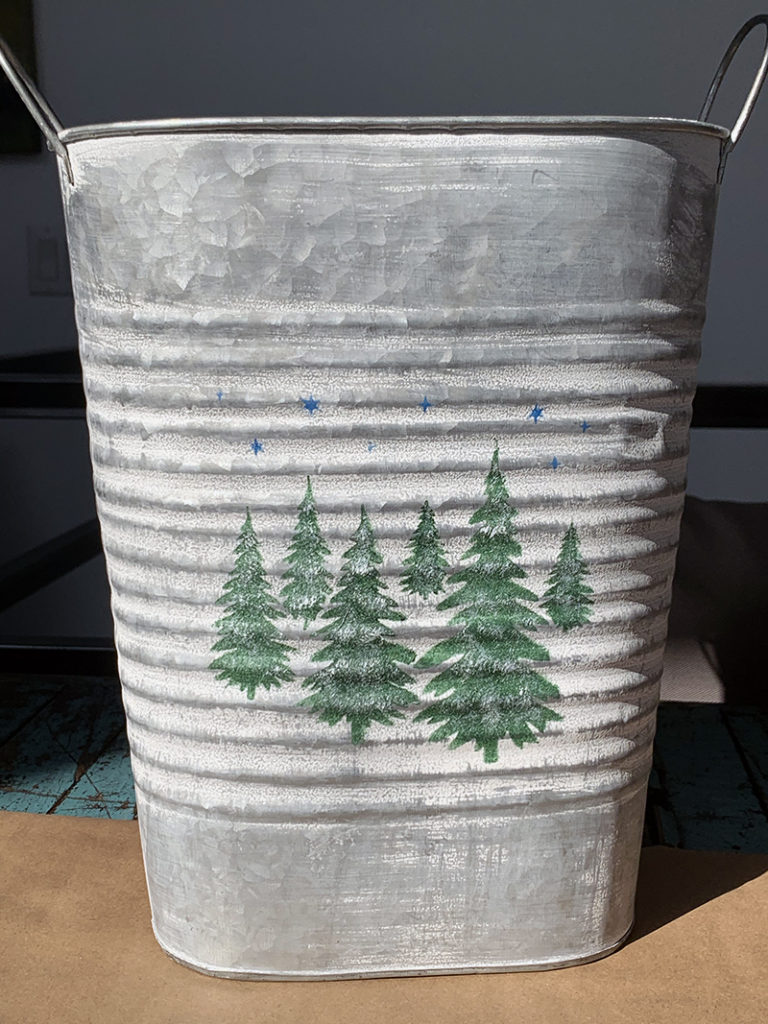
This Winter, I think we all want to cozy up and stay creative. Here’s a DIY that will uplift your home with some holiday decor, a stenciled tin pail customized for the holidays!
This tin pail was purchased at a craft store. it has a ridged surface but you can still stencil a bumpy surface with the right technique. Follow along and see how to create this stenciled pail, great for a holiday centerpiece!
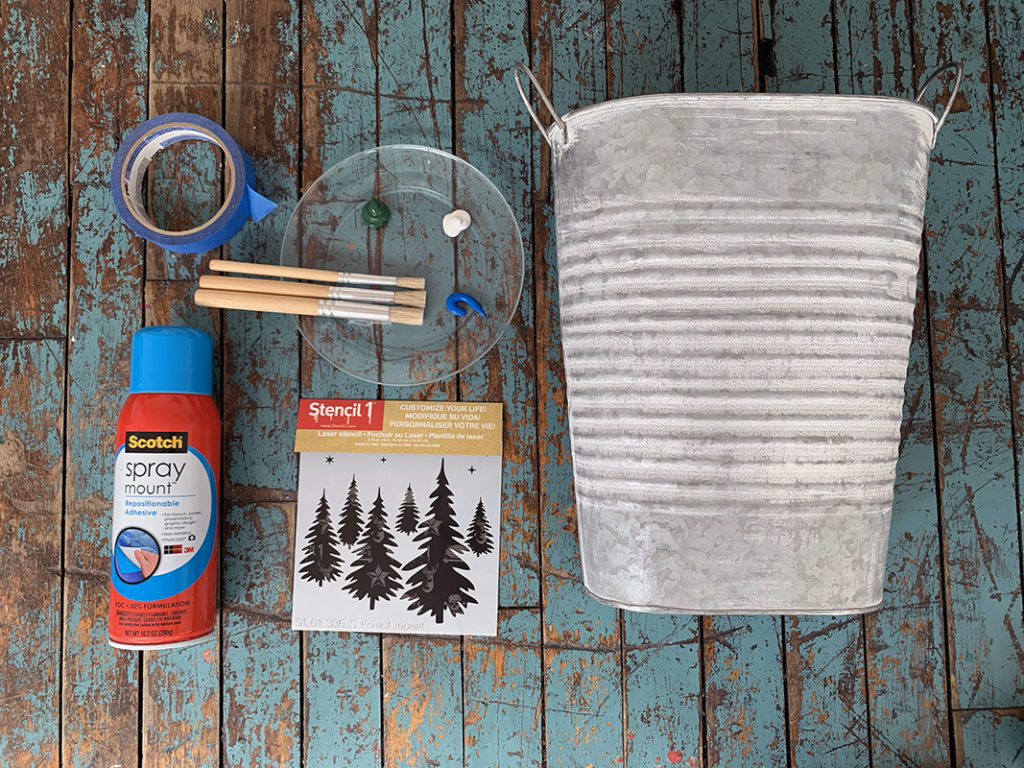
What you will need:
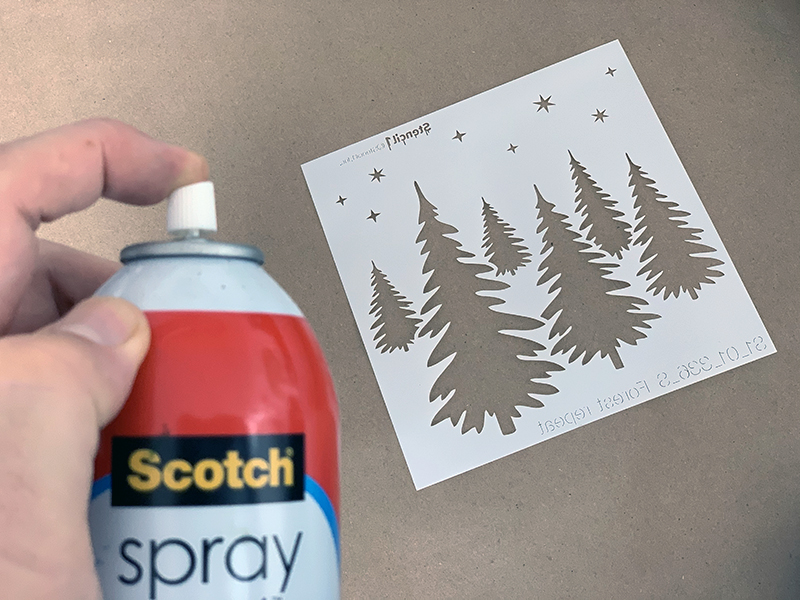
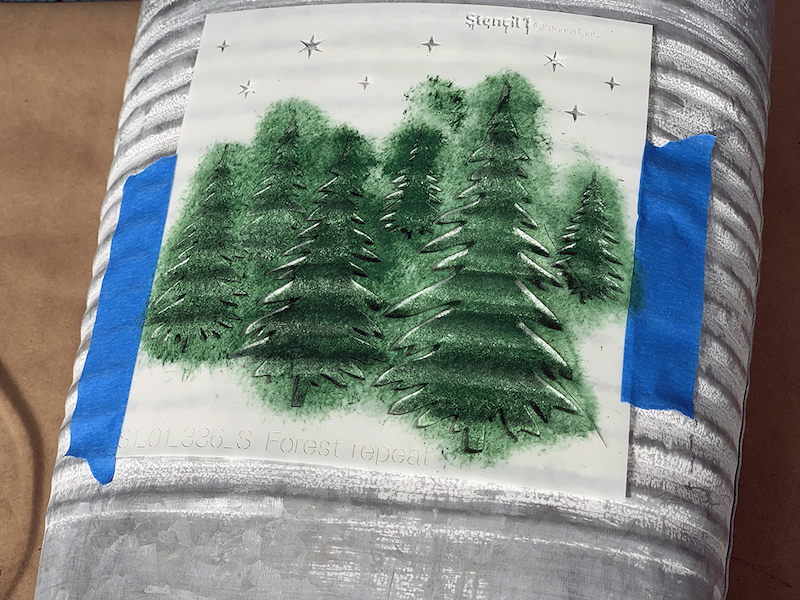
The Forest Repeat stencil can wrap around the pail beautifully so every angle of this centerpiece looks festive.
To start, spray some low tack spray adhesive to the back of the stencil and let dry for 30-60 seconds.
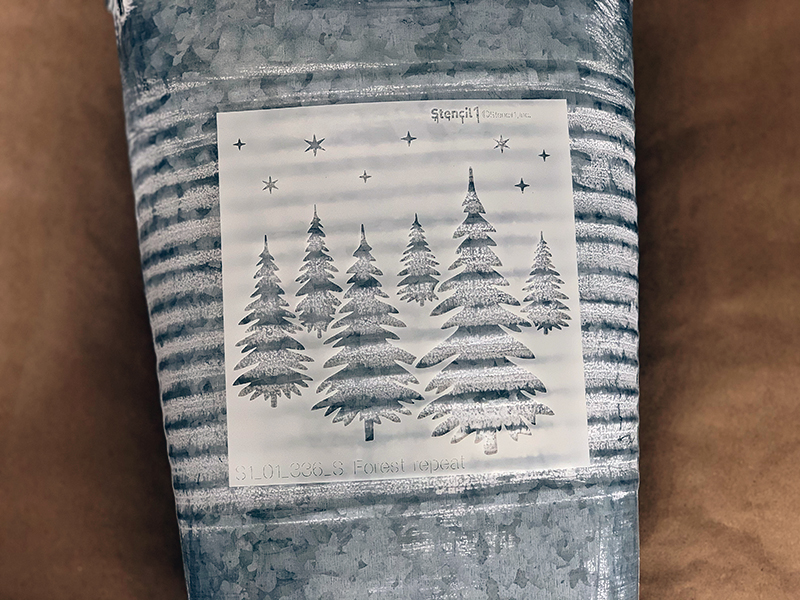
Place the stencil on the pail, centered. Tape in place as well. This helps to hold the stencil in place and to not paint outside the edges of the stencil.
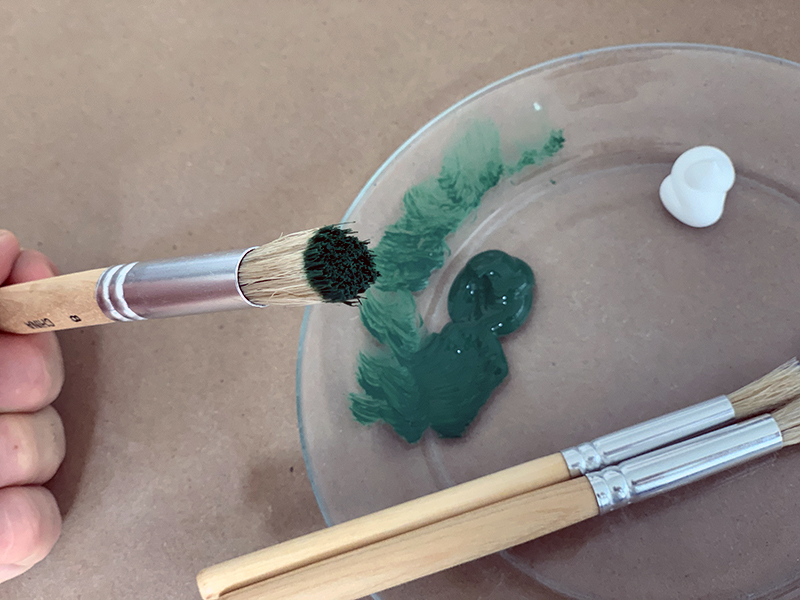
Next, using a dry brush technique(very little paint) apply green paint throughout the design until filled in. Usually, this takes 2-3 built-up applications.
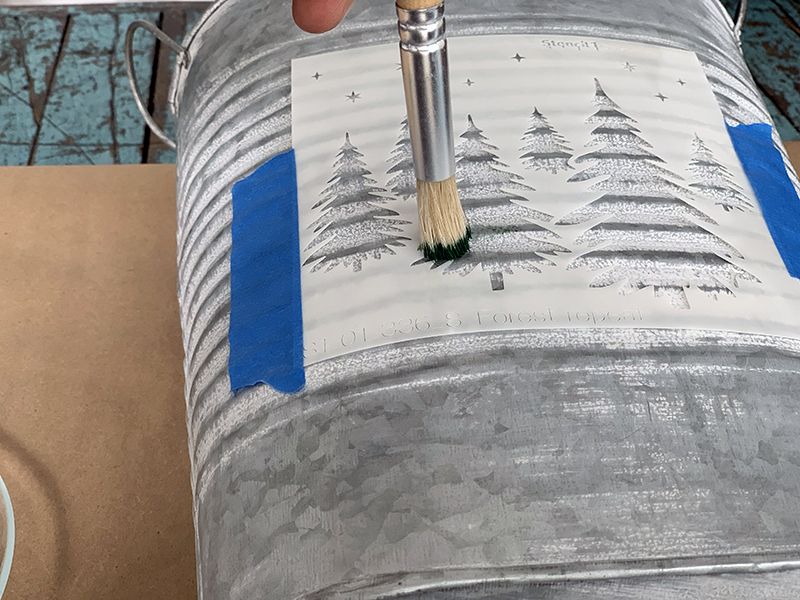
For a bumpy surface, be sure to use an up and down tapping motion especially at the edge of the design. Let the green dry but keep the stencil in place.
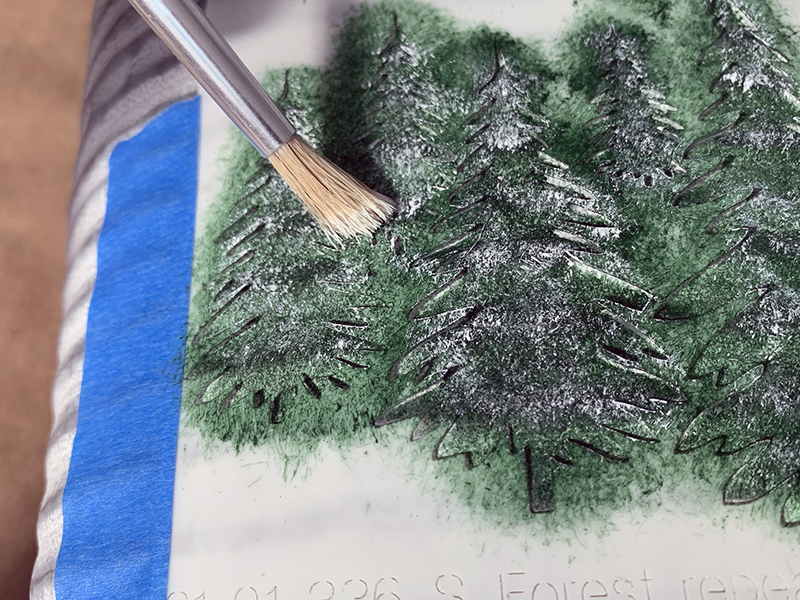
Then, take a new brush with white paint on it. Use very little paint and dry it off a lot on the plate. Tap very tightly to apply a snowy effect to your green trees.
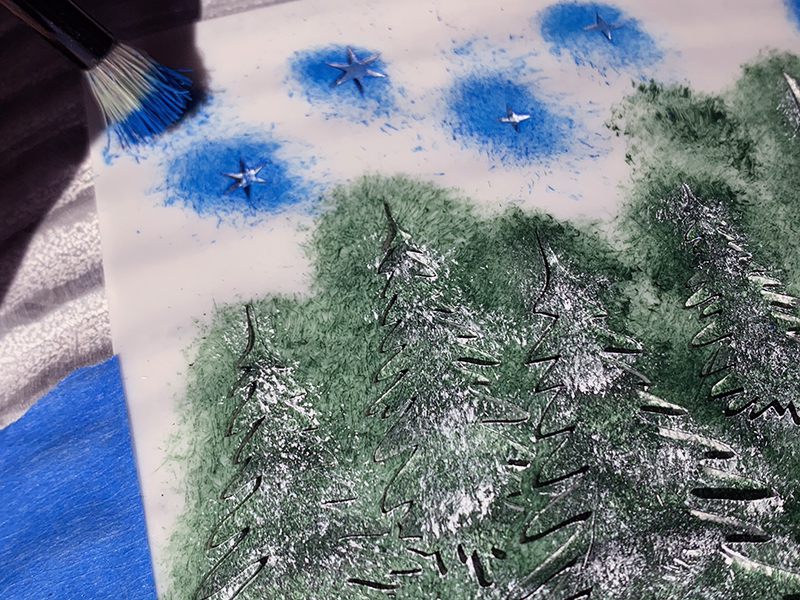
Finally, paint in your tiny stars with a small stencil brush and blu paint. Again, a tapping motion will fill in these little openings.
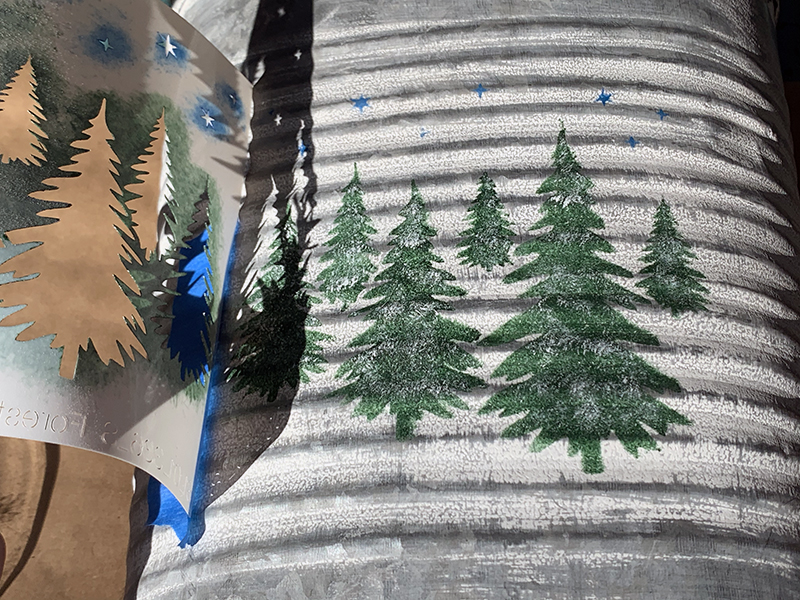
Peel the stencil off, make sure your paint is dry, then move the stencil over to repeat the design. Yes, the stencils can curve around surfaces!
You can re-apply spray adhesive to aid in holding the stencil down. Once the entire pail is covered, let dry. Optionally, you can spray the design with a clear lacquer.
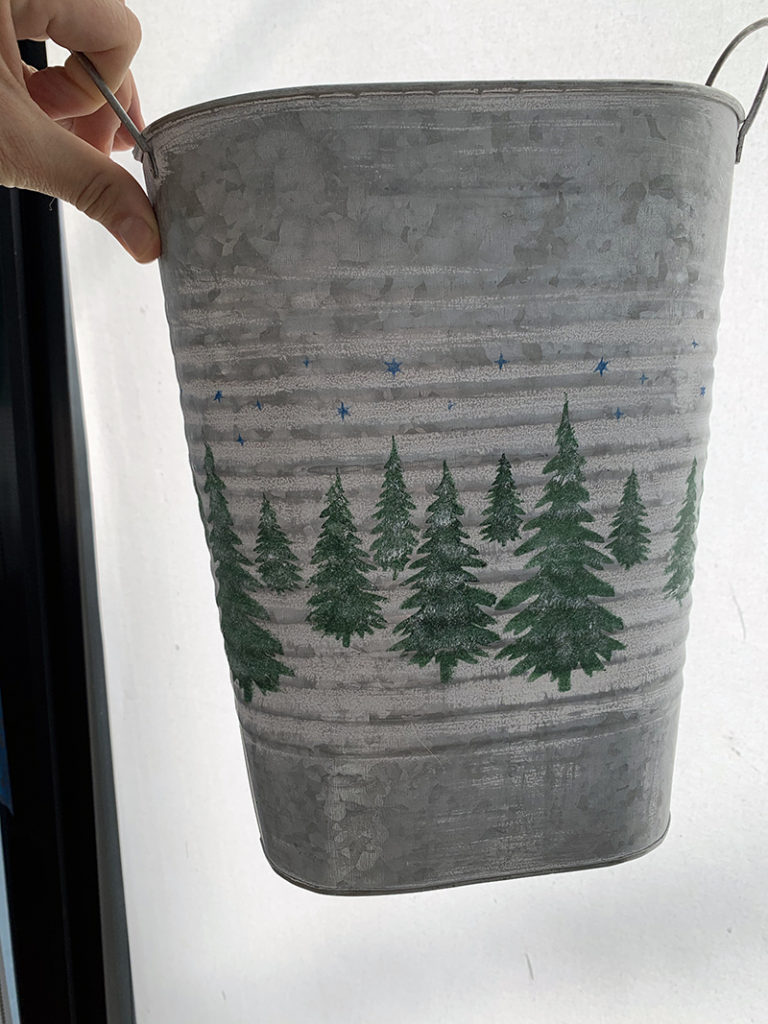
Fill with a Winter arrangement and place it as a centerpiece or on a shelf for some tasteful holiday decor.
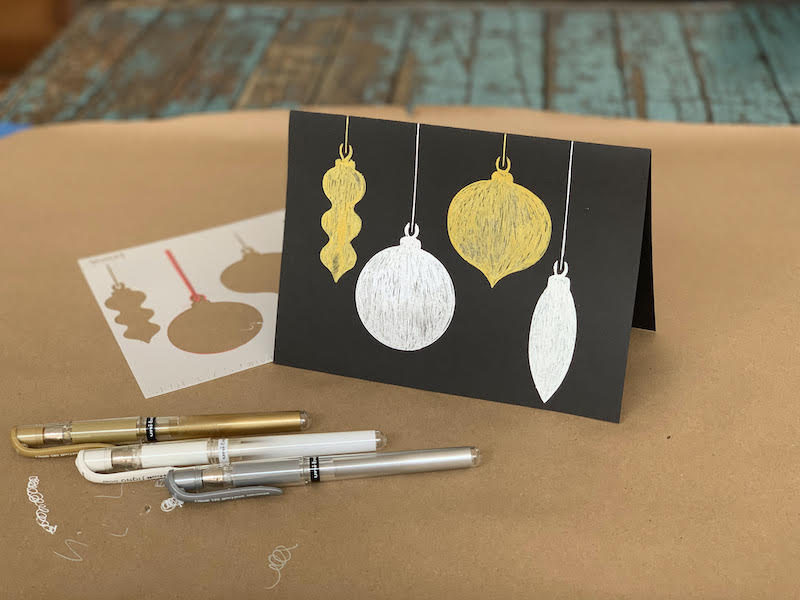
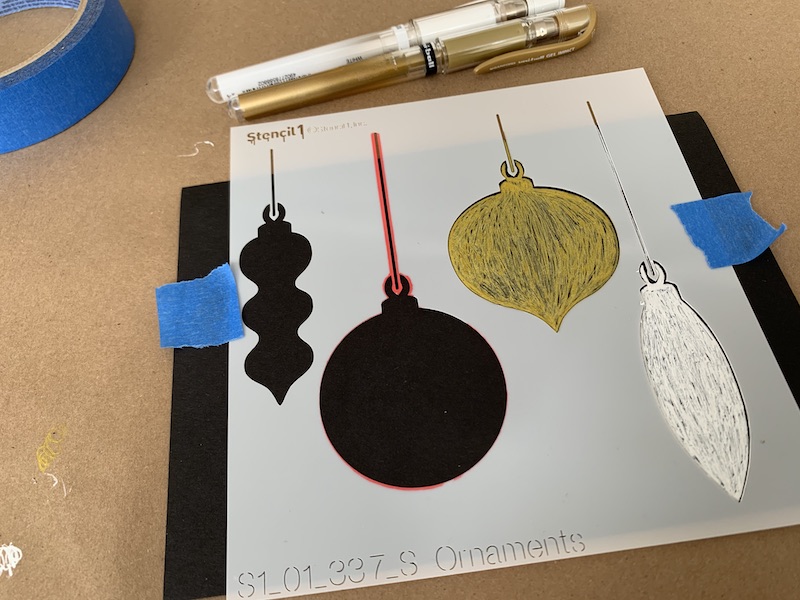
Here’s a how-to that we would file under EASY! Create beautiful holiday cards just using UniBall gel pens and stencils. The result is a very handmade look and feel to the card!
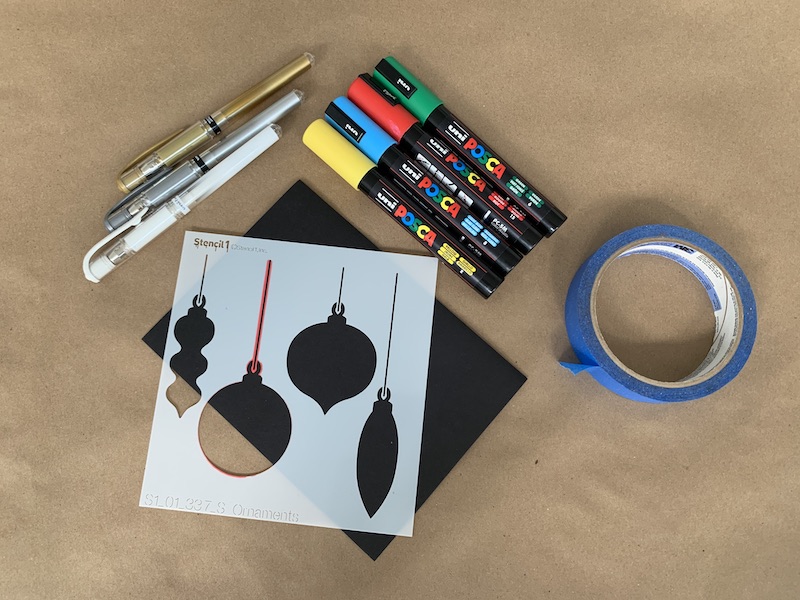
Tools you’ll need:
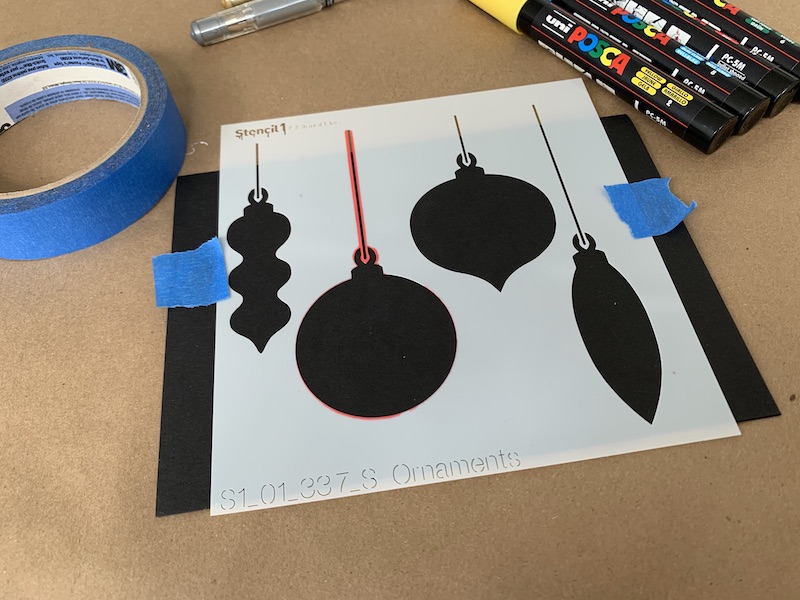
Secure the stencil with painter’s tape to prevent it from moving while you paint.
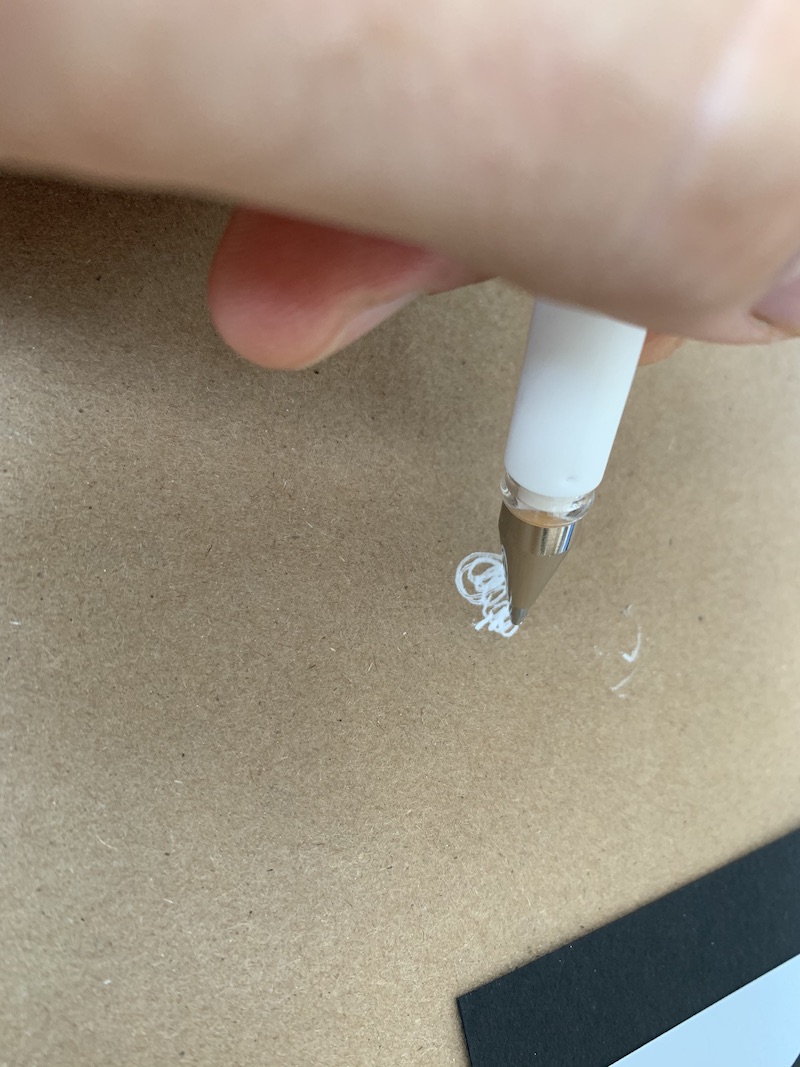
Test out your gel pen on a piece of paper before using it on your holiday card.
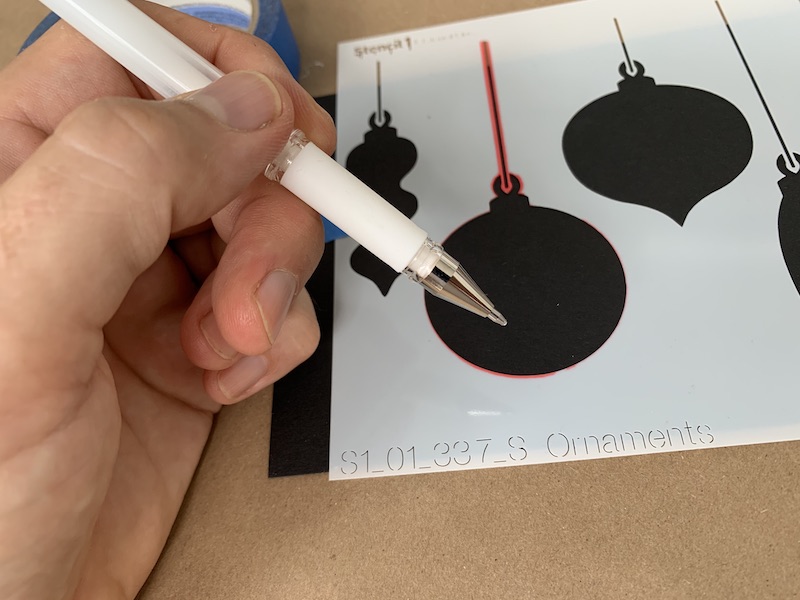
Decide which ornaments you want to paint a certain color.
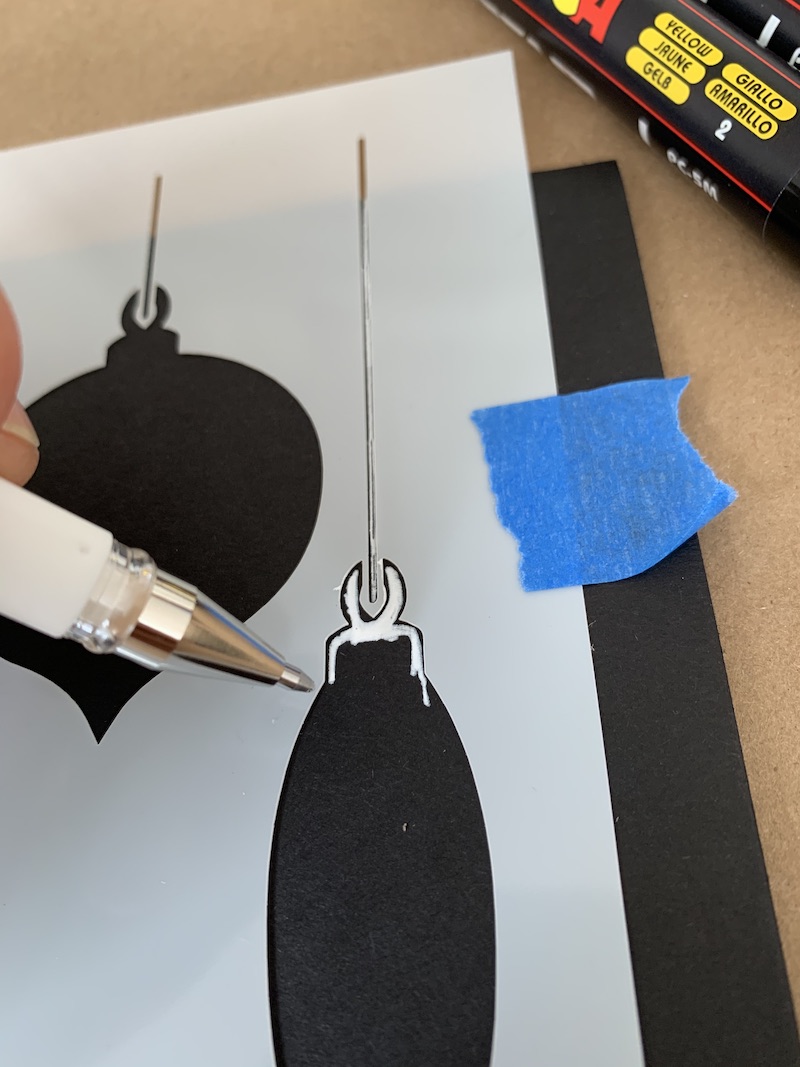
Make sure to reach the edge of the inside the stencil image to get great results. With the Uniball gel pen’s tip, you can reach the small details.
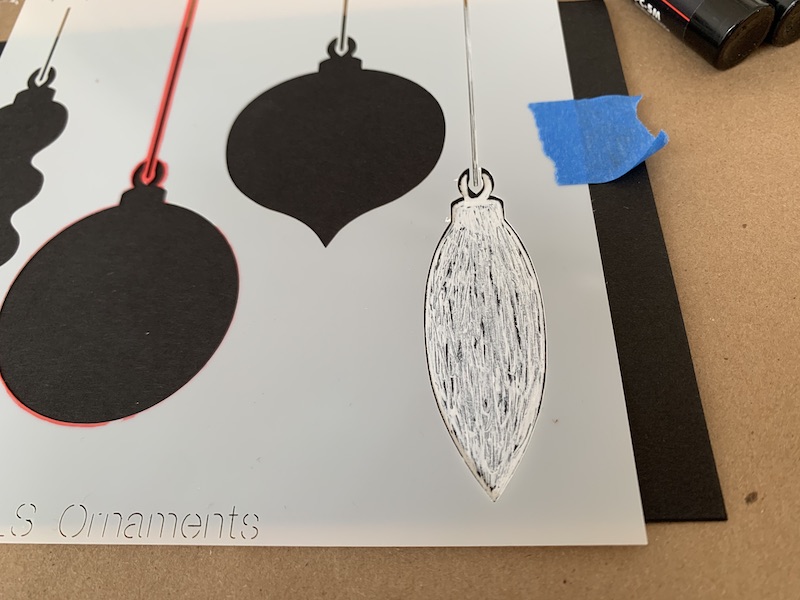
Color it in. Don’t you love white ink? Looks so good on these black cards. Once you’re done, I recommend that you let it dry before moving on to the next ornament.
You can grab another metallic color and begin coloring in another ornament.
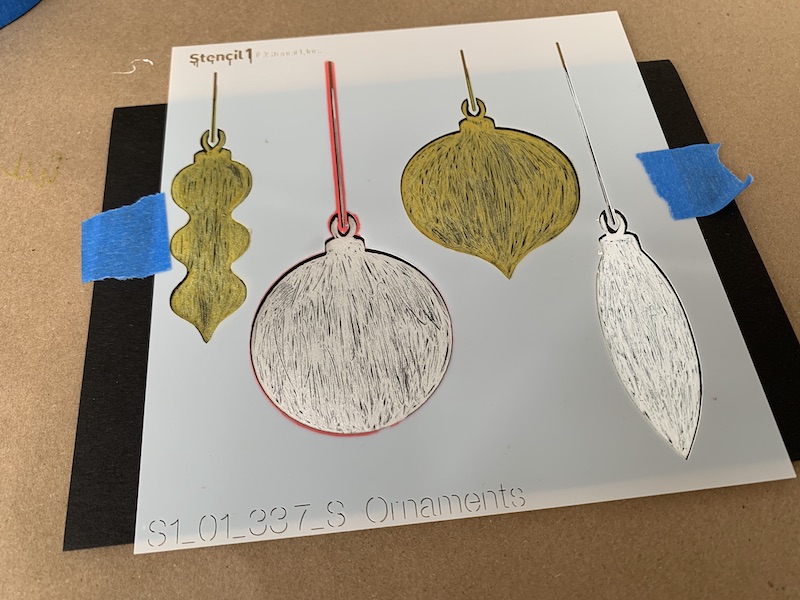
I alternated between the gold and silver gel inks.
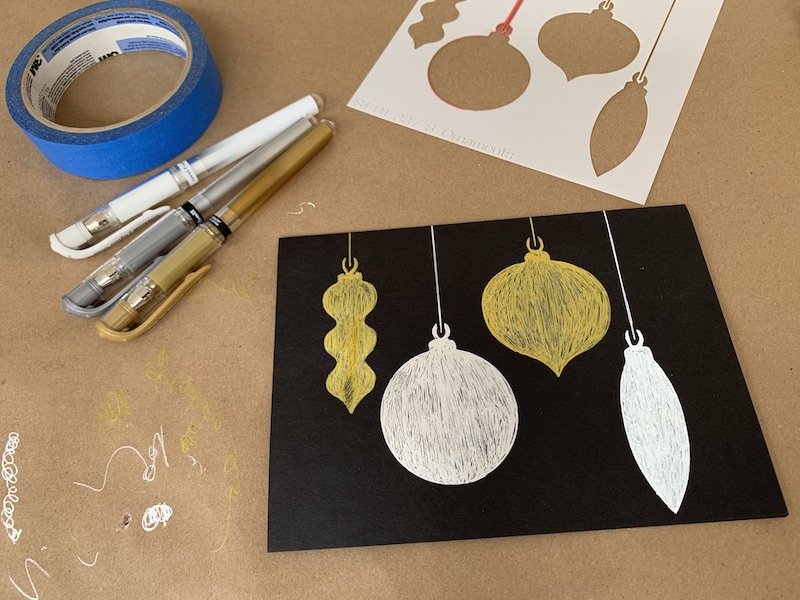
Remove the Holiday Ornament stencil and let the gel ink dry well.
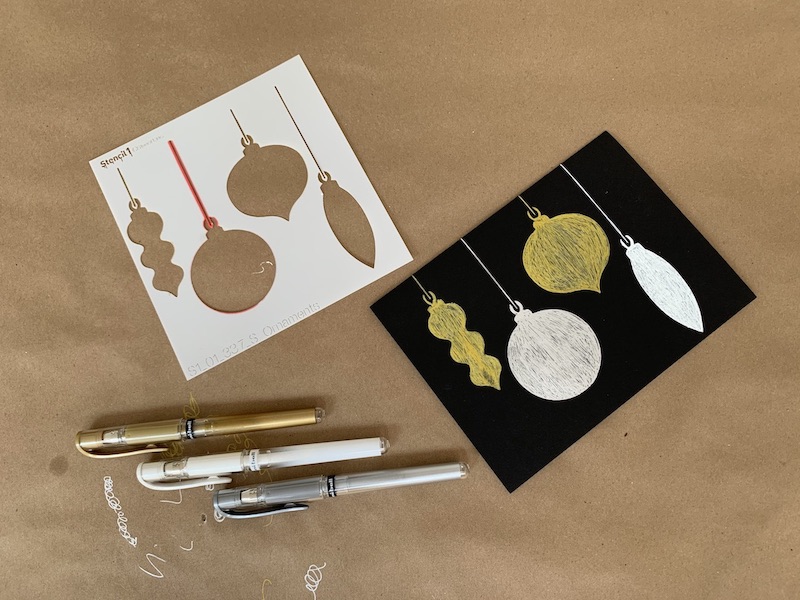
Now that you’re done, you can create as many holiday cards as you desire and make them as personalized as you want. You can add a sweet written message, or even add glitter for a more sparkling touch.
Please share your version with us @Stencil1