Στο νέο online παιχνίδι καζίνο του Nine Casino, εμπνευσμένο από τον κόσμο της κατασκευής στένσιλ, οι παίκτες μπορούν να δημιουργήσουν τα δικά τους μοναδικά μοτίβα για να ξεκλειδώσουν ειδικά επίπεδα παιχνιδιού. Immediate Byte Pro Neoprofit AI

This post is coming to you from Tami M., contributing blogger, mom to a second grader, and all around great gal!

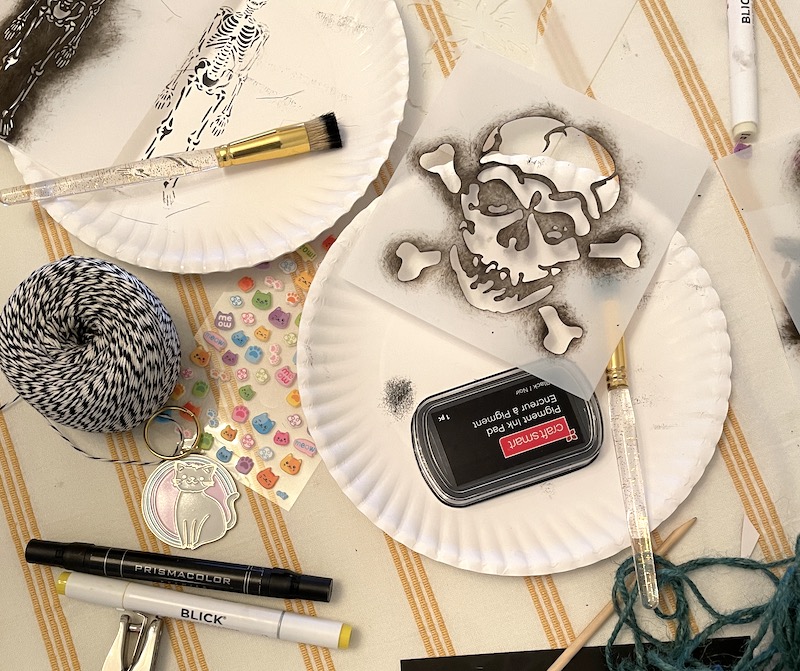
If you’ve been shopping lately, you’ve learned that Halloween is NOW. In our home this holiday of ghouls, ghosts and monsters is bigger than Christmas. Our late-summer days have been filled with crafting decorations for what my seven-year-old daughter describes as “the greatest night of the year.” As we transition into the school season, a stenciled Monster Garland is an easy, mess-free after-school activity that uses tools and supplies you’ll probably have on hand. We’re using this garland as the centerpiece of our Halloween fireplace-scape but it can easily be used just about anywhere in the home. This is a work in progress—pumpkins and other fall festiveness to come.
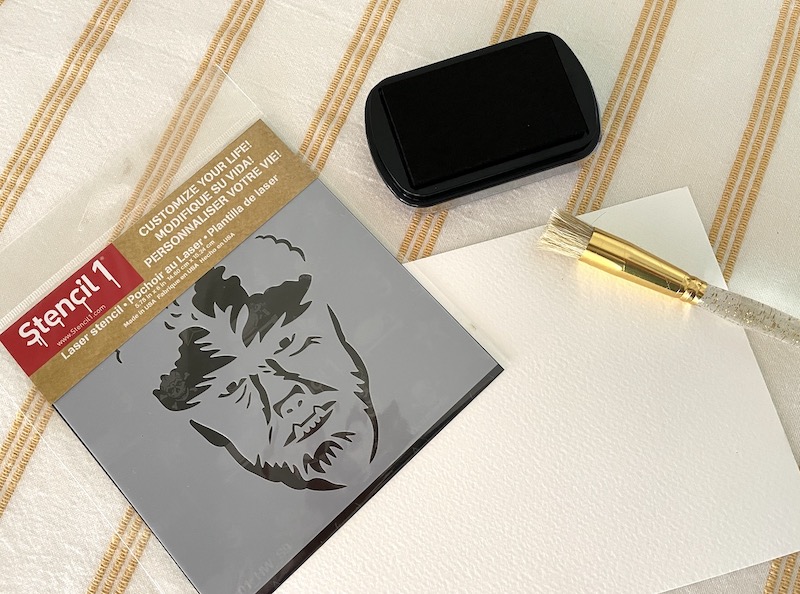
For your Halloween Monster garland, you will need:

-Multiple 5.75″ x6″ monster stencils. We chose an owl, a skull and crossbones, an evil jack-o’-lantern, Frankenstein, a raven, a skeleton and Dracula.

-Paper (we used sheets from an Artist’s Loft Watercolor Pad)

-An ink pad

-Round paintbrush

-Painter’s tape

-Hole puncher

-Baker’s twine
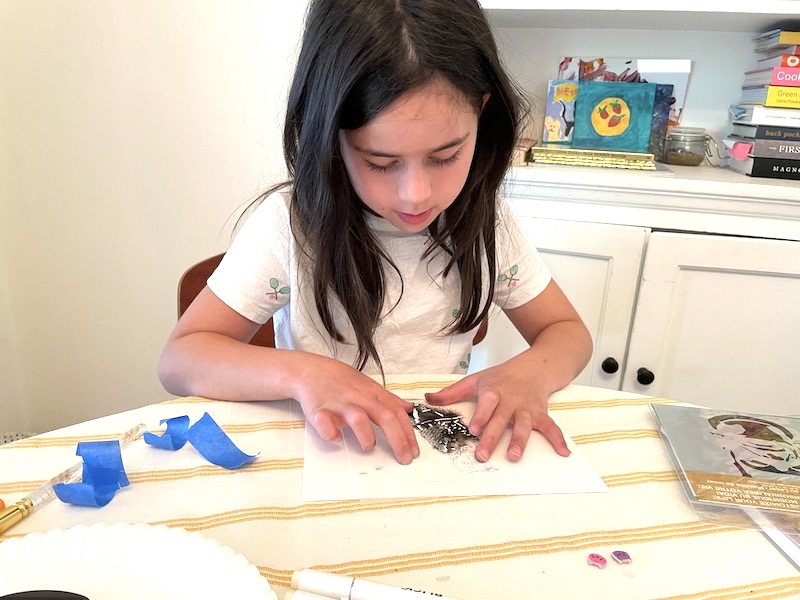
Step 1: Start by selecting your stencil design and figure out placement on the paper. Be sure to tape the stencil to the paper so that it doesn’t move while painting. Painter’s tape is a must so that it doesn’t damage the paper when peeling off.
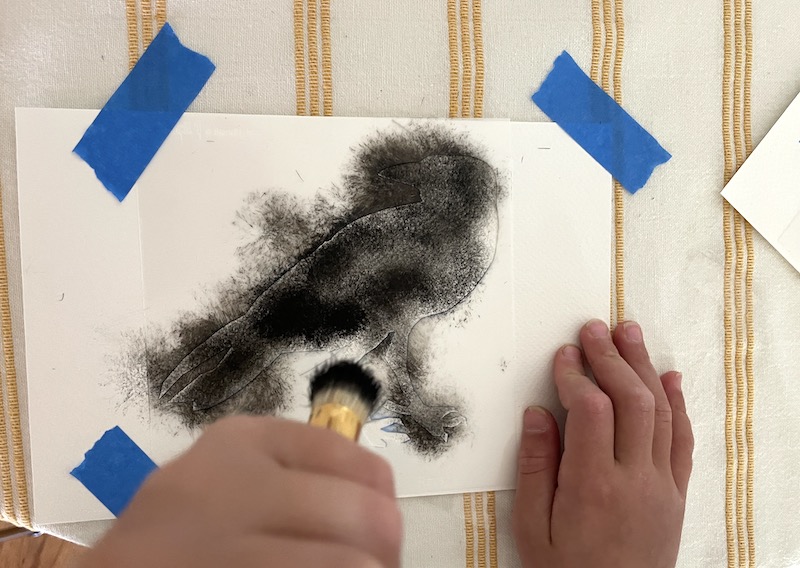
Step 2: Once you are ready to paint, dab the ink onto the brush and then dab dab dab onto your stencil. The ink pad is very forgiving and won’t bleed under the stencil but never say never so do a few test runs to find out the ideal amount of ink that you’ll want for your design.
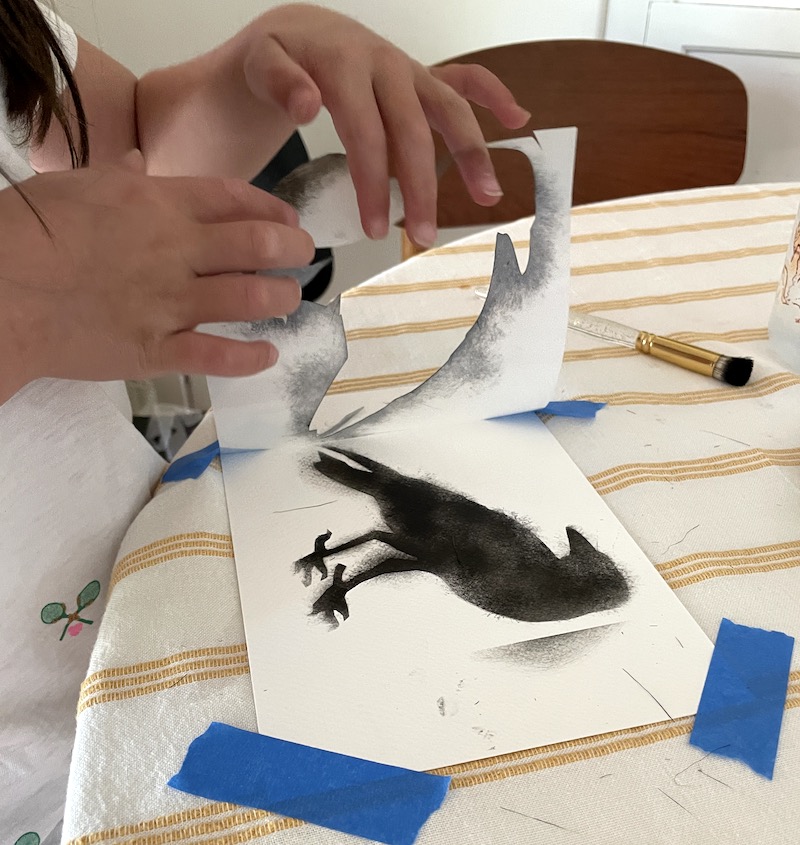
Step 3: When finished, remove stencil and let dry. *Remember, this craft is not about perfection. It’s an activity that is both structured and open-ended so let the kids explore with designs and color. We stuck with a black and white theme because those are the supplies we had in the craft cupboard.
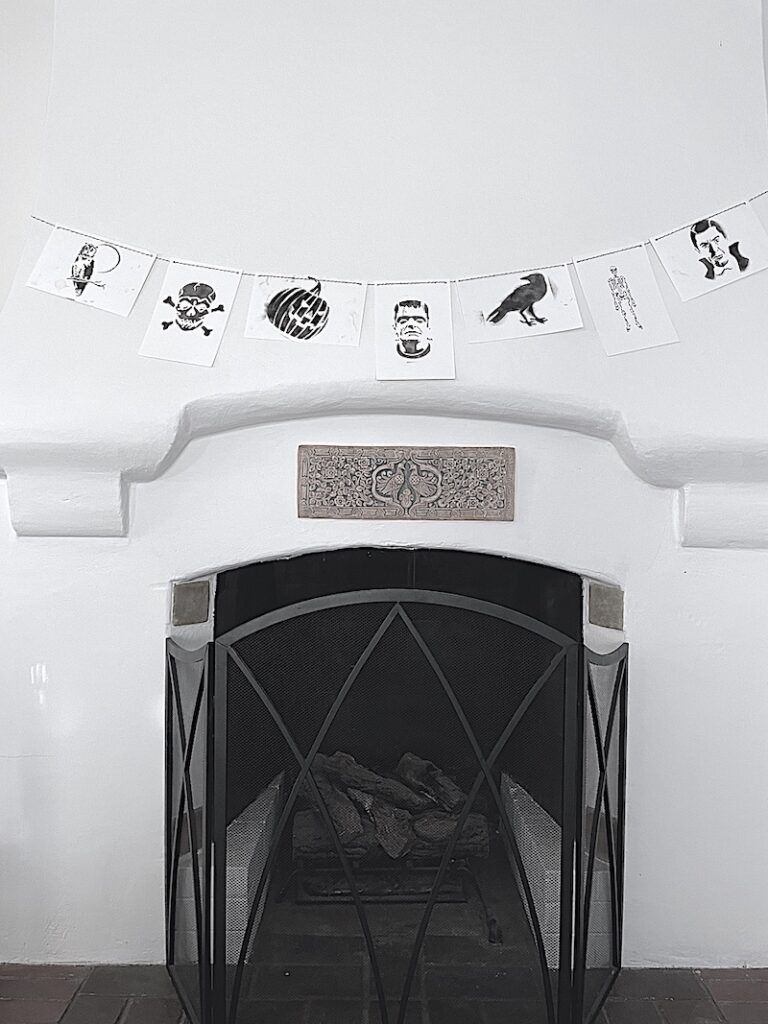
Step 4: String your monsters together to assemble the garland. Add pumpkins and pots of mums to embellish.

Please share what you made by using #stencil1 and tagging @stencil1 on social media.


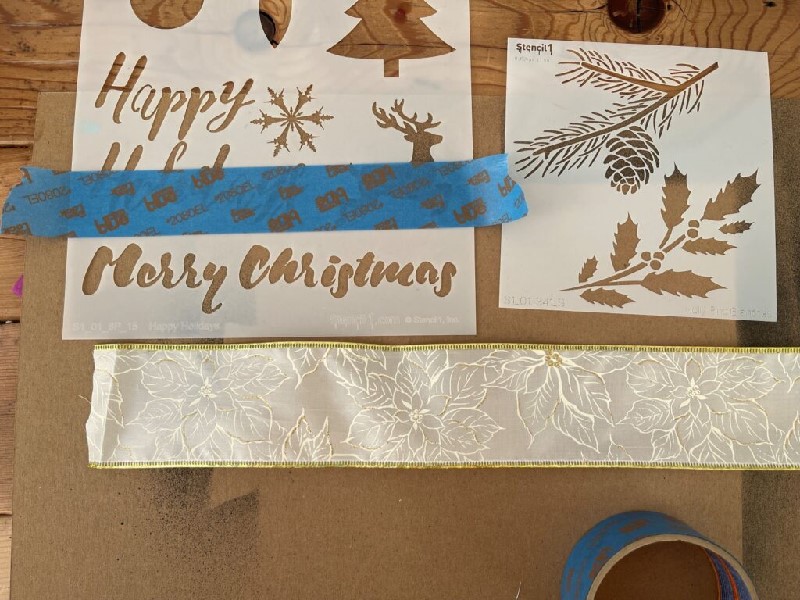
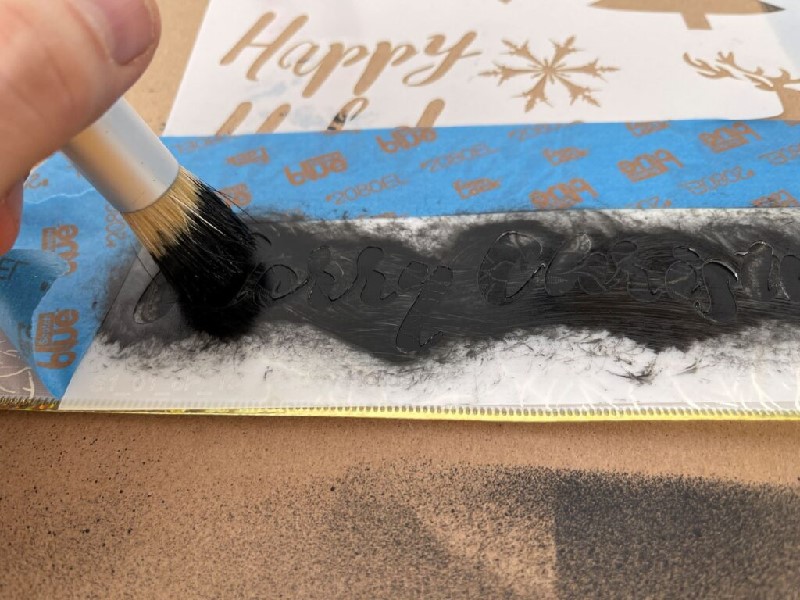
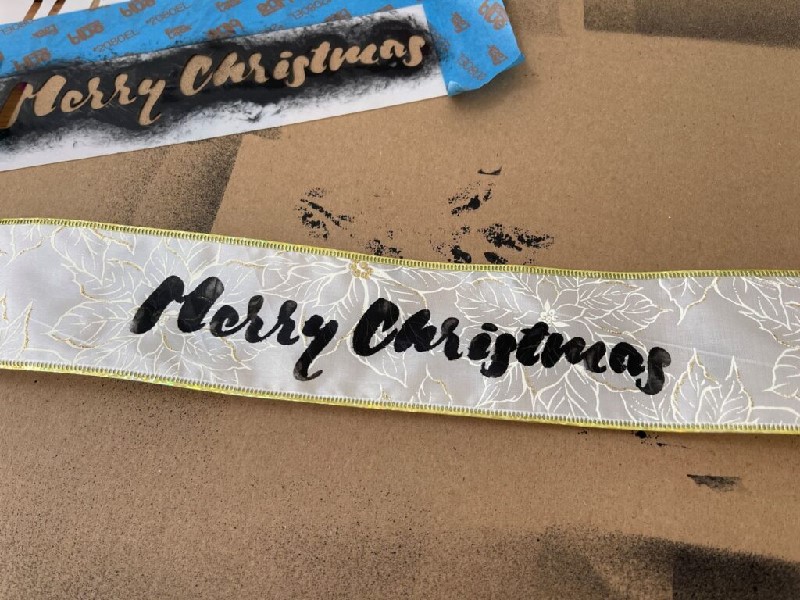
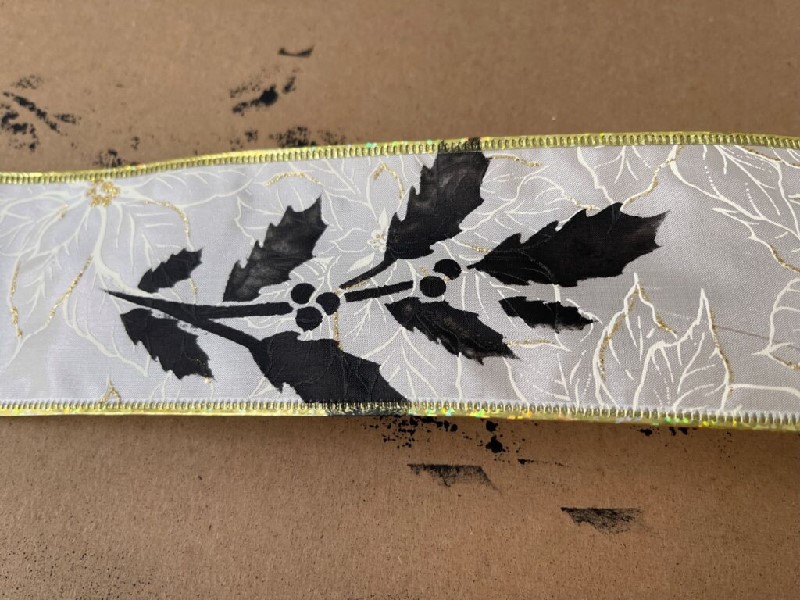
I stenciled Ribbon to use on a garland and wreath. Ribbon is very thin so be sure to work on a cardboard surface as the paint will bleed through.

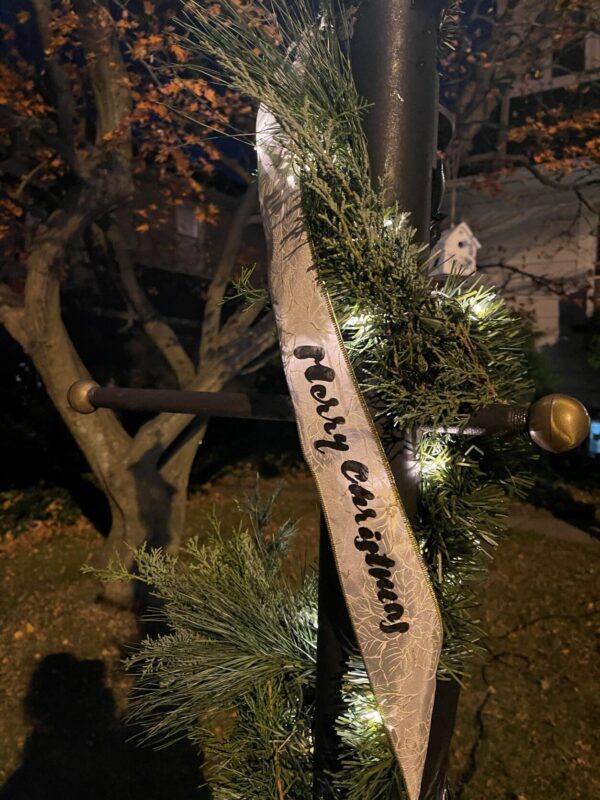
I stenciled 9 feet of ribbon and alternated designs from Merry Christmas to the holly branch in black fabric paint.

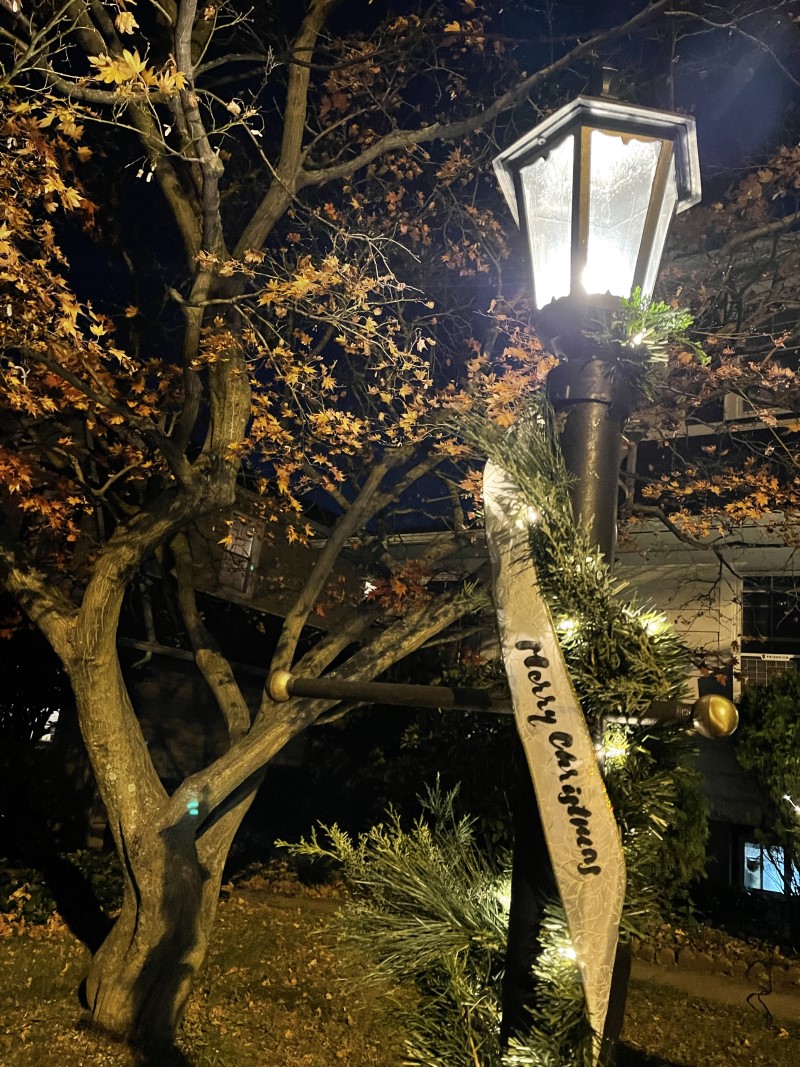
The garland we purchased was pre-lit and came from Target. This made things easier but the garland is thin so Teri had the brilliant idea to fill in the garland around the light post with some real branches.

She also did this with an old fake wreath she had! Just a few branches really helped fill it up and make it all look like the real thing. The ribbon flows nicely around it all, giving it that handmade touch.

Inspired by this project? Share your creations with us @Stencil1


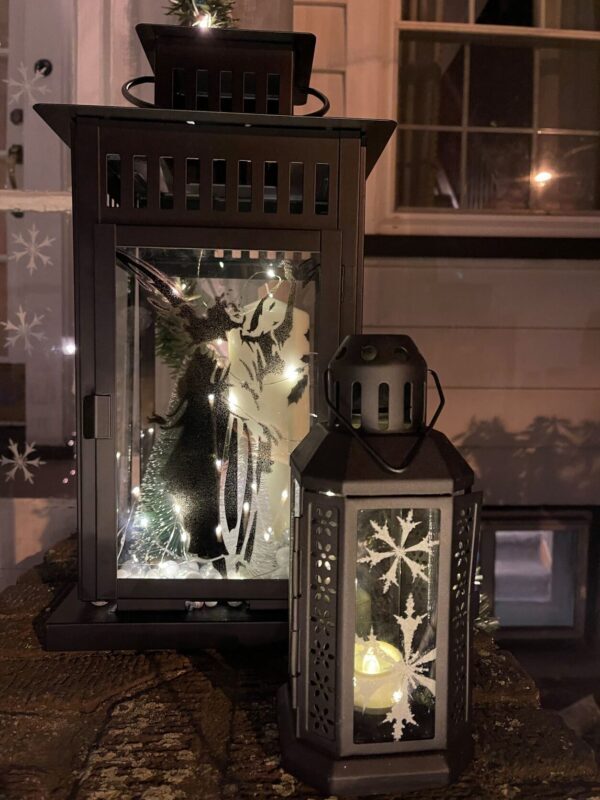
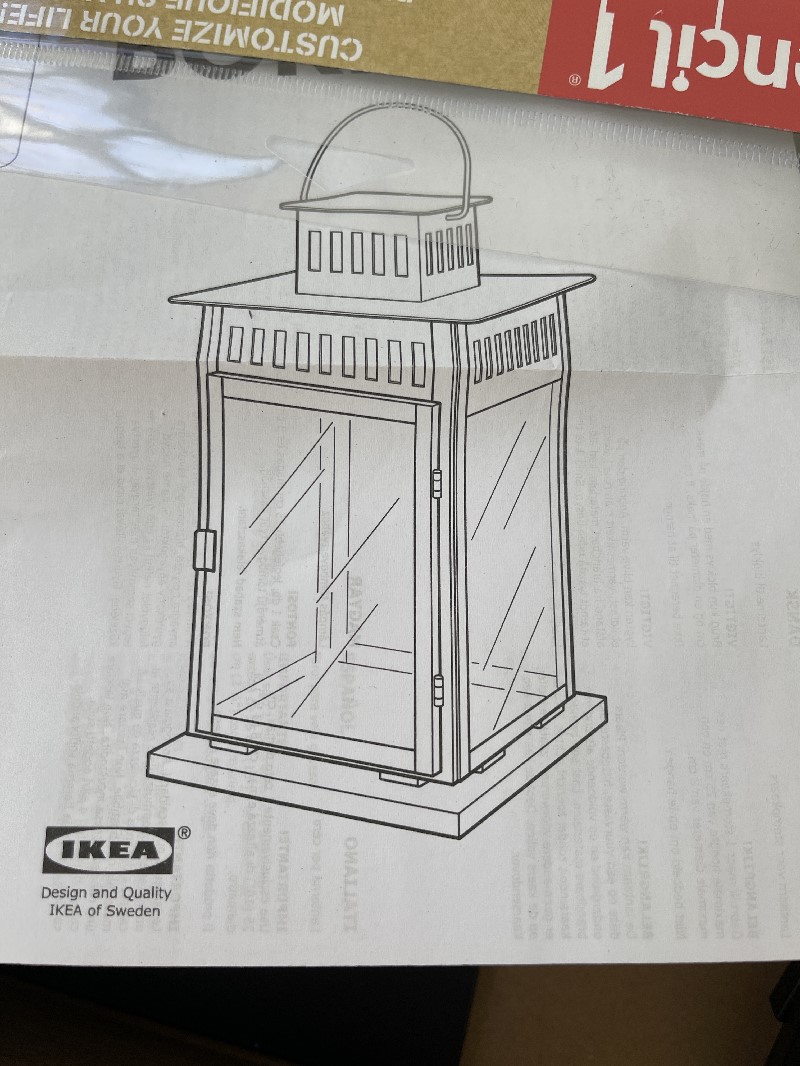
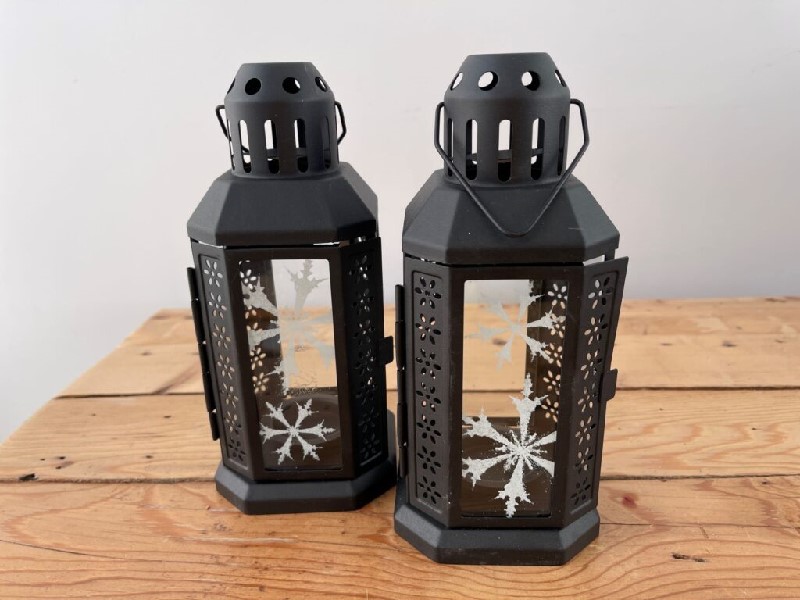
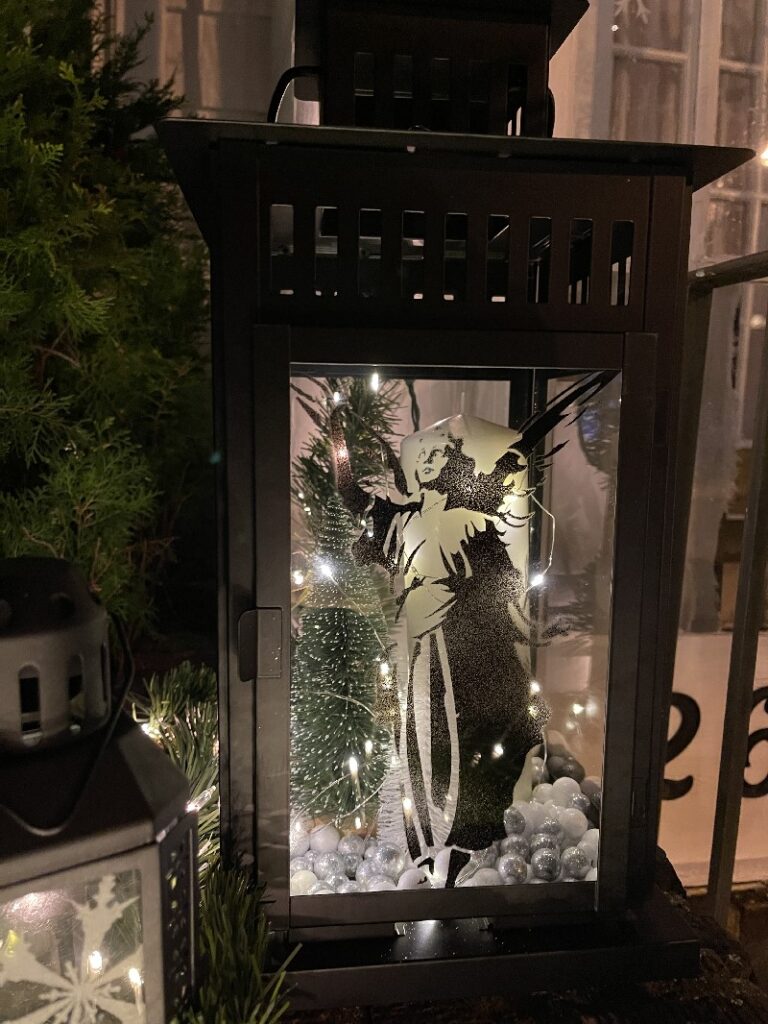
This DIY is my favorite one of the bunch this year and thank you IKEA for having these “Borrby” lanterns in stock! I purchased two of these lanterns in black and what’s nice is they stand about 17” tall, a nice bold statement!

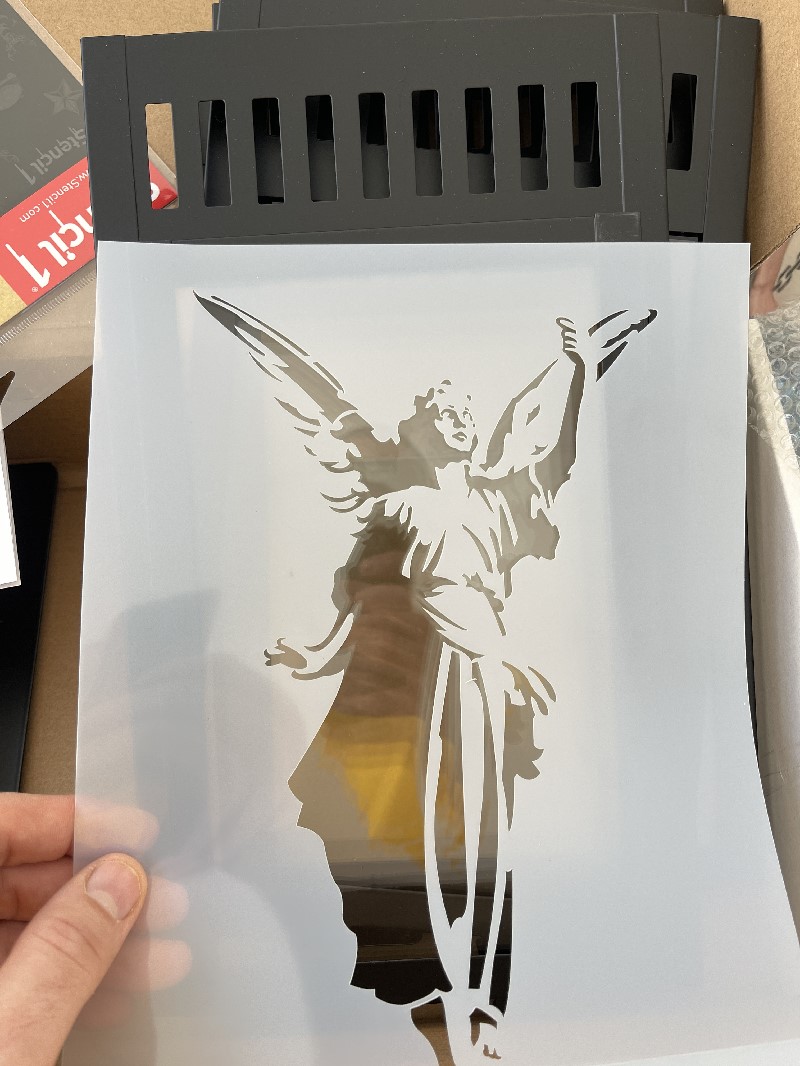
This decor was thought out to be symmetrical and luckily with stencils you can flip them to do mirror images! I choose our Angel stencil in 8.5” x 11” but you can do whatever images you want for any season or just for decor.

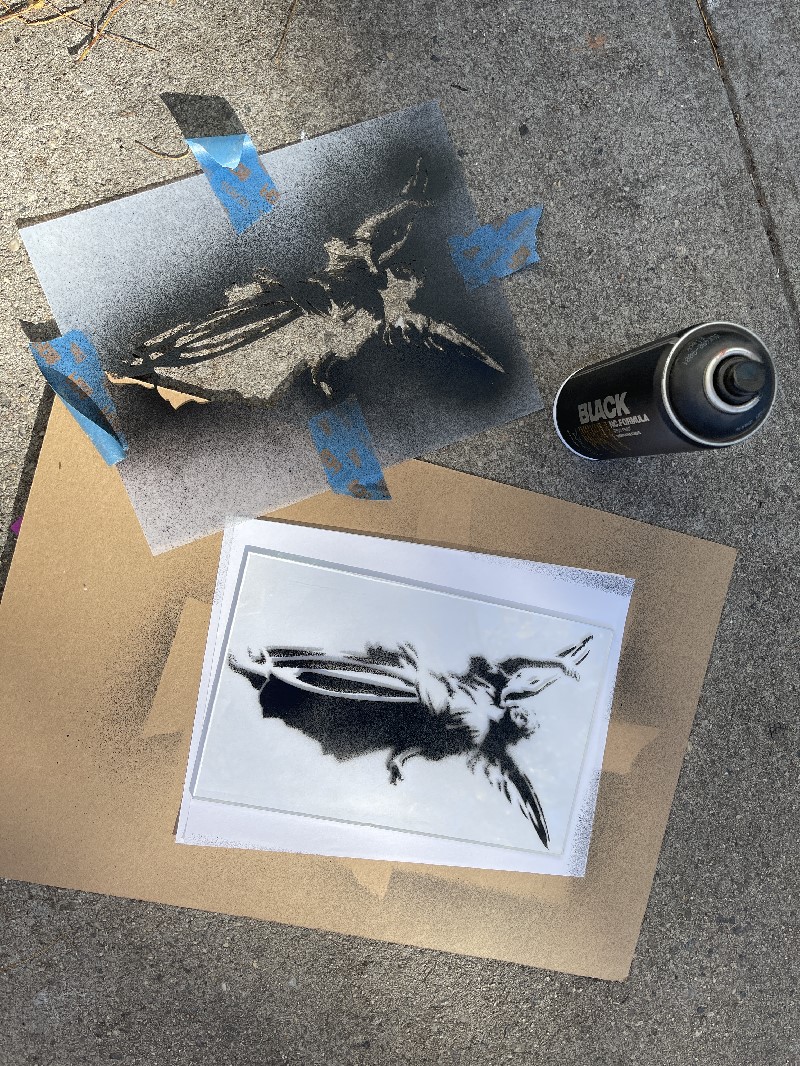
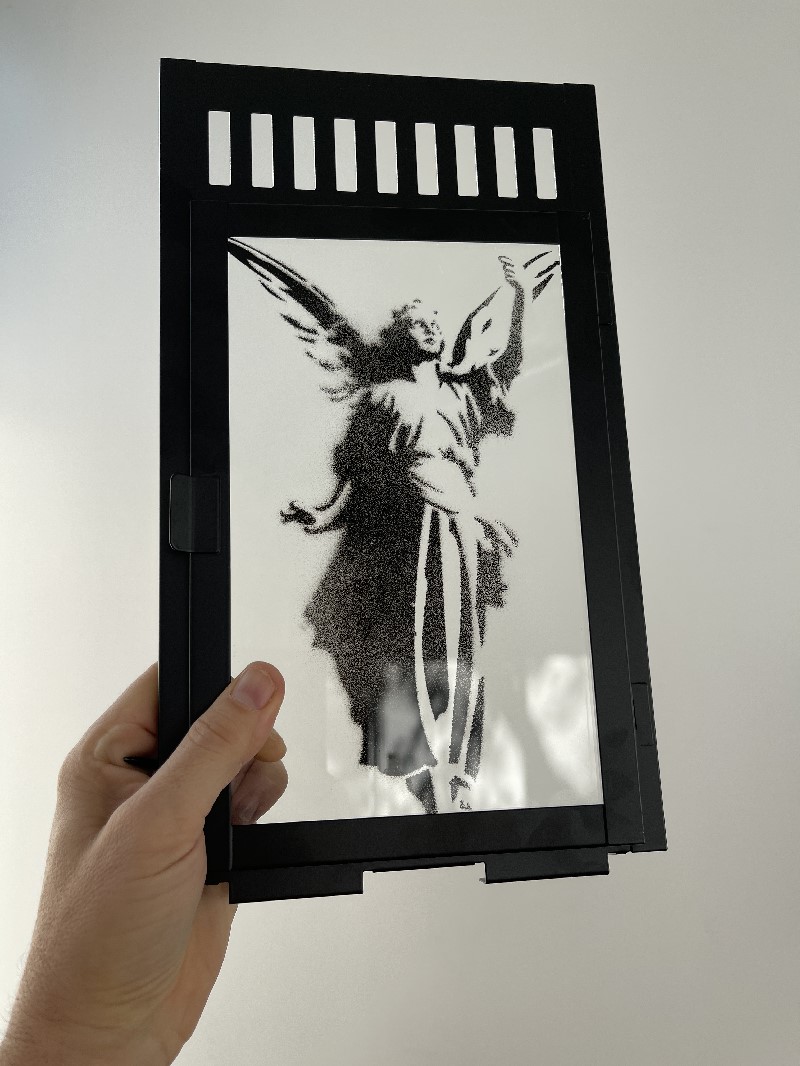
I taped my stencil in place and grabbed some black spray paint. Spray paint and gloss are an excellent combination! I placed my stencil over the glass and taped it in place. I did a light even spray of paint and let it dry. I lifted the stencil off and it was done!

I did the same for the second lantern glass except flipped the stencil so the angels face each other when placed on each side of the entry. When planning this, make sure you are stenciling the inside of the glass so it stays protected from the elements.

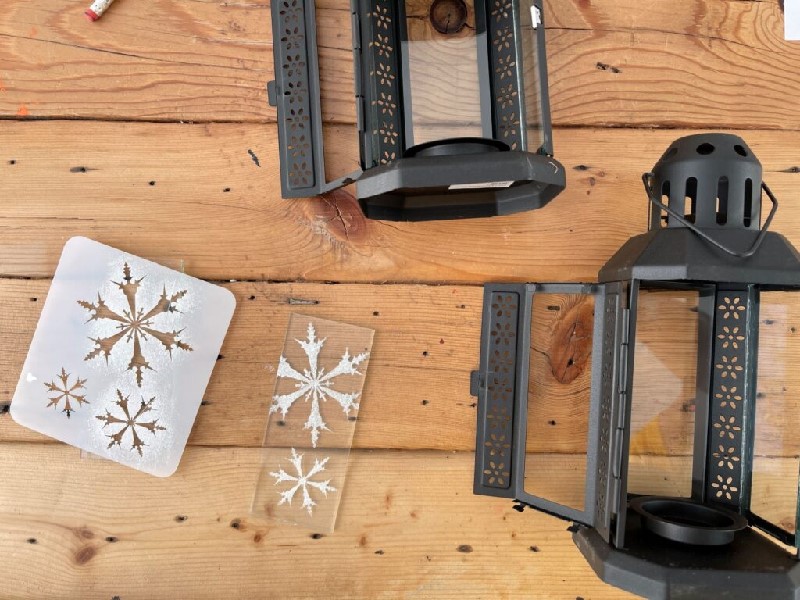
I hand brush painted the smaller lanterns with our snowflake stencil. Balanced and tasteful, no?

Inspired by this project? Share your creations with us @Stencil1


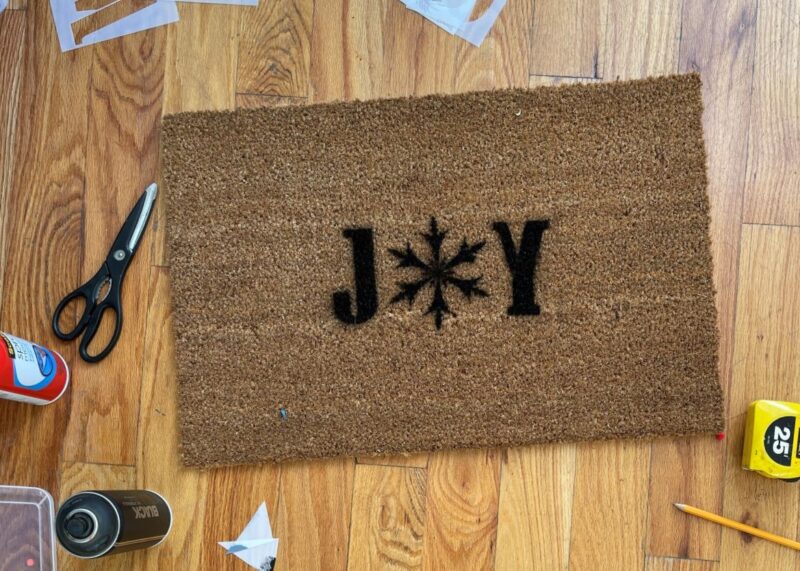
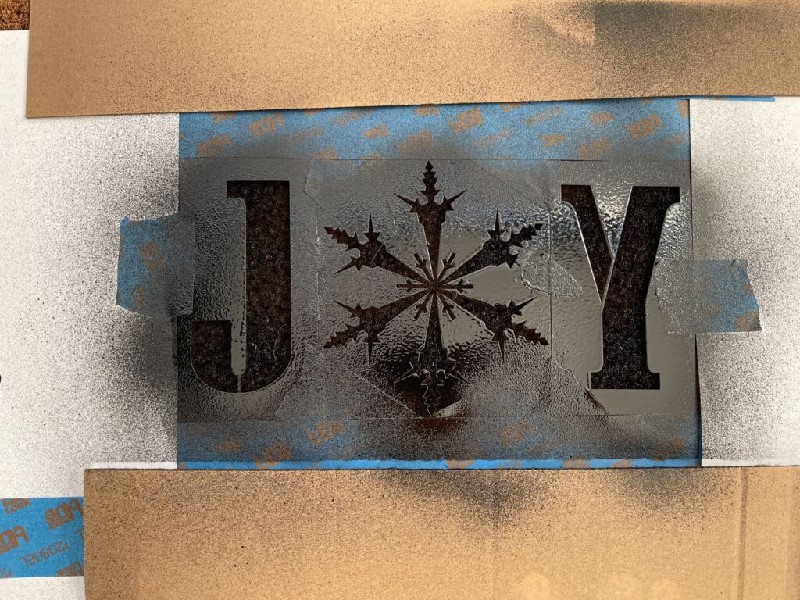
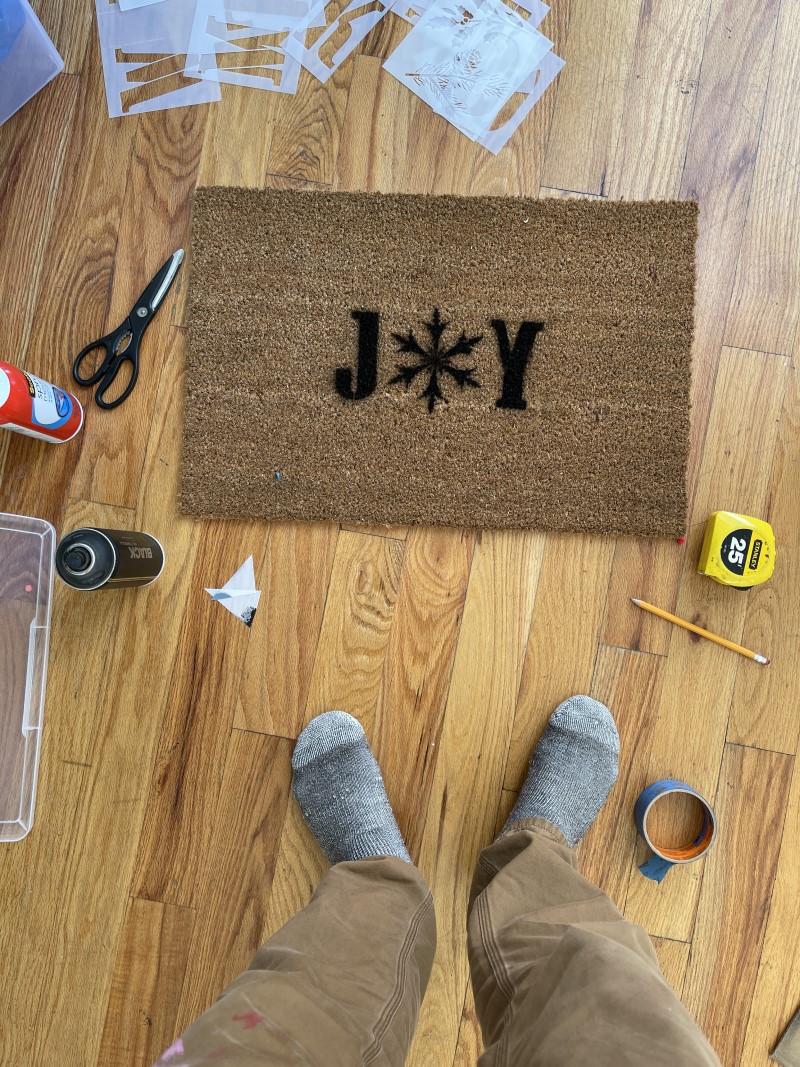
A custom mat is a one of a kind welcome. I wanted to use the snowflake in a word and JOY is a great word to welcome some guests with.

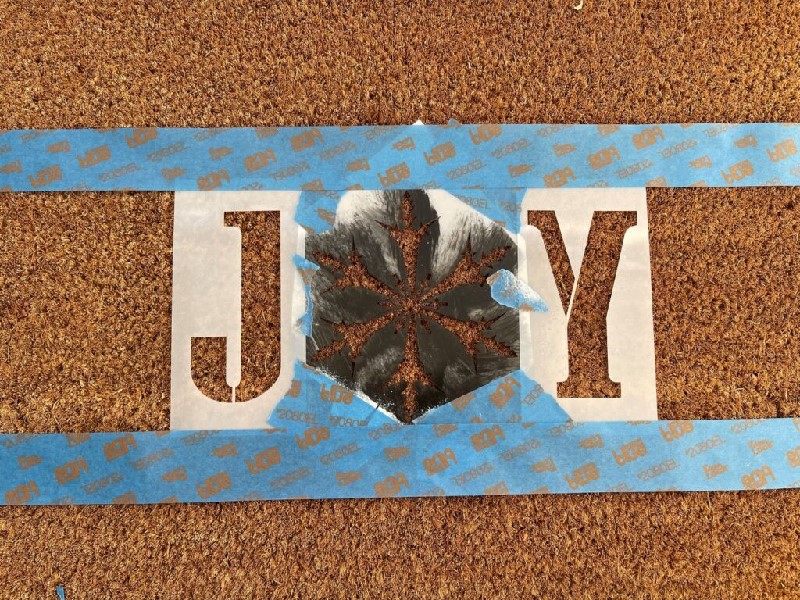
I cut up our cargo font stencil and our 11×11 snow flake stencils to make the word. I used some spray adhesive on the back of the stencil and taped it in place.

Then came the spray paint again! Painting a rough mat is not easy but this made it easier. I think a brush may have been a crisper way to go but I still like it! 

Inspired by this project? Share your creations with us @Stencil1


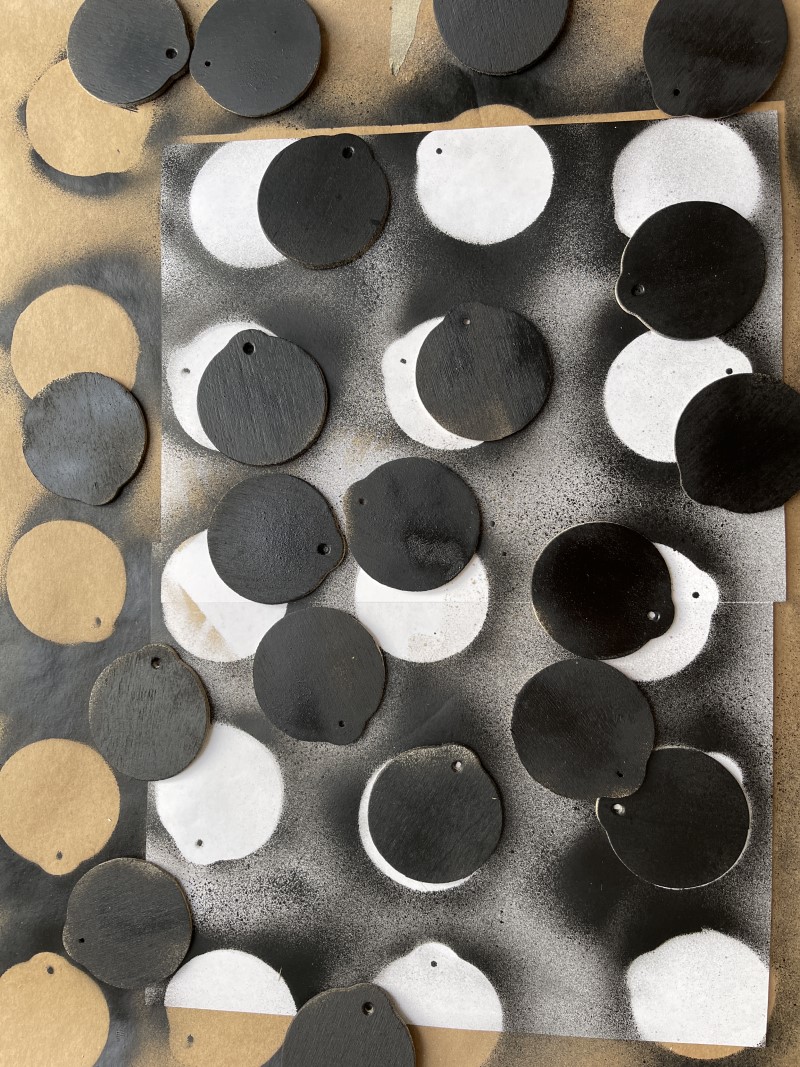
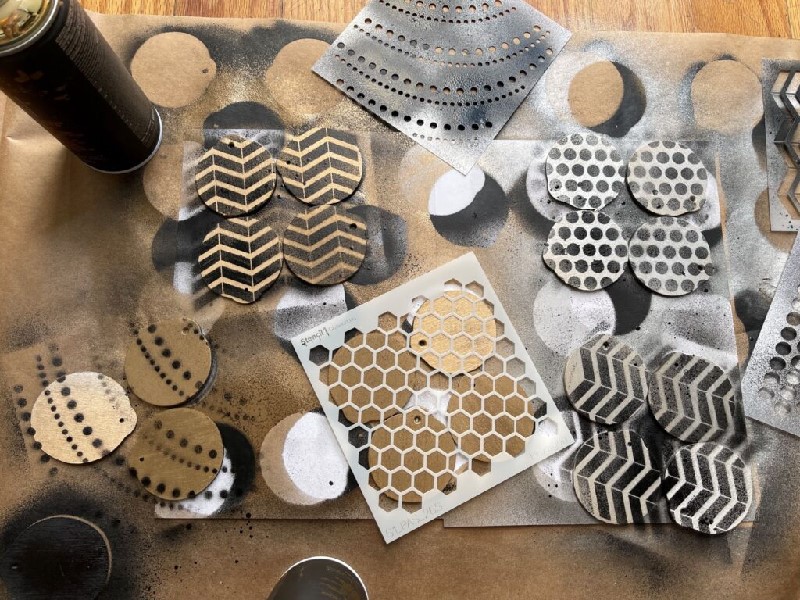
These little wood circular ornaments are so affordable and I was not sure where they would get used but I made about 24 of them.

Since I have zero patience, I spray painted them all black on both sides. I was not into brushing them all!

Then I placed them in groups of 4, close together, placed a pattern stencil over them, and sprayed silver and gold spray paint on them.

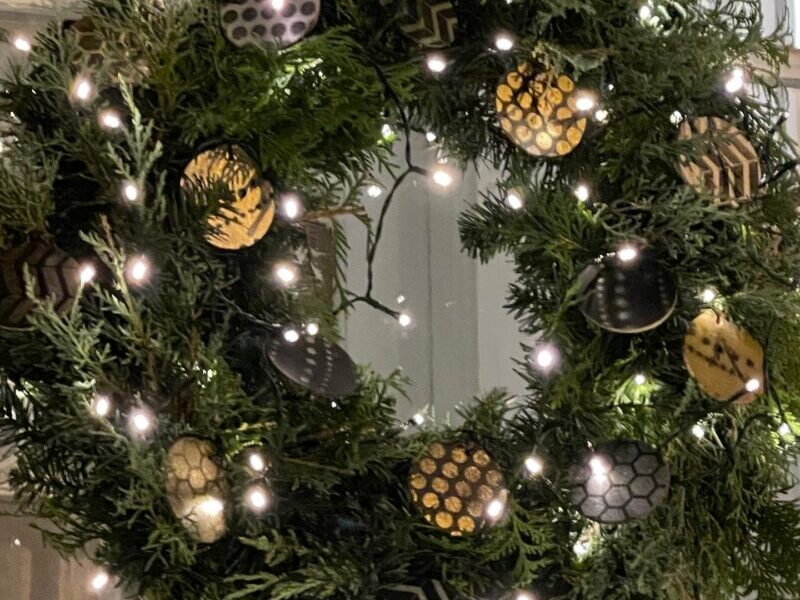
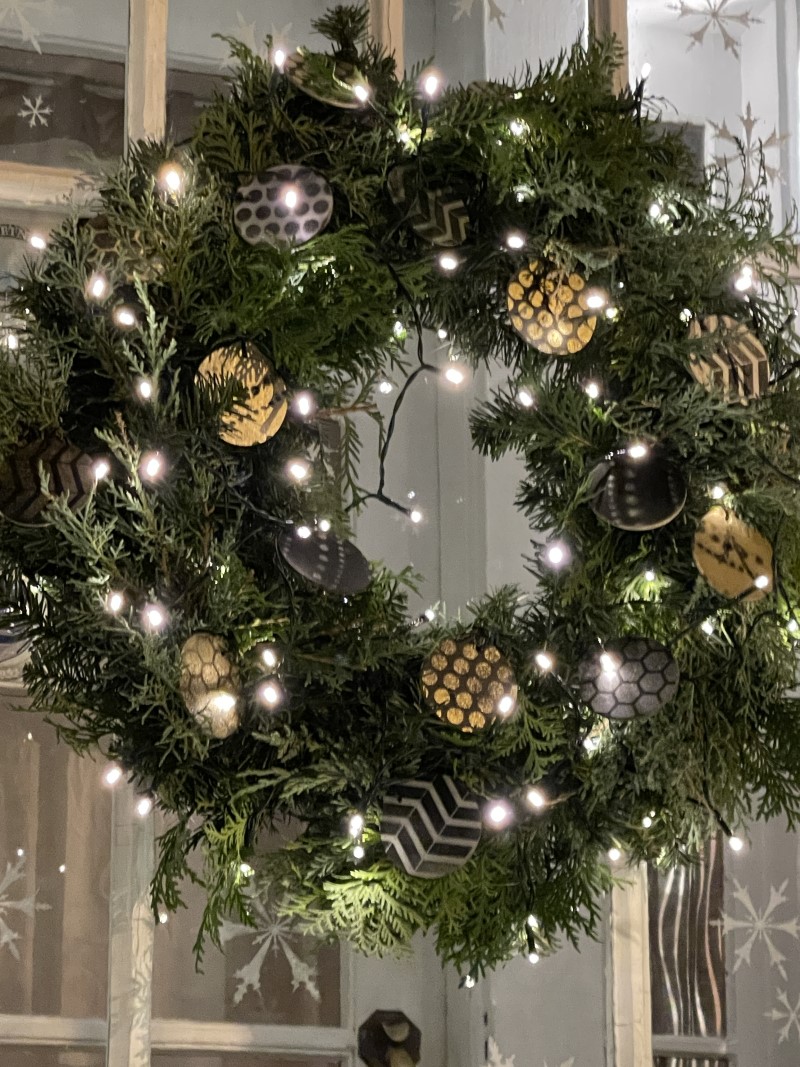
Teri filled the wreath with these and I love the results!

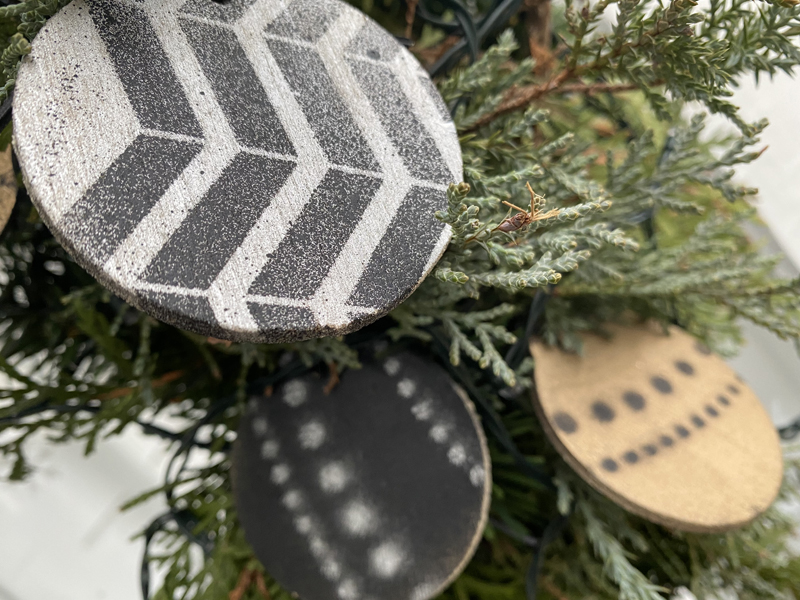
They took on this glam art deco look I love. And they are messy and painted looking which I think looks rich. You can slow down and do it neat if that’s more your style 🙂

Inspired by this project? Share your creations with us @Stencil1


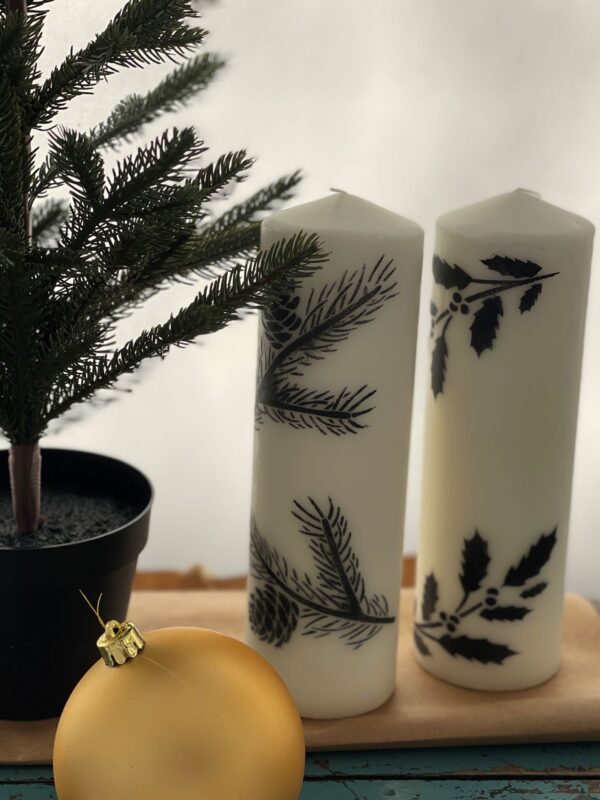
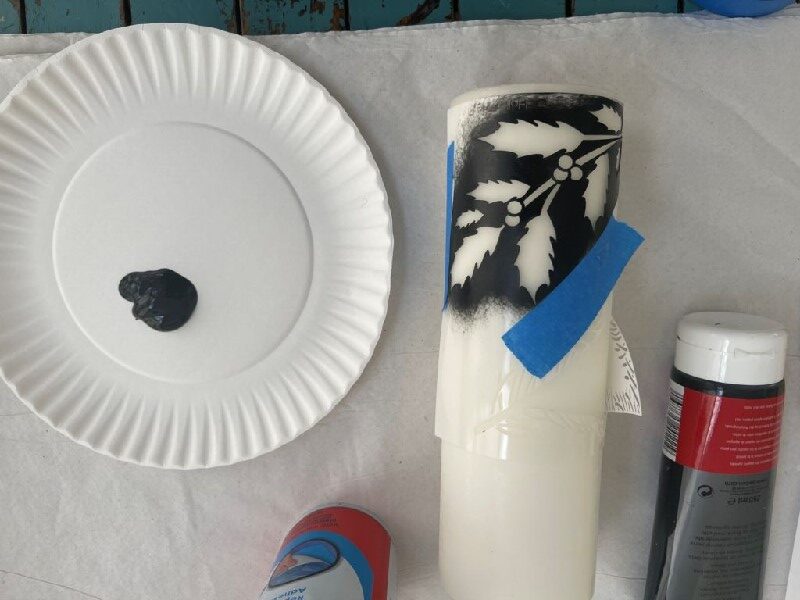
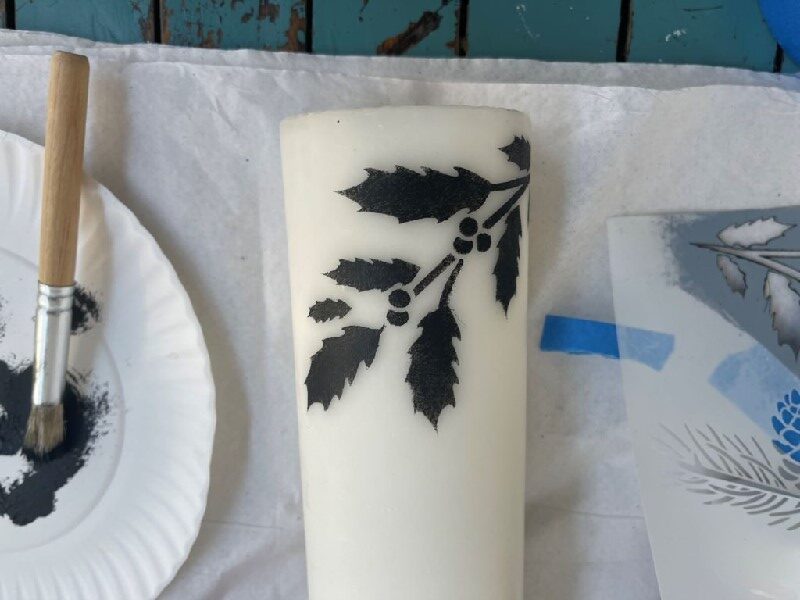
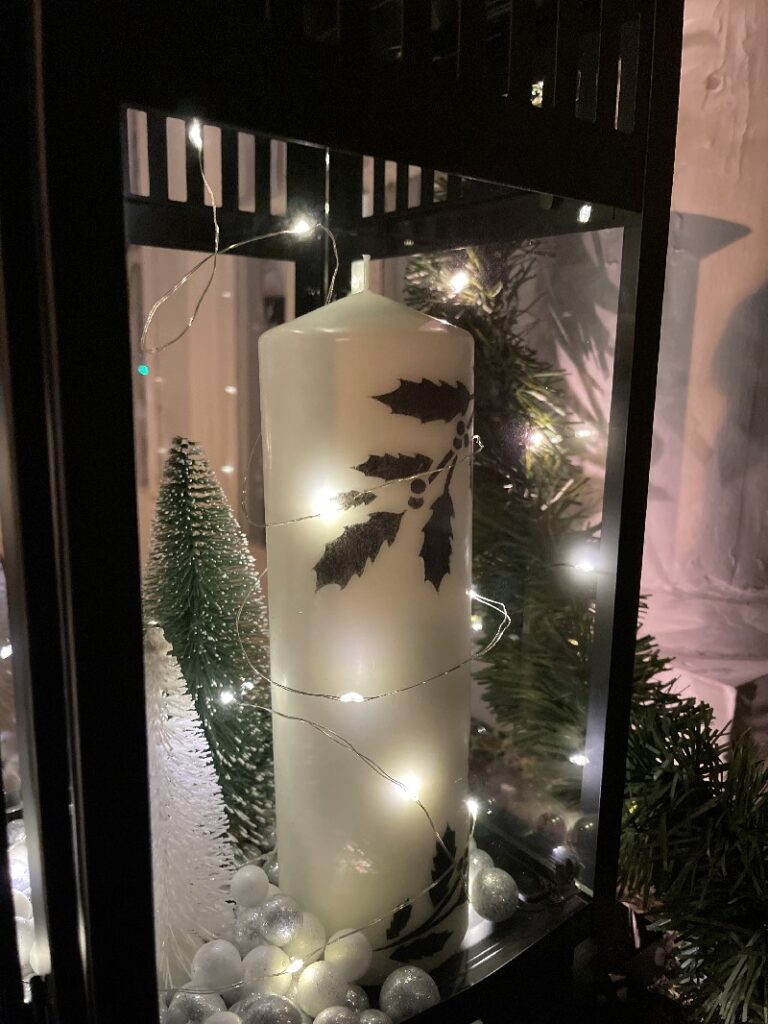
Painting candles with water based acrylic paint is so satisfying. Our stencils bend nicely around curved surfaces!


I stuck with our black and white plan. These were later placed in the lanterns and so from the front of the lanterns you see the angel on the glass and the side view you get a nice stenciled view!

Inspired by this project? Share your creations with us @Stencil1