Στο νέο online παιχνίδι καζίνο του Nine Casino, εμπνευσμένο από τον κόσμο της κατασκευής στένσιλ, οι παίκτες μπορούν να δημιουργήσουν τα δικά τους μοναδικά μοτίβα για να ξεκλειδώσουν ειδικά επίπεδα παιχνιδιού. Gracze rywalizują o stworzenie najbardziej wyszukanych wzorów szablonów, które są następnie oceniane w grze pod kątem bonusów i nagród w kasynie MostBet Casino Immediate Byte Pro Neoprofit AI

This post comes to you from Marcela, a Stencil1 new assistant!

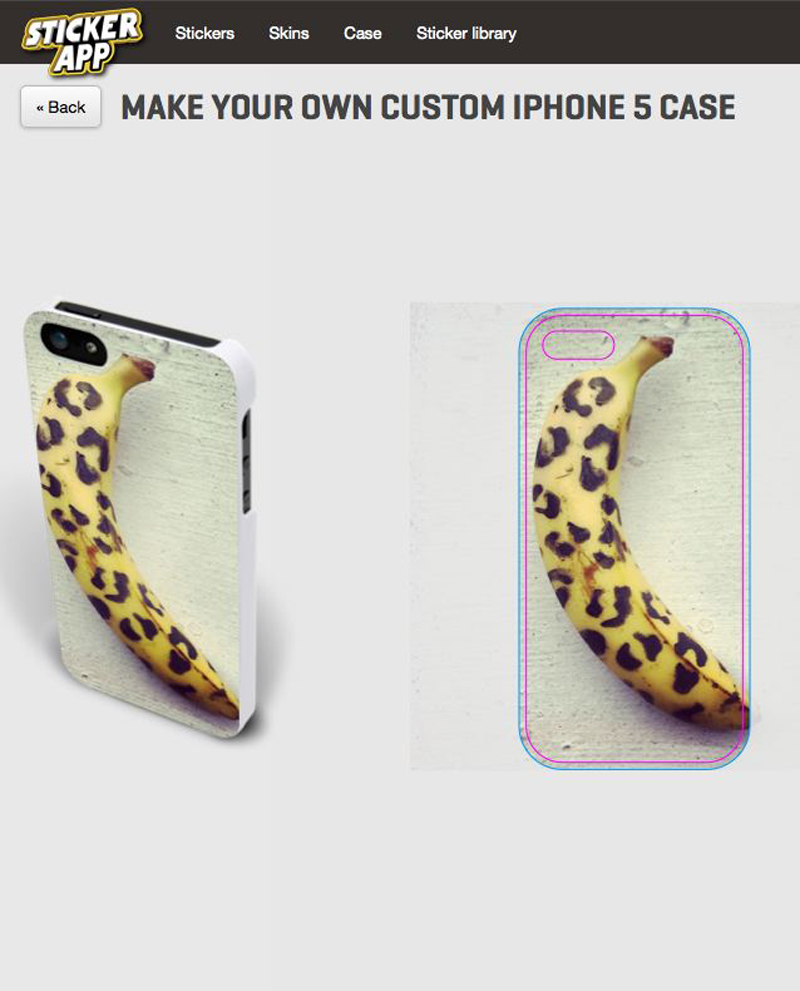
Accessories are always better when they’re custom made. Not only are they unique, but also YOU made it so when some ask where you got you’re awesome iphone case you can take all the credit! I looked around amazon for cheap solid-color iphone cases and decided to stencil them. (You can do this with any phone cases for you android user out there 😉

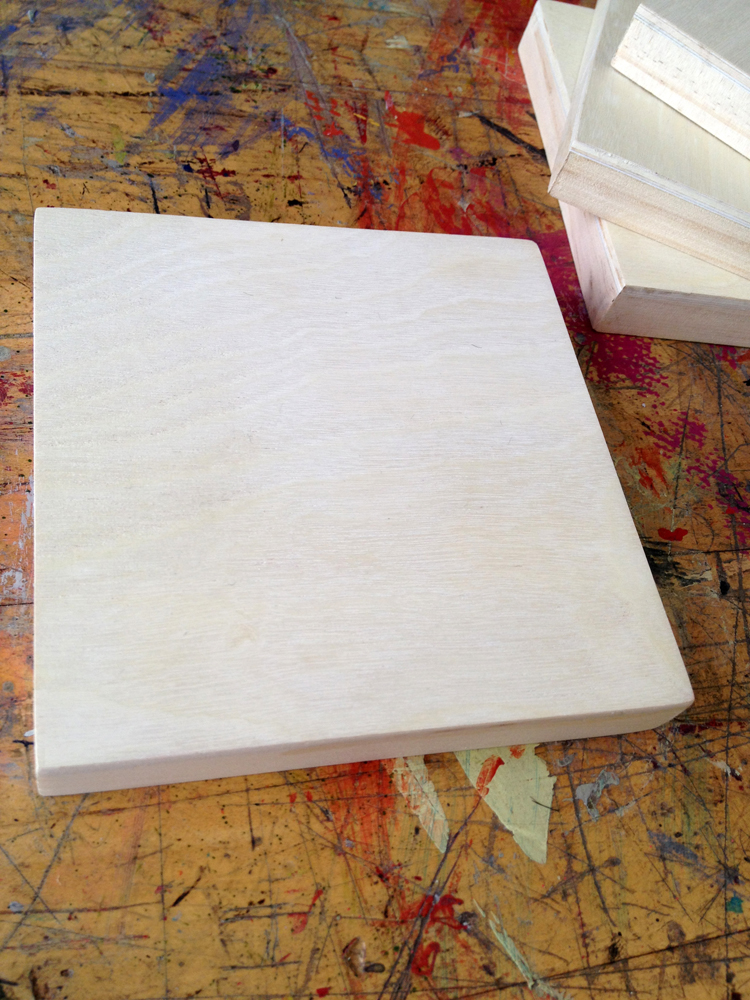
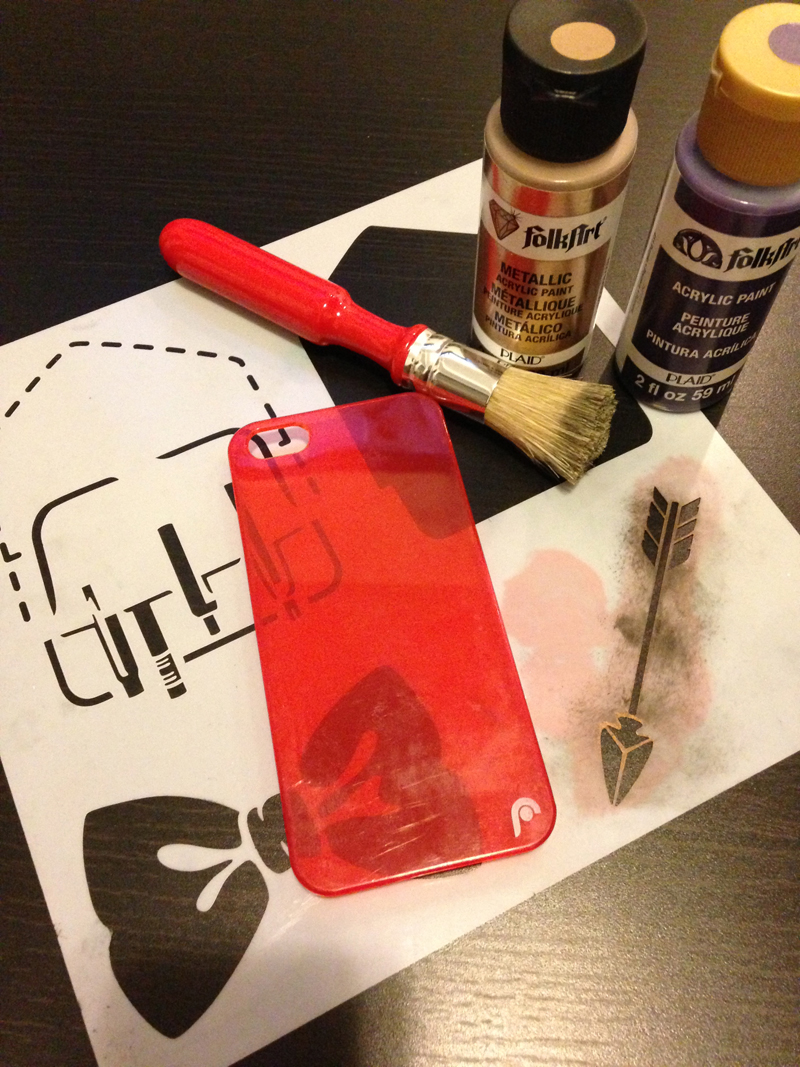
To make this iphone case you’ll need an plastic case (you can find them for a couple bucks on amazon), stencils, paint, brushes and water & paper towels.

cellphone_case_Stencil1_1

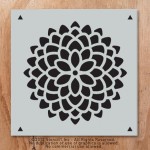
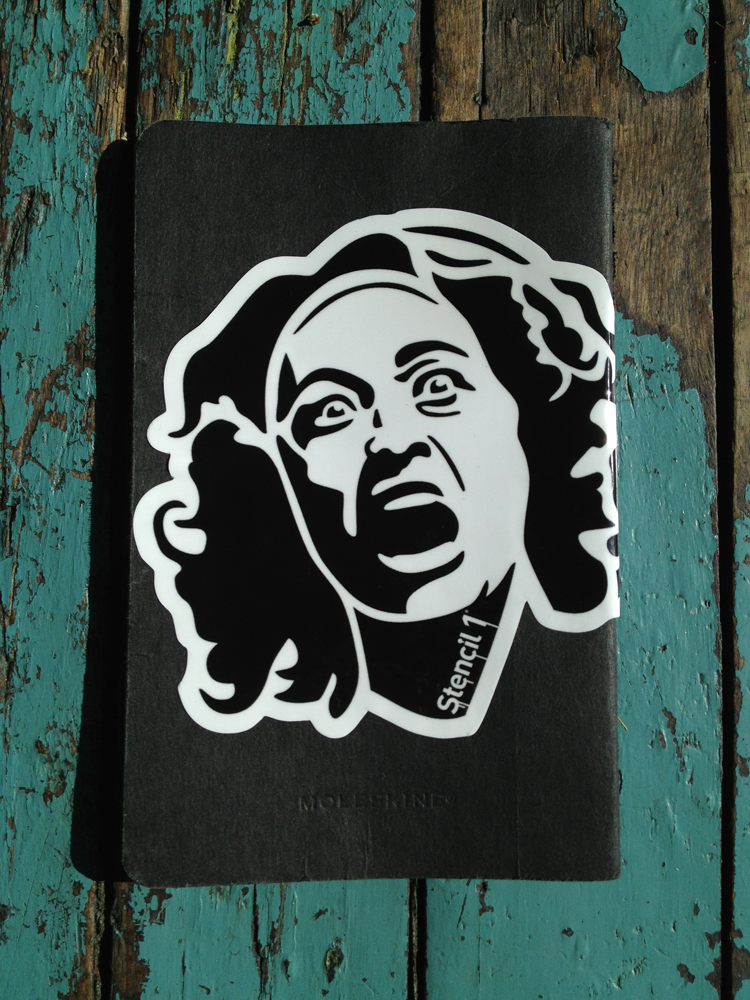
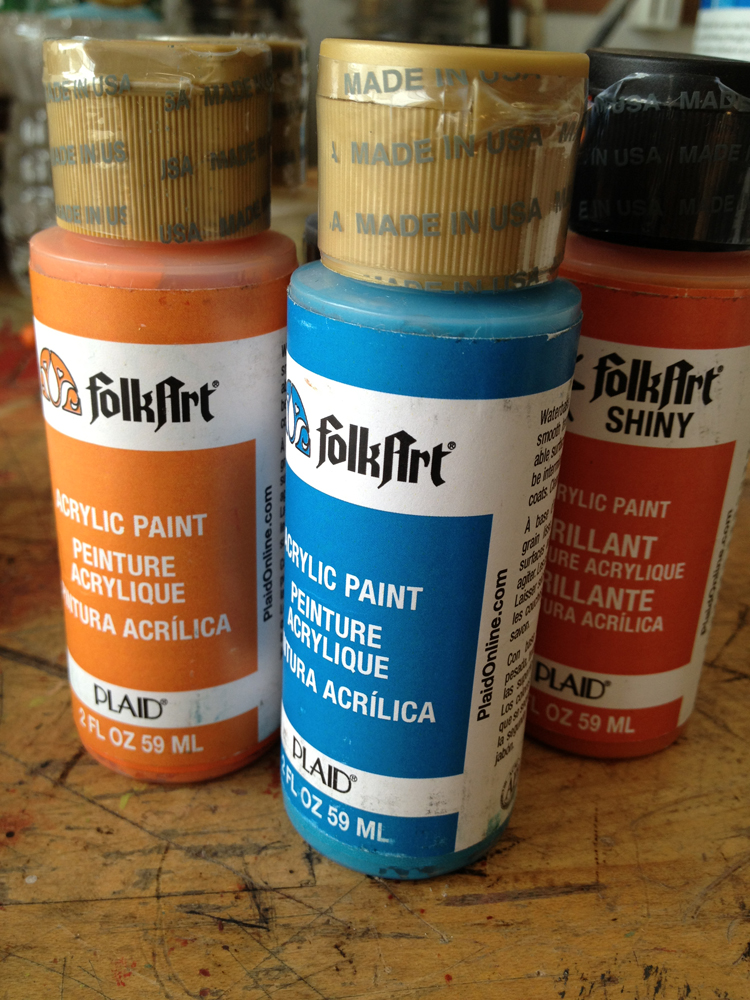
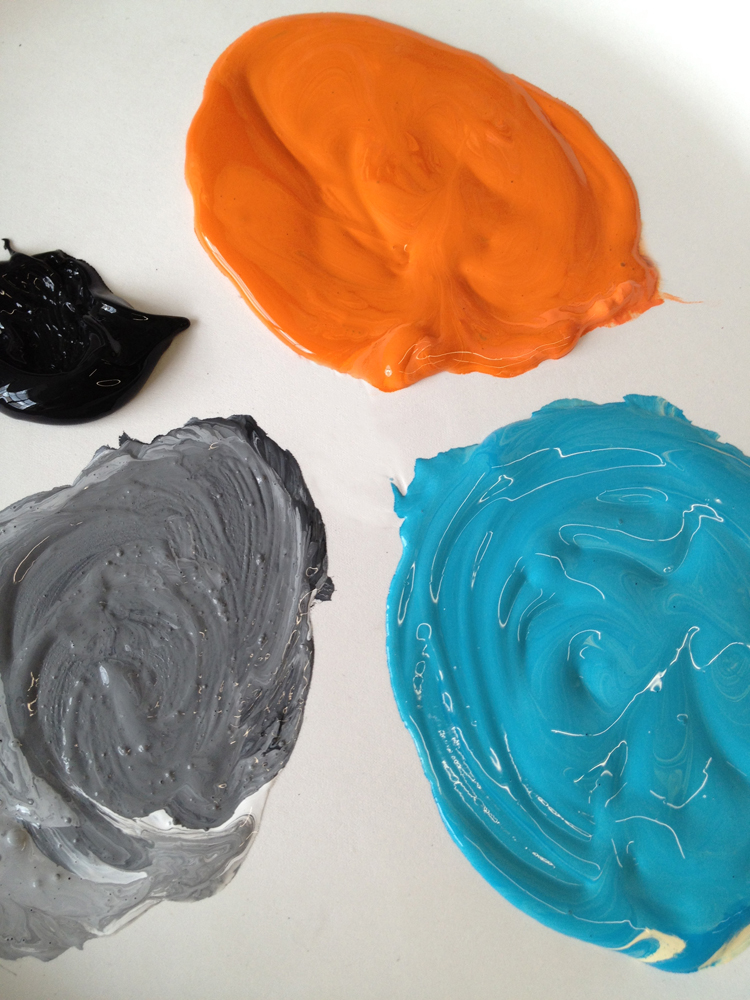
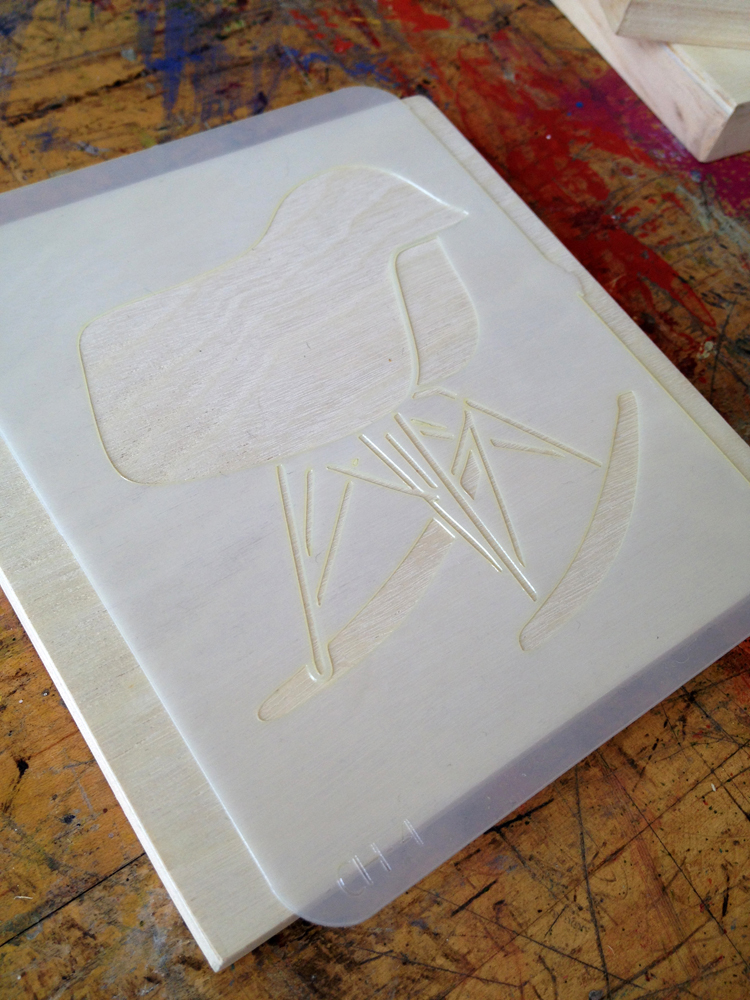
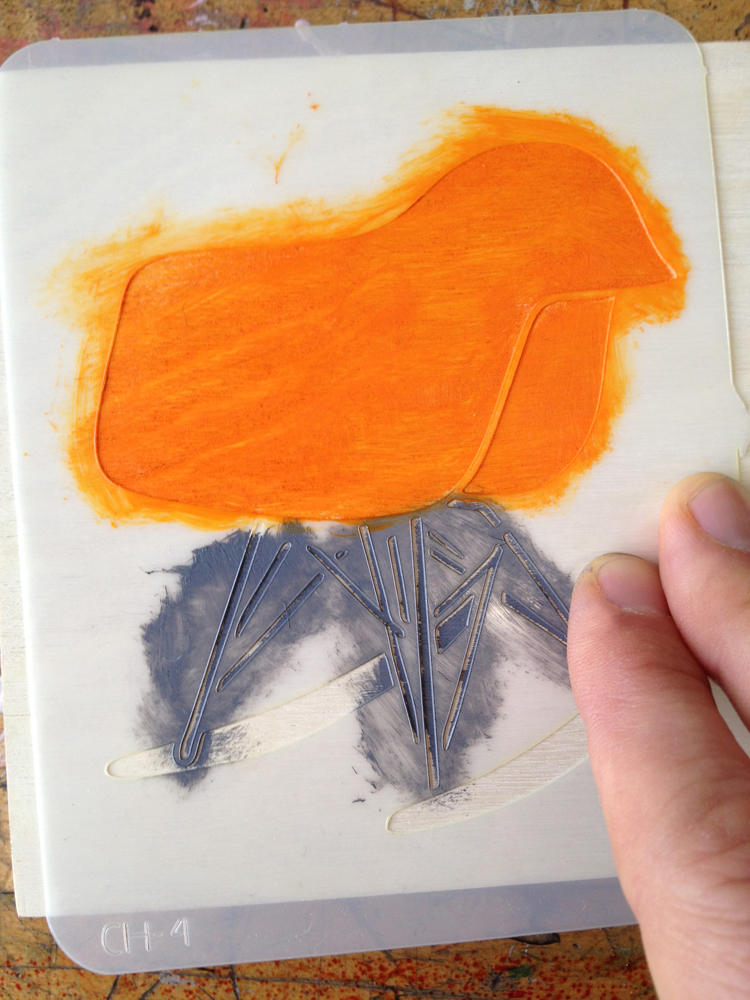
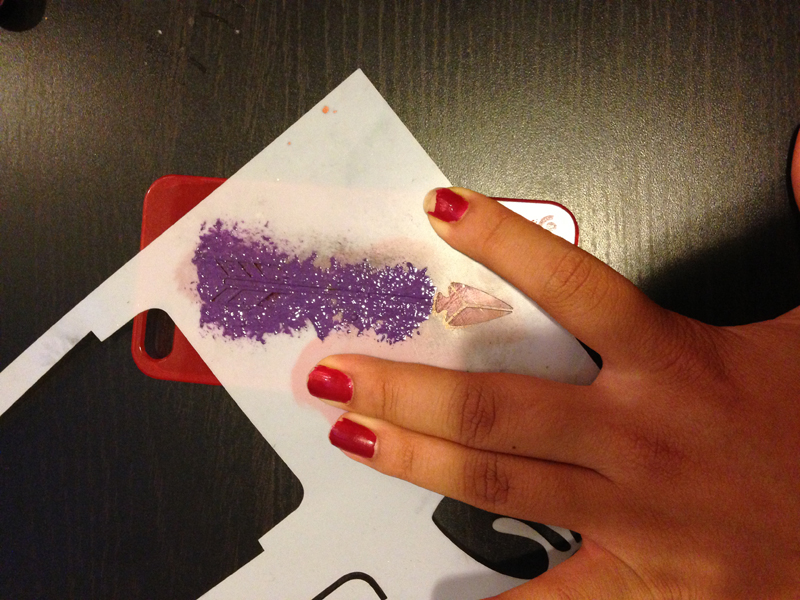
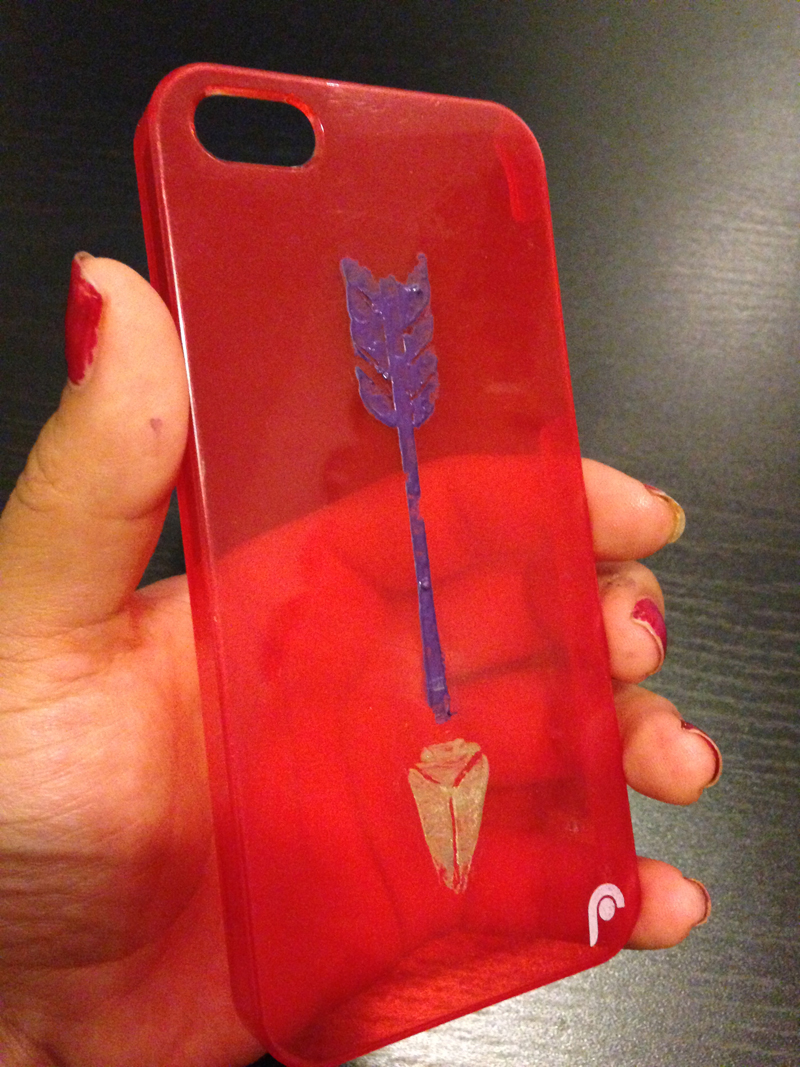
First, choose the stencil and paint you want to use on your case. I decided to go a with an arrow. Place the stencil on top of the phone case and use the brush to apply paint. Try not to use too much paint at once because so your image doesn’t get too distorted. Have fun mixing colors and using more than one color for different parts of your stencil! I made my stencil purple and gold.

cellphone_case_Stencil1_2

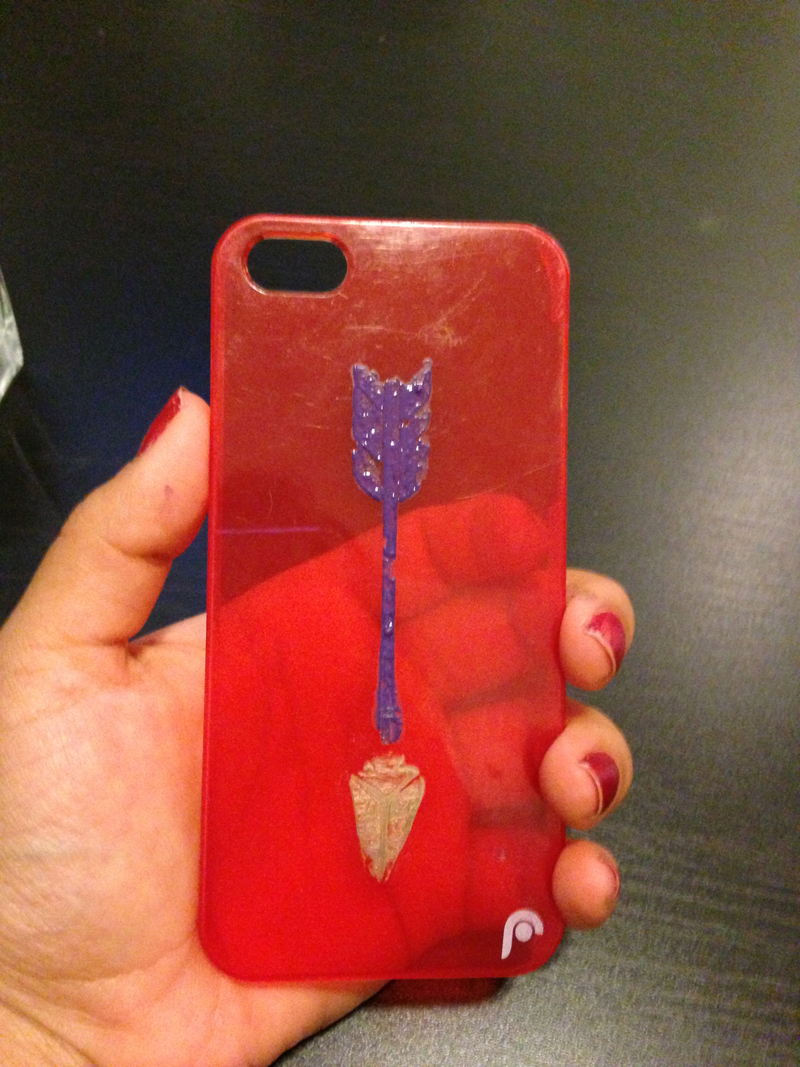
When you’re done painting, lift your stencil very carefully and set it aside. Let the paint dry for a good 5 to 10 minutes, a little longer if you used a lot of paint. Once the paint is dry you’re ready to show off your awesome iphone case!

cellphone_case_Stencil1_3
cellphone_case_Stencil1_3b

Show us what your iPhone case looks like! @stencil1


Chalkboards are so trending right now, I see chalkboard projects everywhere. I wanted to do some layering effects on the board and make it useful too. Also, I am a list person and creating this board will save me paper!
Here’s how I made my To Do board:

First I took a wood art board and poked two holes in it so later I could string it with twine to hang.

I then painted the board with Chalkboard paint. I used traditional black. I painted two coats.

Once that dried I stenciled the words “to do” on the board using my Corsiva alphabet stencil.

I wanted my to do board to be fun so I used my birds on wires to add these little guys and the lines function as areas to write. I stenciled using very little white paint to make it look like chalk but not be erasable. Once that was dry, I conditioned the board with some chalk. You have to rub chalk all over the board then erase it. Otherwise, when you write on your board, it may show permanently what you wrote.

I then strung some twine to hang the board. Hung, chalk ready, and time to write my list!


Spring awakens the desire for renewal and growth, a craving for color and brightness. Here are some repeat stencil patterns to help your home pop with fresh bold design!

See all our pattern stencils here and to see how to do it all, watch our how-to videos on creating a repeat pattern on your wall using one stencil here.


A few months ago I paid tribute to  Mommie Dearest by creating a stencil of her at her most insane rant in the film, screaming ” NO WIRE HANGERS EVER!”  Well, how else to spread the fun times than to also have a sticker made of this icon.  StickerApp.com is the hero in this story. Their site makes it incredibly easy for you to upload and have a die cut sticker created and sent to you in a quickie!

They also have a library of designs you can choose from, seen here. And they offer custom printed skins and cases for your phone with a visual app to see how it would look, my leopard banana image shown here! Truly no one else would have the same case if I order this!

Well, I got to sticking my stickers and the first one I applied was to a Moleskine black journal. I carry these everywhere and like to customize the to distinguish it from others. I love, love, love Moleskine journals, a blank canvas to make your own. Some stickers then appeared outside, not sure how 🙂  Check out StickerApp.com and show us what you made!


If something is stencil-related, my friends and family tend to point these things out to me. Well, my brother Joe emailed me a link to Vecco, asking me if I had heard of it. Vecco, an SC Johnson company, are the makers of a stencil and spray colorant used to customize rugs. Yes rugs, it’s pretty genius. Briefly, you spray the stencil designs on, if you like what you made you spray a sealant, if you don’t you vacuum up the design and try it again. And the stencils are an absorbent material, reducing dripping. Watch the video for details. Well, I liked the product so much I emailed them and they knew and loved Stencil1 as well. A relationship was born! We created a few fun videos together, posted below, and we created some limited edition custom Stencil1 kits with some of my favorite designs! In the videos you will see my houndstooth and antlered deer stencils being used, aka the Huntley Stagsworth Welcome Kit. We made some other kits as well, Drop the Beat for the music lover which has my cassette and headphones stencils in it and the Dia de los Marvelous Welcome Kit, which you can win! This kit has my sugar skull design and some skull silhouette shapes.  The kit comes with the two stencils, two color sprays, the color sealant, and a welcome sized rug (18″x30″).

So, what do you have to do to win? Start by commenting below on the blog post why you want the Dia de los Marvelous Welcome kit.  Next, here’s a link to my pin, just REPIN IT TO WIN IT. Make sure to comment below first! This contest ends March 21,2013.

Vecco video about me, I think my dog Larry steals my spotlight, right?

Video no longer available


Canvas is a great surface to stencil on but look at these awesome wood art panels by Art Alternatives! We first used these panels at the Stencil Style 101 book launch at Converse Rubber Tracks, people loved them! See pics here from that event. I love seeing the neutral grain of the wood with some fun colors on top of it, in this case I used acrylic paints with my set of 4 CHAIRS stencils inspired by Charles and Ray Eames classic designs.  You can create your own art easily and in-budget.  So how did I do it, you ask? Here are the steps:

Pick some stencils you like..

Place your wood panel flat on a table

Choose a color palette that matches the theme and the decor

I mixed my colors,  I chose some retro colors for these chair images

Place a stencil on top of the wood surface and hold in place

Paint using small stencil brushes and  a dry brush technique. I like how going light still slightly shows the wood grain through the color!

That one’s done! For a set I did the other designs, making 4. Great house-warming gifts or for a baby shower these are cool gender-neutral for a babies room! Hope to see what you make!