Στο νέο online παιχνίδι καζίνο του Nine Casino, εμπνευσμένο από τον κόσμο της κατασκευής στένσιλ, οι παίκτες μπορούν να δημιουργήσουν τα δικά τους μοναδικά μοτίβα για να ξεκλειδώσουν ειδικά επίπεδα παιχνιδιού. Immediate Byte Pro Neoprofit AI

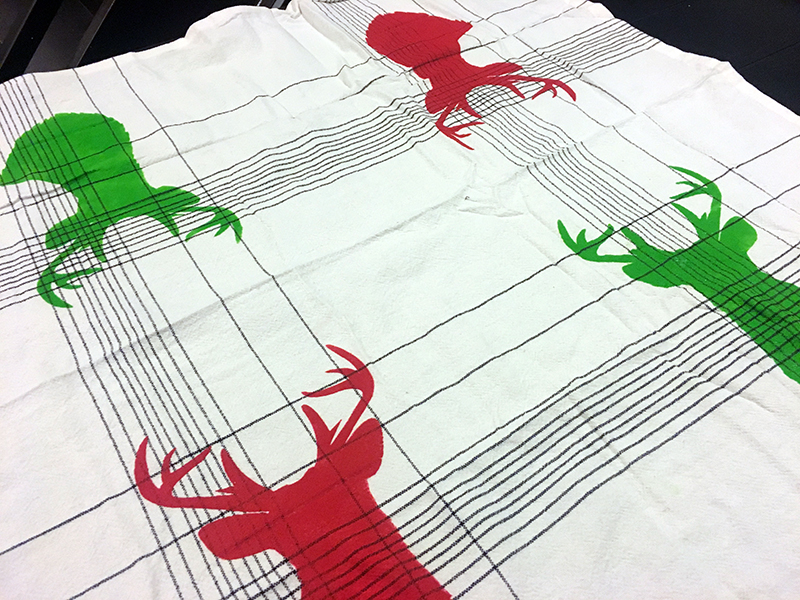
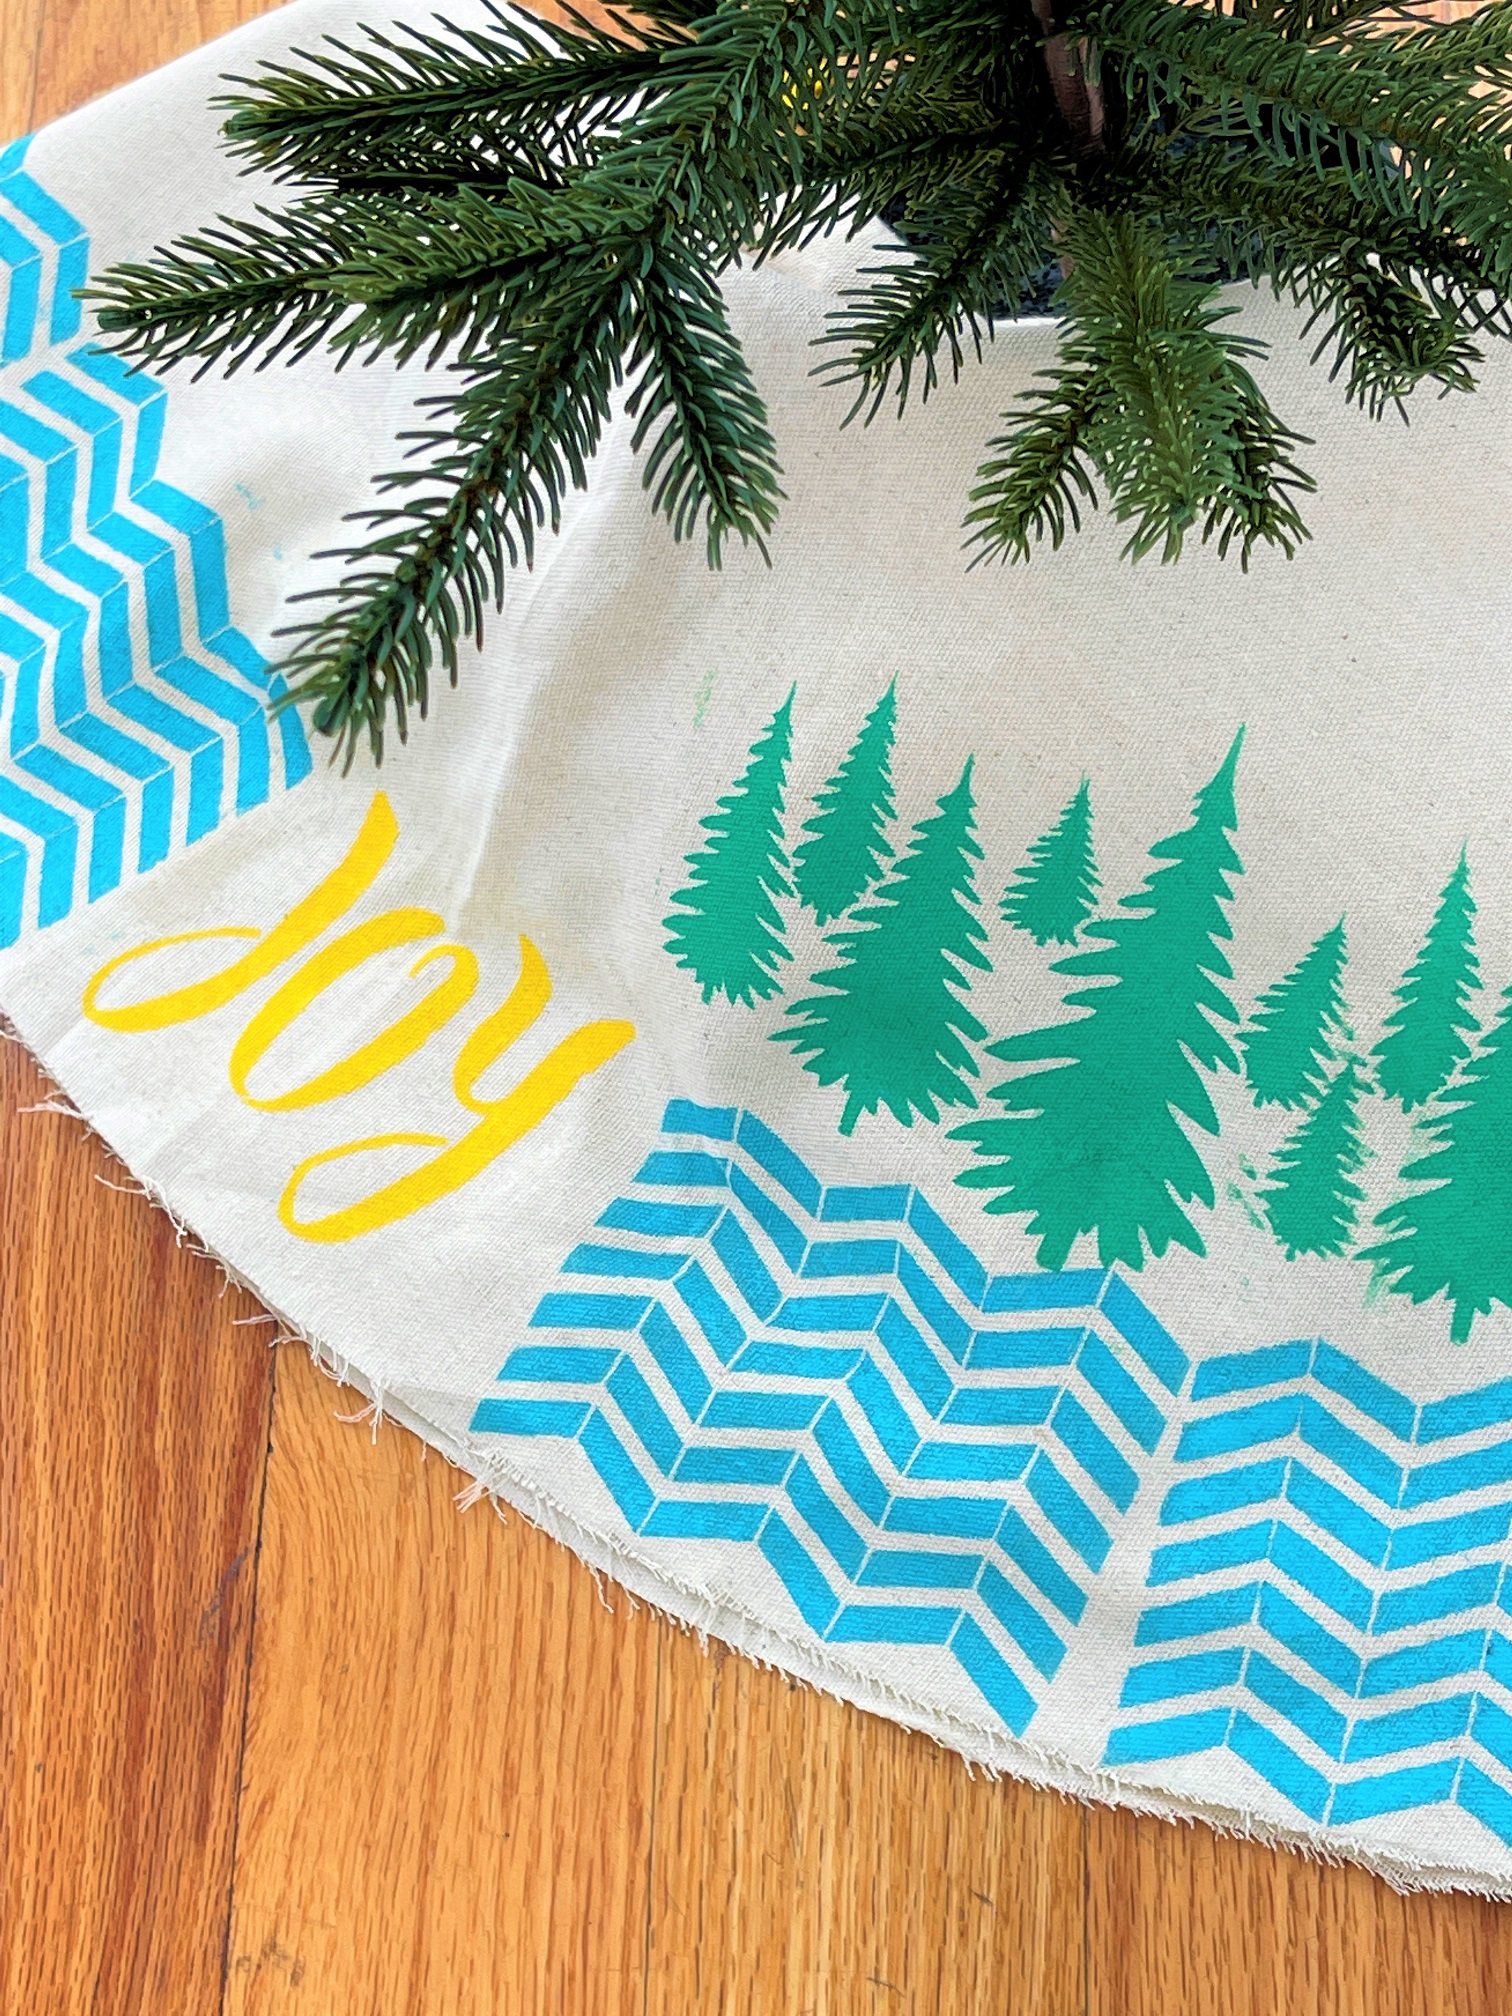
This DIY is great for kids! Let their imagination go wild by letting them stencil a tree skirt! Maybe you have a small tree that they can have for their room? It’s a great handmade touch for the holidays!

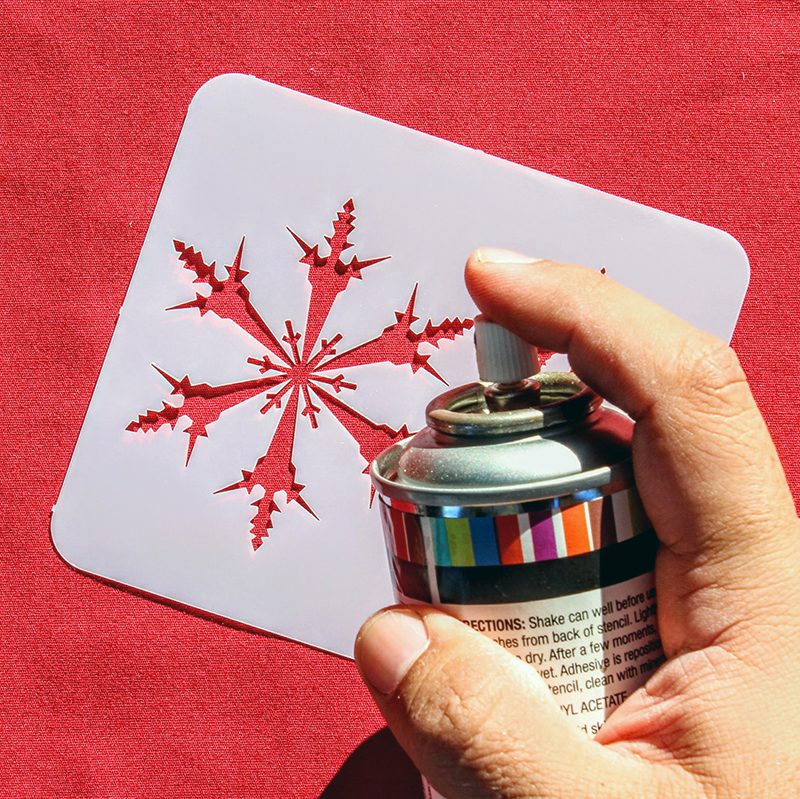
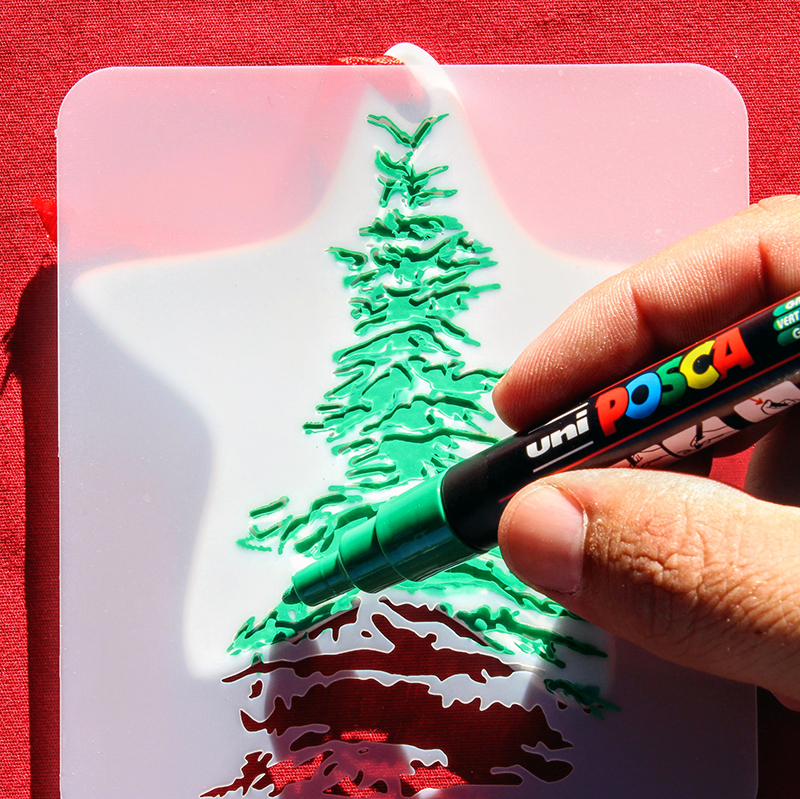
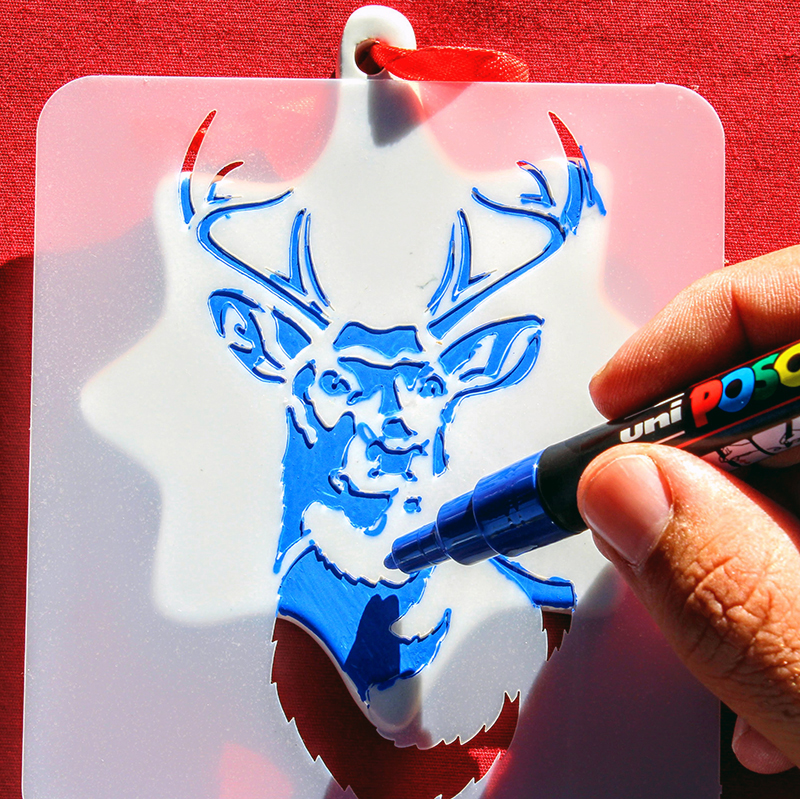
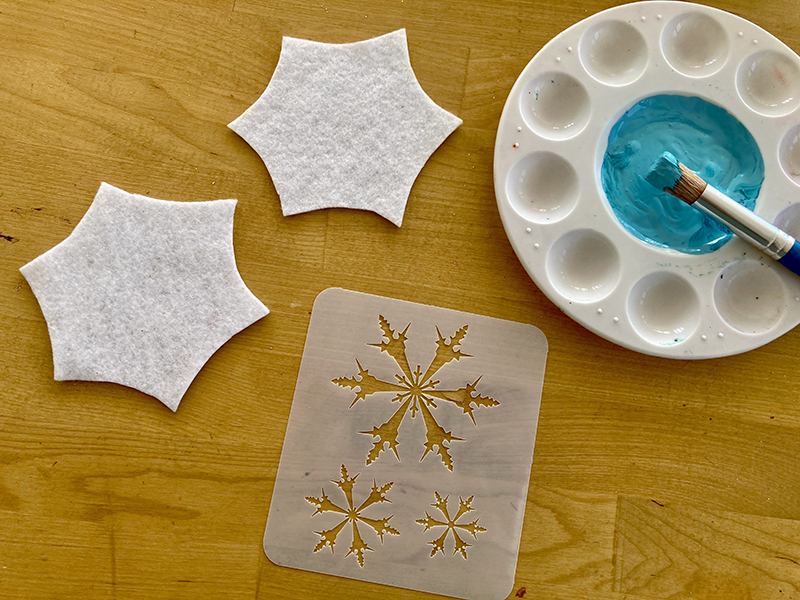
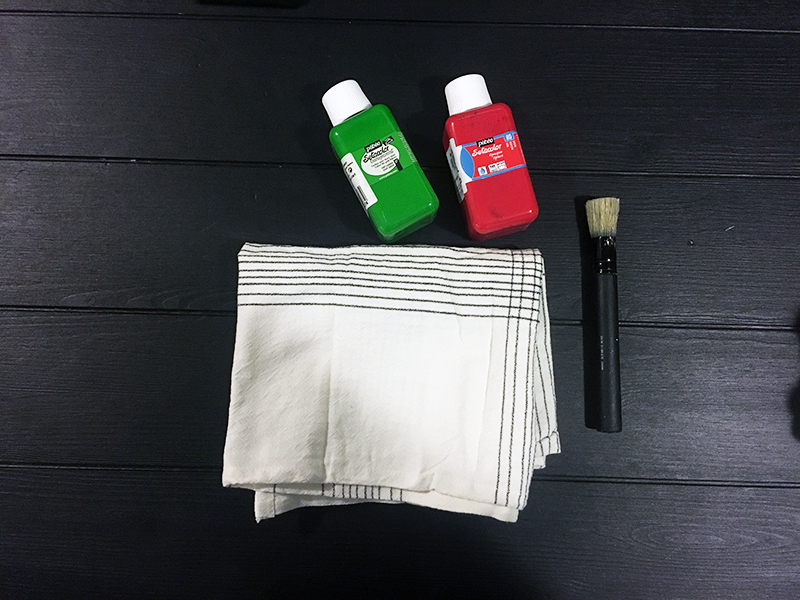
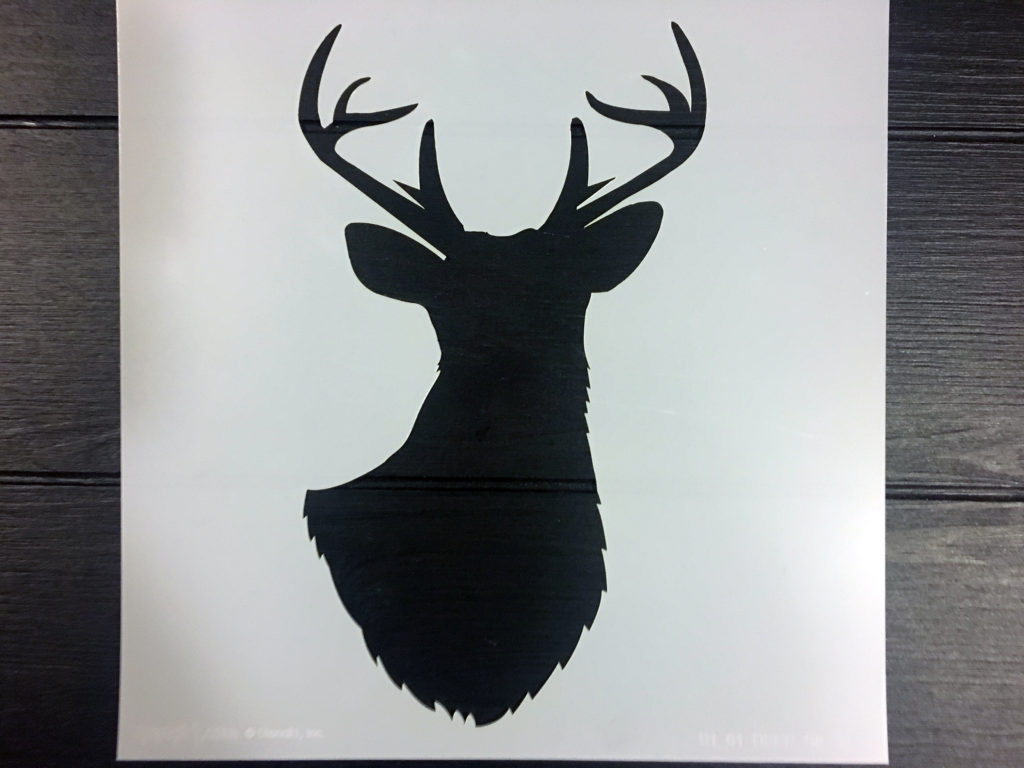
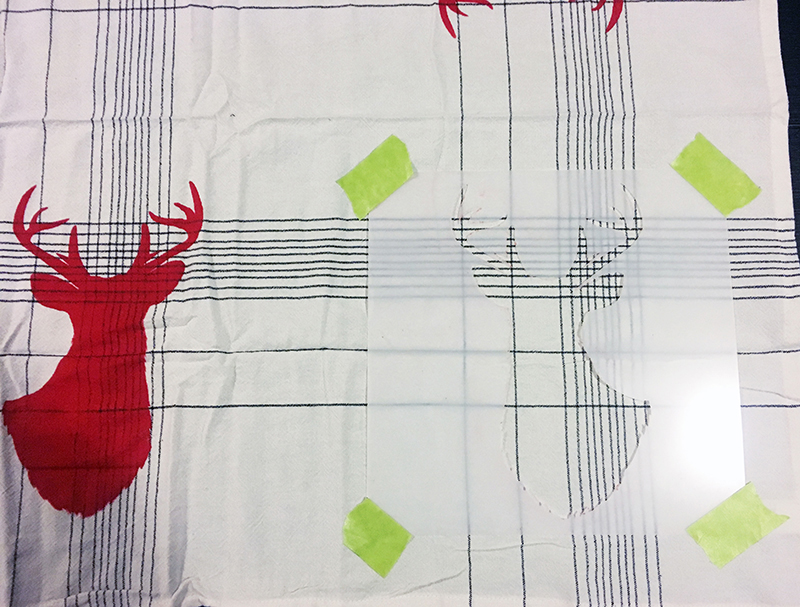
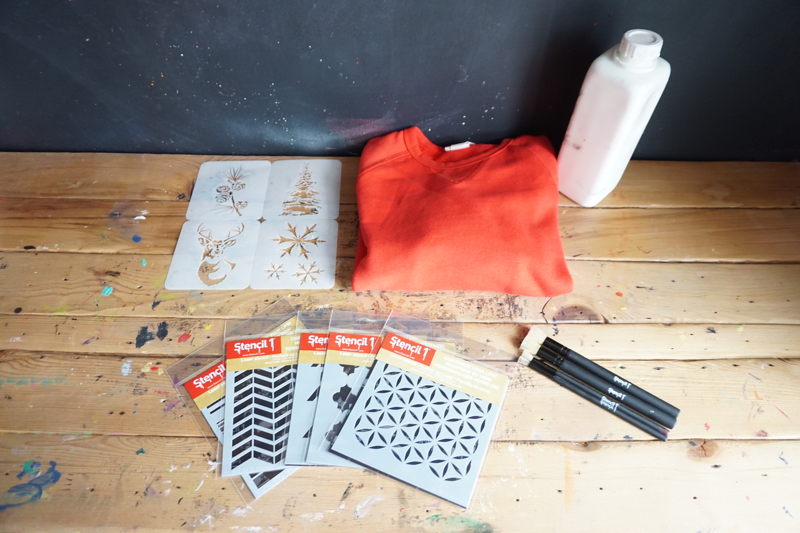
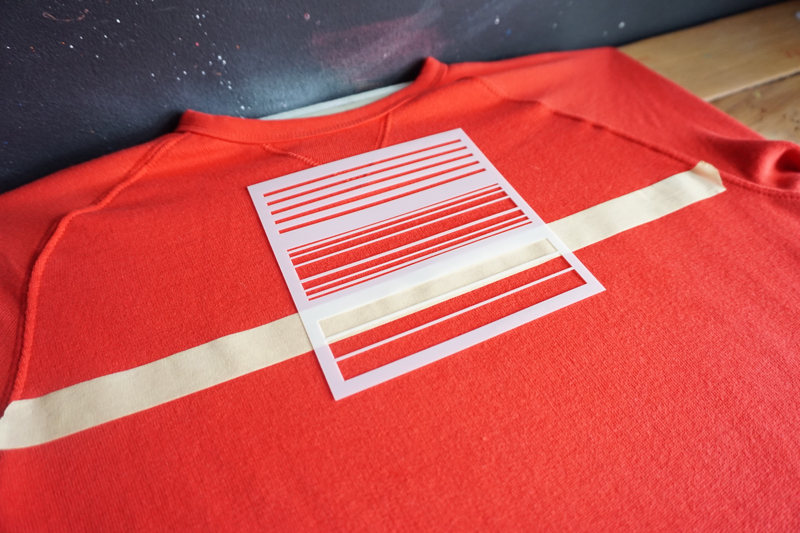
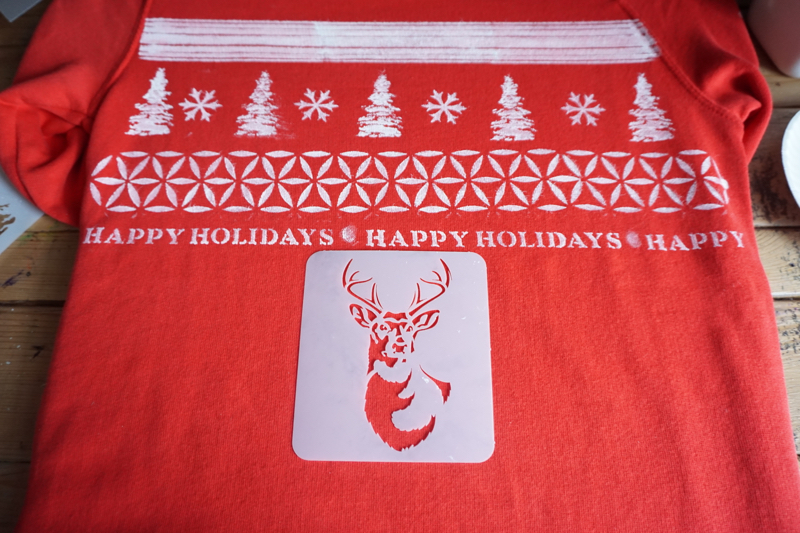
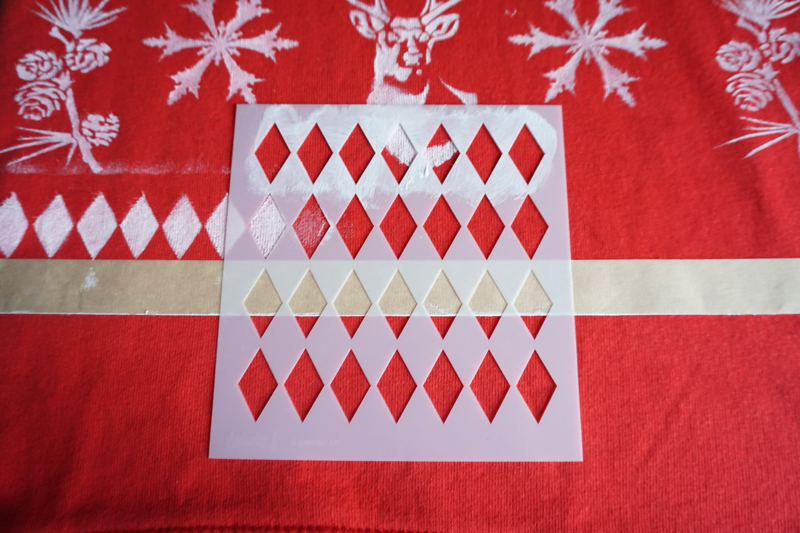
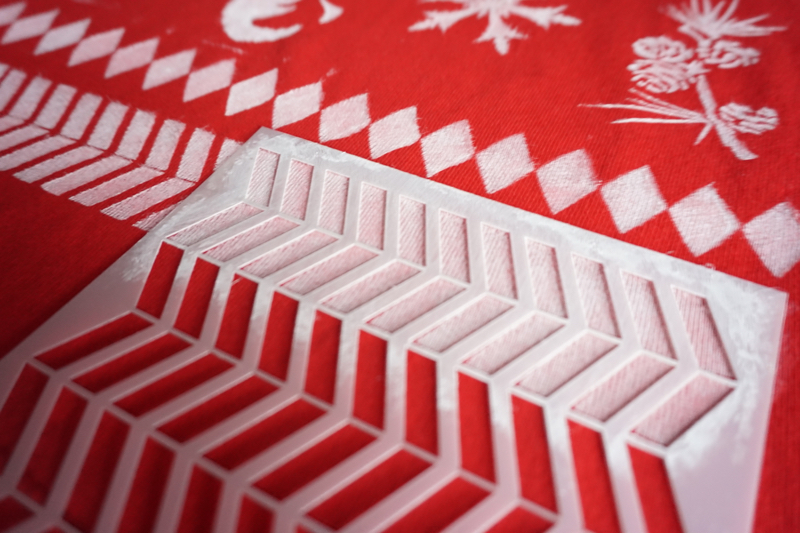
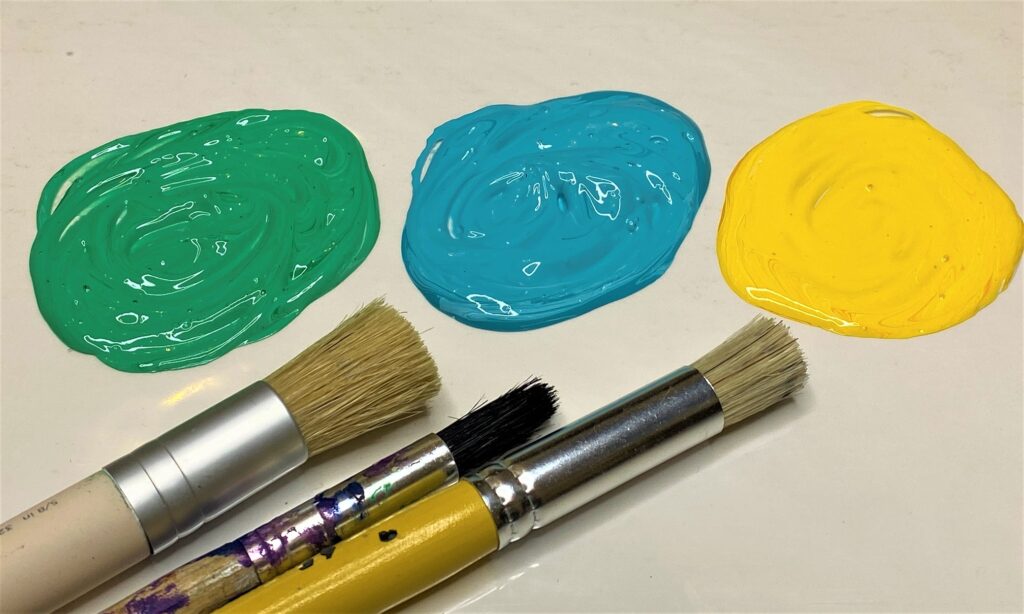
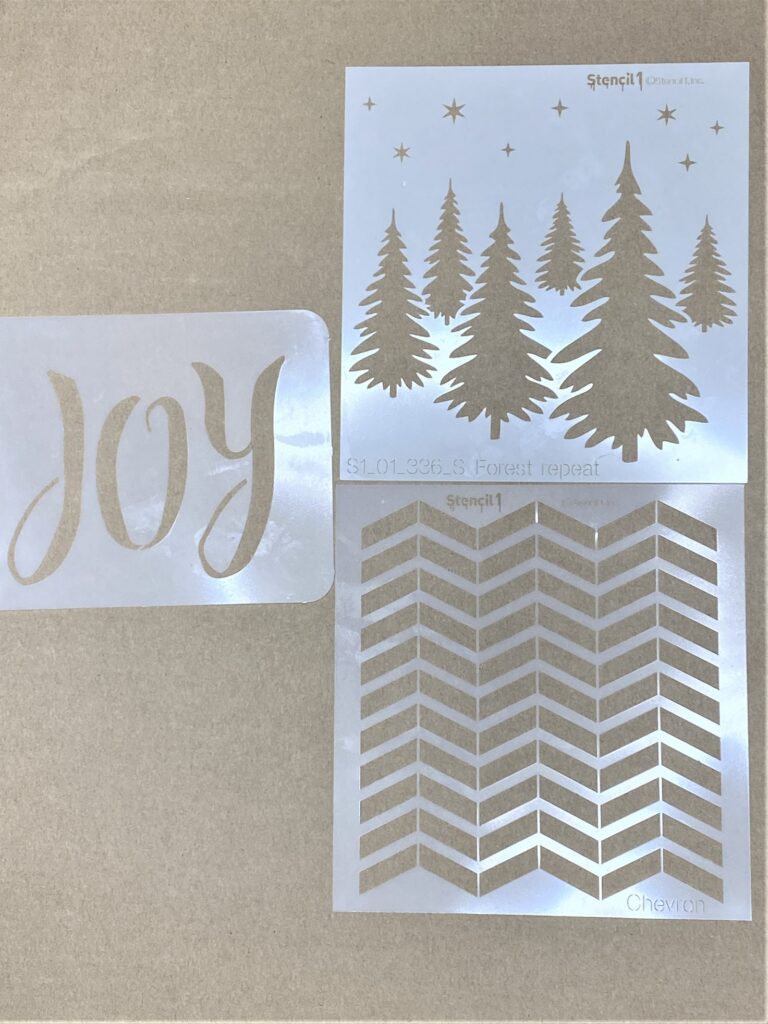
You need: stencils,  brushes, acrylic paint, canvas fabric, scissors

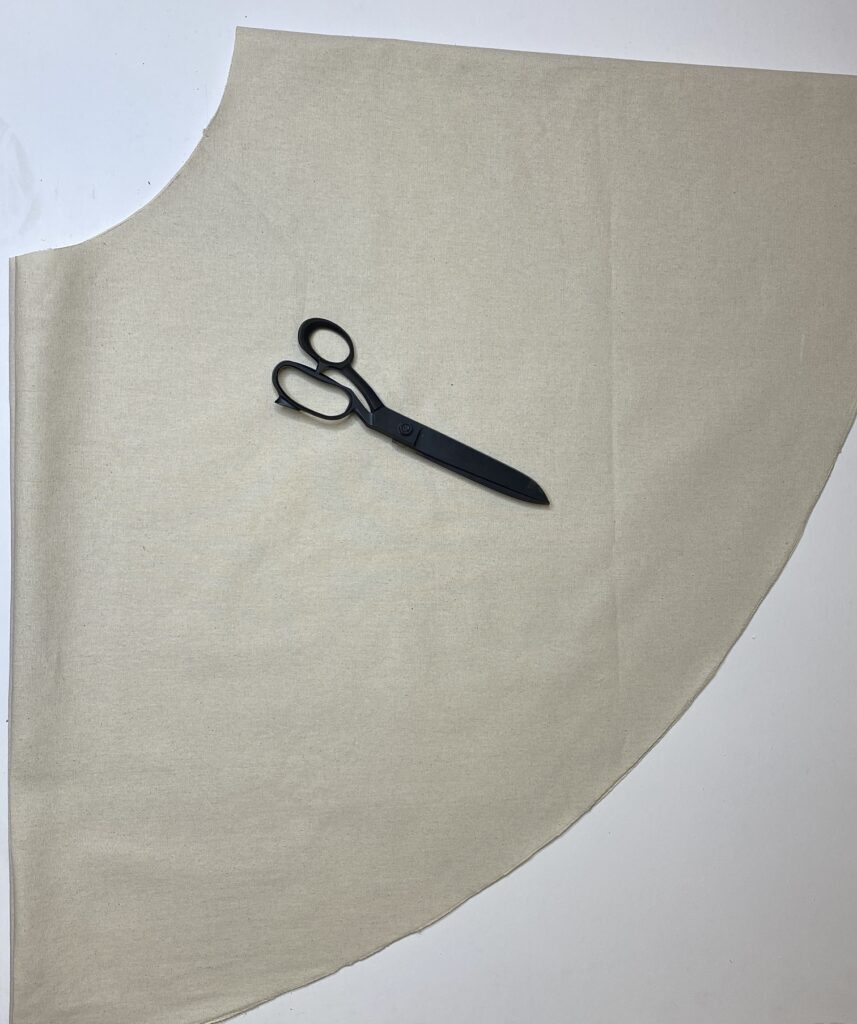
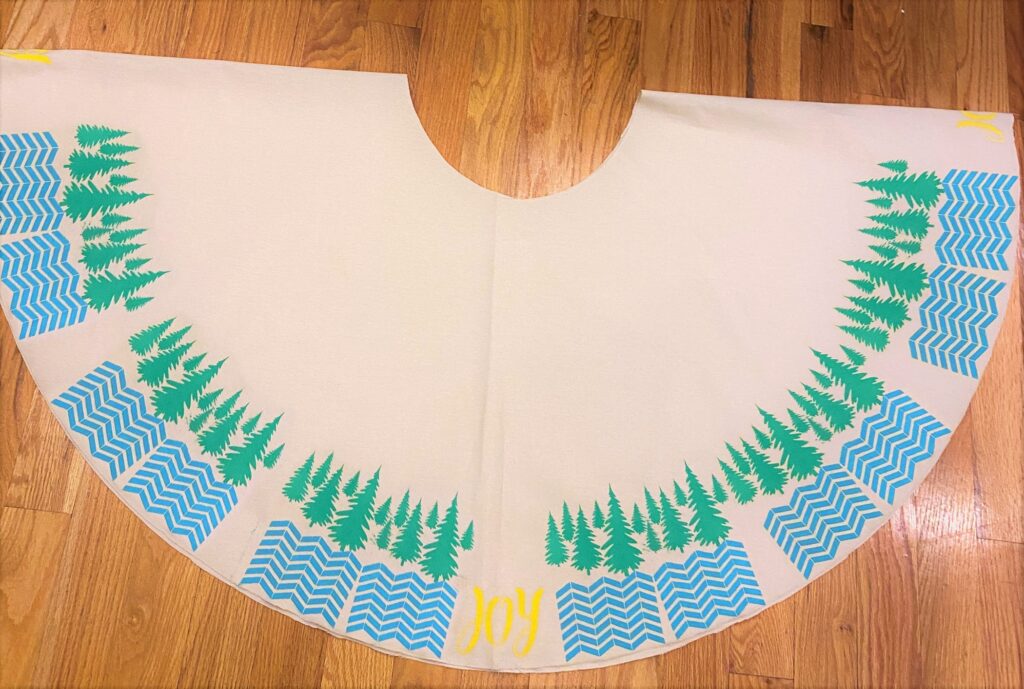
Step 1: Cut the canvas into the skirt shape.

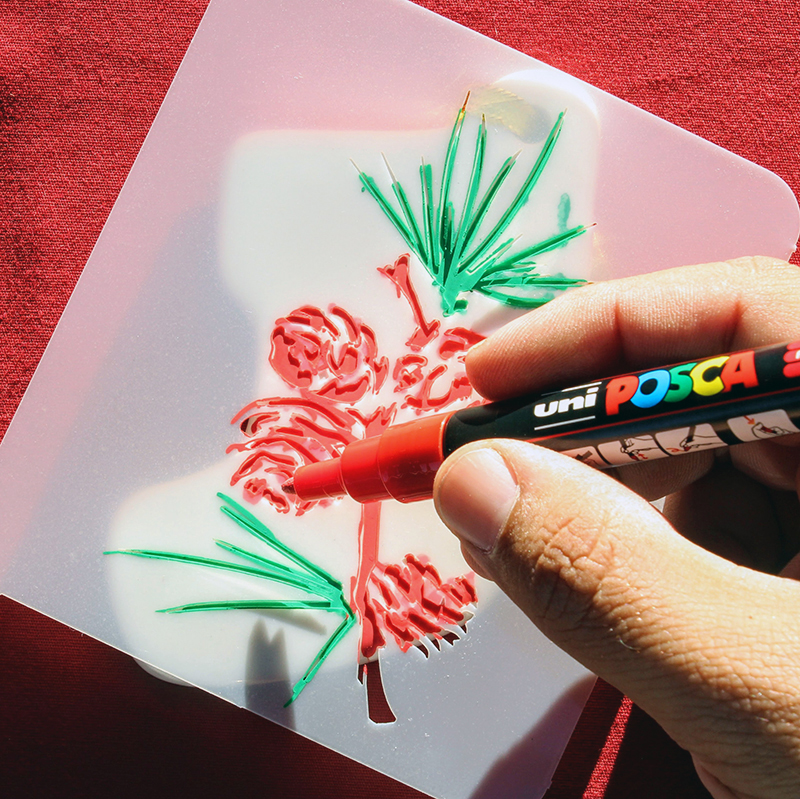
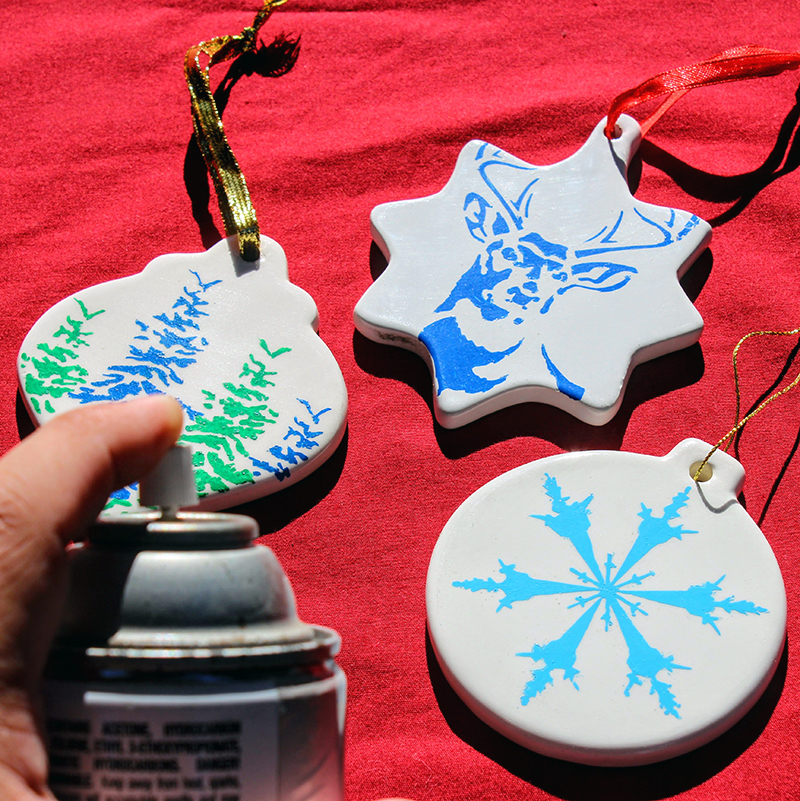
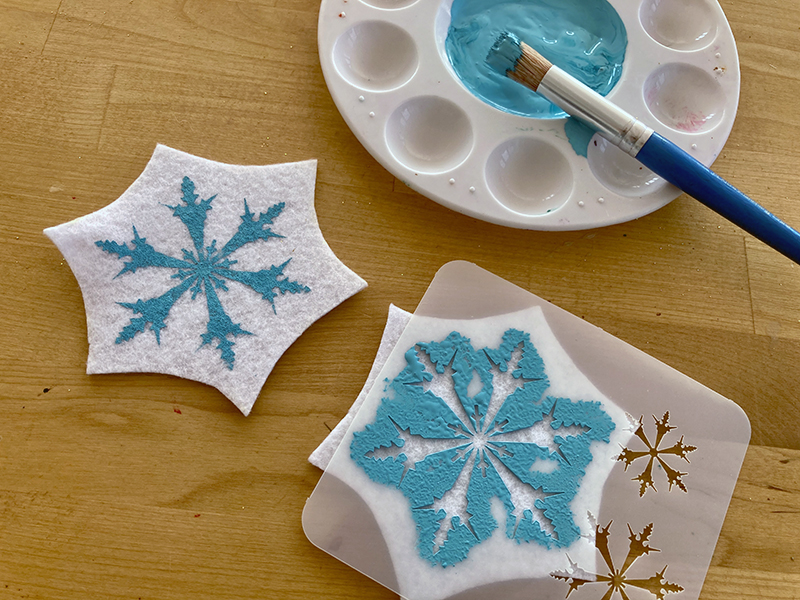
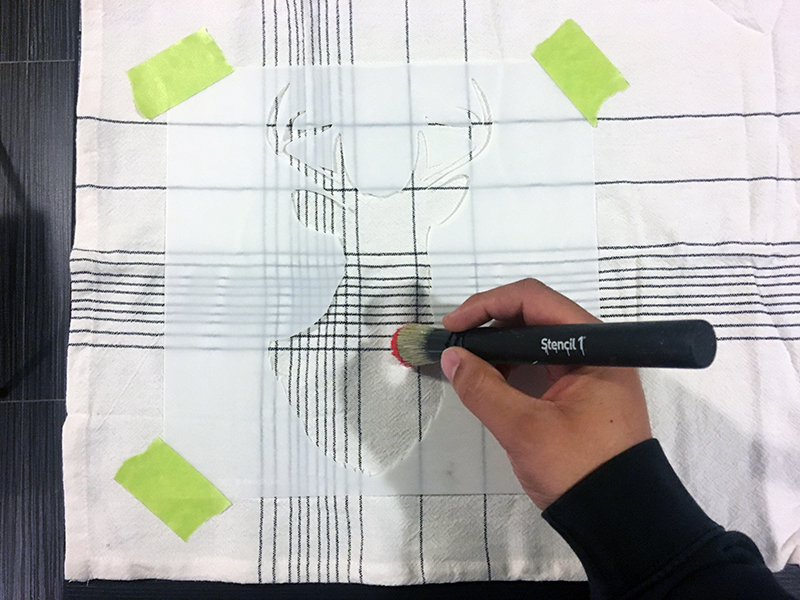
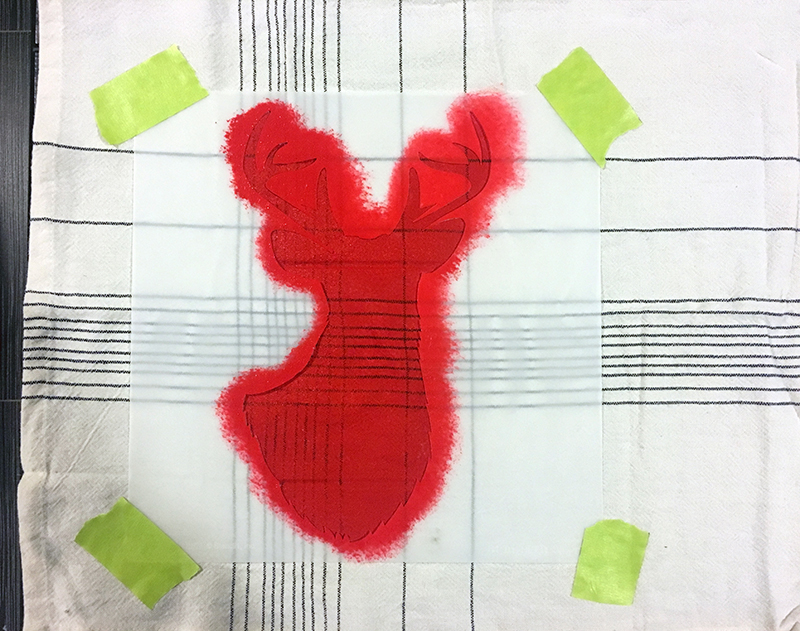
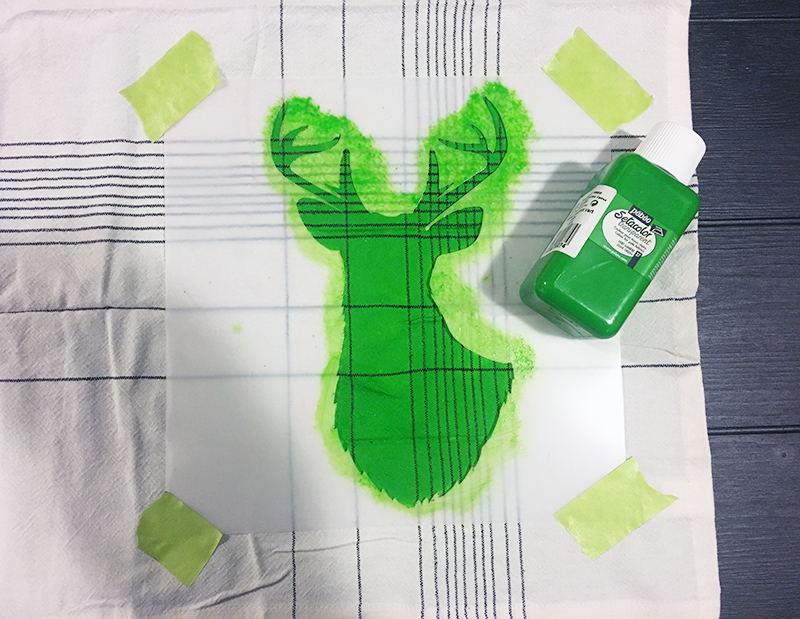
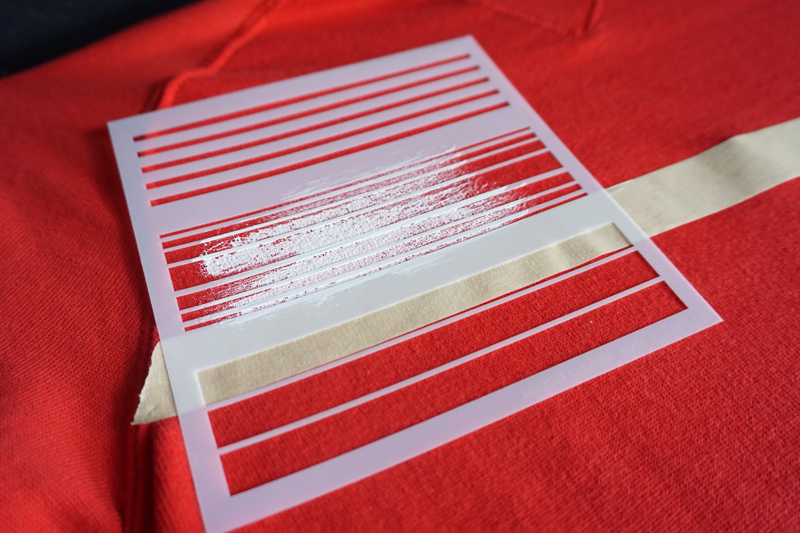
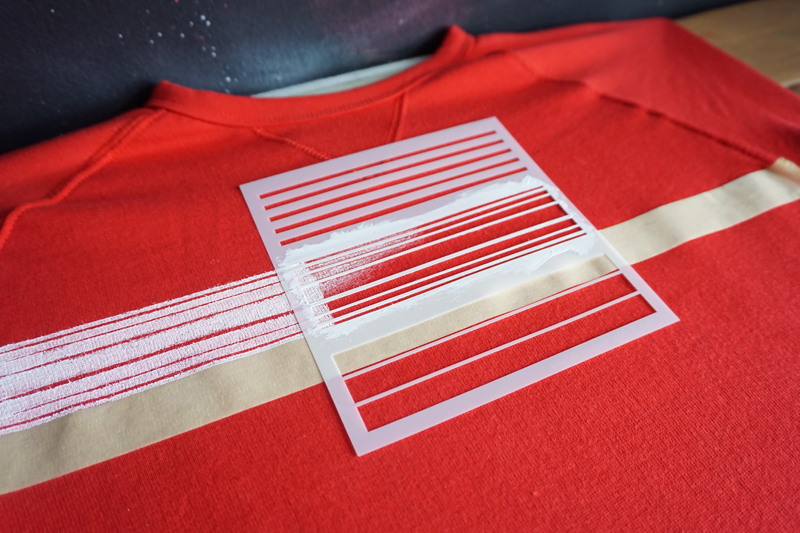
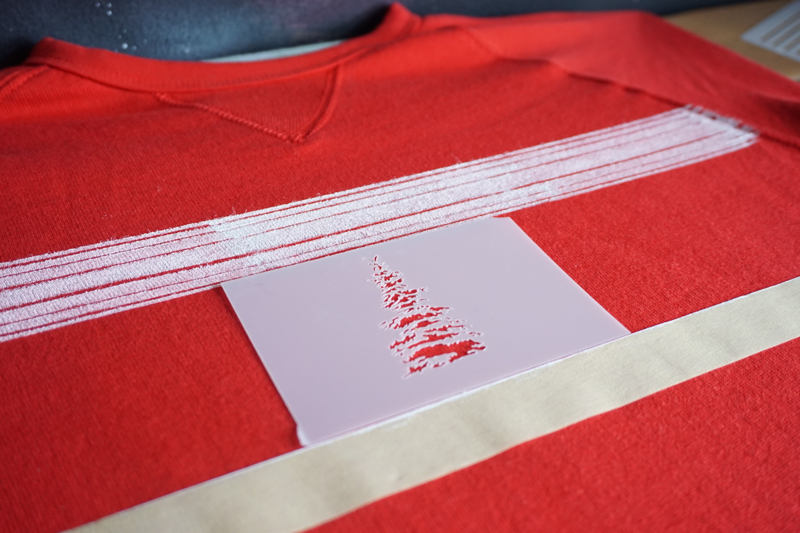
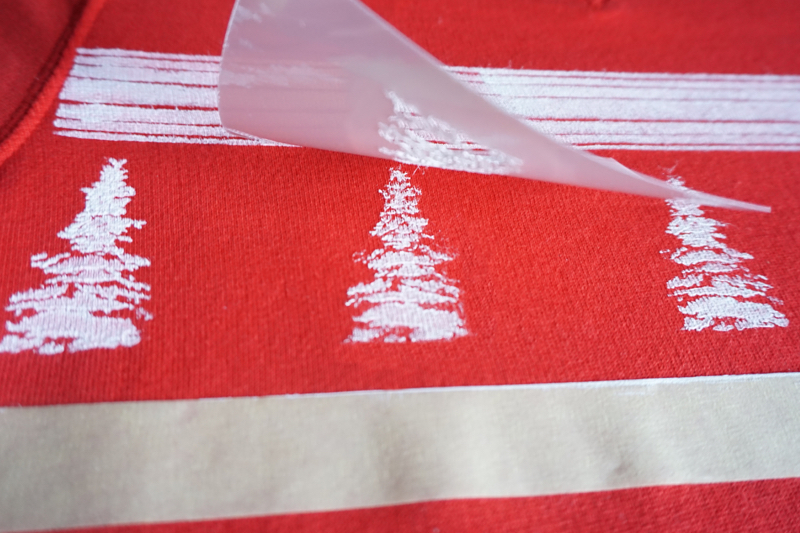
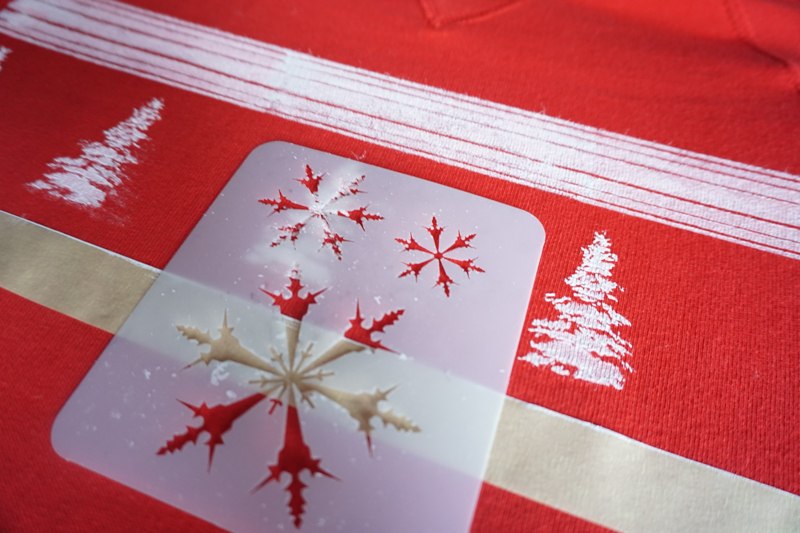
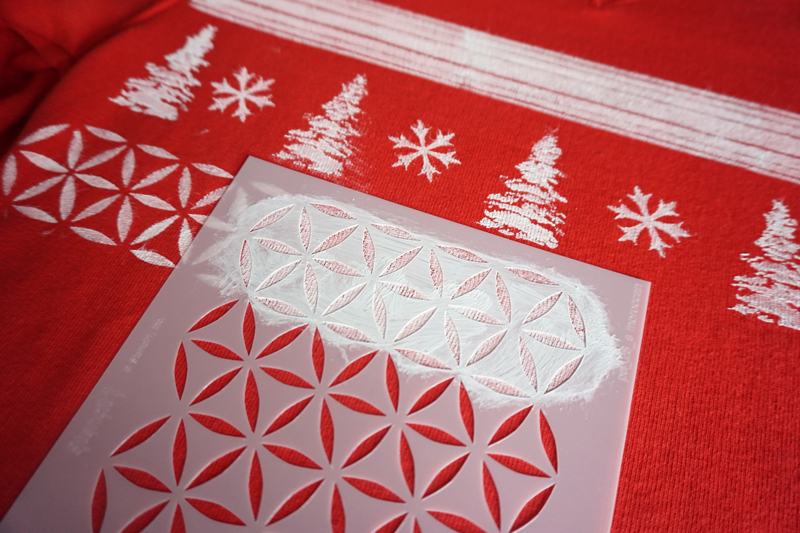
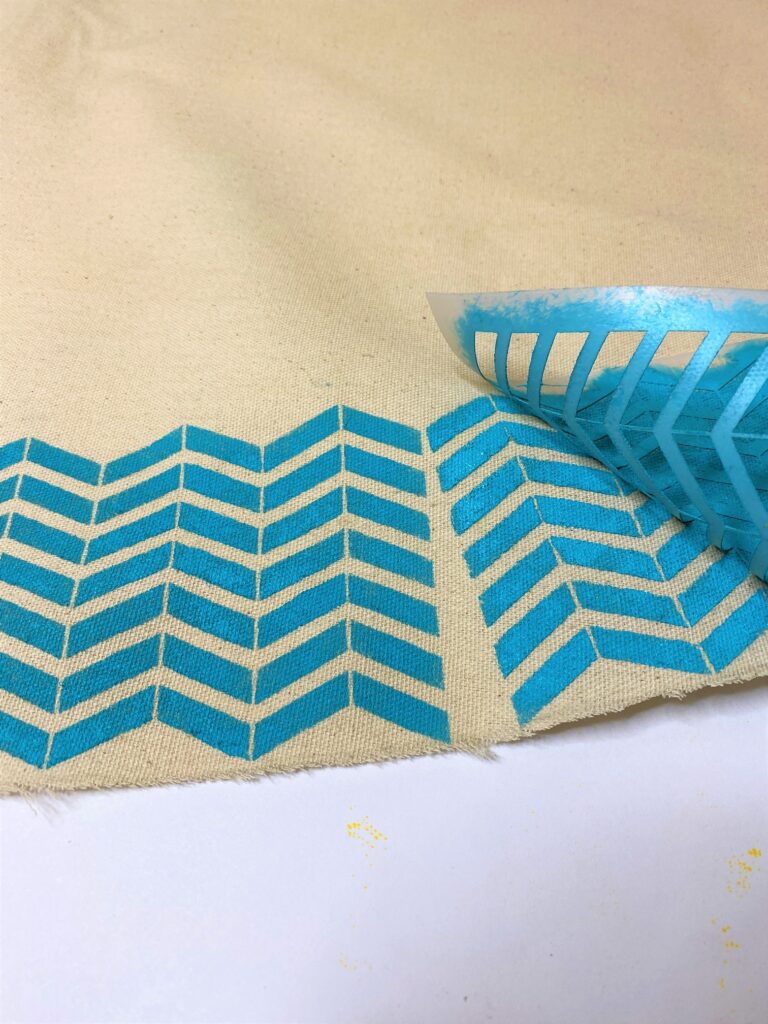
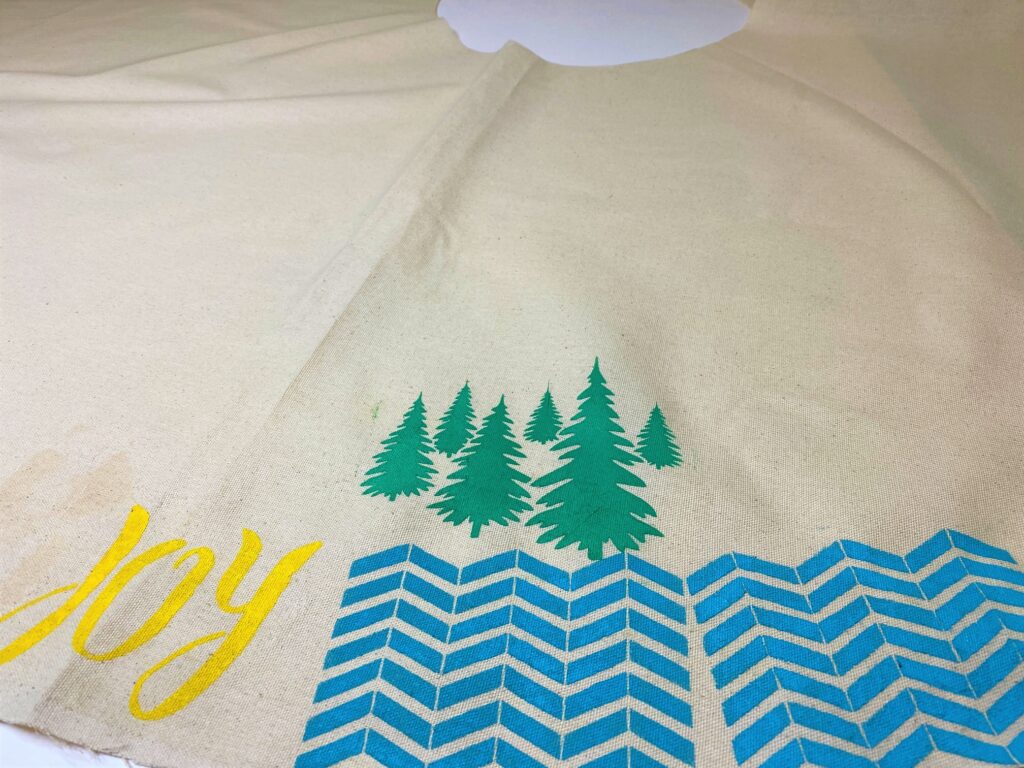
Step 2: Use the brushes to stencil designs onto the skirt with the acrylic paint.

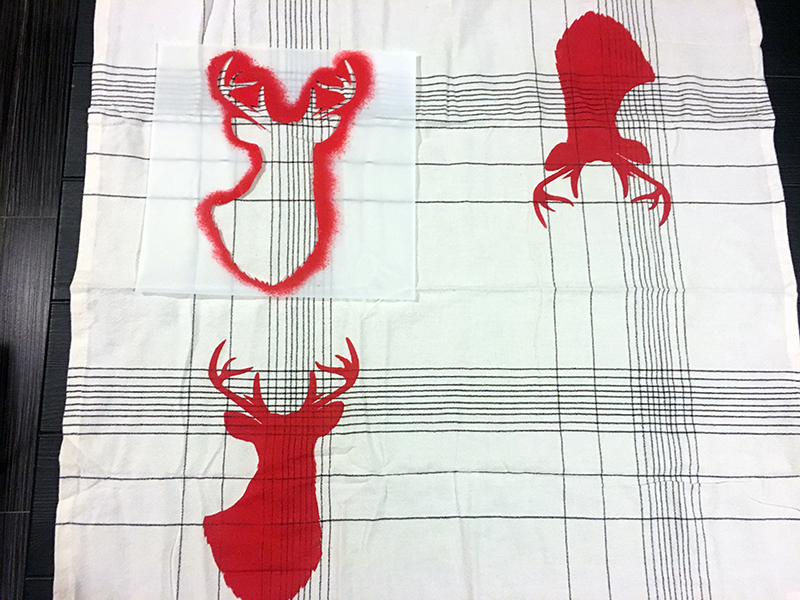
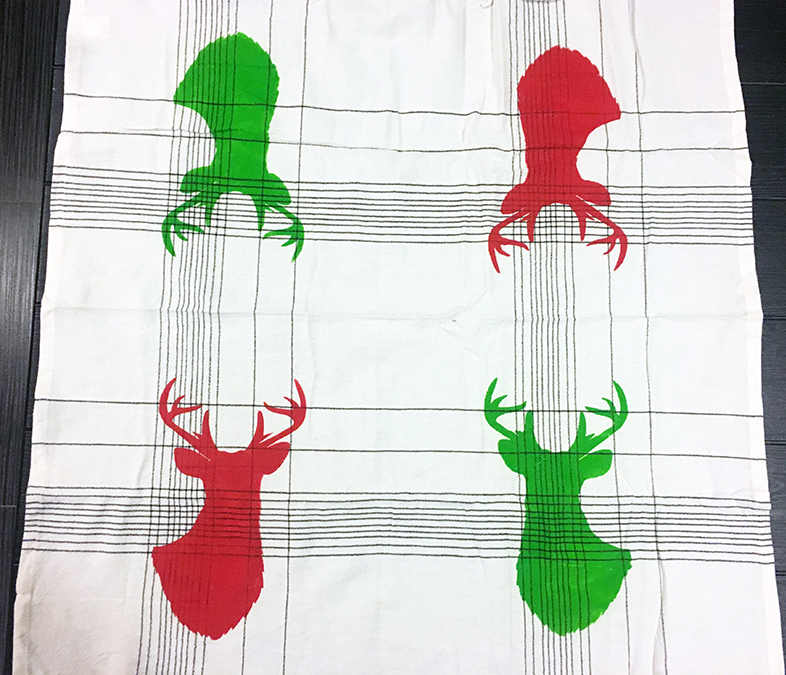
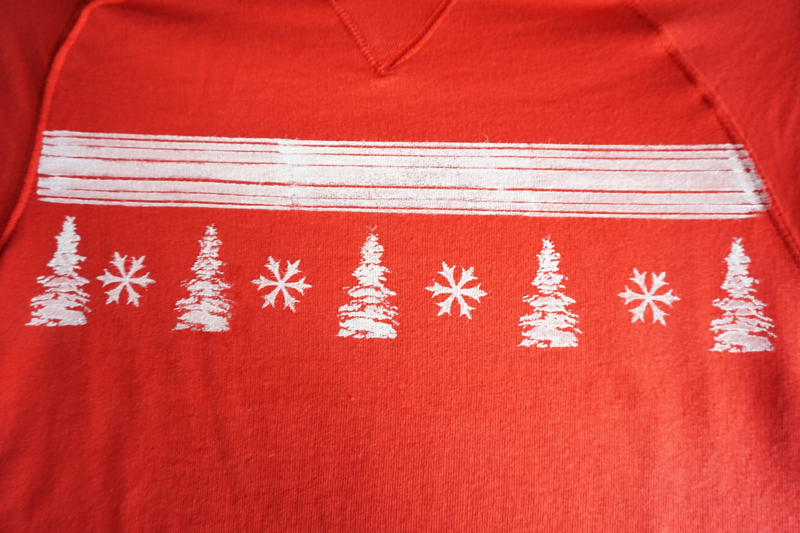
Step 3: Repeat around the skirt.

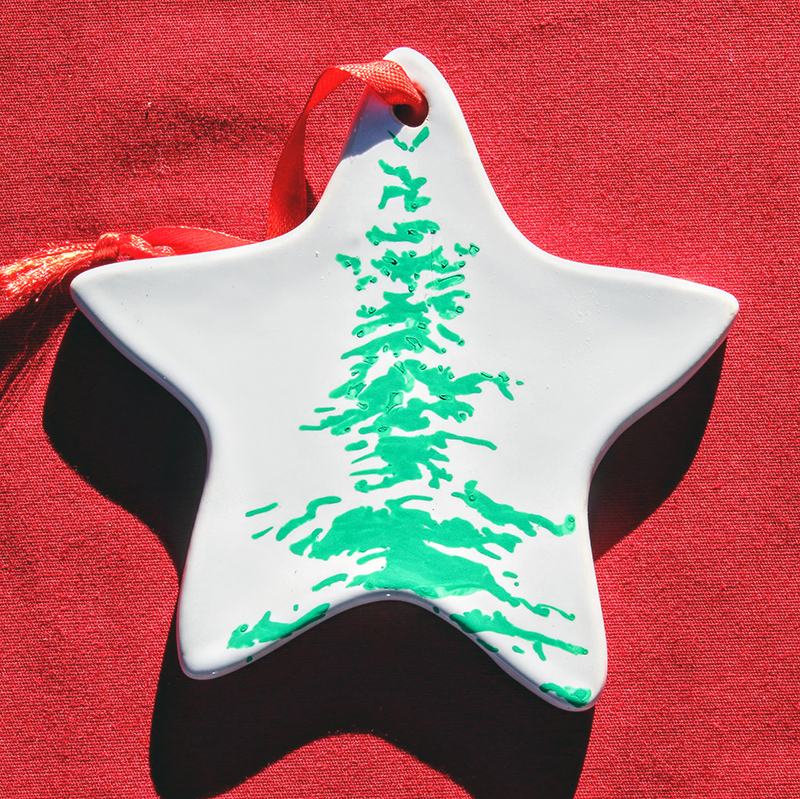
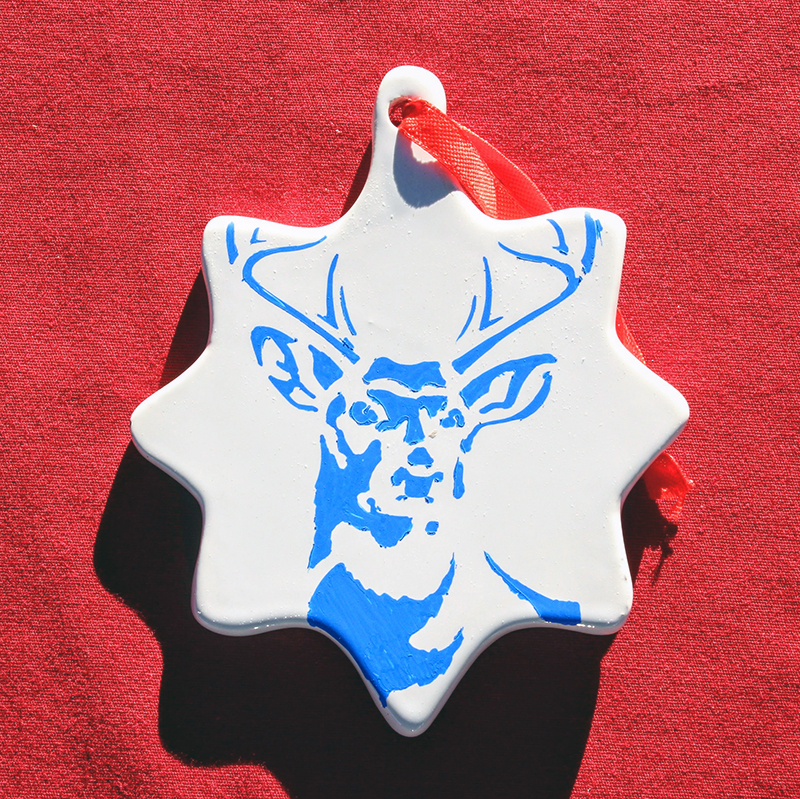
Step 4: Let it dry, and that’s it!

Inspired by this project? Share your creations with us @Stencil1


The Holidays are fast approaching, so we’re gathering our favorite Winter crafting ideas to inspire some end-of-year creativity!

  1. Ceramic Christmas Ornaments – Tired of having to fill your Douglas fir with generic mass-produced ornaments?! Why not create your own one-off ornaments that are sure to be unique. 
  2. Winter Woodburn Tissue Box – With the weather getting colder and allergy season seeming to hang around, tissue box use is in full effect. With this tutorial, we’ll show you how to blend those cardboard boxes into your seasonal décor.
  3. Stenciled Holiday Tin Pail Centerpiece – This Winter, I think we all want to cozy up and stay creative. Here’s a DIY that will uplift your home with some holiday décor, a stenciled tin pail customized for the holidays!
  4. A Deer Caught in the Stripes – Jackets, blankets, and hats are starting to come out from the “Winter Closet” as the weather is starting to drop. Stay warm and cozy up with a customized blanket using our stencils to add a personal touch.
  5. Antlers Stenciled Pillow – Our Antlers stencil is sure to be a Fall/Winter favorite or great for anyone into that Farmhouse or Country Chic décor. This how-to shows you the steps to stencil a pillow.
  6. The Not-So Ugly Christmas Sweater – Finally! An Ugly Christmas Sweater you can customize to your liking!  Make this sweater your own by adding elements that fit you and your personality.


Tired of having to fill your Douglas fir with generic mass-produced ornaments?! Why not create your own one-off ornaments that are sure to be unique. Just follow along with these easy steps…

Here is what you will need:

Grab your blank ornaments and select a shape to begin.

Lightly spray the back of the stencil with stencil adhesive. You can recoat as needed throughout the project.

Position and place your Stencil1 stencil on your ornament.

Using your fine point Posca marker, start by outlining your stencil then filling in the contents.

Carefully remove the stencil and allow to dry.

Repeat steps for your next ornaments.

Pro tip: Choose stencils that complement your ornament shapes.

Make sure to experiment, like using multiple colors on the same stencil.

When you are all done, spray a couple of coats of gloss clear coat to ensure the Posca paint will adhere to the ceramic and last for years to come. Make sure to ONLY use water-based clear coat when using water-based markers Solvent based clear coats will harm any waterbased paint.

[IMG_9130~2]

Now you can finally break out the egg nog and crank up the fireplace cuz you’re all done and ready to display your masterpieces.

You can thank ART one (@art_o_n_e) for this beautiful DIY

Please share your version with us @Stencil1


Get festive this holiday season with Stencil1! Create your own customized ornaments for a handmade holiday feel! Perfect for dressing up a wrapped present, hanging on a wine bottle for a hostess gift, or just decorating the tree!

What’s Needed:

Cut out the 6 pointed star shape from the printable pattern.

Use the pattern as a guide to cut out two pieces of felt.

Stencil the snowflake design onto both of the felt pieces.

Stitch the two pieces together with embroidery floss using a basic blanket stitch. Be sure to leave an area open for the next step.

Fill the ornament with stuffing, and cut a small length of ribbon for a hanging loop.

Finish stitching around the perimeter, securing the ribbon loop in place.

Repeat these steps to create an array of unique ornaments in the styles and colors of your preference!

This How-To was brought to you by Marisa from Modern Surrealist.

Please share your version with us @Stencil1


Even though Christmas is over, you may still want to create more Christmas crafts. Follow this tutorial to add more holiday spirit to the kitchen area (especially while making Christmas cookies).

Grab the tools you will need, including the kitchen towel you want to paint, brushes, and red and green paint.

Here I am using the Deer Silhouette Stencil (11×11).

Secure the stencil down with some painter’s tape. Lightly dab your brush in red paint.

Cover the entire stencil in red paint.

Remove the stencil to make sure it came out fine.

After painting the red deer on the left bottom corner, I began to get ready to paint the green deers. I cleaned the stencil before starting to use green paint.

Once you’re done with the green paint, start painting the opposite corner of the kitchen towel.

Now, we have a kitchen towel appropriate for the holidays.


Finally! An Ugly Christmas Sweater you can customize to your liking!  Make this sweater your own by adding elements that fit you and your personality.

DSC02084

So, grab your favorite stencils and let’s get started!

Things you will need: A plain pullover sweatshirt, white fabric paint, paint brushes, your favorite Stencil1 stencils, and Stencil1 Small Pattern stencils.

DSC02021

Step 1. Gather your materials. Make sure you have a piece of cardboard placed inside your sweatshirt before you start stenciling so that paint doesn’t transfer to the other side of the sweatshirt. The sweatshirt we are using is H&M‘s Cotton Sweatshirt in red.

Place your stencil on your desired location. Here, we started off with the Stripes Repeat Pattern stencil. (Tip: Place a long strip of masking tape across the width of your sweatshirt as a guide to align your stencils in a straight line.)

DSC02025

Step 2. Grab your paint and your paint brush. Dip the brush in the paint without any water. Make sure you dab the excess paint off the brush on a tissue or plate to prevent any bleeding underneath the stencil and start painting away! You may need to add an extra layer of paint in order to make it more opaque.

DSC02027

Step 3. Once you’re done painting, move the stencil along the width of your sweatshirt and continue painting.

DSC02028

Step 4. Once you are done with your first line, grab your next stencil. Here we used the Snowy Pine Tree stencil from the Winter Holiday 4-Pack. Using the same dry painting method in the previous step, paint over the stencil.

DSC02031

Step 5. Continue to move the stencil make the design repetitious all across the sweater.

DSC02034

Step 6. Grab another stencil of your choice. To fill up the gaps between the Snowy Pine Trees, we used the small snowflake from the Snowflakes stencil, also from the Winter Holiday 4-Pack.

DSC02036
DSC02038

Step 7. Continue to paint the sweatshirt alternating between different designs and different patterns. Here, we used the Moroccan Repeat Pattern stencil.

DSC02040

Try adding animals and some text! The Industrial Stencil font stencil is perfect to help get your message across this holiday season. We also used the Antlered Deer stencil from the Winter Holiday 4-Pack.

DSC02042

More patterns! Here, we used the Diamond Repeat Pattern stencil.

DSC02045

Finally, we finished off the sweatshirt using the Chevron Repeat Pattern stencil.

DSC02049

And that’s it! Feel free to mix up the designs and patterns to make it your very own Ugly Christmas Sweater.

DSC02058
DSC02053

Be sure to take pictures at your holiday parties and share it with us @Stencil1!