This post is coming to you from Tami M., contributing blogger, mom to a second grader, and all around great gal!
If you’ve been shopping lately, you’ve learned that Halloween is NOW. In our home this holiday of ghouls, ghosts and monsters is bigger than Christmas. Our late-summer days have been filled with crafting decorations for what my seven-year-old daughter describes as “the greatest night of the year.” As we transition into the school season, a stenciled Monster Garland is an easy, mess-free after-school activity that uses tools and supplies you’ll probably have on hand. We’re using this garland as the centerpiece of our Halloween fireplace-scape but it can easily be used just about anywhere in the home. This is a work in progress—pumpkins and other fall festiveness to come.
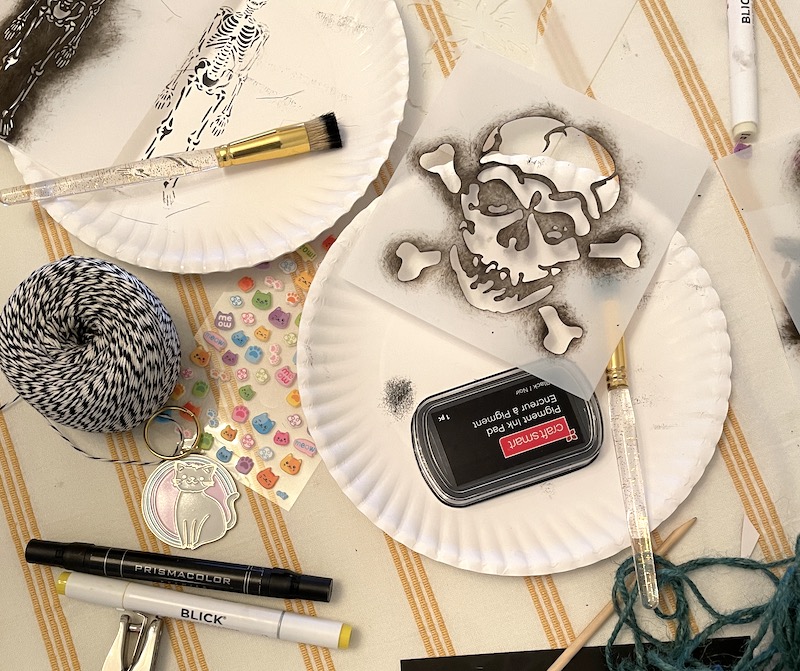
For your Halloween Monster garland, you will need:
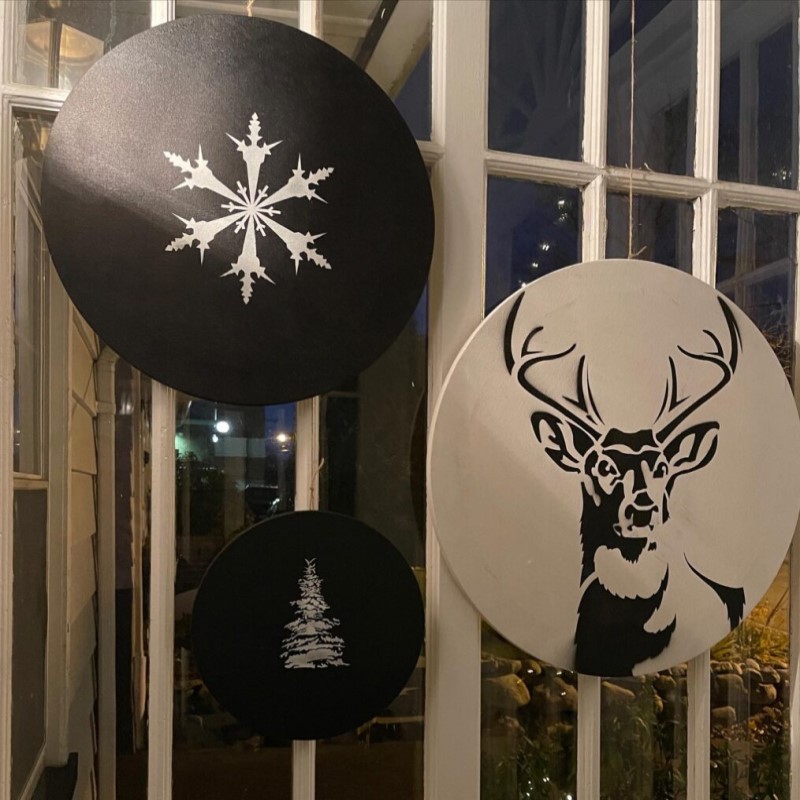
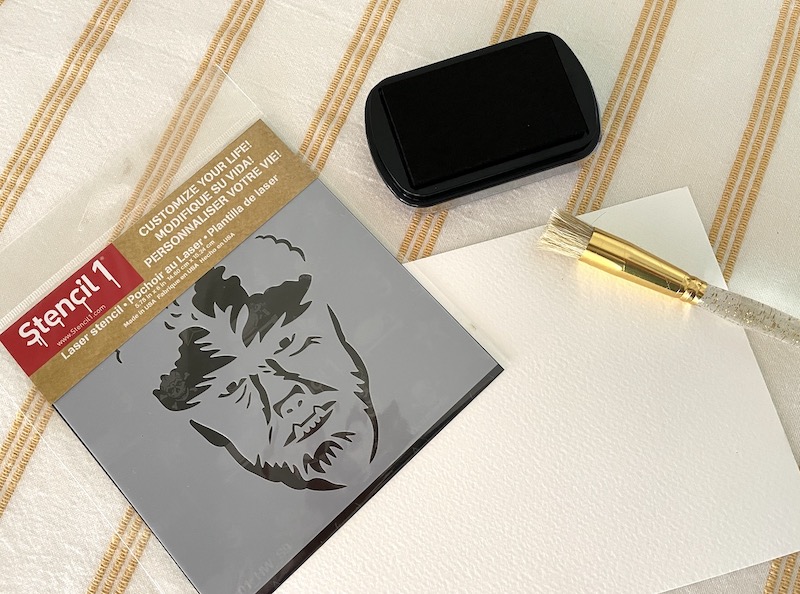
-Multiple 5.75″ x6″ monster stencils. We chose an owl, a skull and crossbones, an evil jack-o’-lantern, Frankenstein, a raven, a skeleton and Dracula.
-Paper (we used sheets from an Artist’s Loft Watercolor Pad)
-An ink pad
-Round paintbrush
-Painter’s tape
-Hole puncher
-Baker’s twine
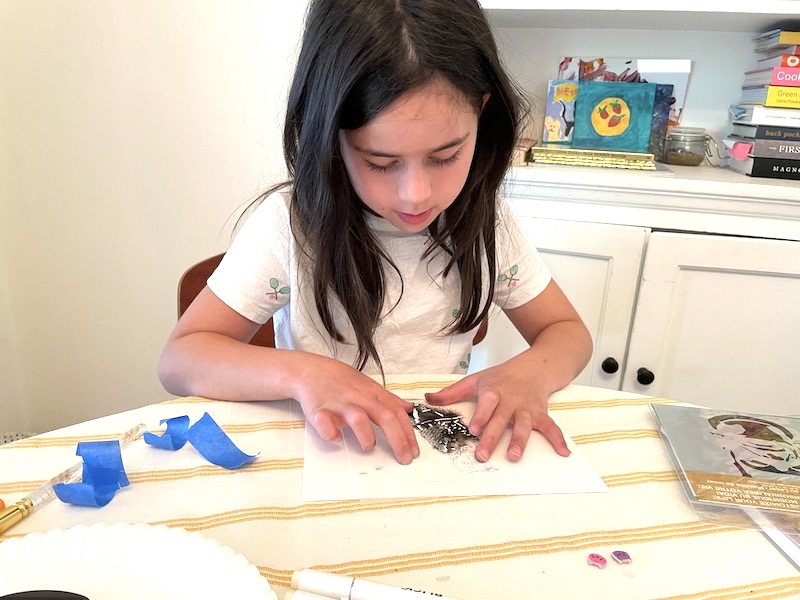
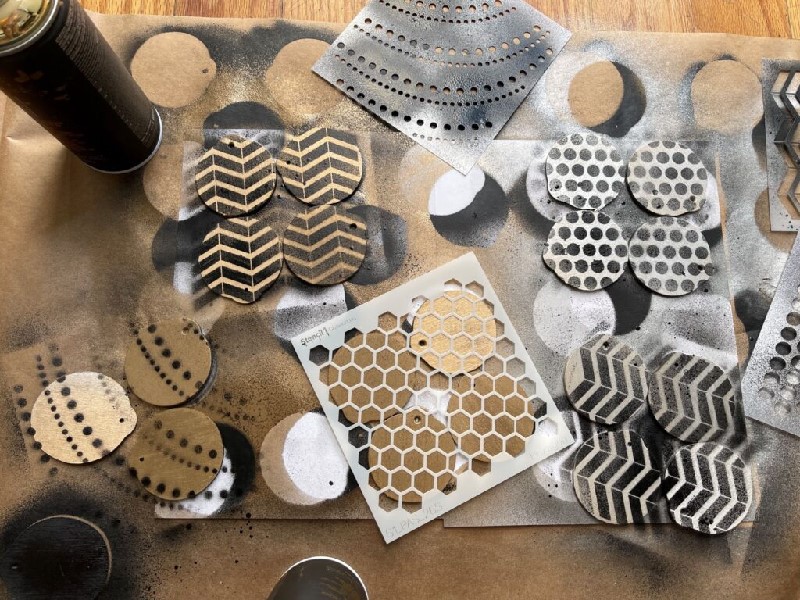
Step 1: Start by selecting your stencil design and figure out placement on the paper. Be sure to tape the stencil to the paper so that it doesn’t move while painting. Painter’s tape is a must so that it doesn’t damage the paper when peeling off.
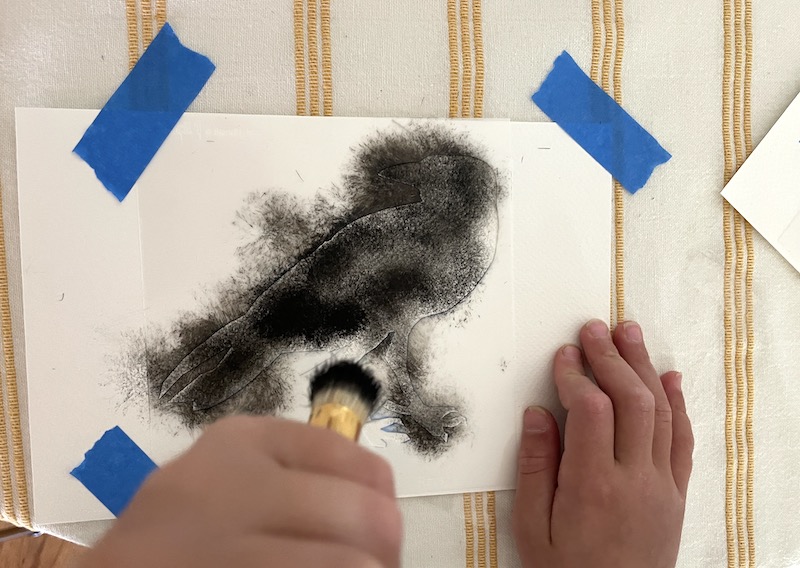
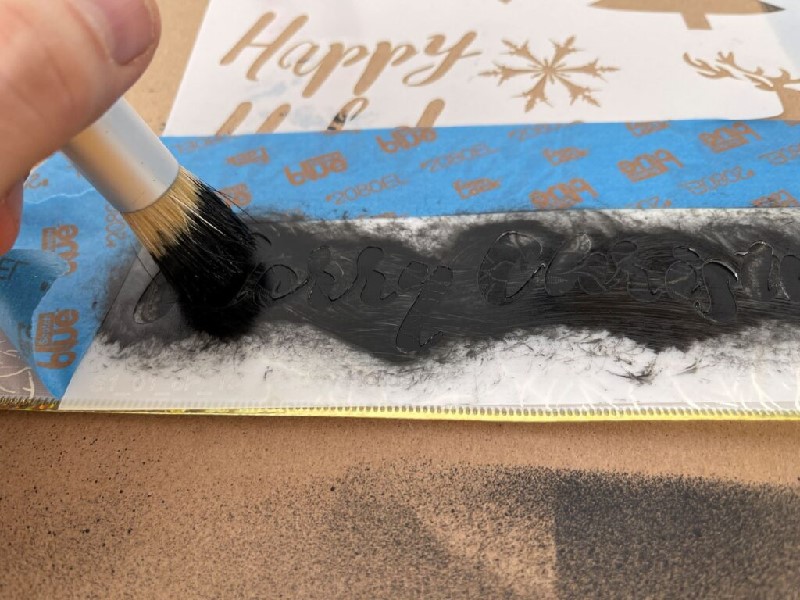
Step 2: Once you are ready to paint, dab the ink onto the brush and then dab dab dab onto your stencil. The ink pad is very forgiving and won’t bleed under the stencil but never say never so do a few test runs to find out the ideal amount of ink that you’ll want for your design.
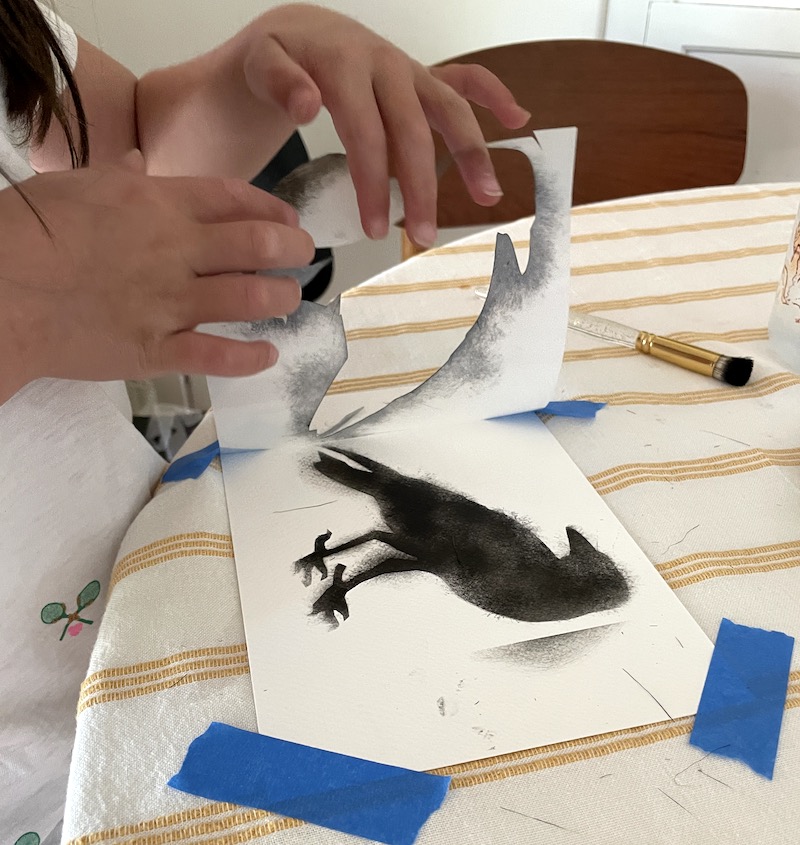
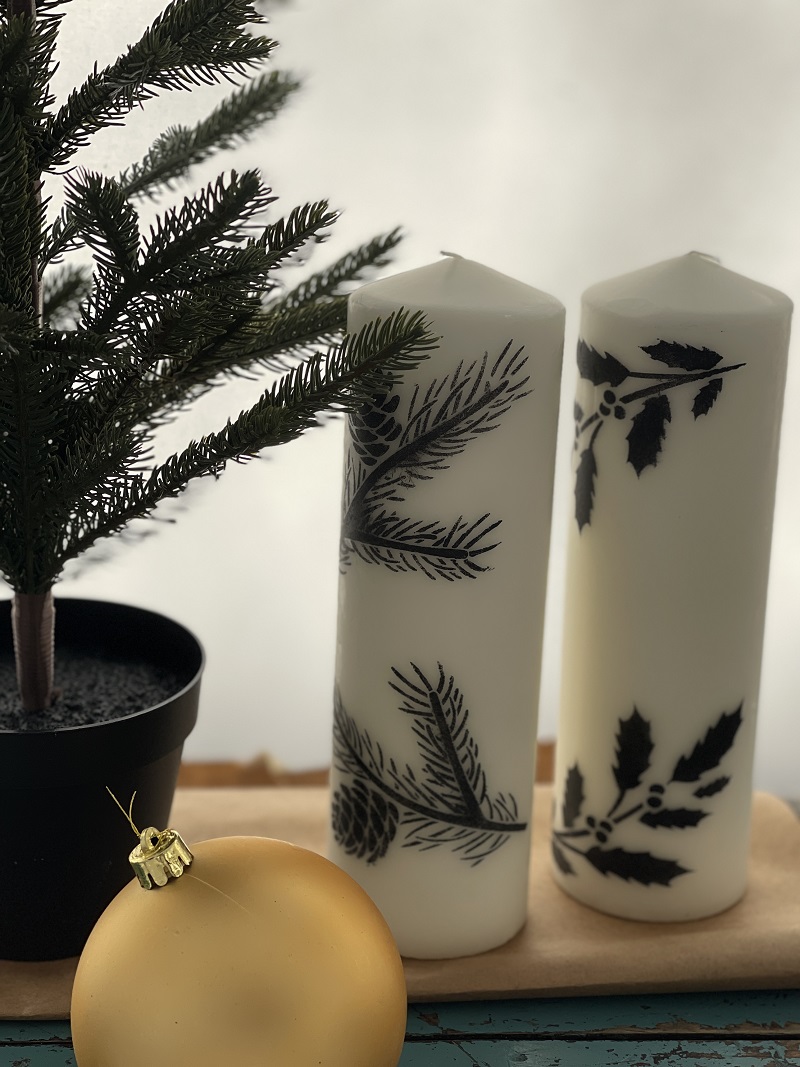
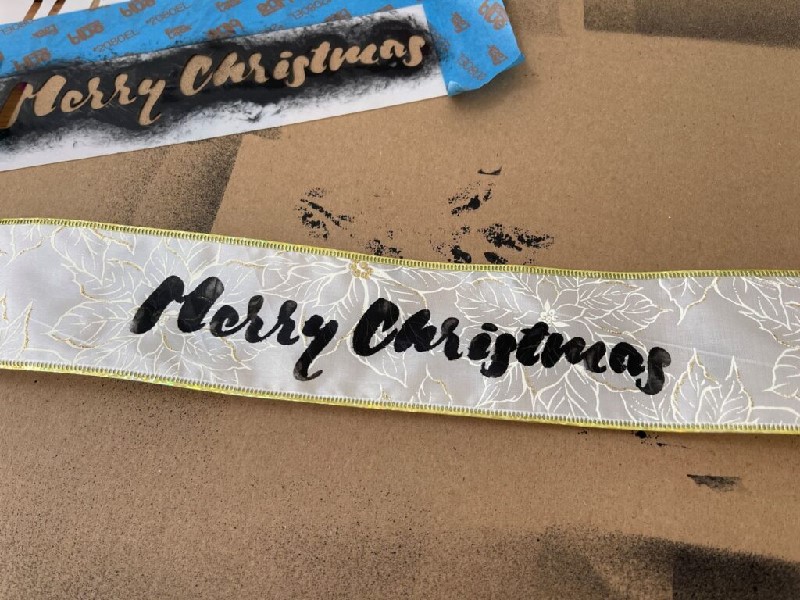
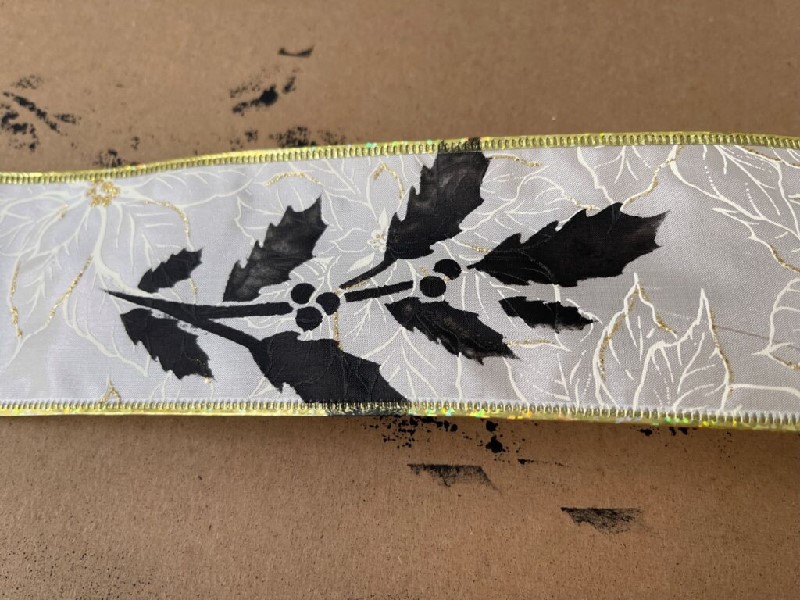
Step 3: When finished, remove stencil and let dry. *Remember, this craft is not about perfection. It’s an activity that is both structured and open-ended so let the kids explore with designs and color. We stuck with a black and white theme because those are the supplies we had in the craft cupboard.
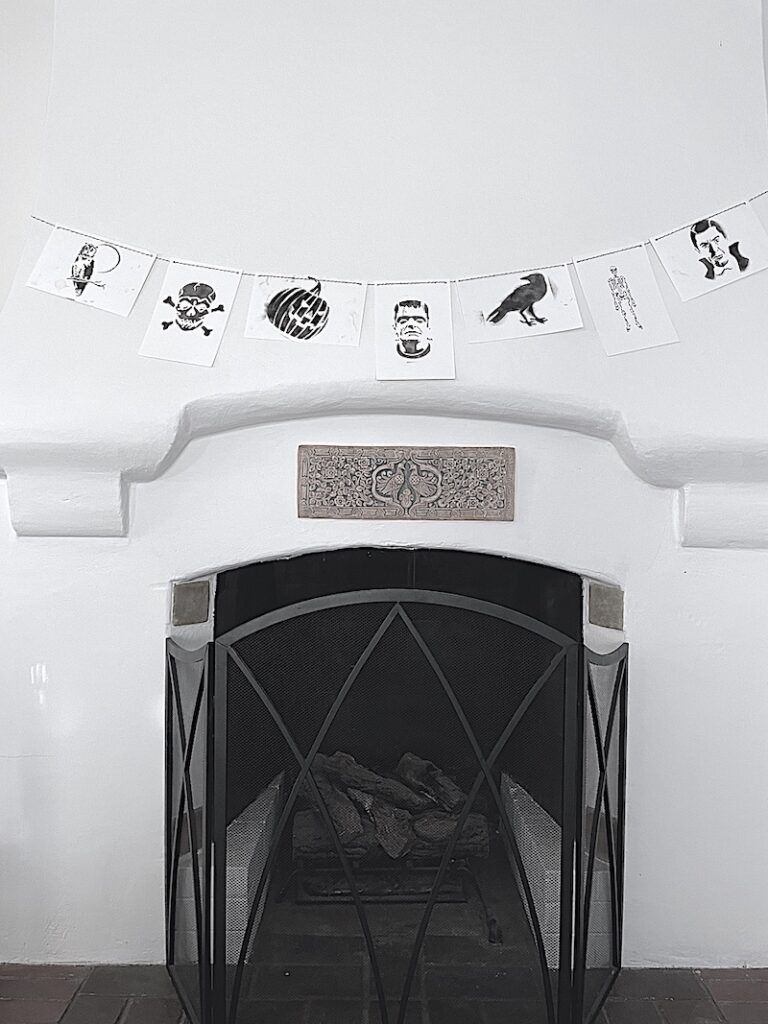
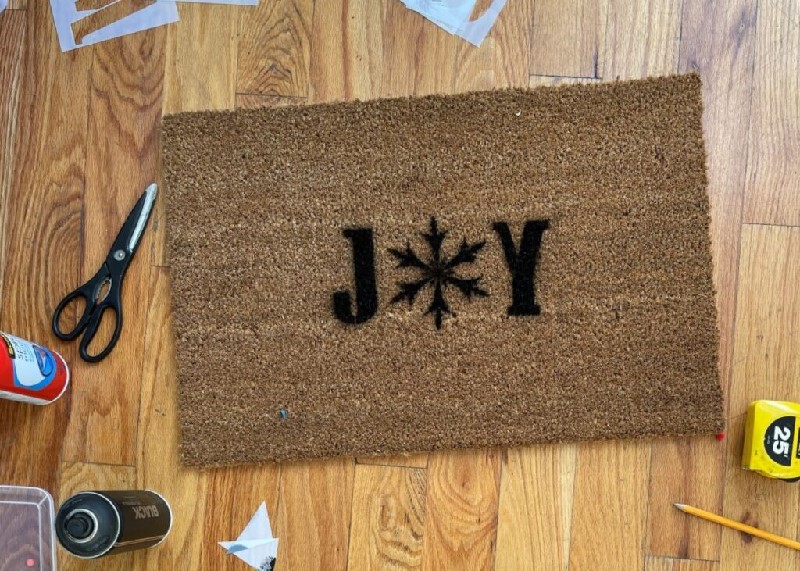
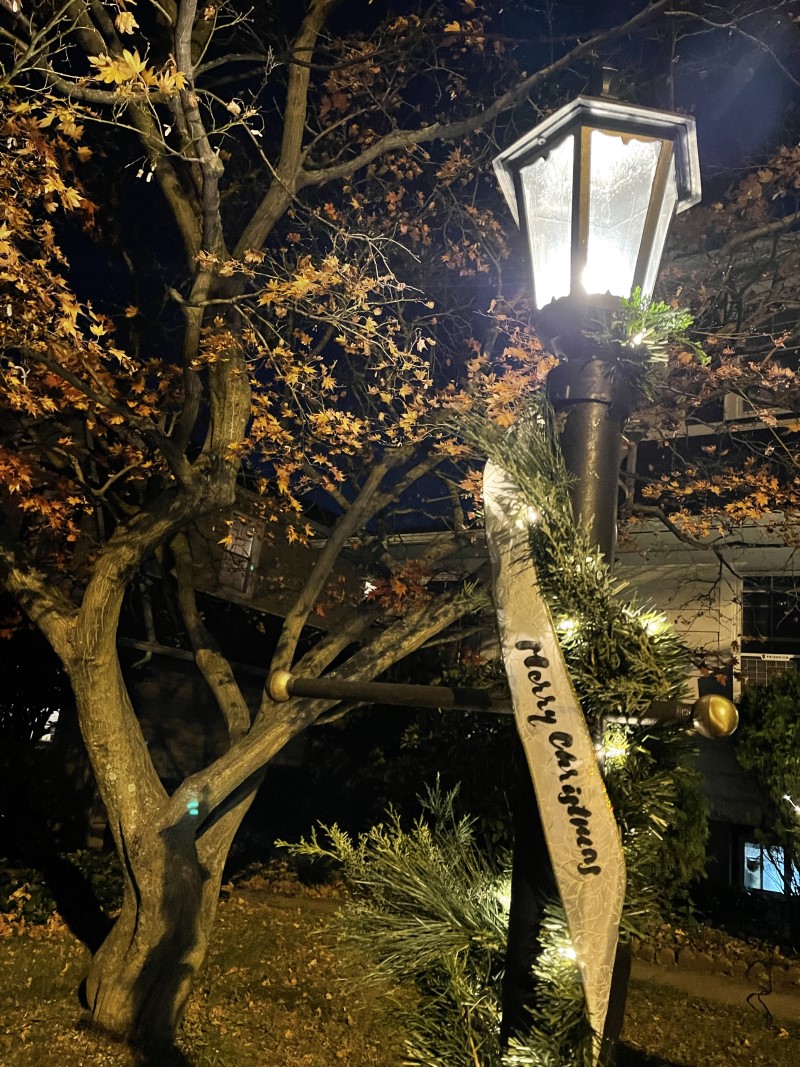
Step 4: String your monsters together to assemble the garland. Add pumpkins and pots of mums to embellish.
Please share what you made by using #stencil1 and tagging @stencil1 on social media.