Στο νέο online παιχνίδι καζίνο του Nine Casino, εμπνευσμένο από τον κόσμο της κατασκευής στένσιλ, οι παίκτες μπορούν να δημιουργήσουν τα δικά τους μοναδικά μοτίβα για να ξεκλειδώσουν ειδικά επίπεδα παιχνιδιού. Gracze rywalizują o stworzenie najbardziej wyszukanych wzorów szablonów, które są następnie oceniane w grze pod kątem bonusów i nagród w kasynie MostBet Casino Immediate Byte Pro Neoprofit AI
DSC05473

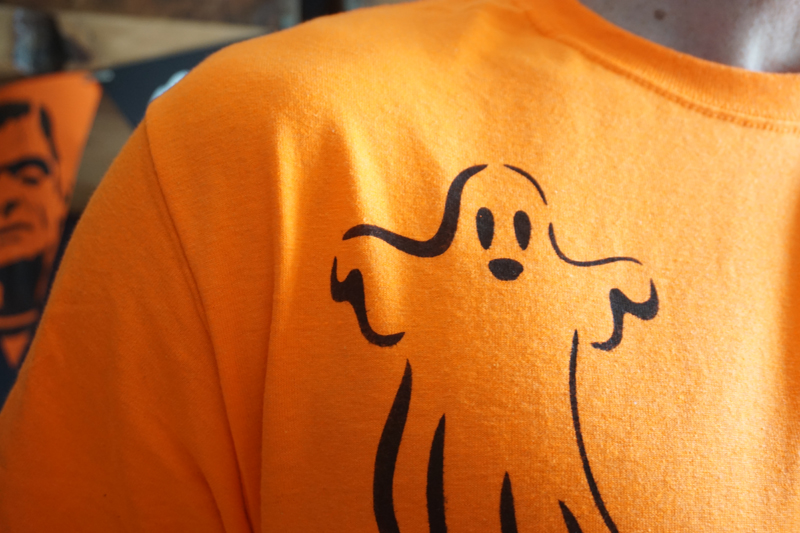
“Boo! Did I scare you?!” Get this “scary” little ghost on your shirt and scare the life out of your friends and family!

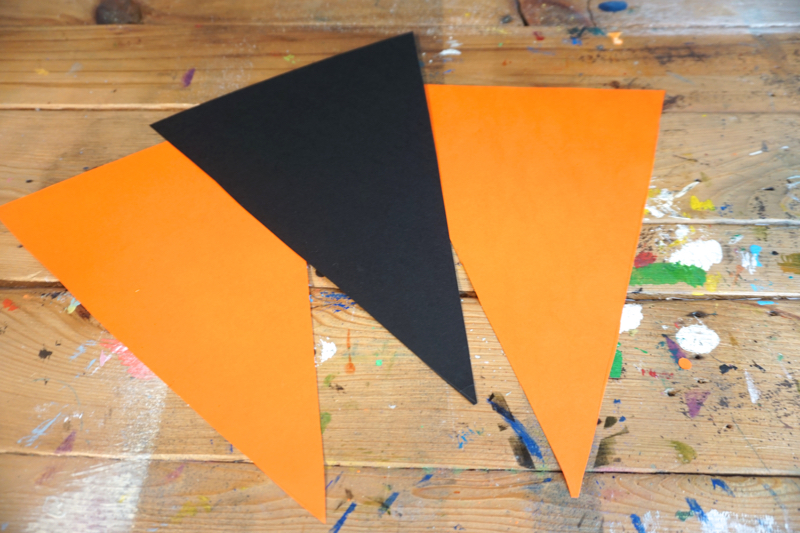
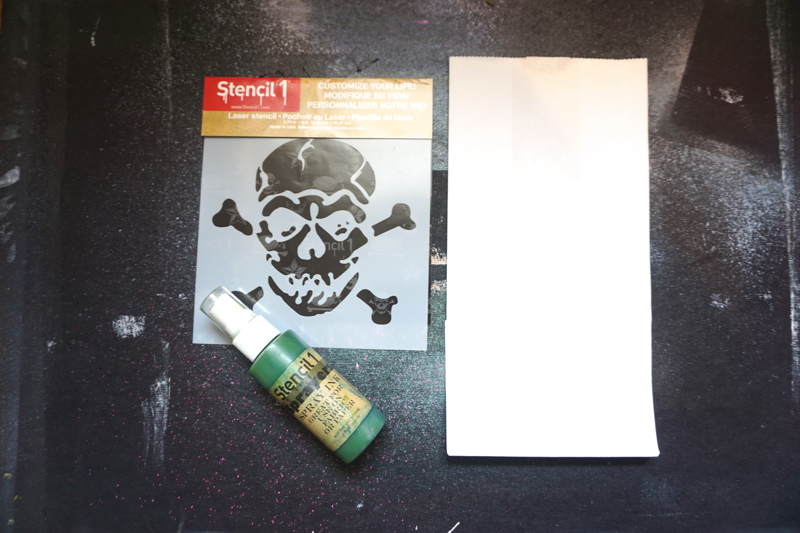
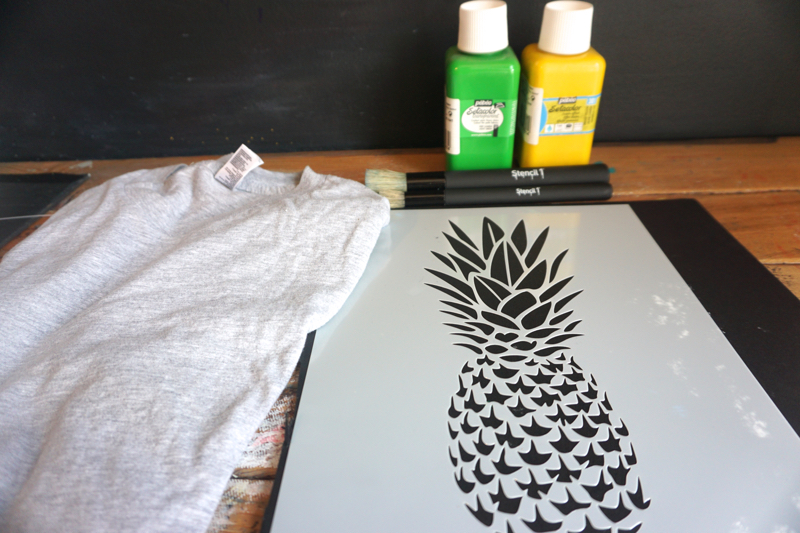
Things you will need: An orange shirt, paint and a paint brush, and the Stencil1 Ghost stencil.

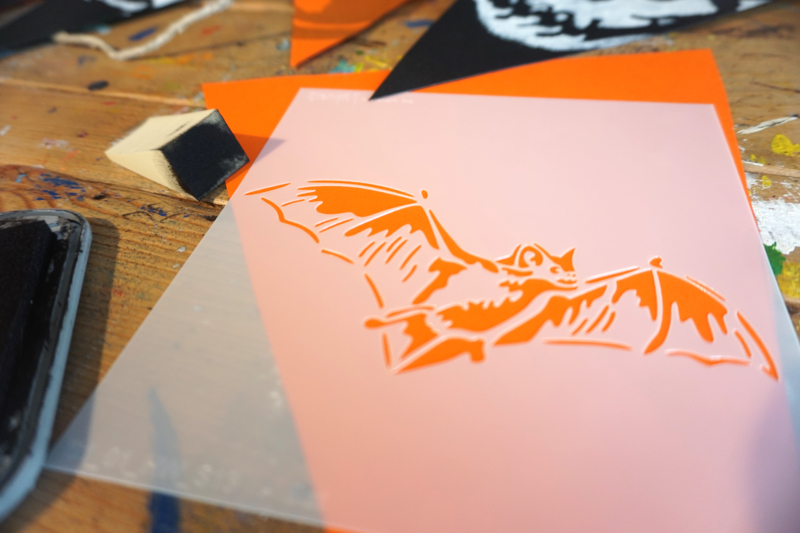
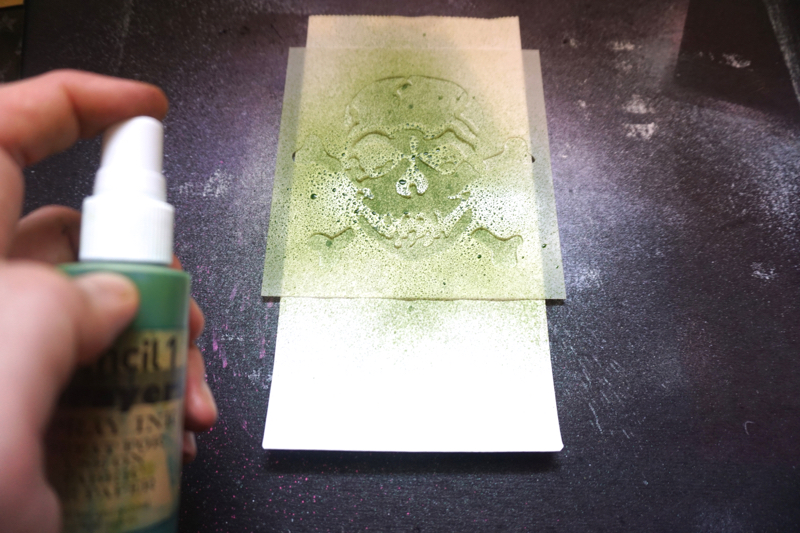
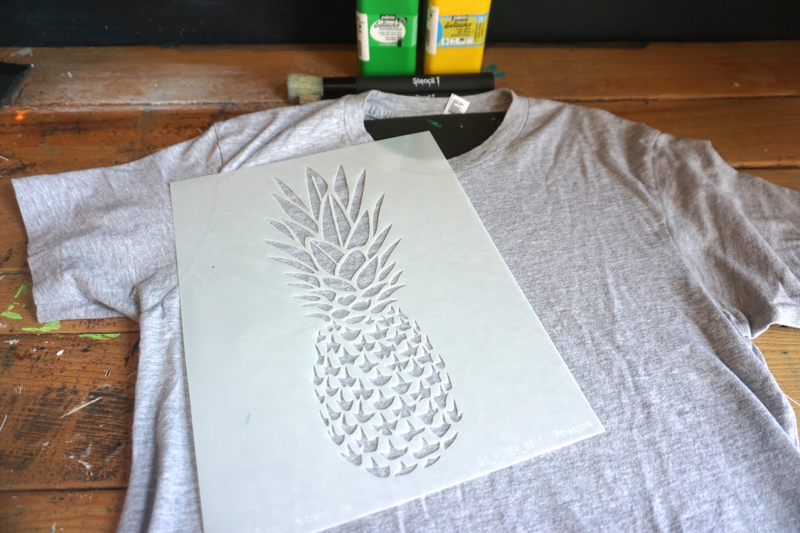
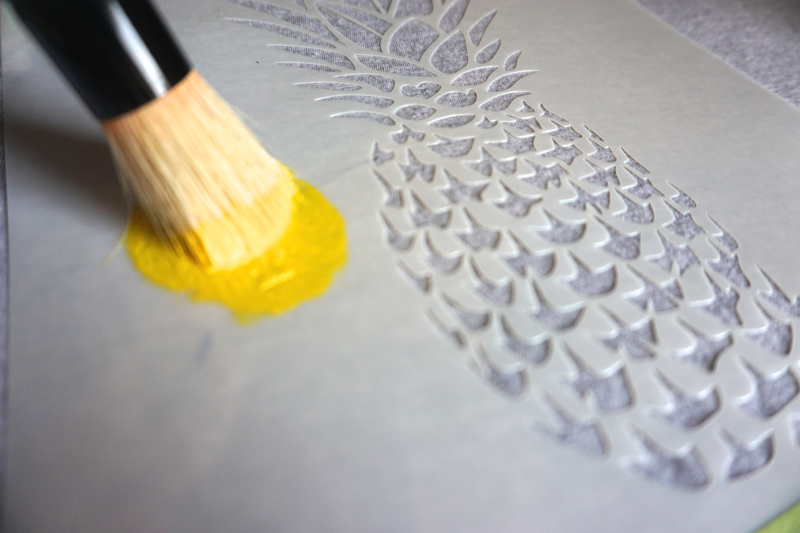
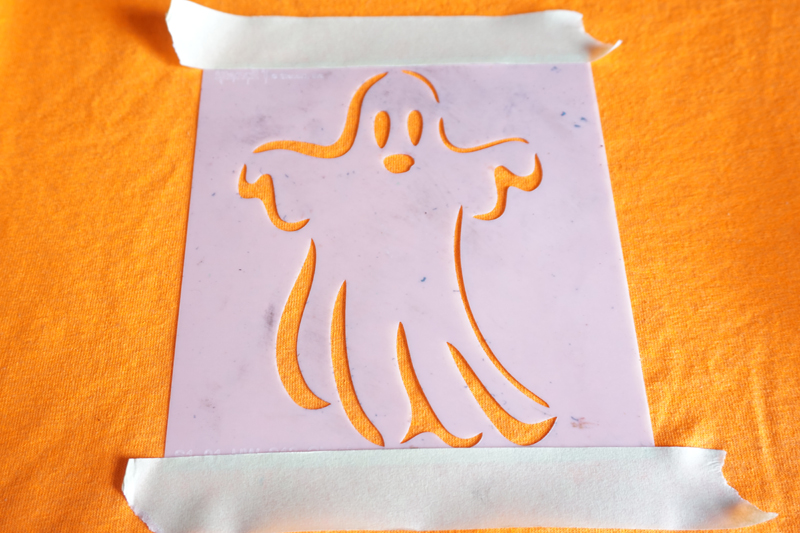
Place the Ghost stencil in your desired location on your shirt. Add a little tape on the top and bottom of the stencil to keep it in place and to prevent painting over the edge of the stencil.

DSC05394

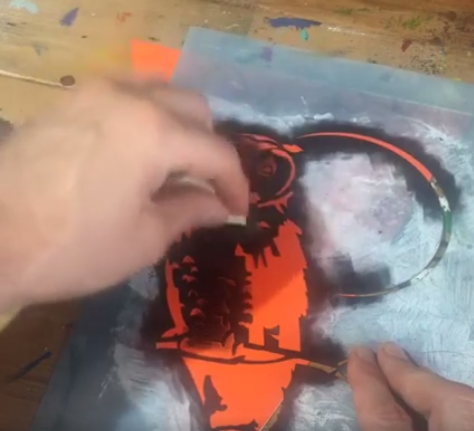
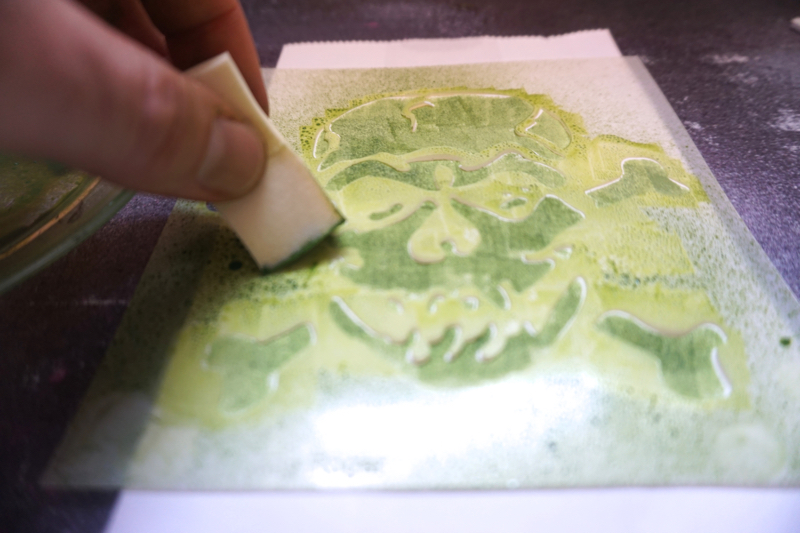
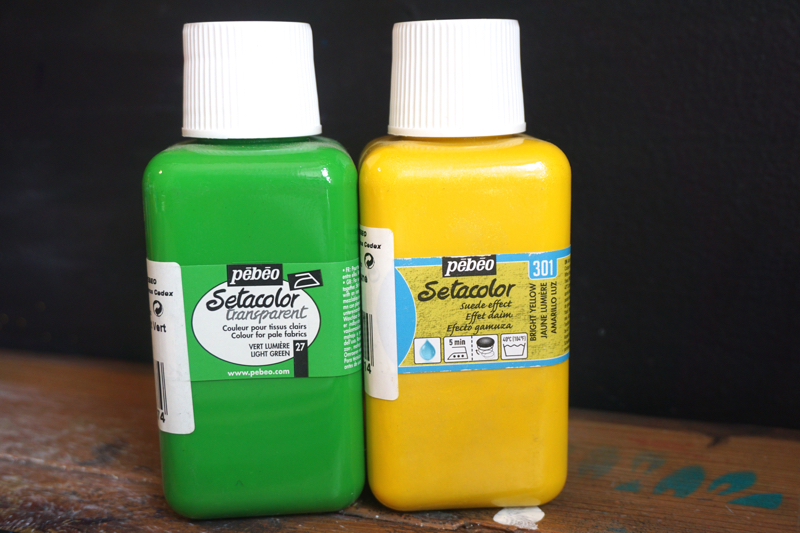
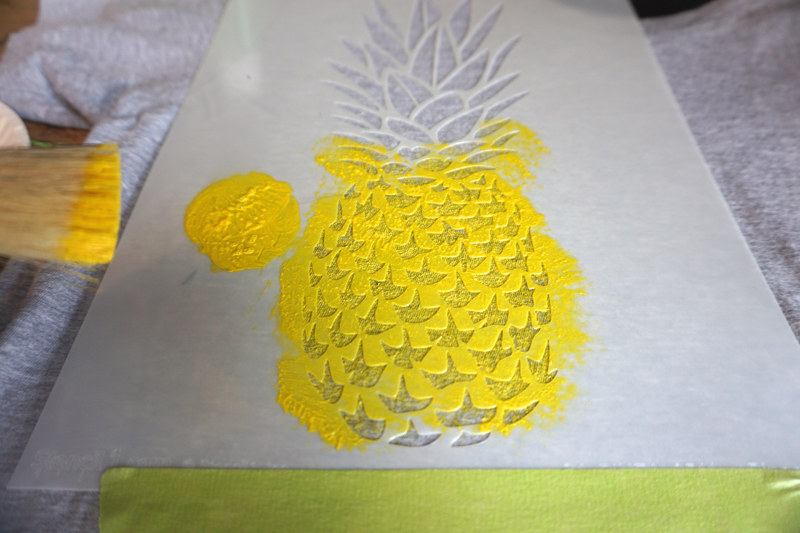
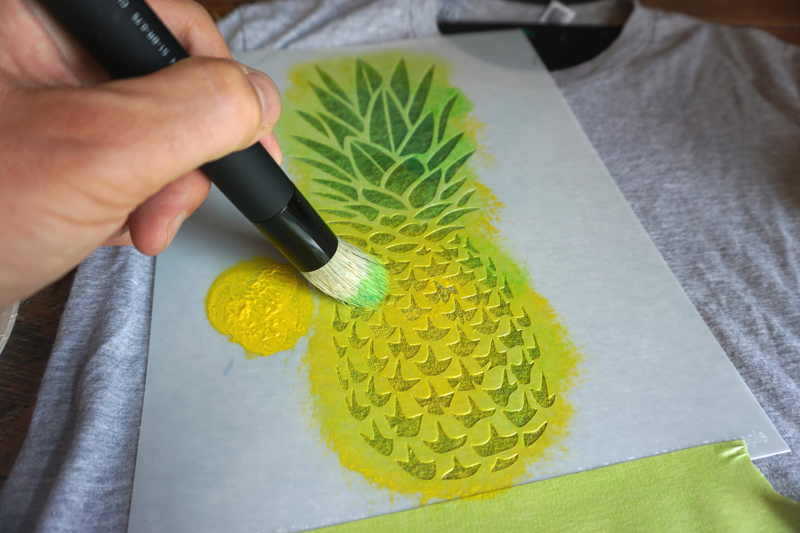
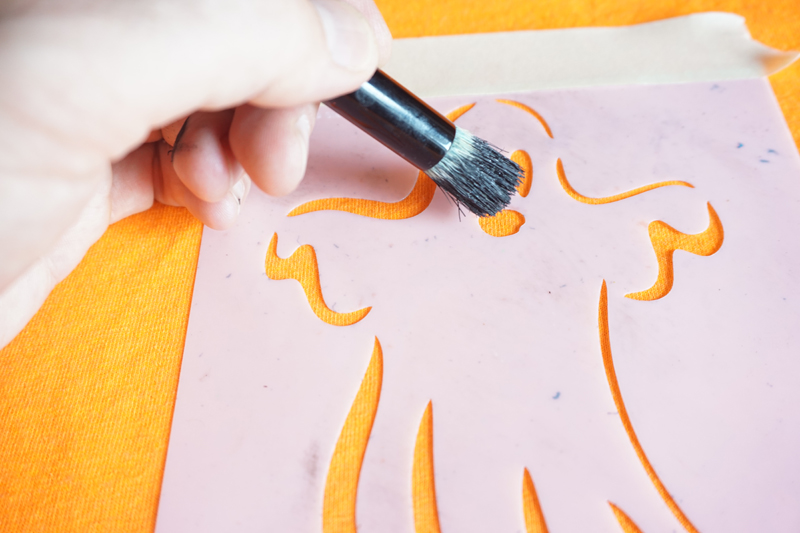
Load up your brush with black paint and start painting over the stencil in a dabbing motion. Be sure to remove any excess paint from the brush by wiping it off on a paper towel or plate to prevent the paint from bleeding underneath the stencil.

DSC05395

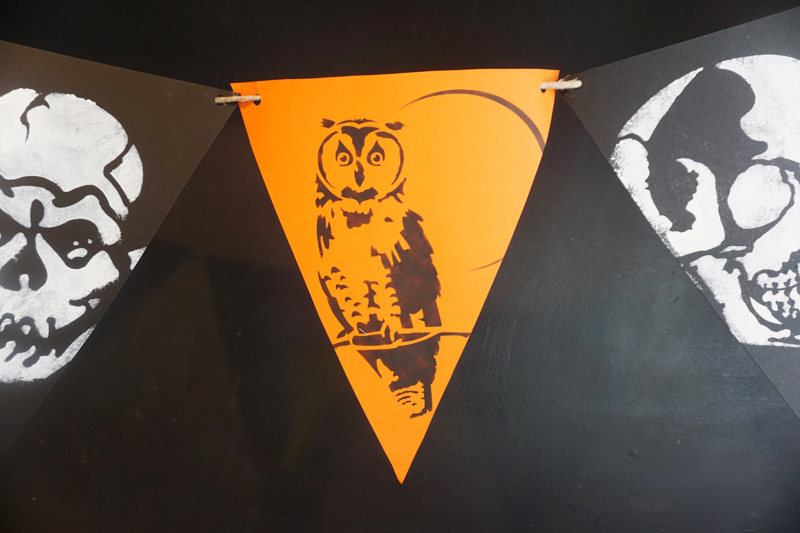
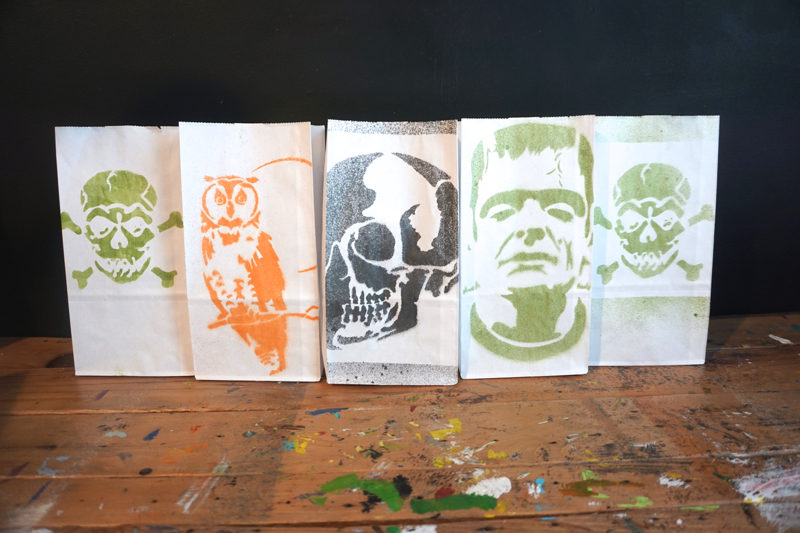
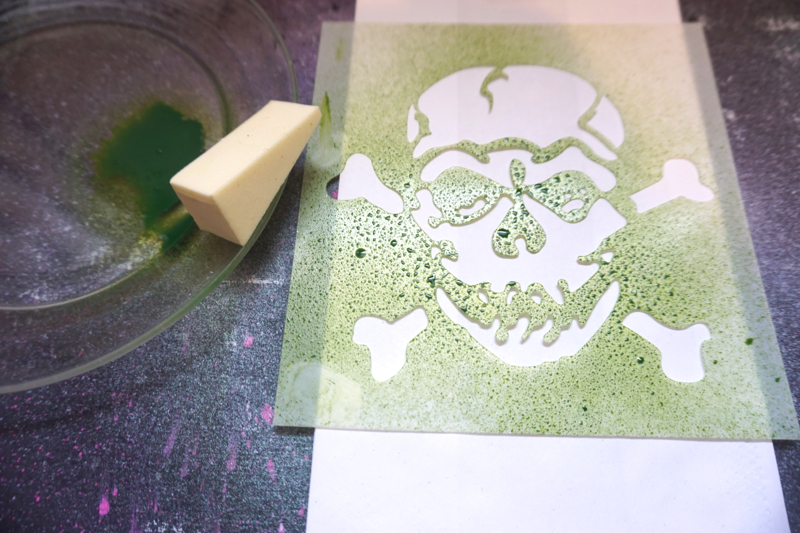
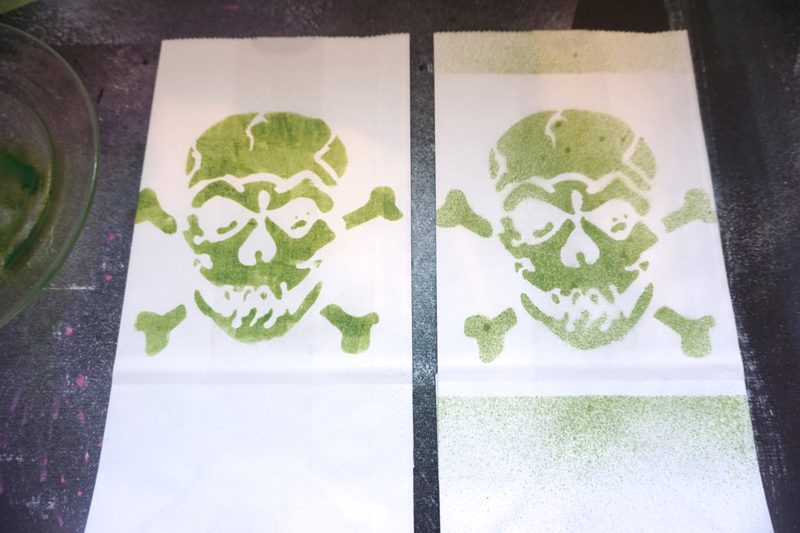
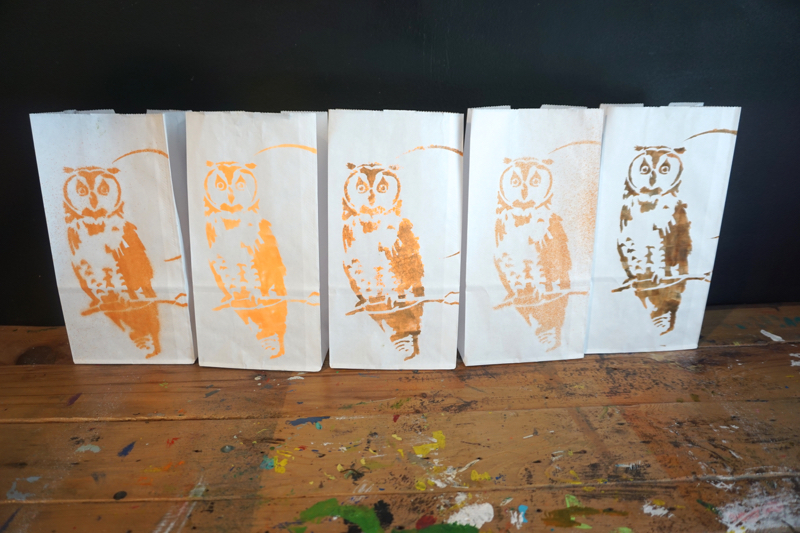
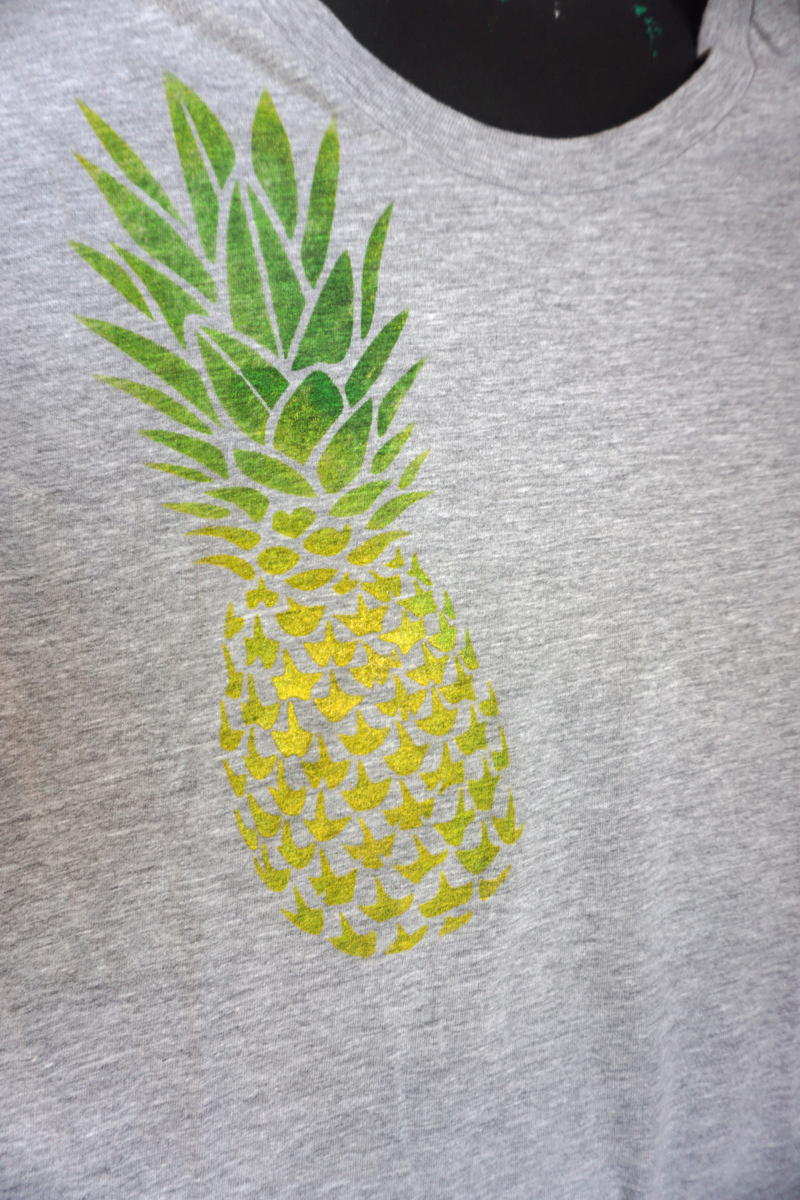
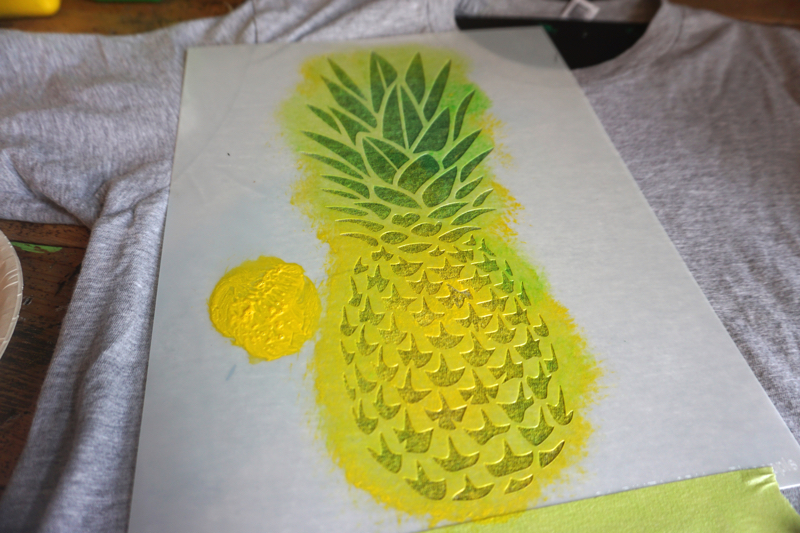
Once the paint is finally dry, carefully remove the stencil to reveal the final image.
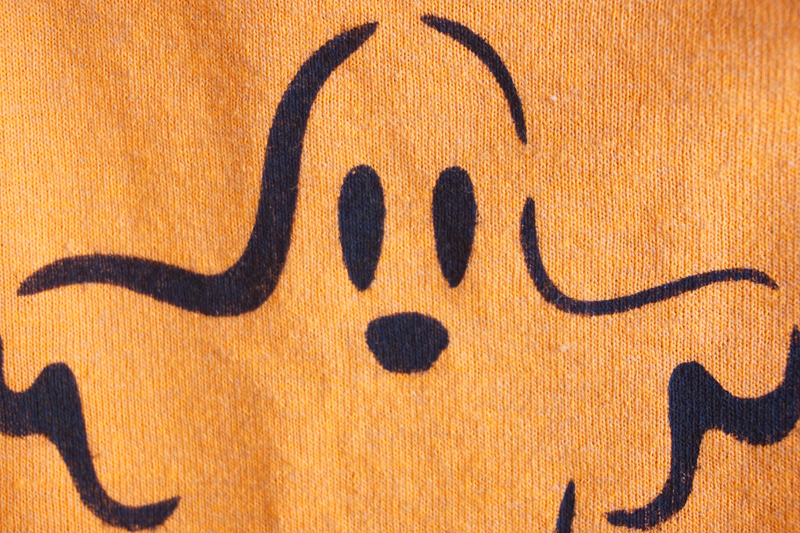
DSC05405

Terrifying!

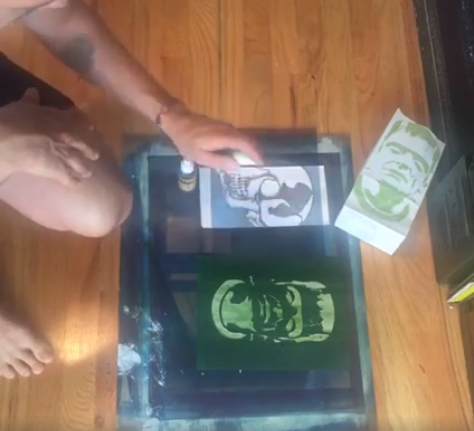
Check out how we did it step-by-step on this past Make It Monday!

YouTube Preview Image

Be sure to go to Stencil1 Facebook page every Monday at 2 PM EST for live streams of how-to’s and craft talk!


dayofthedead_paper_lantern_final

Day of the Dead or Dia de los Muertos is a holiday for remembering and honoring those who have passed. It is a festive, joyous time of celebration. Traditions connected with the holiday include building private altars called ofrendas, honoring the deceased using sugar skulls, marigolds, and the favorite foods and beverages of the departed, and visiting graves with these as gifts. The Day of the Dead is officially November 2 but festivities for the holiday span from Oct 31 to Nov 2. During this time it is believed that those who have passed return to their earthly homes to visit and rejoice with their loved ones.

In honor of those deceased, why not make them a beautiful paper lantern and light it for them? Or fill the bag with their favorite sweets and leave it with marigold flowers at their grave? Here’s how we made it:

Things you will need: A white paper lunch bag, a candle, Sharpie Stained brush tip fabric markers, and the Stencil1 Sugar Skull stencil.

DSC05512

Place the Sugar Skull Stencil on top of the bag. Using any Sharpie Stained brush tip fabric marker, start coloring in the Sugar Skull using the stencil as a guide.

DSC05506

Even though The Sharpie Stained brush tip fabric marker is specifically for fabric, it works just as well for paper! The tapered brush tip makes it easy to fill in any space and create thin or thick strokes.

DSC05509

You can choose to leave it as a treat bag, or add a candle inside and make it into a lantern.

DSC05503

Share your Day of the Dead creations with us @Stencil1!


Invitation1

You’re getting ready for the biggest Halloween party ever, but how are you going to tell people about it? Decorate a blank card with a Stencil1 Halloween stencil, like the Stencil1 Frankenstein stencil, and customize your invitation with all of your party information!

All of your guests are going to be impressed with your stenciling skills and they’re all going to have to come!

For a more detailed explanation and more how-to’s, check out Make It Monday on Stencil1′s Facebook Page!

Make It Monday
YouTube Preview Image

Be sure to go to Stencil1 Facebook page every Monday at 2 PM EST for live streams of how-to’s and craft talk!


pennant_banner3

It’s not a Halloween party without spooky decor! Learn how to make this pennant banner from scratch and bring in the Halloween vibe.

Start off by cutting long triangle pieces from black and orange card stock or construction paper.

pennant_banner2

Find the Halloween stencil of your choice, like the Stencil1 Bat stencil, and place it on the triangle piece. With a makeup sponge and a stamp pad, pick up some ink and dab over the stencil.

pennant_banner1

Once all the pieces are finally painted and dry, punch one hole on each corner of the upper edge of the triangle. Feed a string or cord through the holes and hang wherever you’d like!

pennant_banner4

For a more detailed explanation and more how-to’s, check out Make It Monday on Stencil1′s Facebook Page!

Make It Monday
YouTube Preview Image

Go to Stencil1 Facebook page every Monday at 2 PM EST for live streams of how-to’s and craft talk!

Be sure to check out our 1 Stencil, 2 Ways Halloween Candy Bag DIY!

Stay tuned for more tricks and treats for Halloween 2016!


Stencil1 Halloween

Are you ready for the first Stencil1 Halloween trick out of many we have for you all? Customize your Halloween candy bags using Stencil1 Halloween stencils, but with two different techniques! The trick-or-treaters will love them.

Using the Stencil1 Jolly Roger stencil and a Stencil1 Sprayer, place the stencil in your desired location and spray on top of the stencil for a graffiti look. It’s like using a spray can, but smaller!

DSC05239
DSC05248

For a cleaner look, spray the ink on a plate. Pick up the ink using a makeup sponge and paint over the stencil using a dabbing motion.

DSC05253
DSC05255

Which technique will you try out?

DSC05258

Be sure to check our Halloween stencils and try all of them out!

DSC05270

For a more detailed explanation and more how-to’s, check out Make It Monday on Stencil1’s Facebook Page!

Make It Monday
YouTube Preview Image

Be sure to go to Stencil1 Facebook page every Monday at 2 PM EST for live streams of how-to’s and craft talk!

Stay tuned for more tricks and treats for Halloween 2016!


Who doesn’t love pineapples? Why not put it on a shirt!

DSC05188

Things you will need: A shirt, paint and brushes, and the NEW Stencil1 Pineapple stencil.

DSC05172

Start off by placing the pineapple stencil in your desired location.

DSC05173

Get your paint ready. Here, we’re using Pebeo’s Setacolor Transparent in Light Green and Suede Effect in Bright Yellow, which gives an awesome suede finish when dry!

DSC05190

Using the yellow color, load up your brush. Dab excess paint on a paper towel, or even on the uncut sides of the stencil! This dry brush method will ensure paint won’t bleed underneath the stencil and the finished product will look as clean as a possible. This method is especially helpful for detailed stencils like the Pineapple stencil.

DSC05179

Paint away!

DSC05181

Using the green color, we painted the leaves and also the sides of the pineapple in order to give it an ombré effect.

DSC05184
DSC05183

Repeat as much as you like! You can never have too many pineapples.

DSC05189

Our new Pineapple stencil ALSO comes in a smaller 6″ x 6″ stencil. Check it out!

Be sure to send us your Pineapple creations with us @Stencil1