Στο νέο online παιχνίδι καζίνο του Nine Casino, εμπνευσμένο από τον κόσμο της κατασκευής στένσιλ, οι παίκτες μπορούν να δημιουργήσουν τα δικά τους μοναδικά μοτίβα για να ξεκλειδώσουν ειδικά επίπεδα παιχνιδιού. Gracze rywalizują o stworzenie najbardziej wyszukanych wzorów szablonów, które są następnie oceniane w grze pod kątem bonusów i nagród w kasynie MostBet Casino Immediate Byte Pro Neoprofit AI
IMG_8065

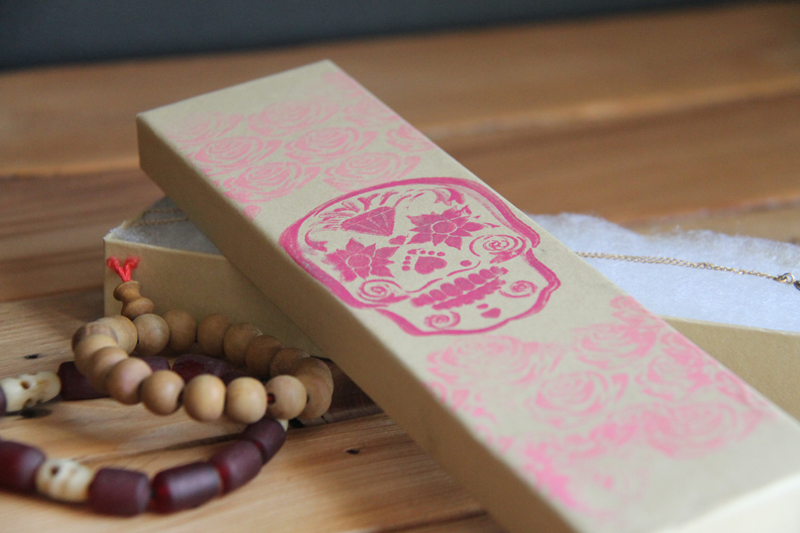
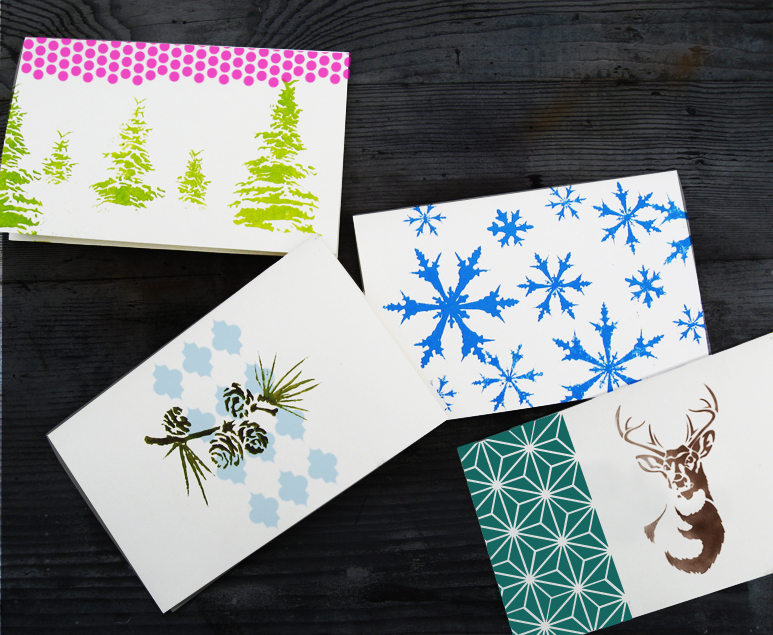
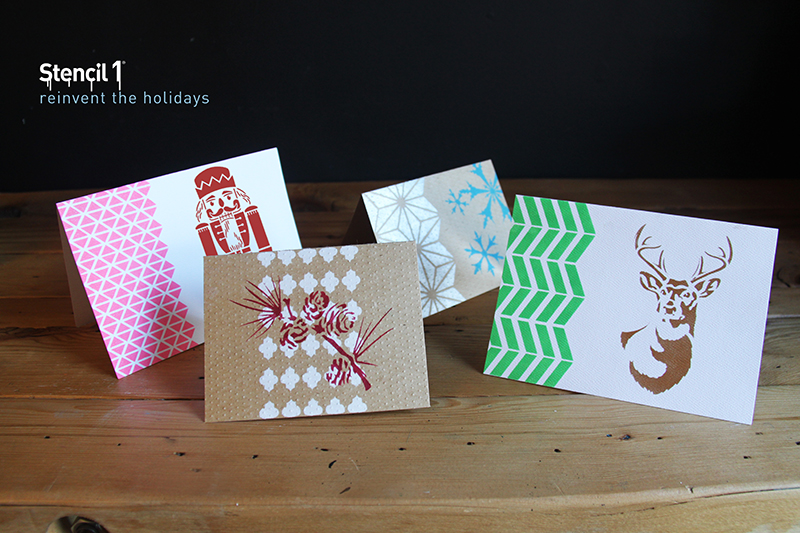
Personalize your gifts this Christmas to make them extra special. You don’t have to spend hours to make something that’ll make your special someone smile. Try these personalized cards and gift tags, making them is super easy and super fast!

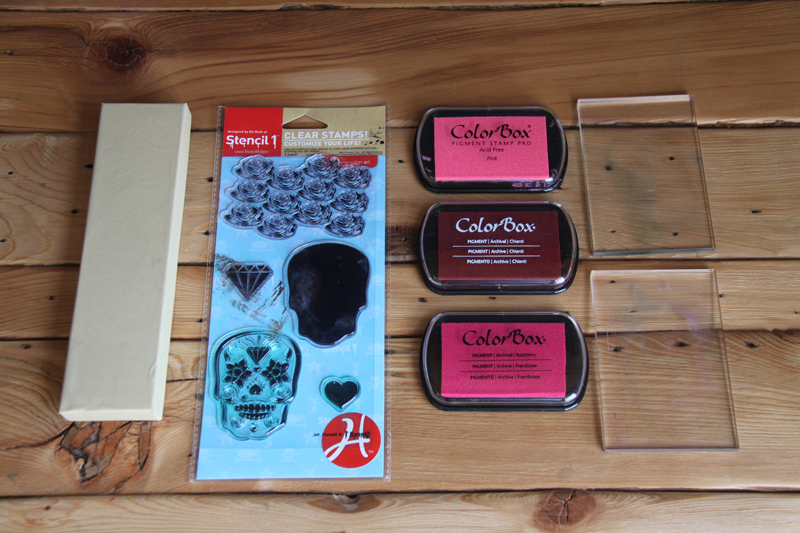
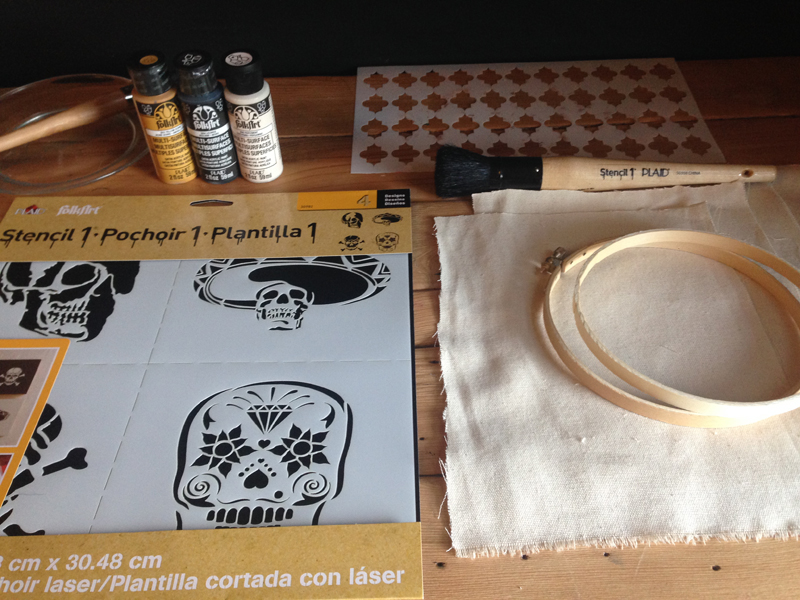
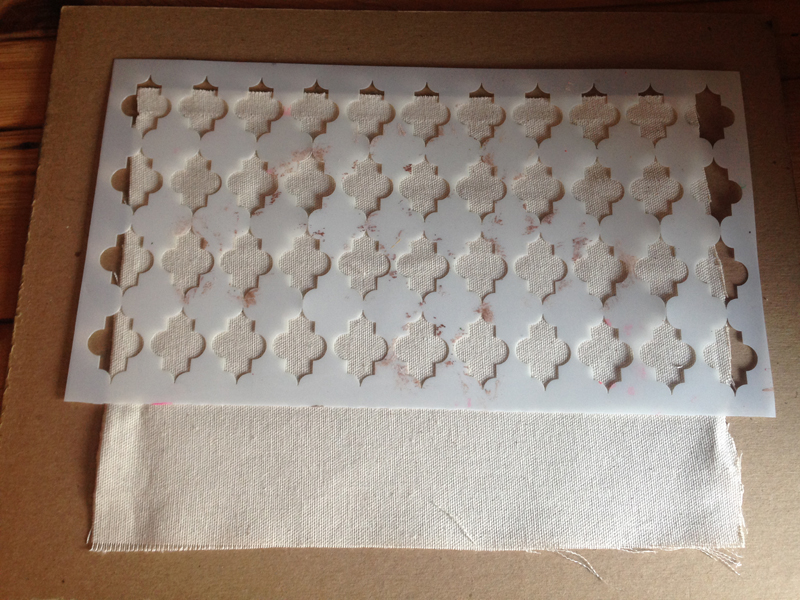
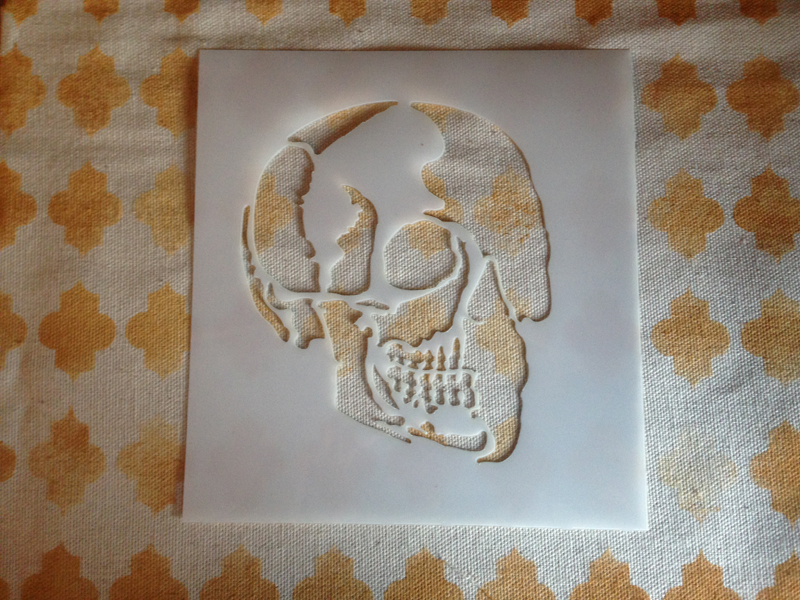
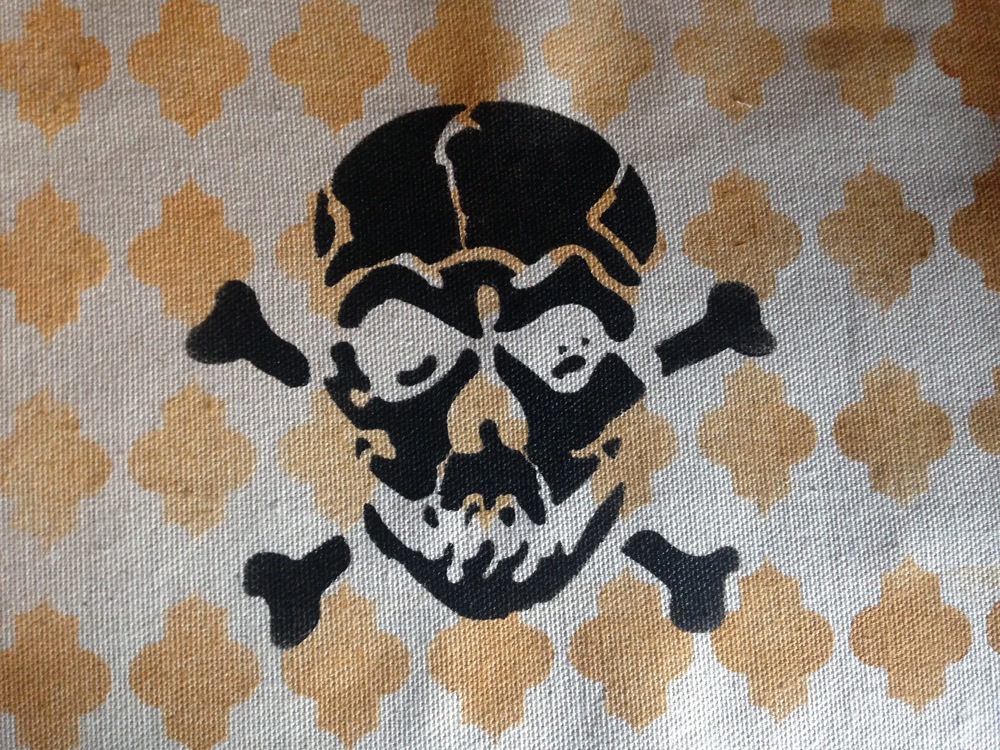
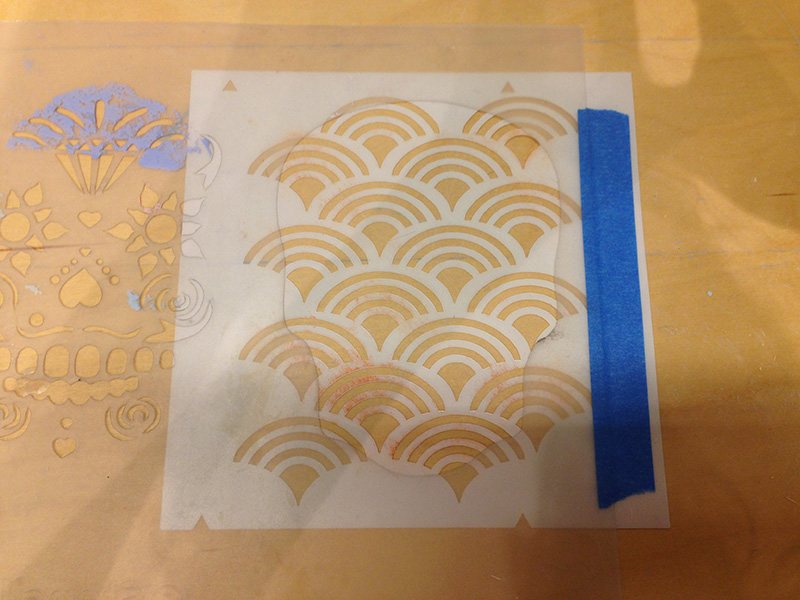
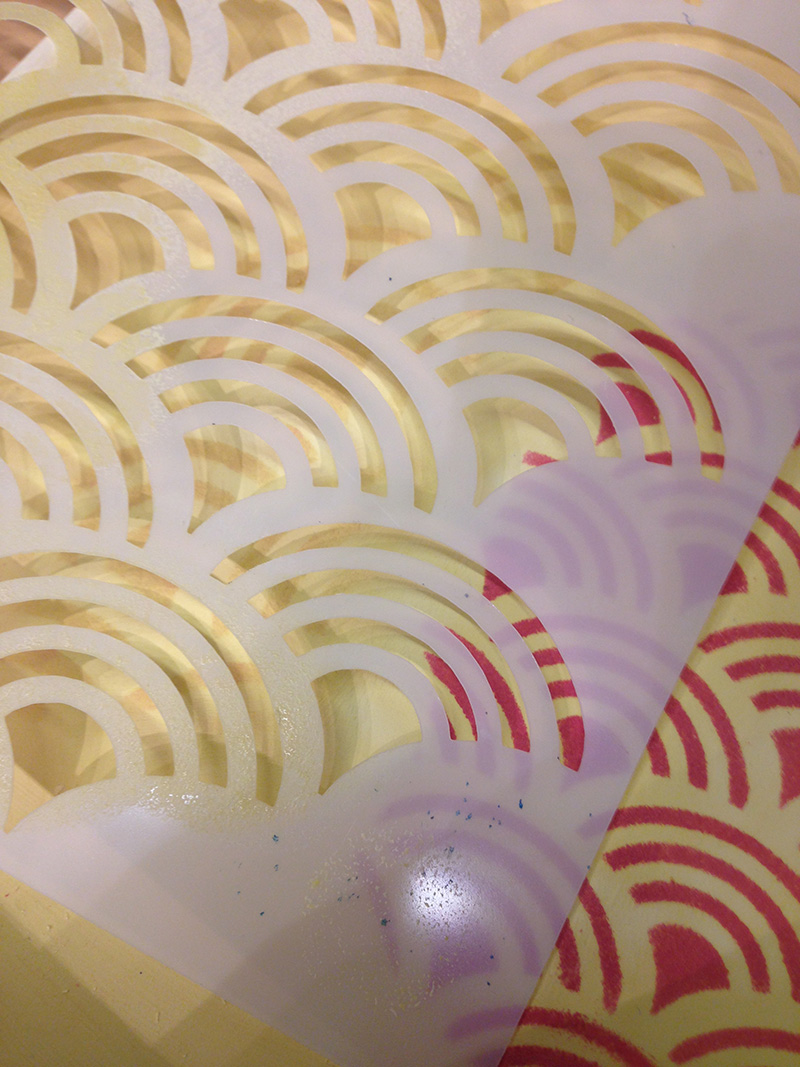
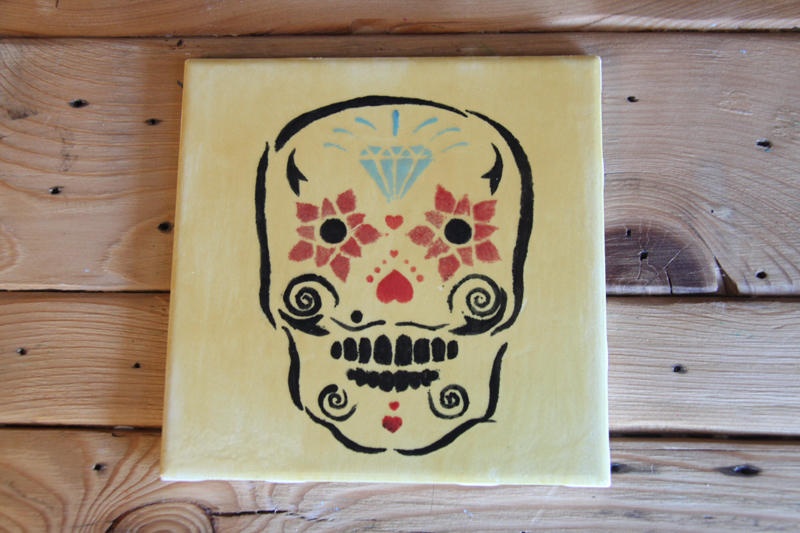
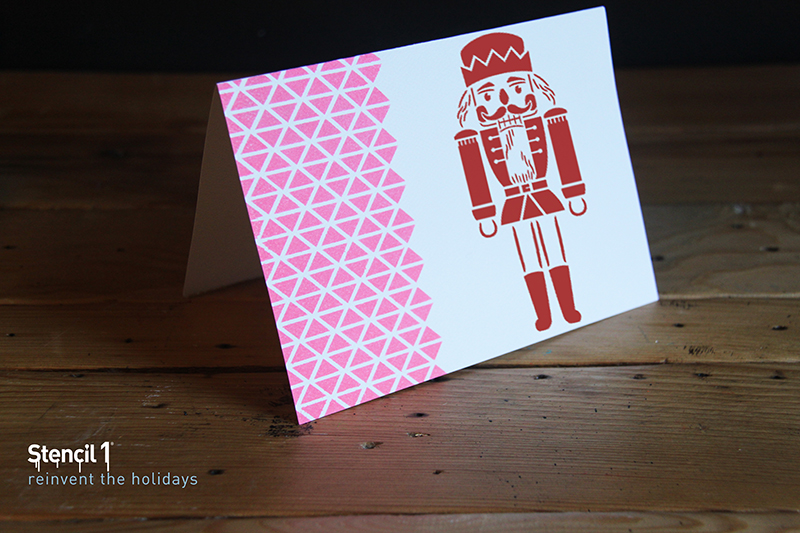
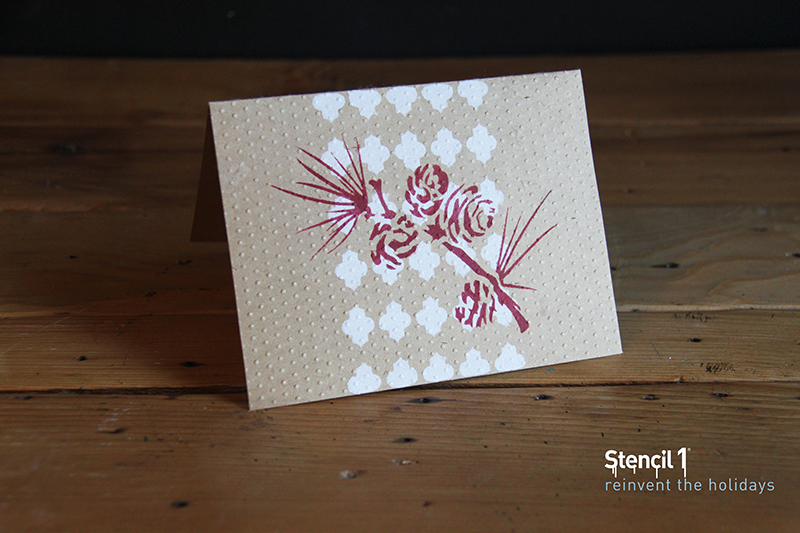
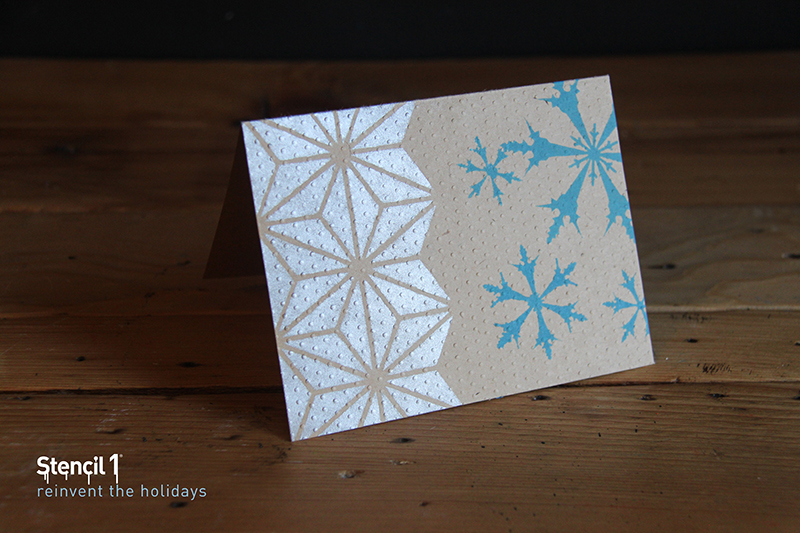
These are the stencils we used: Stencil1 Pattern Stencils, Winter Holiday Set, Nutcracker 4 Pack

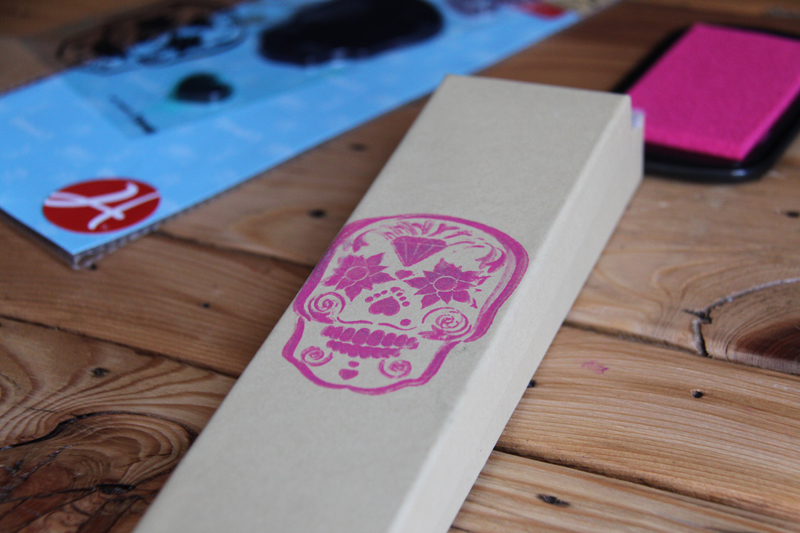
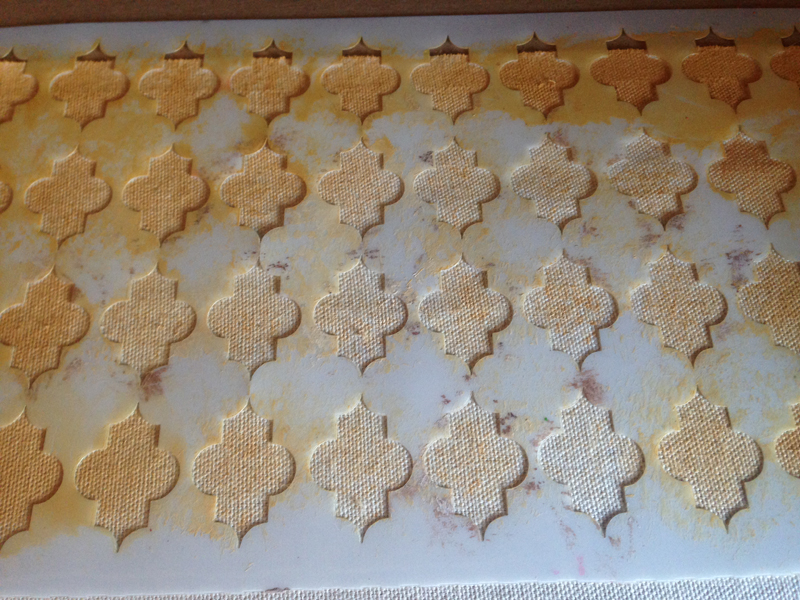
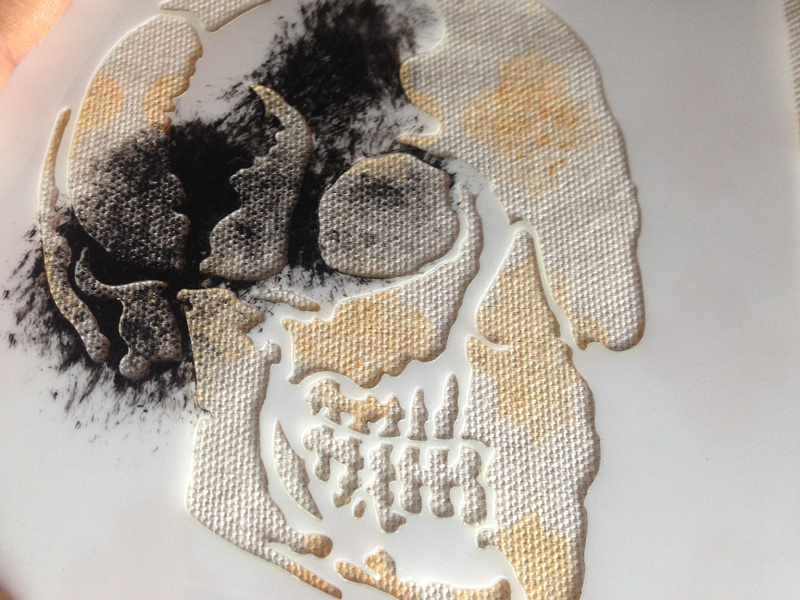
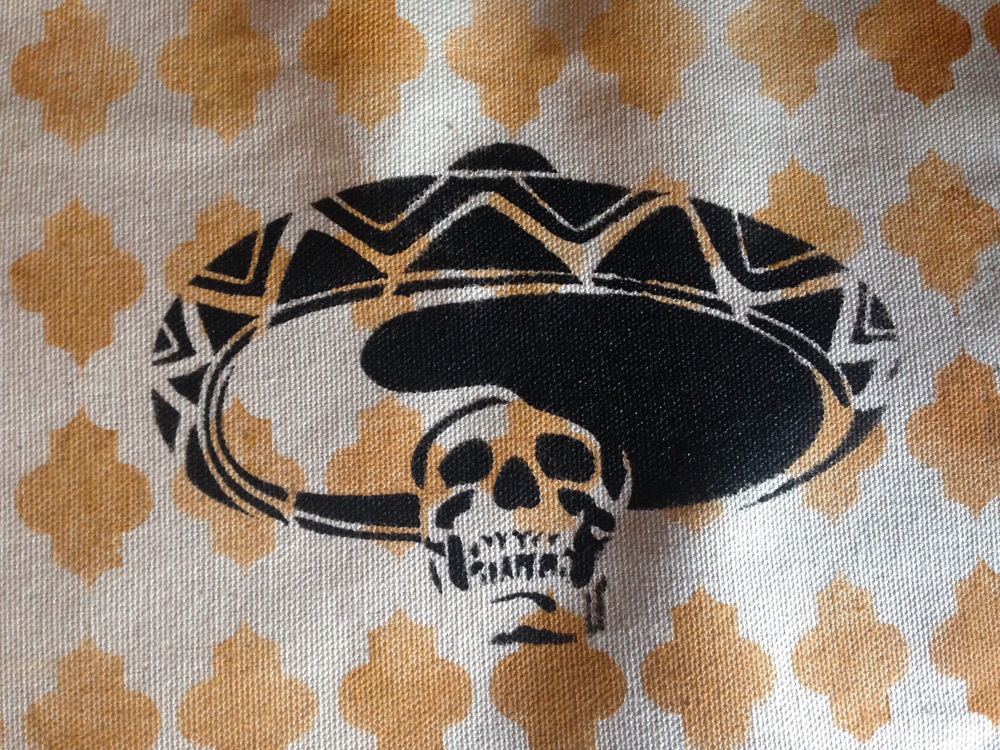
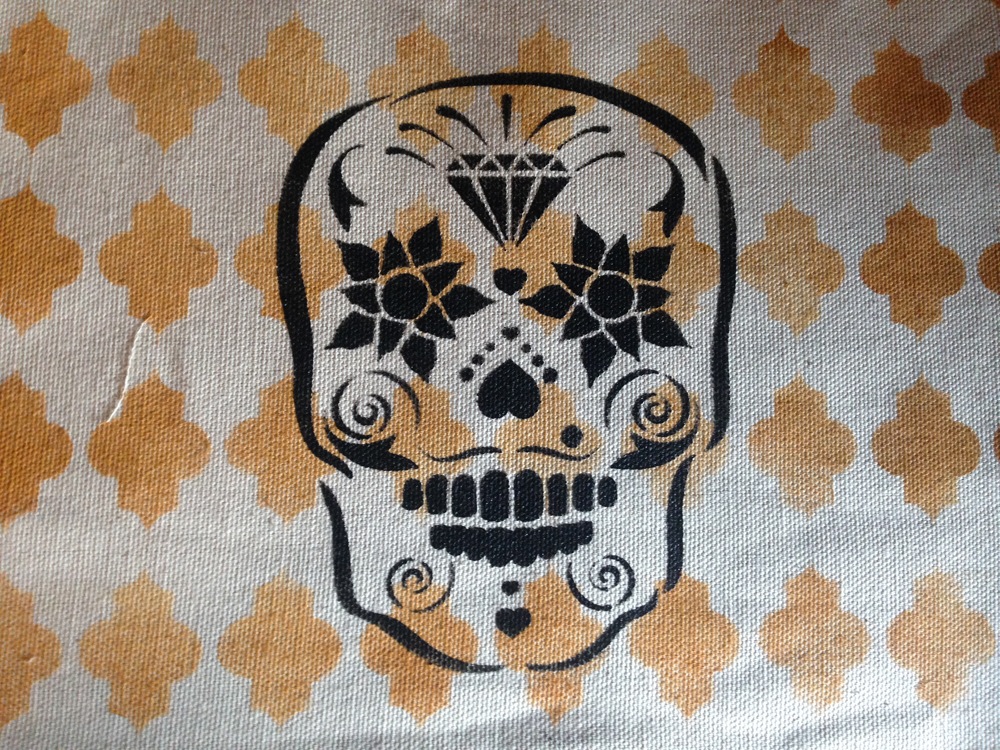
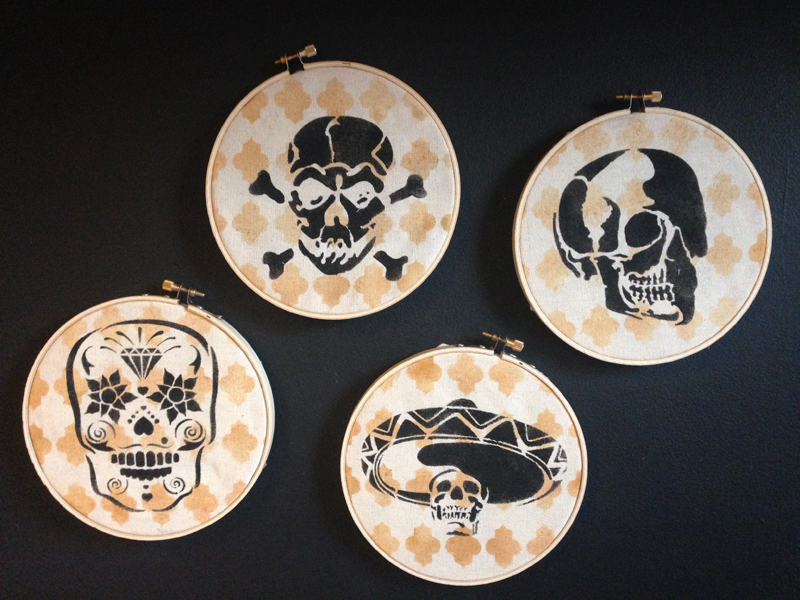
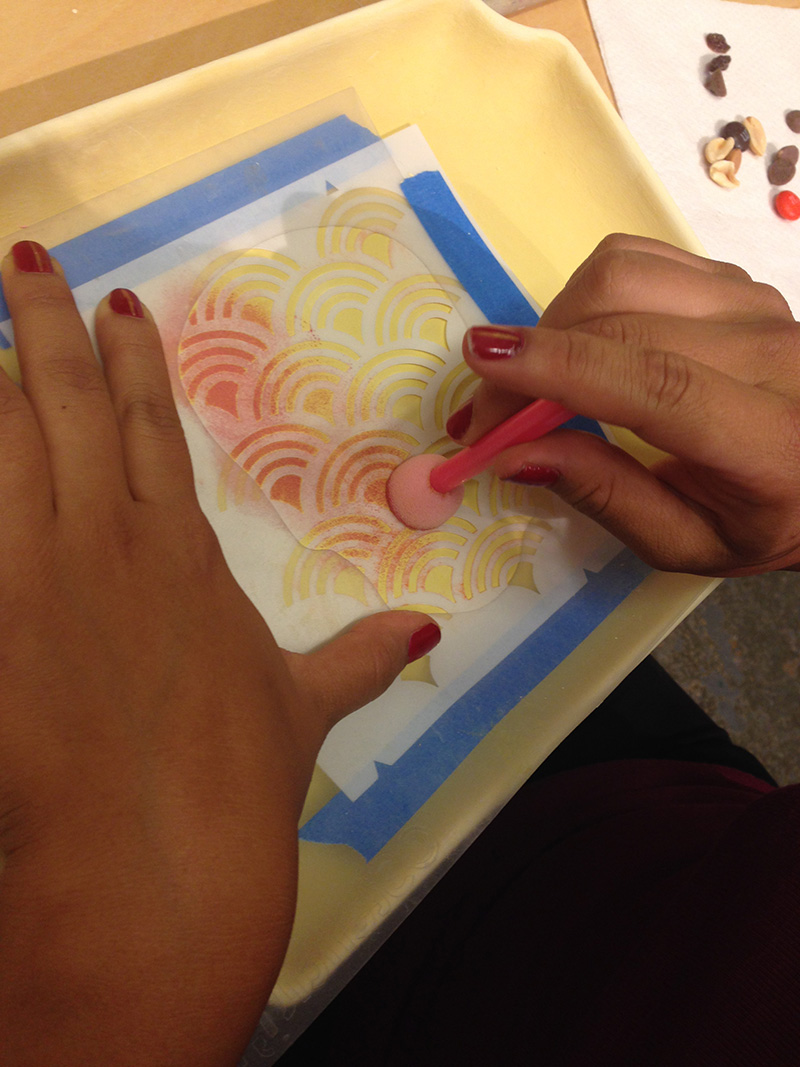
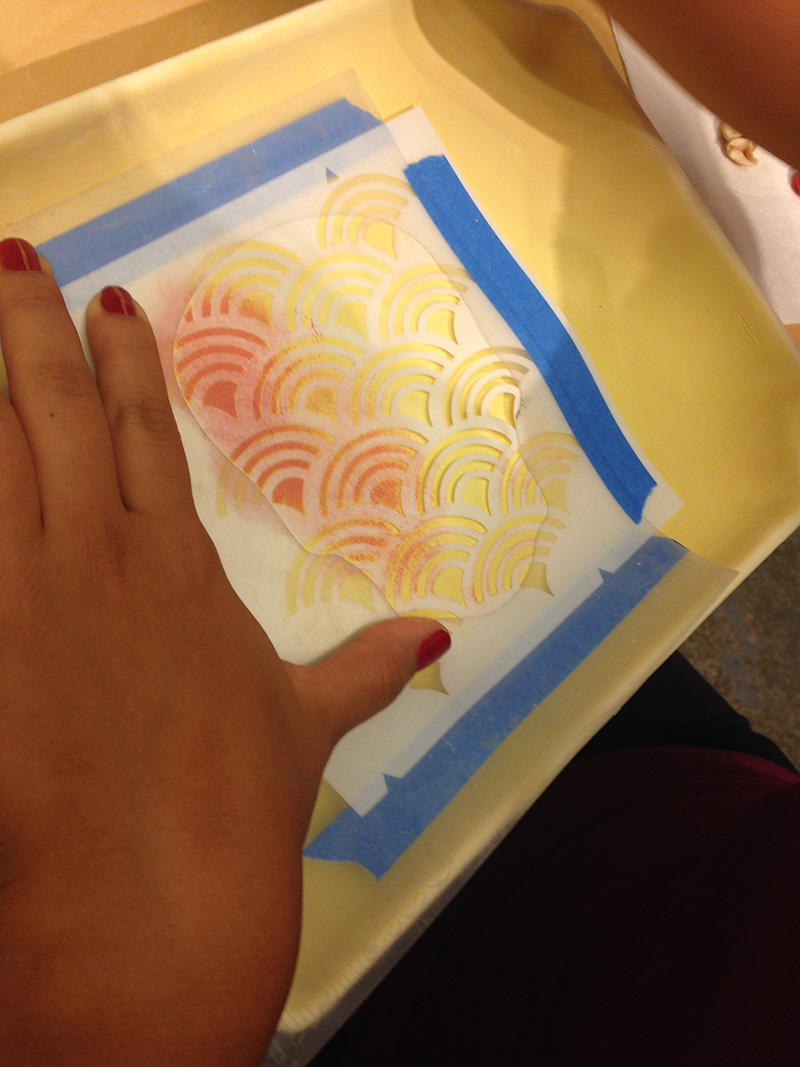
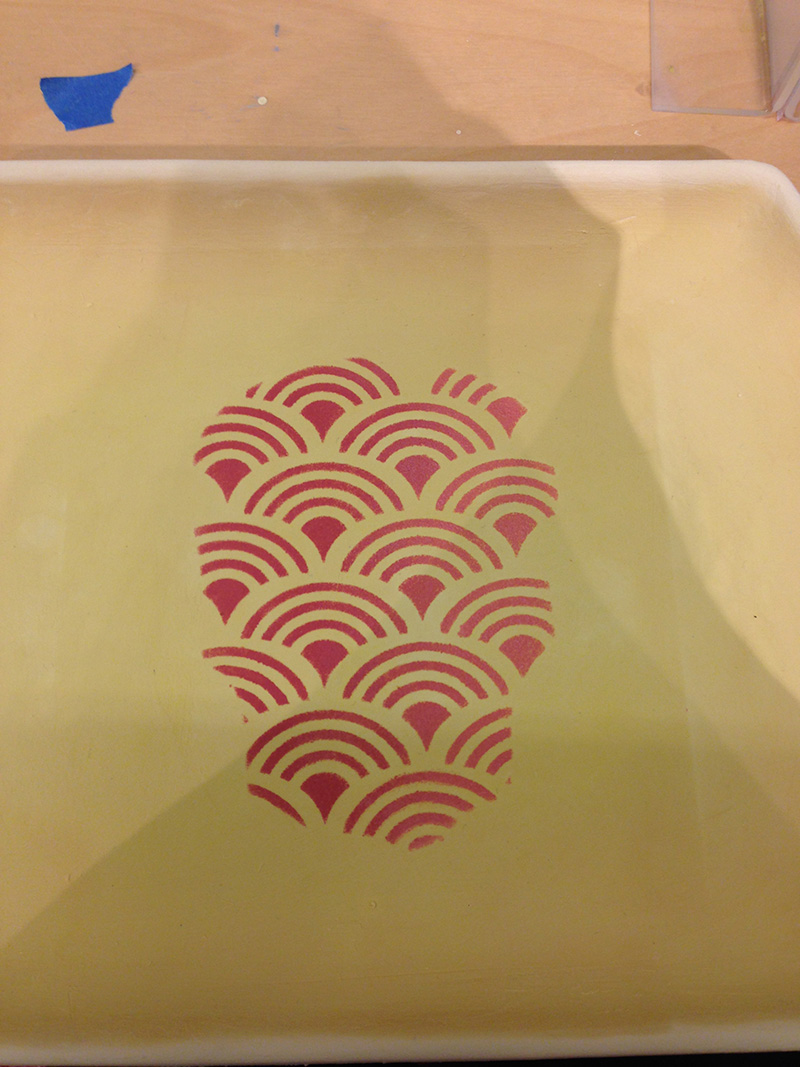
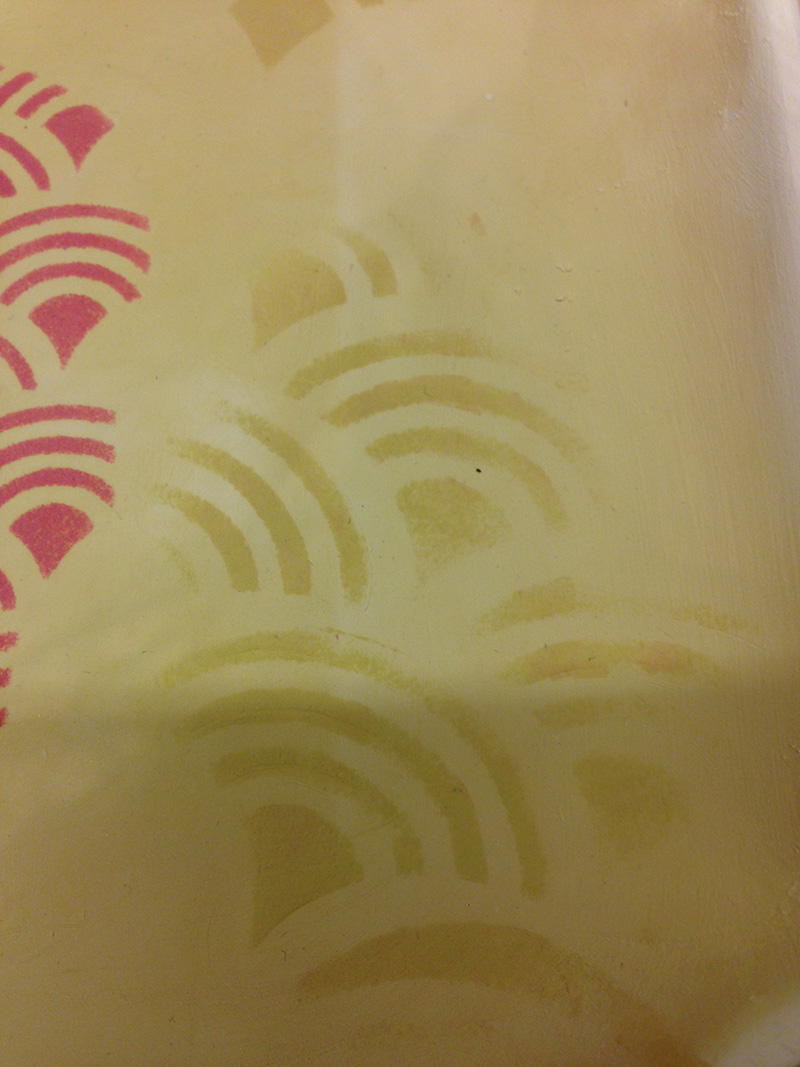
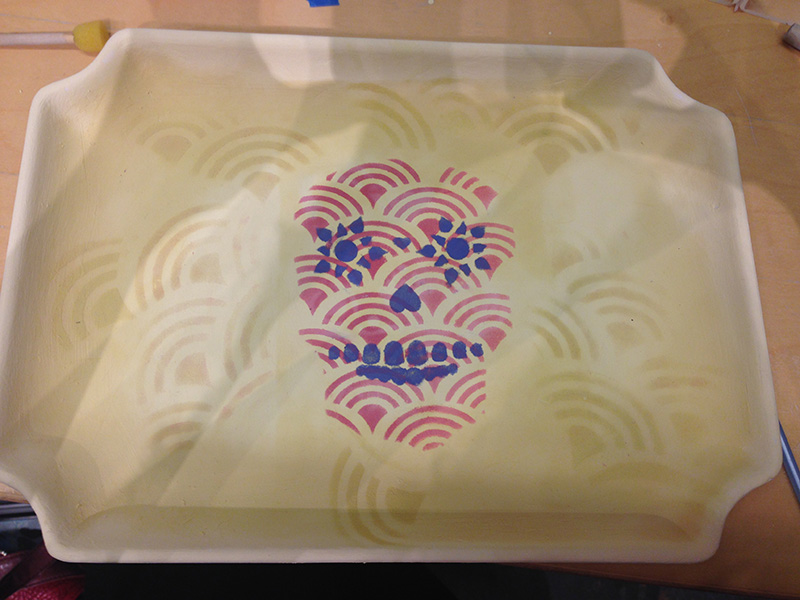
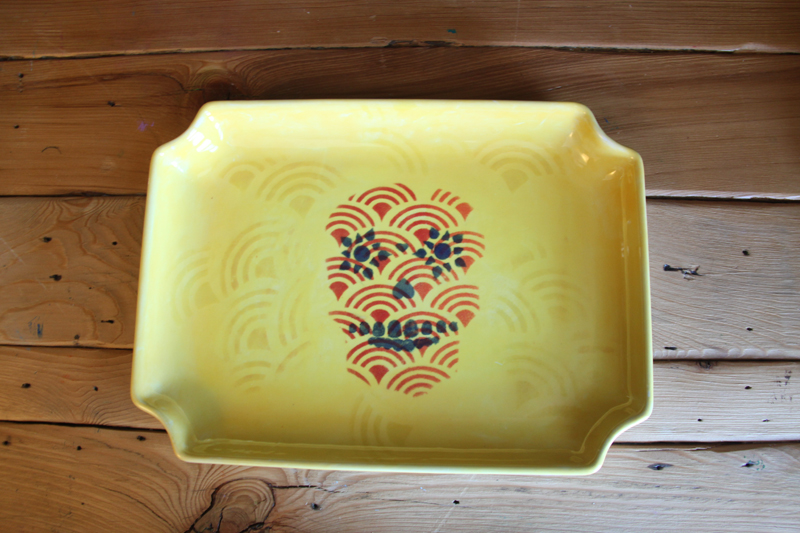
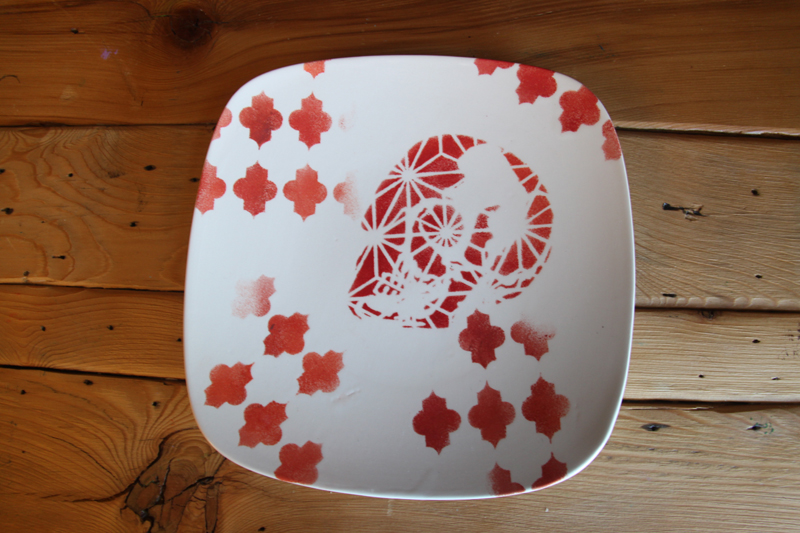
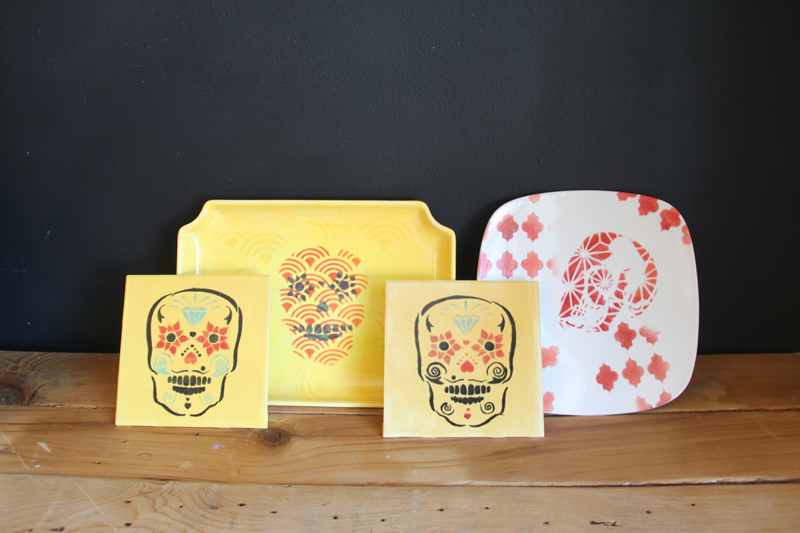
Tip for stenciling: Use a dry brush technique! This means very little ink (we used Clearsnap Crafter’s Ink) and multiple layers!

IMG_8063
IMG_8054
IMG_8052
tags_all_final

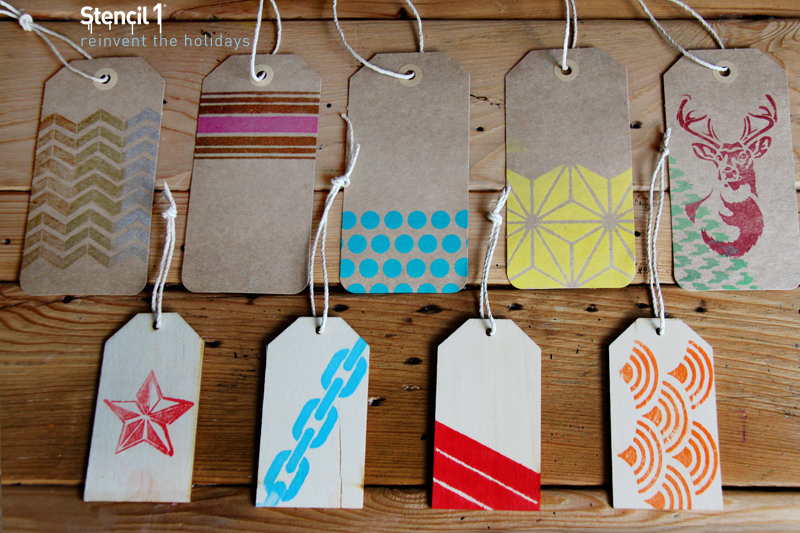
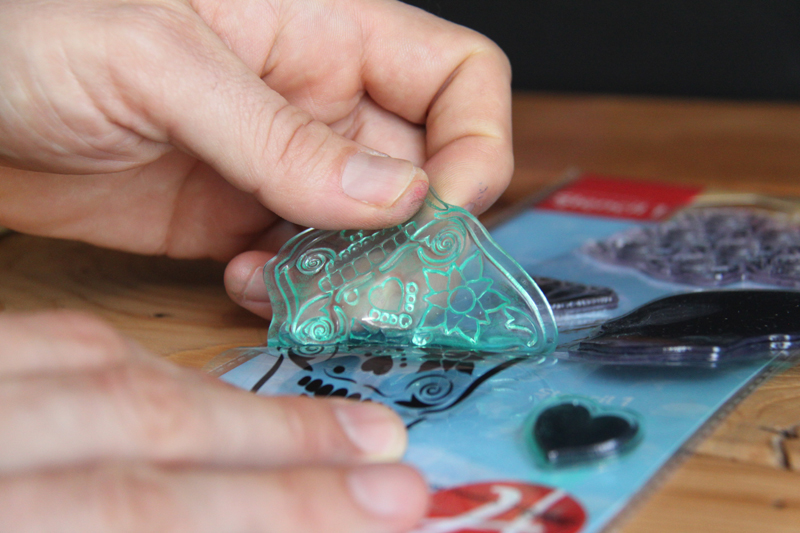
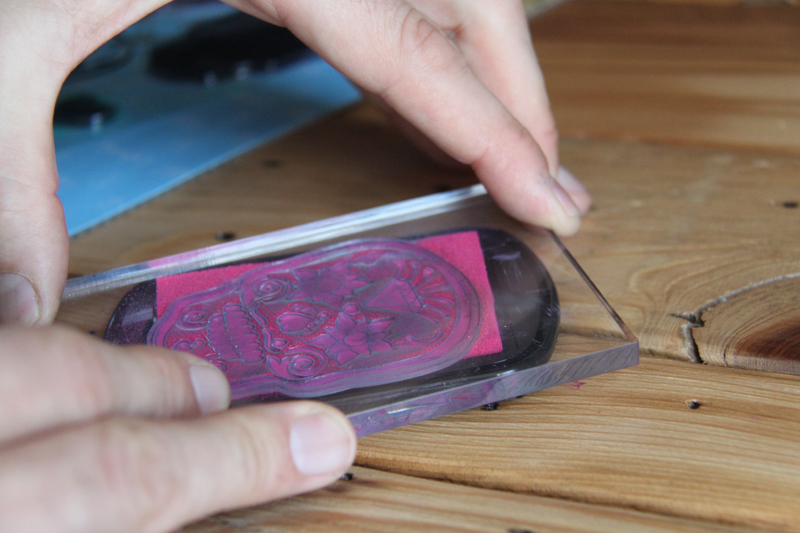
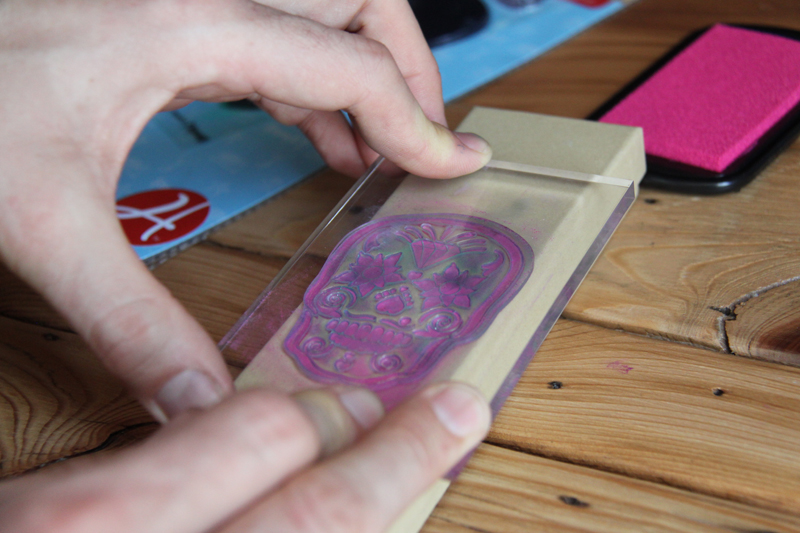
We also used our STAMP SETS for some of the tags!


Handmade Holidays 2014 Hop Logo

Welcome to the 4th Annual Handmade Holidays Blog Hop! A few years ago we were looking online for handmade gift ideas and thought it would be great if there was a resource dedicated JUST to handmade gift ideas. Enter the Handmade Holidays hop! We’ve gathered over 100 of our creative blogger friends in the craft industry as well as some of our fellow product manufacturers to bring you a plethora of inspiring gift ideas you can make now to give to your friends, family, and colleagues. Pin and bookmark these ideas for this holiday season and to use throughout the year! Each day of the hop features approximately 30 gift projects and you can “hop” from one blog to another to check them all out.

Everyone loves a homemade holiday gift because they’re a great way to show someone how much you care about them. However, we’ve got the perfect solution for those times when you’ve found the perfect store-bought gift but still want to make it more  personal. Use our Stencil1 Clear Stamps to make and awesome homemade and personalized gift box.

For this project, you’ll need: Day of the Dead Skull Stamp SetClearsnap Pigment Ink PadsHampton Art Clear Blocks and a cardboard gift box.

IMG_3815

Step 1: Peel the Sugar Skull outline stamp off its backing and stick it on the clear block.

IMG_3816

Step 2: Coat the stamp evenly with ink by pressing it against the ink pad.

IMG_3817

Step 3: Stamp the box by pressing the stamp onto the top of the box firmly and with even pressure.

IMG_3819
IMG_3820

Step 4: Follow the same steps with the rose pattern.

IMG_3830

Are you ready for lots more creative handmade gift ideas and projects??

Follow along on our blog hop! Simply click on each of the links below to be taken to that post with additional information and photos on how to create a handmade gift project. Have fun and pin away!

Clearsnap

Ellison Educational Equipment

Walnut Hollow 

Graphic 45

Neat and Tangled

Therm O Web

Westcott 

Elizabeth Craft Designs

Pink and Main

The Buckle Boutique

Scrapbook Adhesives by 3L

Rowland Technologies

ICE Resin

Hydrangea Hippo

Clearsnap – Suzanne Austin

Stencil1 – Ed Roth 

Graphic 45 -Nadya Lifa

Cookies for Breakfast- Beth Pingry 

Cupcakes and Crinoline – Mary Beth Sharkey 

Elizabeth Craft Designs – Frances Byrne

Lazy Mom’s – Joanna Grzeszczak

Homemade Ginger – Megan Kapple

Scrapbook Adhesives by 3L – Asia King

Ellison Educational Equipment – Anna-Karin Evaldsson

One Artsy Mama- Amy Latta

Therm O Web – Alice G0lden

Lovely Etc – Carrie Spalding

ICE Resin – Clare Horner

Pink and Main – Yolie Burke

The Buckle Boutique – Stephanie Nericcio

Modern Surrealist – Marisa Pawelko

A Little Craft In Your Day – Tanner Bell 

Artsy Findings – Cheryl Waters

Stampin Mindy – Mindy Baxter

a Rafflecopter giveaway

A huge thank you to our sponsors for this hop - please visit their blogs below and follow them. And be sure to come back tomorrow for another 30+ amazing Handmade Gift Ideas!

Handmade Holidays 2014 Hop Logo SPONSORS 300dpi

Clearsnap || Ellison Educational Equipment || Walnut Hollow || Graphic45 || Westcott || ICE Resin || Therm O Web || Rowland Industries || Scrapbook Adhesives by 3L || Pink and Main || Elizabeth Craft Designs || The Buckle Boutique || Neat and Tangled

Additional Sponsorship provided to bloggers by:

Sakura || Fairfield Processing


This how to yields a maker look with a modern twist – Stenciled canvas art in an embroidery hoop.  It also adds a bit of class to traditional Halloween decorations.

What you’ll need: Embroidery hoops, thin canvas, 6×6 Stencil1 skull set stencils, Stencil1 quatrafoil stencil, stencil brushes, scissors and hammer and nails if you hang your creations.

IMG_7672

Step 1: To start, lay out your thin canvas on a flat surface.

Step 2: Using the quatrefoil pattern stencil from the Swallow Set, stencil the canvas with the pattern until the entire cloth is full. We used a lighter color so when we layer the skull over it, the skull pops.

IMG_7674
IMG_7677

Step 3: Once all four cloths are stenciled with the pattern and have fully dried, it’s time to stencil the skulls. Place the skull stencil in the very center of the cloth. Using black paint, stencil in the open areas of the skull stencil until it is completely filled. We went nice and dark, using an up and down stomping motion with our stencil brushes.

IMG_7679
IMG_7680-1

Step 4: Once the four skulls are done and have dried, you can easily place them in the embroidery hoops.

IMG_7685
IMG_7682
IMG_7684

Step 5: Cut away or even tape back the excess fabric sticking outside the hoop and hang on you wall or door for all to see!

IMG_7687

Share what you made with us at @stencil1

Extra credit –Go the distance and further embellish with embroidery!


Stencil1_layer_cards

We can’t believe it either but, it’s that time of year again! Warm cocoa, snowflakes and endless holiday crafts! Shop for your Stencil1 Holiday stencils now and get them just in time to make your holiday decorations extra special!

check out our holiday stencils here. 


We are so excited to be a part of  “The Art of the Tag”. This art show will feature artist-customized water tower kits and is presented by Boundless Brooklyn and myplasticheart. Check out the details below, we hope you can all make it! Also, find out how we made our water tower here!

Stencil1_WaterTower_20

Lower East Side, New York City, NY – NYC-based companies Boundless Brooklyn and myplasticheart will be hosting an art event on November 1, 2014, from 7PM-10PM featuring customized miniature water tower model kits from over 30 acclaimed local and international artists. As part of the BB/MPH venture, the event is co-curated by both companies, with water tower kits provided by Boundless Brooklyn and the event located at the myplasticheart store and gallery on the Lower East Side, NYC. This venture provides a unique opportunity to blend the fast growing do-it-yourself water tower platform from Boundless Brooklyn and artist-focused approach of myplasticheart into a full-fledged homegrown art/design experience. The customized water towers come from a variety of well-known street and graffiti artists as well as contemporary artists and illustrators.


We love working with ceramics because there are so many great surfaces to stencil on. From tiles to trays to cups and plates, you can make something awesome to hang on your wall or something beautiful to sip hot cocoa from. We visited our friends at Baked in Brooklyn for a fun and creative night and we’re excited to show you what we made!

For stenciling on ceramics you’ll need: Stencil1 stencils, paintbrushes, sponge stencil brushes (a range of sizes) and ceramic paint.

Step 1: Start by planning out your color palette. In order for your images to show after your tray goes in the oven, you’ll want to paint from light to dark. This means your first layer should be the lightest color and your last layer the darkest color. For this tray we combined a soft yellow with a mustard yellow. Apply 2-3 coats of paint.

Stencil1_BakedinBrooklyn_1

Step 2: Choose your stencil! We combined our two-layer sugar skull stencil with our scallop pattern stencil by attaching the pattern stencil to the first layer stencil with painters tape.

Stencil1_BakedinBrooklyn_2

Step 3: Once the first layer of paint is dry (this shouldn’t take too long) place your stencil on the tray. You can use tape to help secure the stencil, although it doesn’t completely stick to the paint so also use your hand to hold down the stencil. Use the sponge brush to paint in your stencil.

We always say stenciling is a dry brush technique and when stenciling ceramics this is especially true. Use very, very little paint. Your brush should have almost no paint on it. At first, the stencil will be very faint, but after a couple of layers, the color will be more saturated. For this layer we used a coral pink and deep red.

Stencil1_BakedinBrooklyn_3
Stencil1_BakedinBrooklyn_4

Step 4: Once you are done painting, carefully lift off the stencil and let the paint dry.

Stencil1_BakedinBrooklyn_5

Step 5: We used our larger scallop stencil to subtly scatter some of the pattern on the background. First place the stencil on the tray and then, with the same dry brush technique, fill in the stencil. Lift the stencil and allow the paint to dry.

Stencil1_BakedinBrooklyn_6
Stencil1_BakedinBrooklyn_7
Stencil1_BakedinBrooklyn_8

Step 6: One of the best parts of working with ceramics is anticipating what they will look like after firing. This is how our tray came out! We also added images of other things we stenciled as well as what our friends stenciled. Share your final products with us @Stencil1

Stencil1_BakedinBrooklyn_9
Stencil1_BakedinBrooklyn_11
Stencil1_BakedinBrooklyn_15
Stencil1_BakedinBrooklyn_14
Stencil1_BakedinBrooklyn_13
Stencil1_BakedinBrooklyn_12

This are the stencils we used:

Four Bikes

Funky Birds

Nature Set

Skull Set

Scallop Pattern (sm) and Large

Star Pattern

Two Layer Sugar Skull