Στο νέο online παιχνίδι καζίνο του Nine Casino, εμπνευσμένο από τον κόσμο της κατασκευής στένσιλ, οι παίκτες μπορούν να δημιουργήσουν τα δικά τους μοναδικά μοτίβα για να ξεκλειδώσουν ειδικά επίπεδα παιχνιδιού. Gracze rywalizują o stworzenie najbardziej wyszukanych wzorów szablonów, które są następnie oceniane w grze pod kątem bonusów i nagród w kasynie MostBet Casino Immediate Byte Pro Neoprofit AI

We love working with ceramics because there are so many great surfaces to stencil on. From tiles to trays to cups and plates, you can make something awesome to hang on your wall or something beautiful to sip hot cocoa from. We visited our friends at Baked in Brooklyn for a fun and creative night and we’re excited to show you what we made!

For stenciling on ceramics you’ll need: Stencil1 stencils, paintbrushes, sponge stencil brushes (a range of sizes) and ceramic paint.

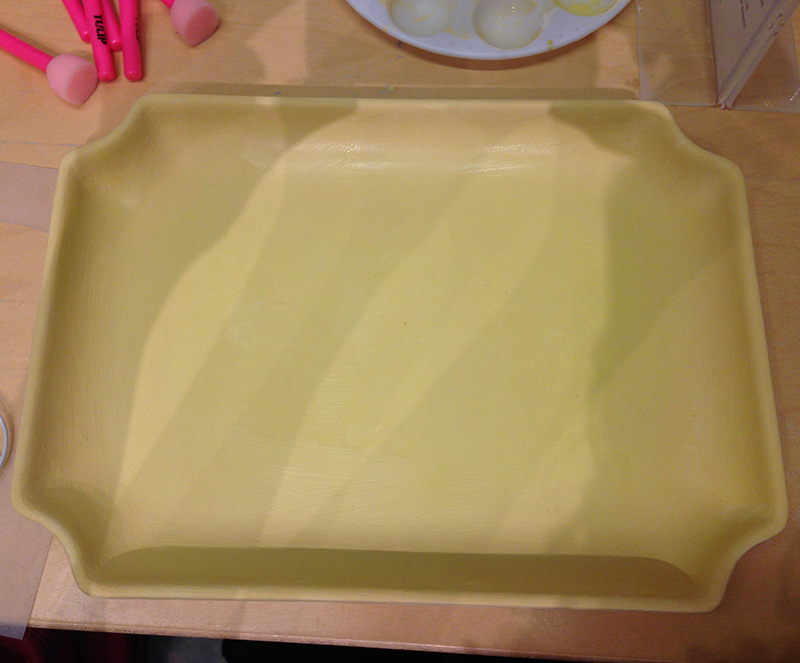
Step 1: Start by planning out your color palette. In order for your images to show after your tray goes in the oven, you’ll want to paint from light to dark. This means your first layer should be the lightest color and your last layer the darkest color. For this tray we combined a soft yellow with a mustard yellow. Apply 2-3 coats of paint.
Stencil1_BakedinBrooklyn_1

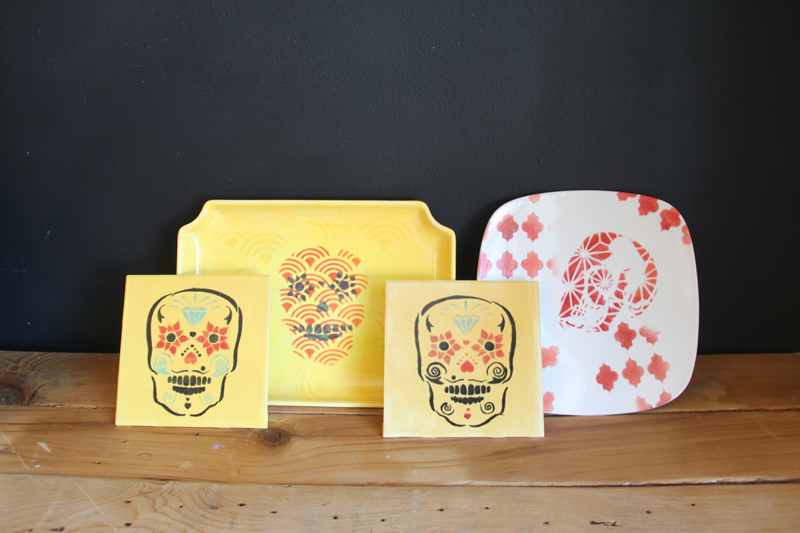
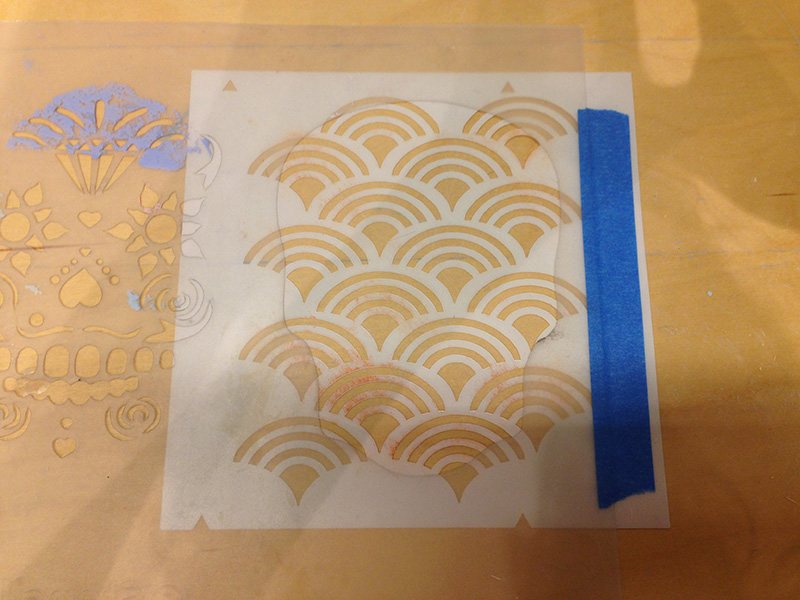
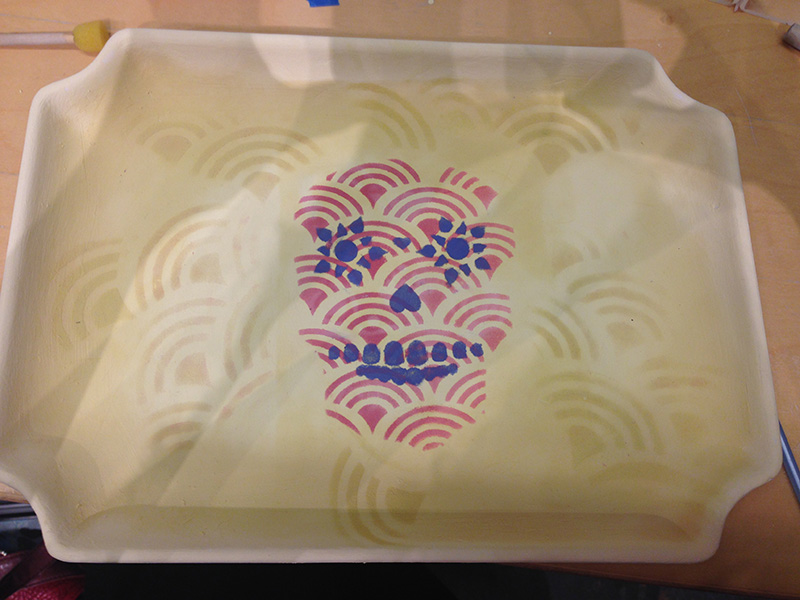
Step 2: Choose your stencil! We combined our two-layer sugar skull stencil with our scallop pattern stencil by attaching the pattern stencil to the first layer stencil with painters tape.
Stencil1_BakedinBrooklyn_2

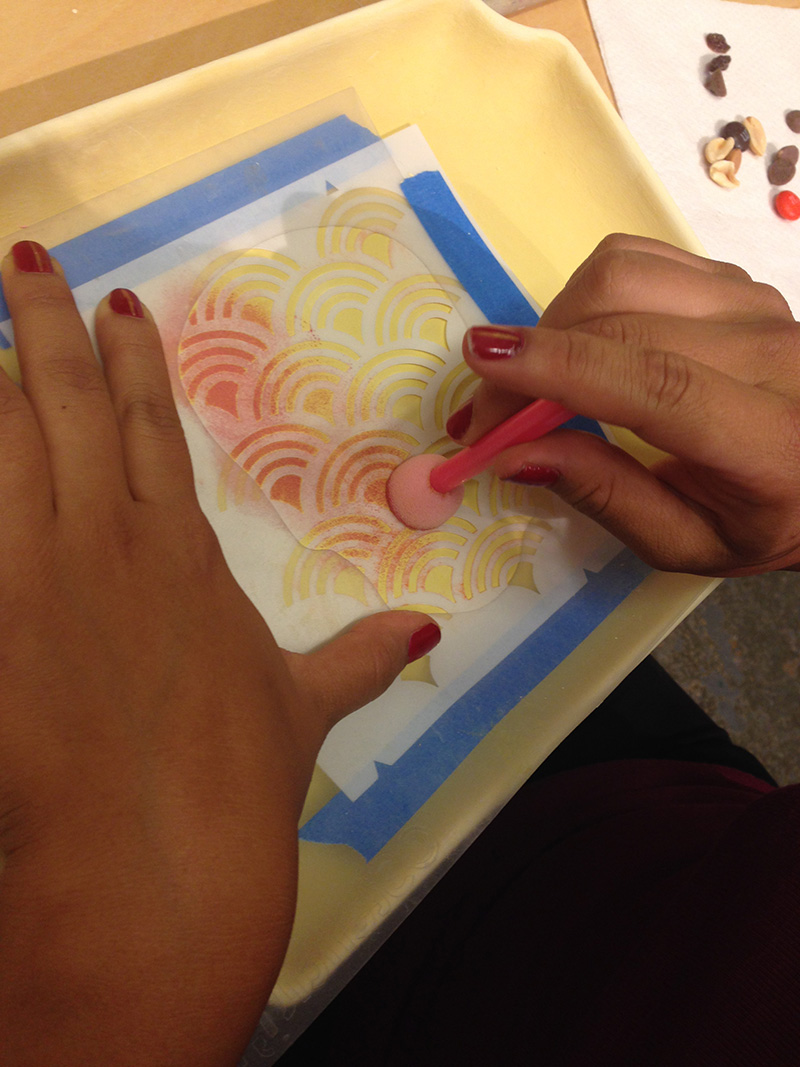
Step 3: Once the first layer of paint is dry (this shouldn’t take too long) place your stencil on the tray. You can use tape to help secure the stencil, although it doesn’t completely stick to the paint so also use your hand to hold down the stencil. Use the sponge brush to paint in your stencil.

We always say stenciling is a dry brush technique and when stenciling ceramics this is especially true. Use very, very little paint. Your brush should have almost no paint on it. At first, the stencil will be very faint, but after a couple of layers, the color will be more saturated. For this layer we used a coral pink and deep red.
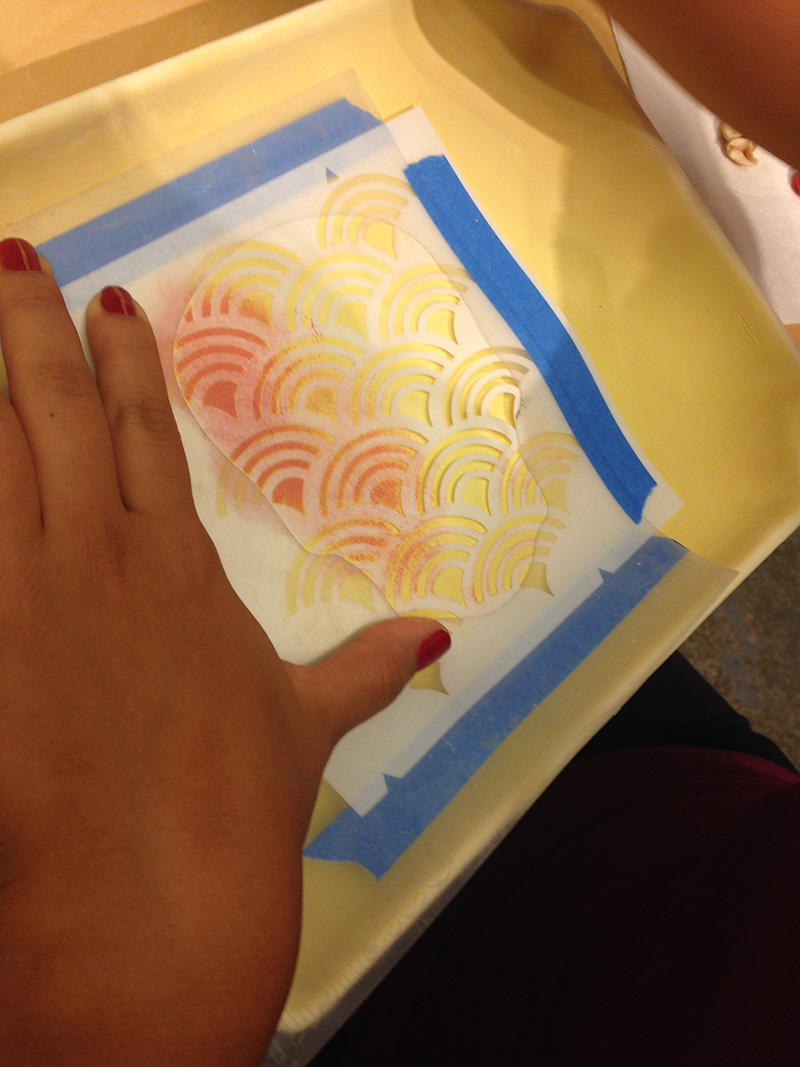
Stencil1_BakedinBrooklyn_3
Stencil1_BakedinBrooklyn_4

Step 4: Once you are done painting, carefully lift off the stencil and let the paint dry.
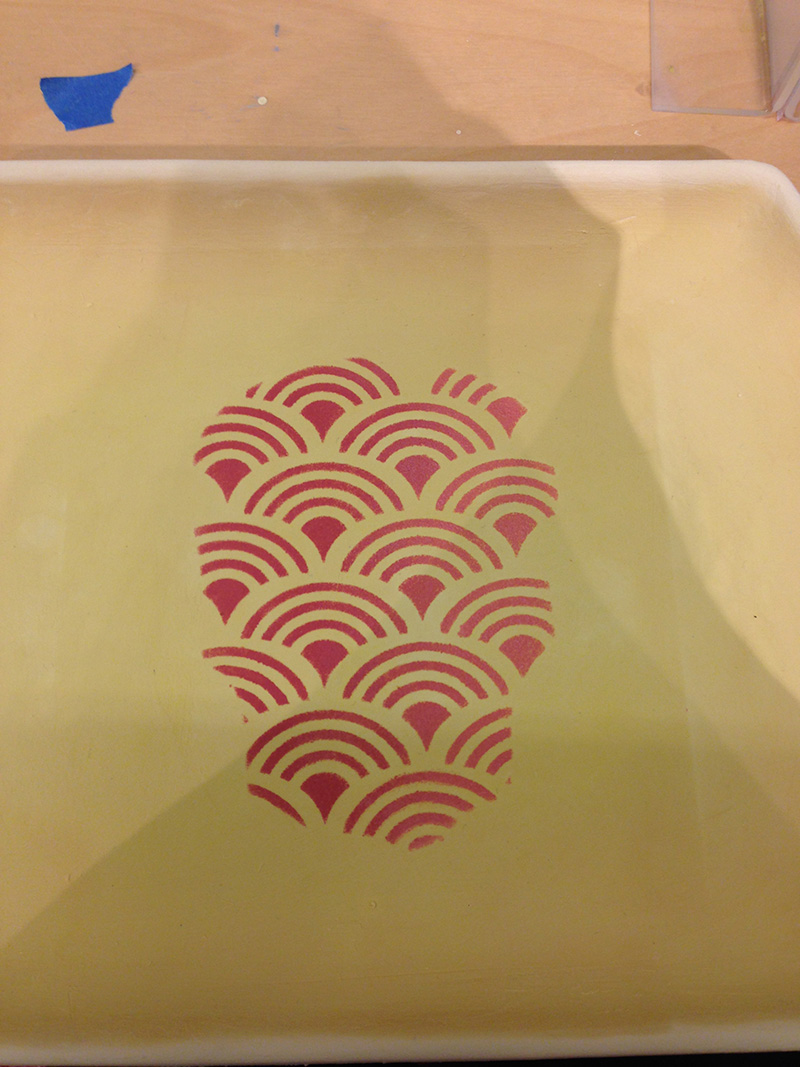
Stencil1_BakedinBrooklyn_5

Step 5: We used our larger scallop stencil to subtly scatter some of the pattern on the background. First place the stencil on the tray and then, with the same dry brush technique, fill in the stencil. Lift the stencil and allow the paint to dry.
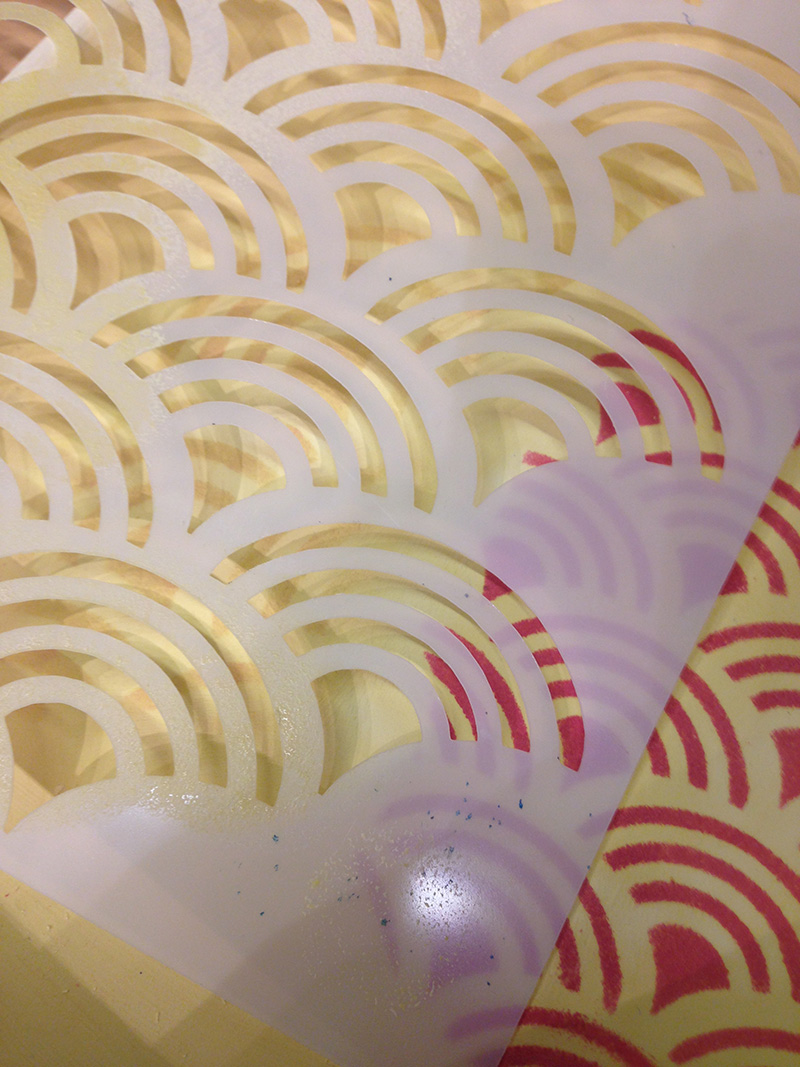
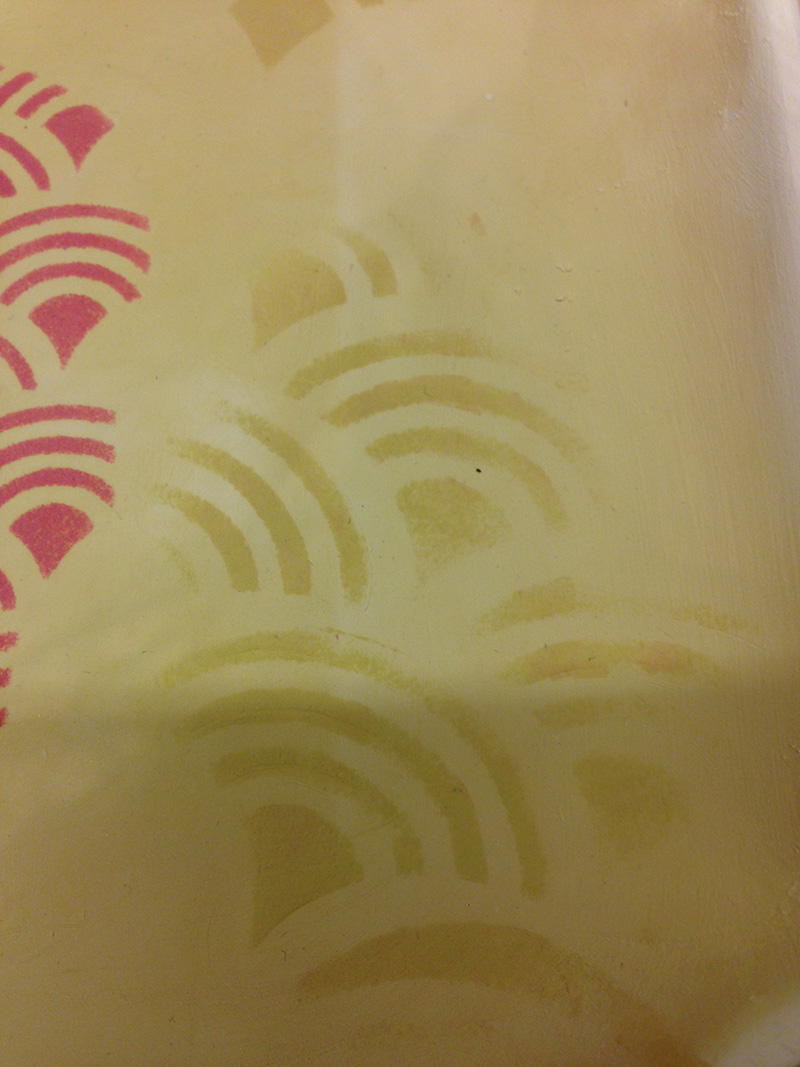
Stencil1_BakedinBrooklyn_6
Stencil1_BakedinBrooklyn_7
Stencil1_BakedinBrooklyn_8

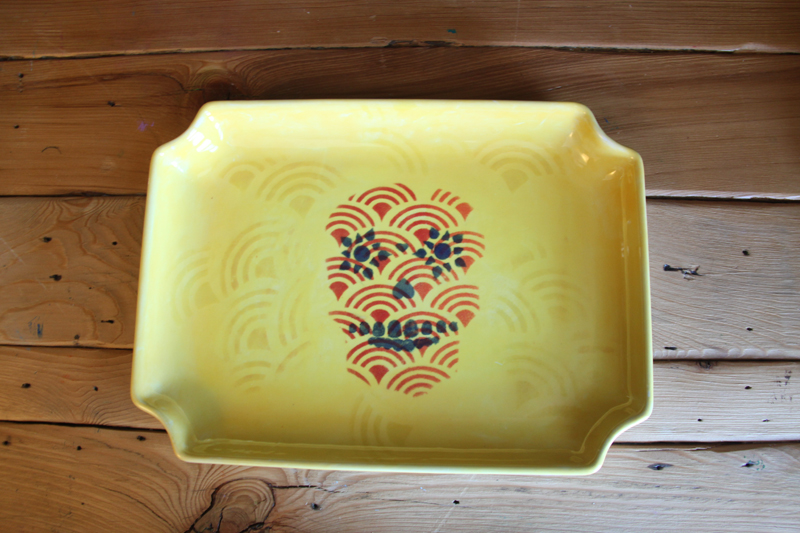
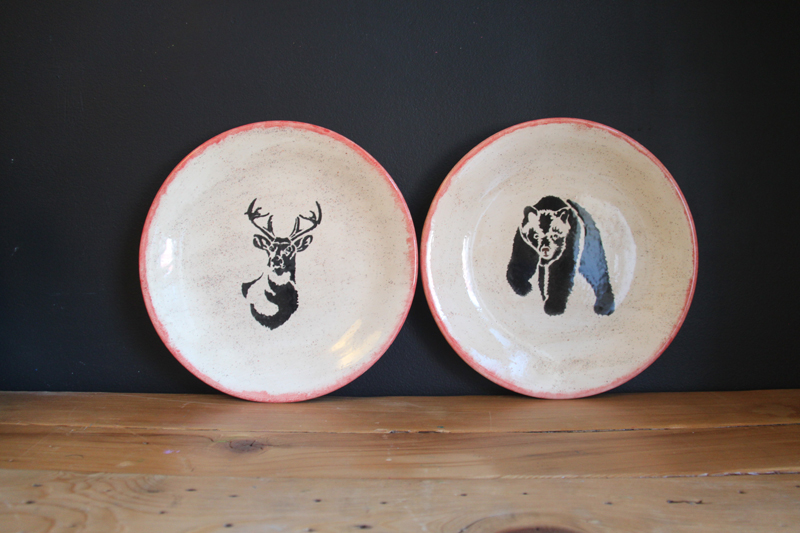
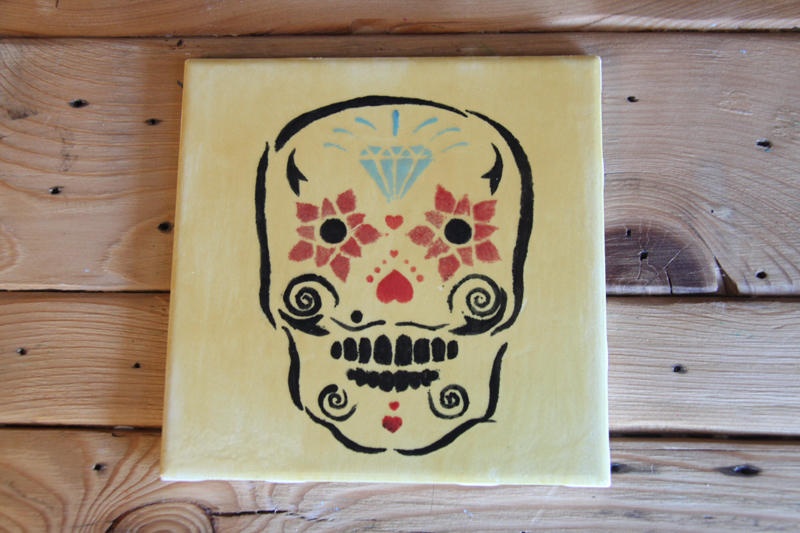
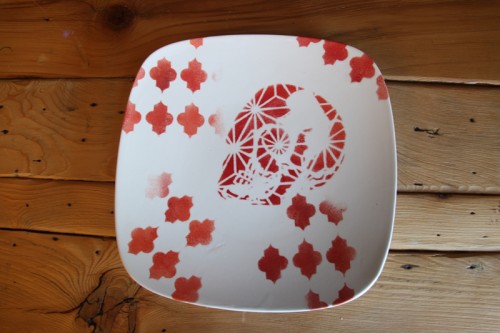
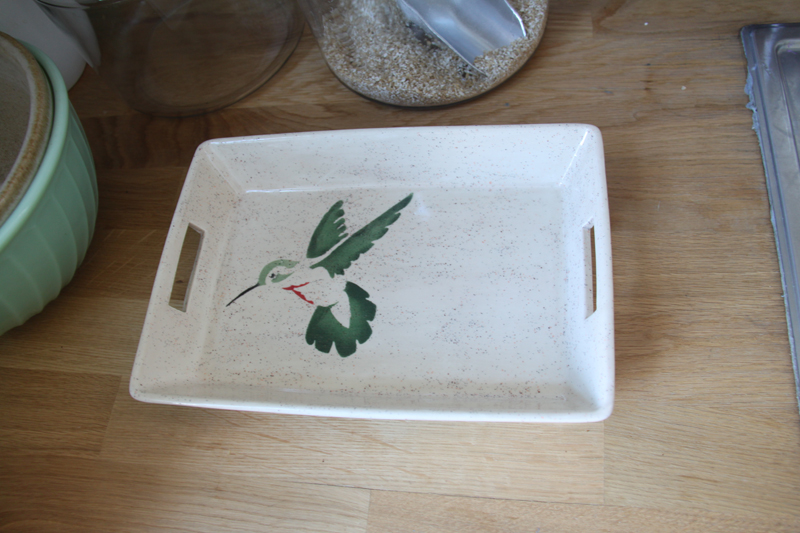
Step 6: One of the best parts of working with ceramics is anticipating what they will look like after firing. This is how our tray came out! We also added images of other things we stenciled as well as what our friends stenciled. Share your final products with us @Stencil1

Stencil1_BakedinBrooklyn_9
Stencil1_BakedinBrooklyn_11
Stencil1_BakedinBrooklyn_15
Stencil1_BakedinBrooklyn_14
Stencil1_BakedinBrooklyn_13
Stencil1_BakedinBrooklyn_12

This are the stencils we used:

Four Bikes

Funky Birds

Nature Set

Skull Set

Scallop Pattern (sm) and Large

Star Pattern

Two Layer Sugar Skull


Pocket Ts are a huge trend right now. We love them because it’s a perfect mini-canvas to stencil a custom design on. We’ve come up with a few ideas of how you can make your pocket T extra-special with our stencils. Check out our ideas below and share your creations with us @Stencil1.

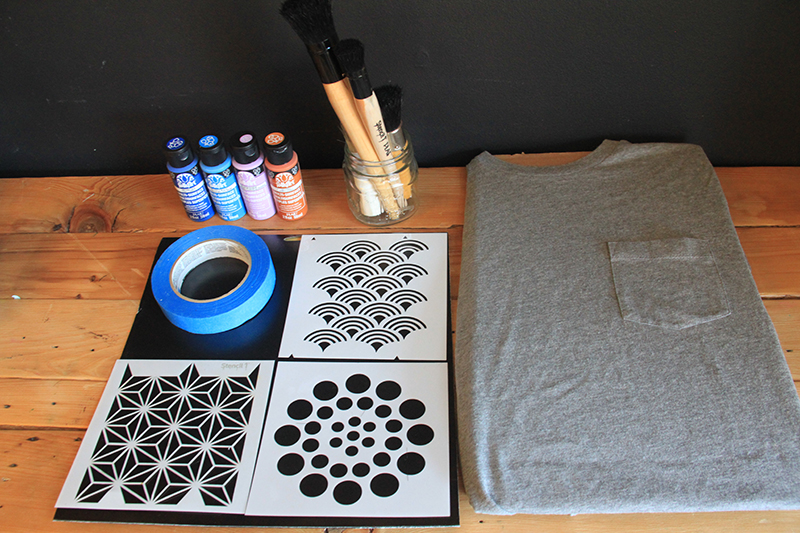
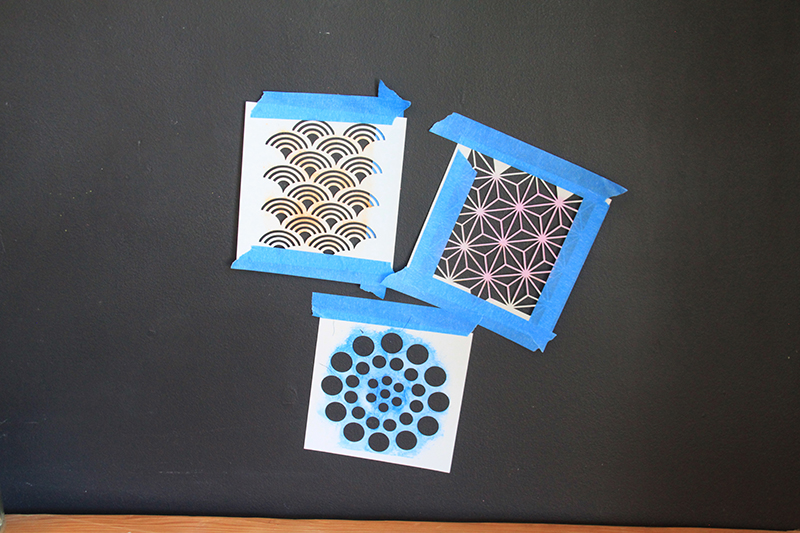
This is what you will need for this how to:  Stencil1 Scallop, Star, and Asian Dots pattern stencils, multi-purpose paint, stencil brushes, painters tape, pocket T, cardboard insert, low-tack spray adhesive.

Stencil1_PocketT_1

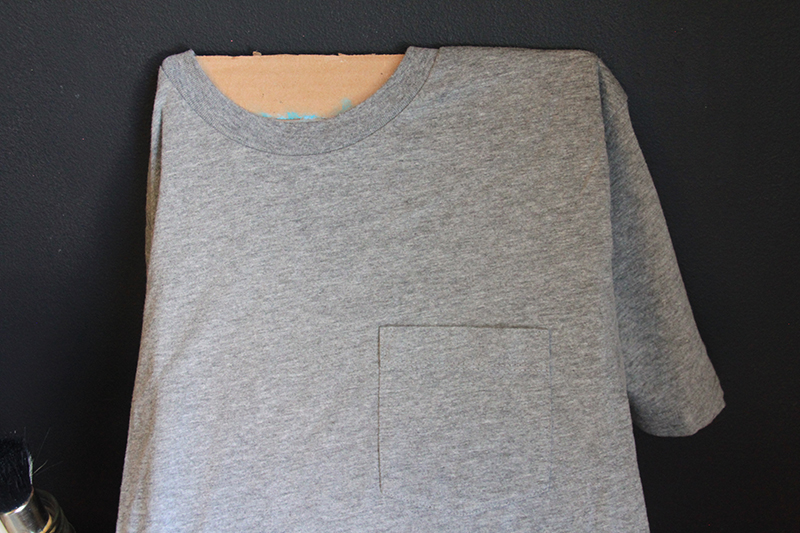
Step 1: Slip the cardboard insert inside the shirt. This will give you a firm surface to stencil on and will prevent paint from bleeding onto the back of the t-shirt.

Stencil1_PocketT_2

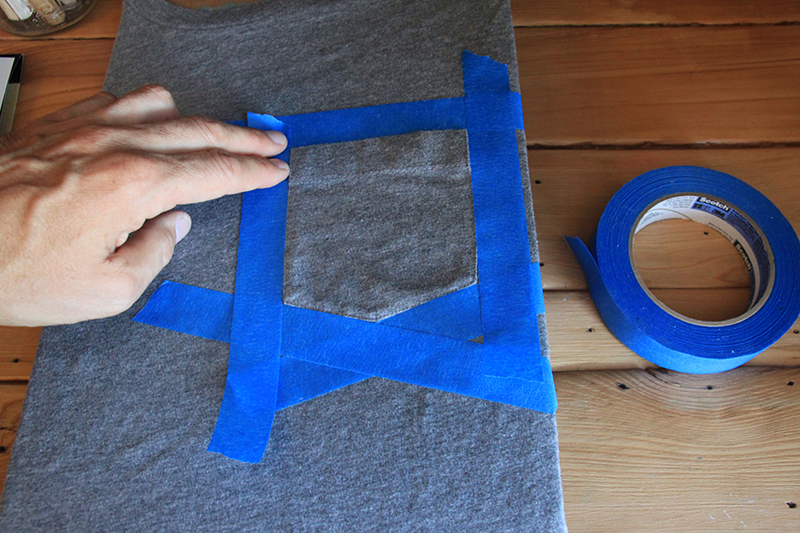
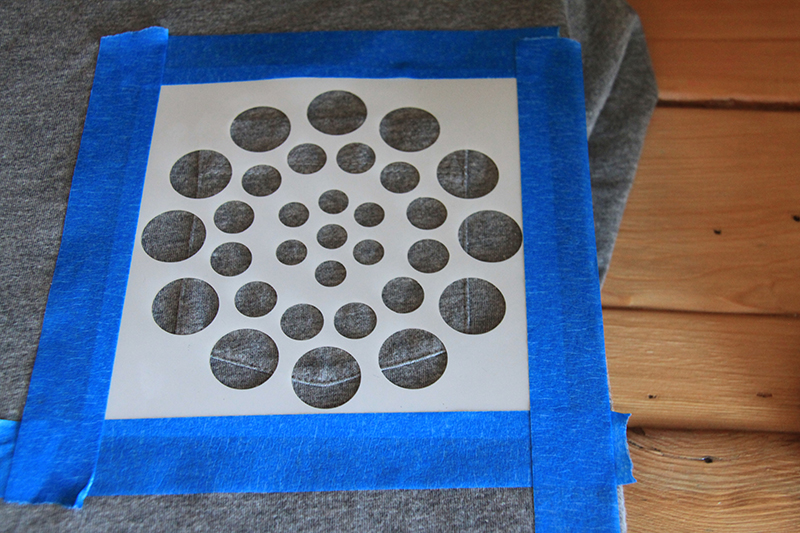
Step 2: Outline the pocket using painter’s tape. This will give make it easier to stencil the entire pocket without getting paint of the shirt.

Stencil1_PocketT_3

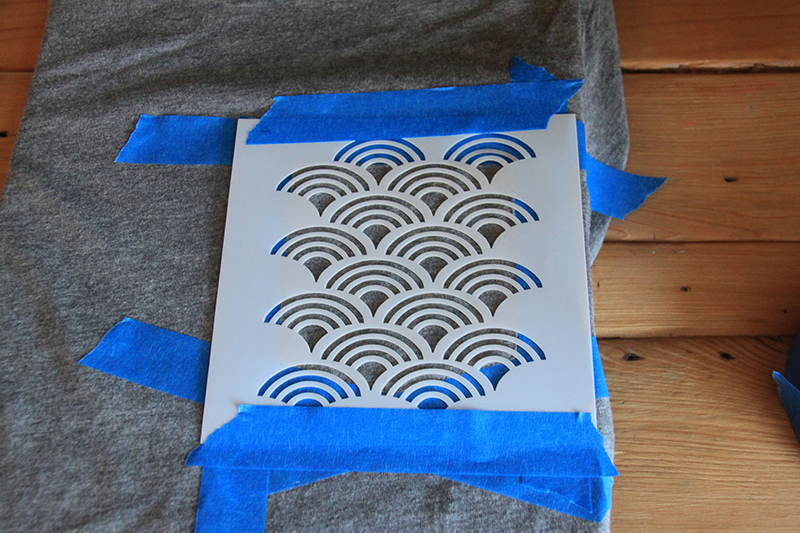
Step 3: Place the scallop pattern stencil on top of the pocket and secure it down with tape. You can also spray the back of the stencil with a low-tack spray adhesive so that it is well secure to the t-shirt and less likely to move.

Stencil1_PocketT_4

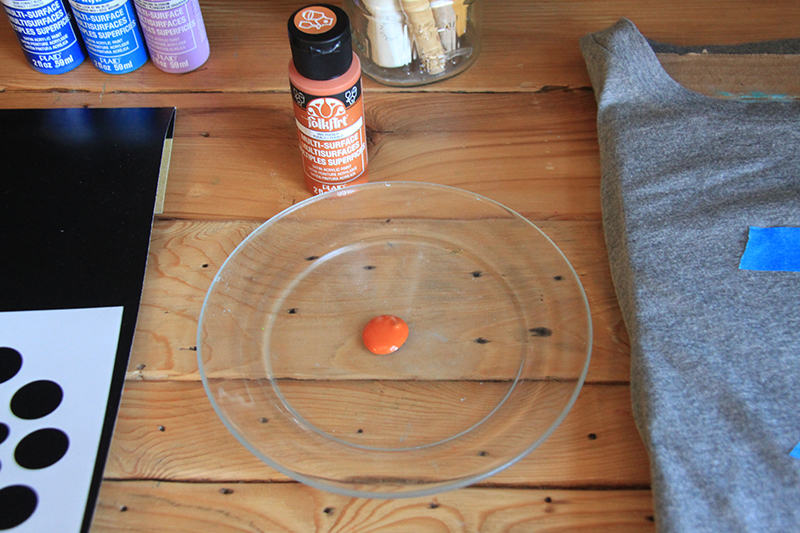
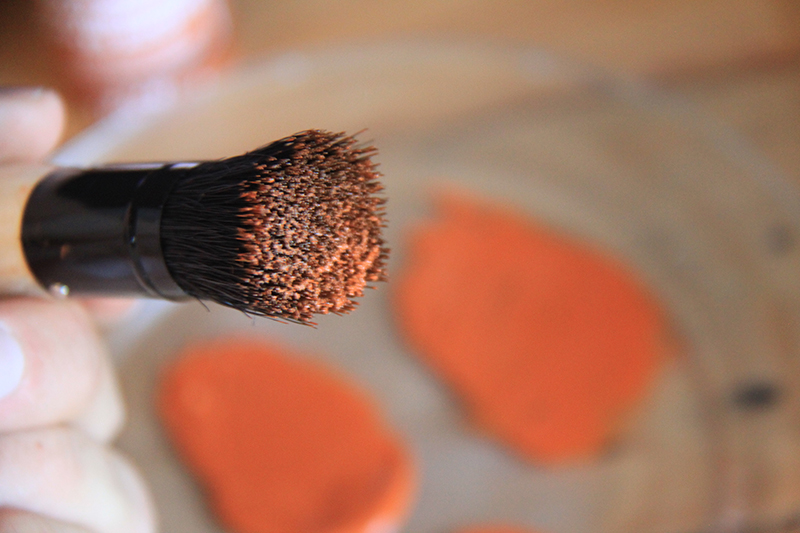
Step 4: Put some paint on your plate, or any other hard surface. For this stencil we used a gray t-shirt and orange fabric paint.

Stencil1_PocketT_5

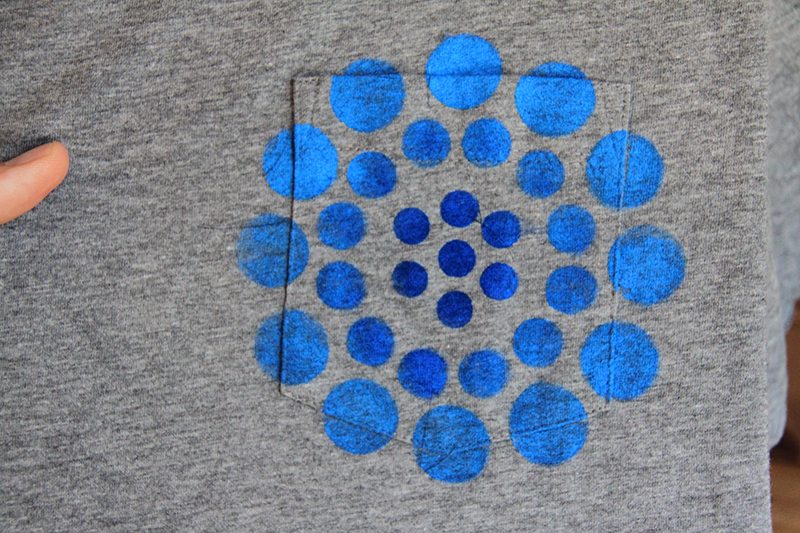
Step 5: Dip your brush in the paint gently. Stenciling is a dry brush technique, which means you do not need a lot of paint on your brush. If you want the color to be more saturated, you can apply multiple layers.

Stencil1_PocketT_6

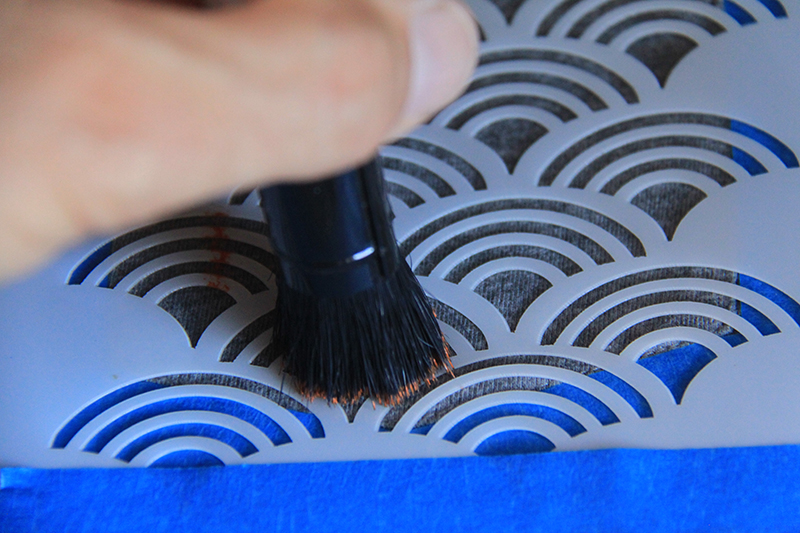
Step 6: Start stenciling the shirt by using an up and down or circular motion.

Stencil1_PocketT_7

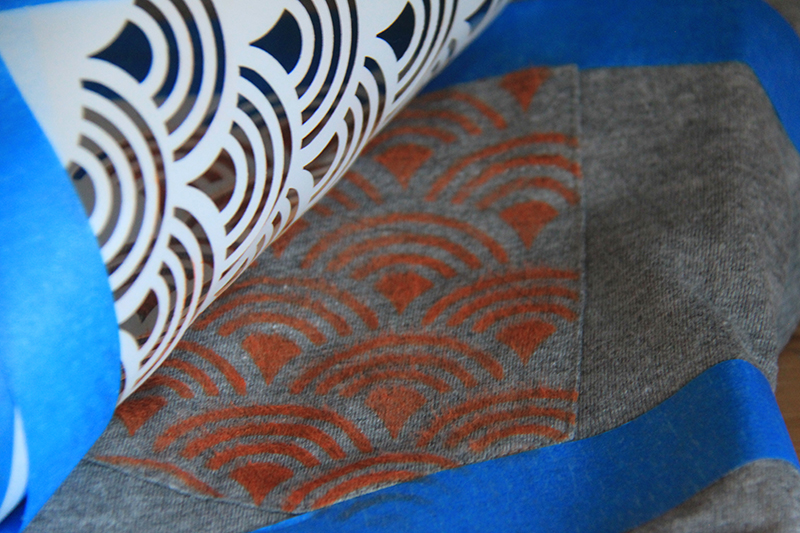
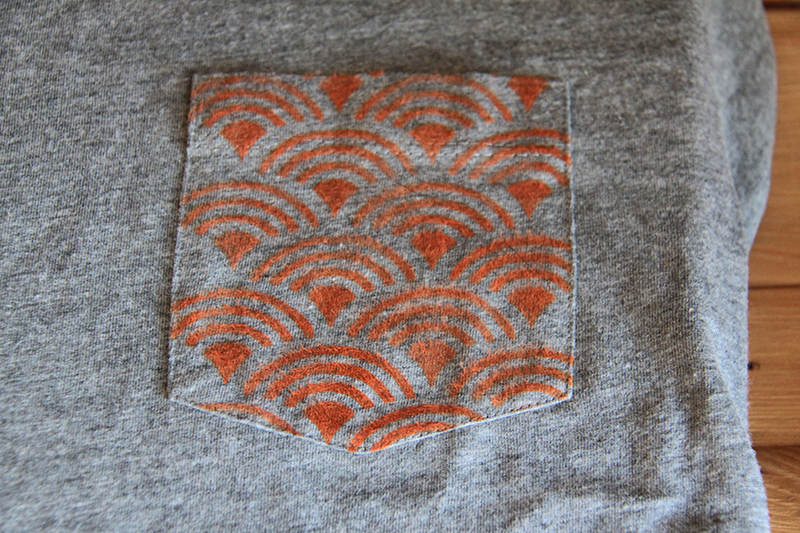
Step 7: Lift the stencil off, gently. Allow the paint to dry t touch and heat seal with a iron.

Stencil1_PocketT_8
Stencil1_PocketT_9

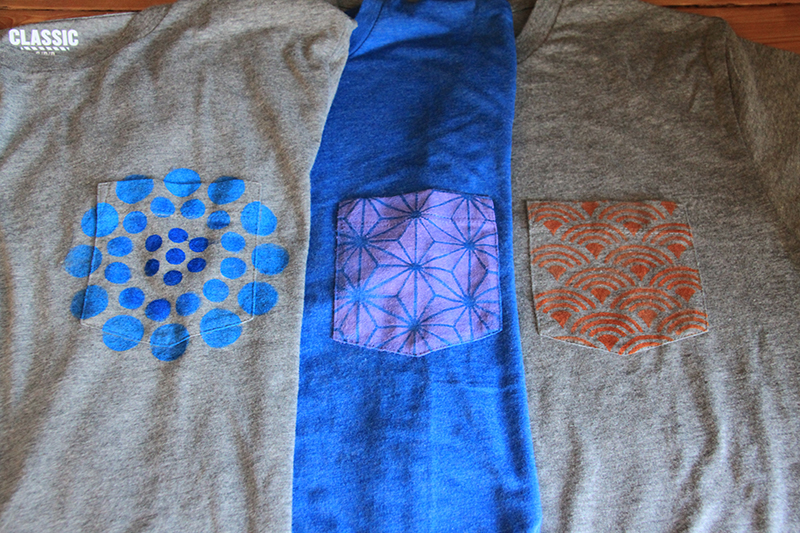
Step 8: Repeat steps 1 through 7 but with the other pattern stencils. Try playing around with some fun color combinations. We paired a blue shirt with a purple paint, and gray with blue.

Stencil1_PocketT_13

Something fun we tried was extending the pattern outside of the pocket. Give it a try!

Stencil1_PocketT_11
Stencil1_PocketT_12

Don’t forget to show us what your pocket Ts look like!

Stencil1_PocketT_14

Another interesting variation for this trend would be to stencil your pocket! Check out our Stencil1 Bow Tie & Pocket Protector stencil and use it for your next pocket t design.


Bucket hats are back and have been trending in Brooklyn lately.  Dig yours out of the closet and make it unique by stenciling it!

For this how-to, you’ll need: A bucket hat, Stencil1 Skull set, multi-surface paint, stencil brushes, low-tack spray adhesive, tape.

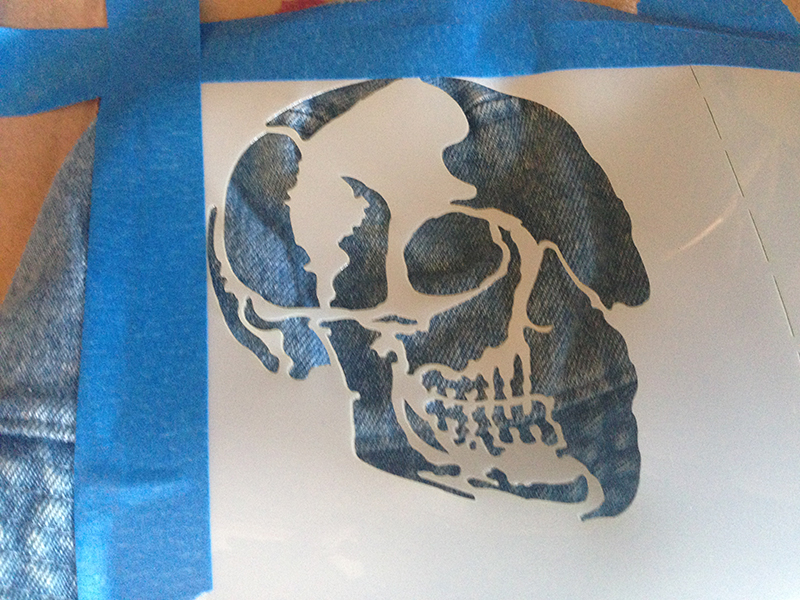
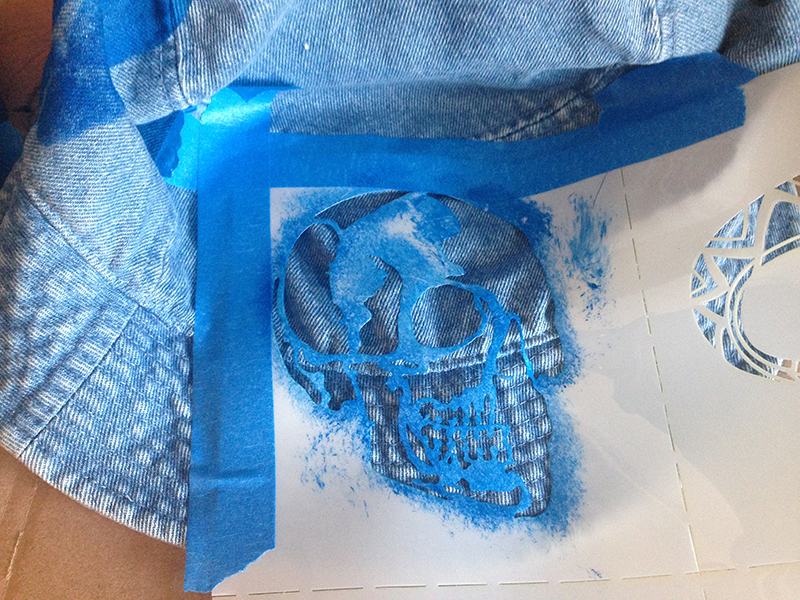
Step 1: Fold the hat so you have a flat surface to work on. Spray the back of the stencil with the adhesive (make sure to do this in a well-ventilated room).  Place the stencil on the hat. Since it can be difficult to stencil on cloth that is not completely flat, taping down the edges with painter’s tape will secure the stencil and make it easier to paint.

Stencil1_DenimHat_2

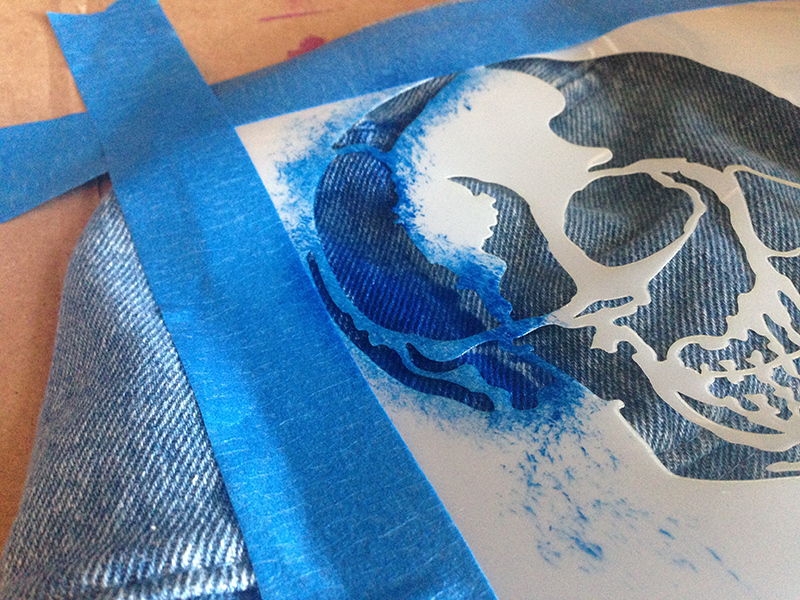
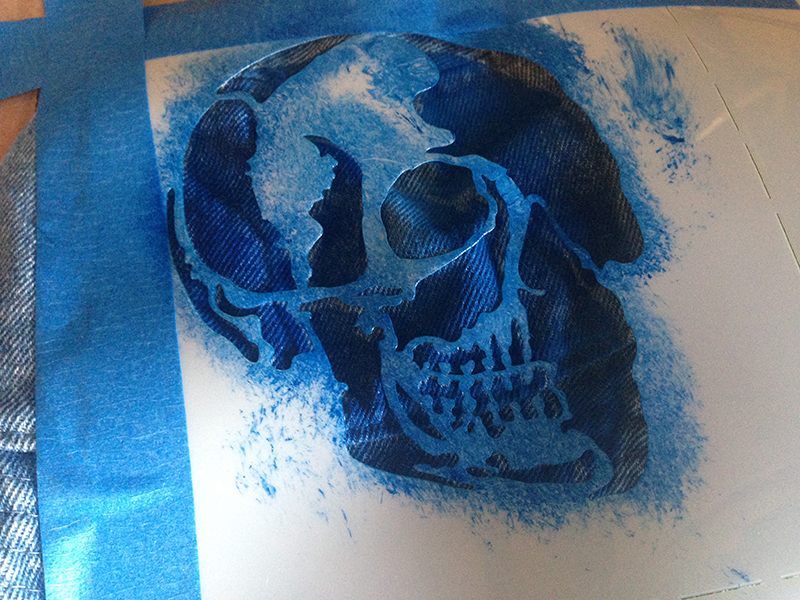
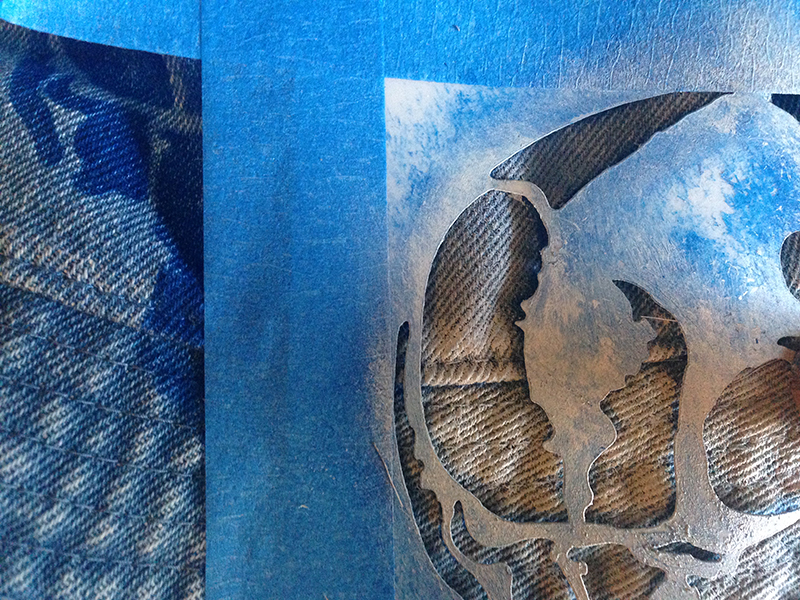
Step 2: Put some paint on a plate and use your brush to begin stenciling. Remember to use a dry brush technique. This means using very little paint and applying several coats. Paint using an up and down motion.

Stencil1_DenimHat_3
Stencil1_DenimHat_4

Step 3: Remove the stencil and allow the paint to dry to touch.

Stencil1_DenimHat_5

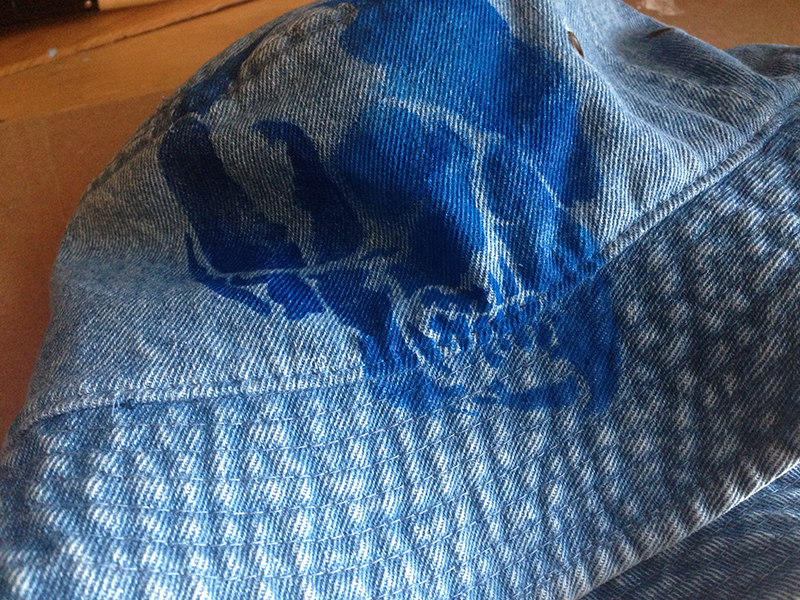
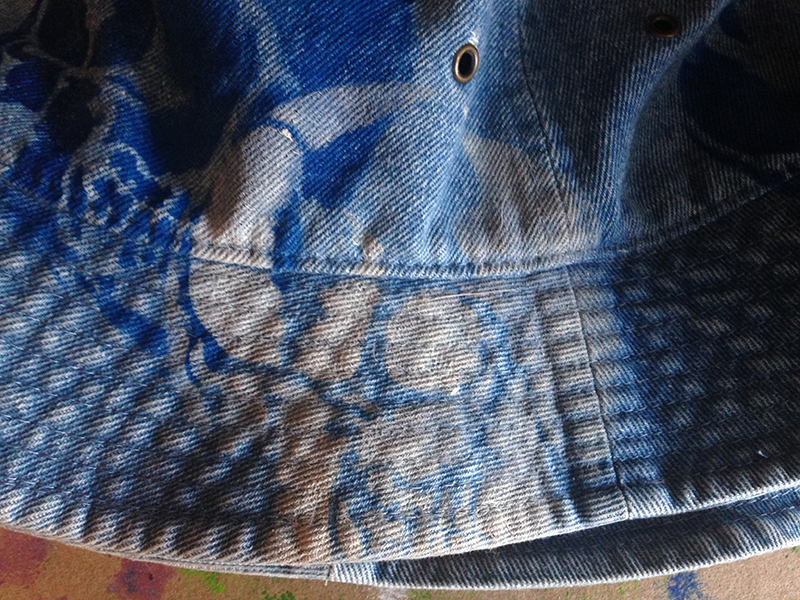
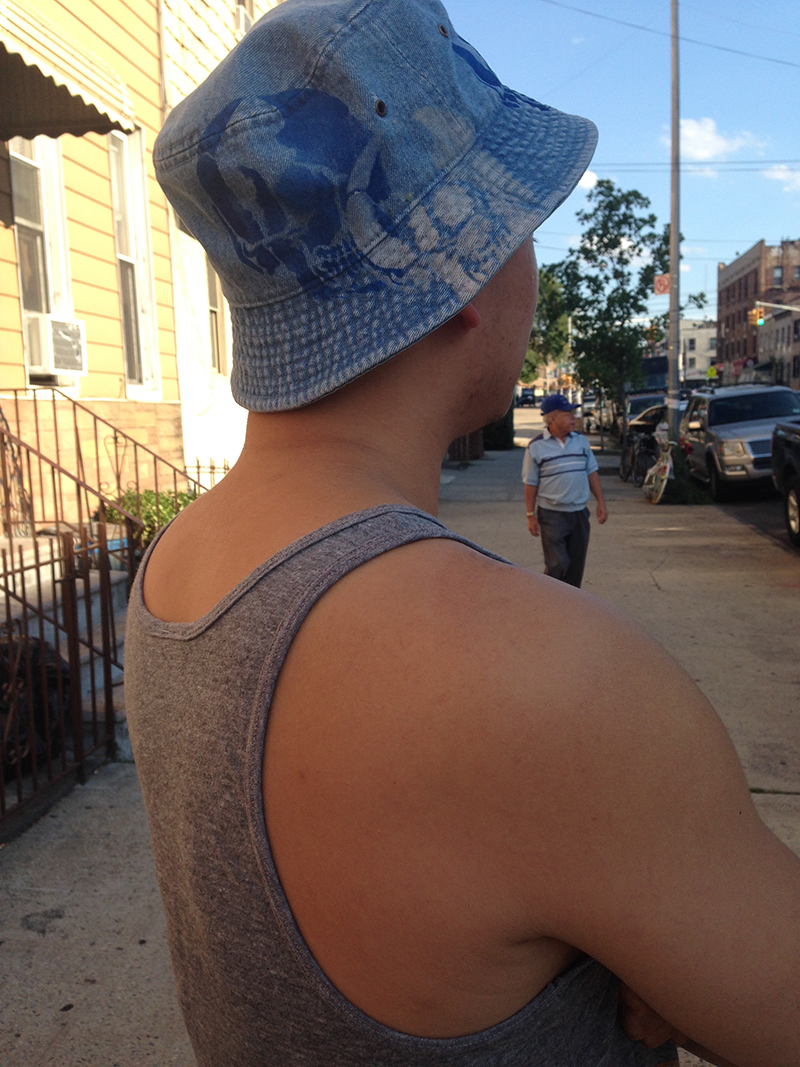
Step 4: Fold the hat so that another section is exposed as flat as possible. Repeat steps 1 through 3 to stencil another skull. We stenciled a total of 3 skulls, two blue and one white.

Stencil1_DenimHat_6

For the white skull, we used an extra dry brush to give it more of a vintage look.

Stencil1_DenimHat_10
Stencil1_DenimHat_11

Step 5: Heat seal the paint with an iron. Snap a picture of your hat and share it with us @Stencil1.

Stencil1_WallpaperSkateboard_12

One of the best ways to entertain our little ones at home is with arts and crafts activities. It gets even better when the final product is a game! Have some fun with your little friends with this awesome puzzle how-to!

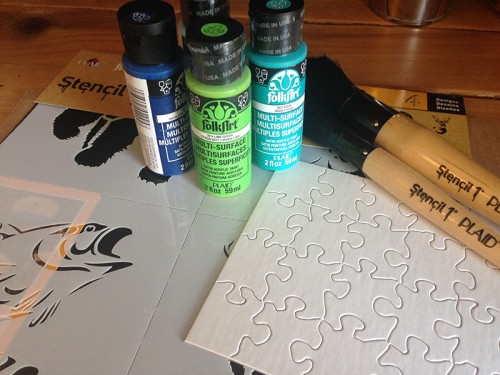
For this how-to you’ll need: Stencil1 Nature Set stencils, stencil brushes, Multisurface paint, blank puzzle from Michaels and newspaper (for an easy clean-up!)

Stencil1_Puzzle_1

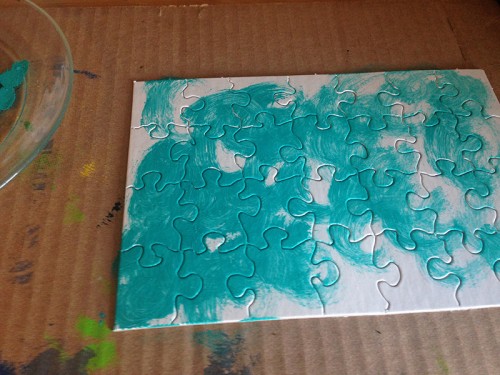
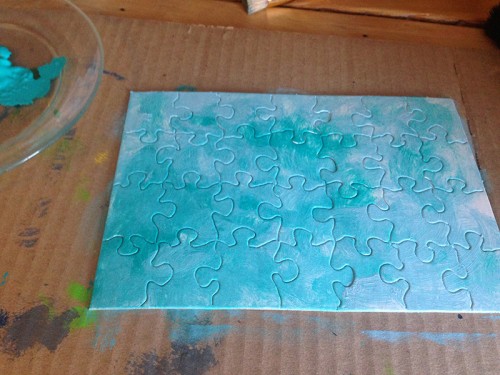
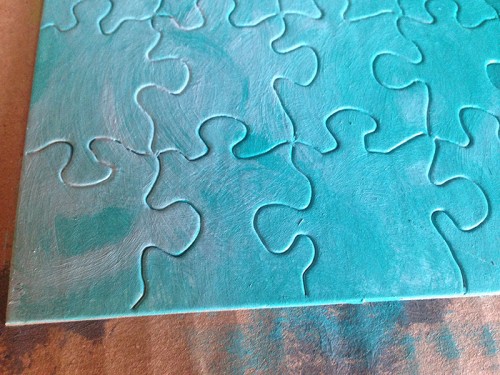
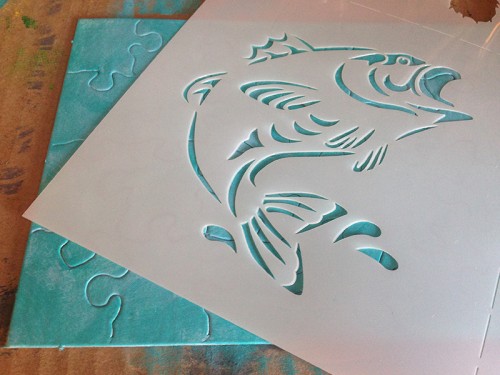
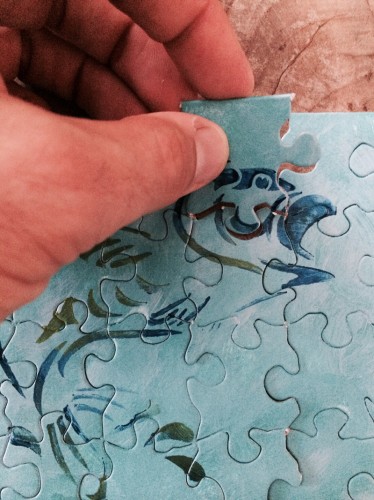
Step 1: Use a brush to paint the background of your puzzle. Since we wanted to use the koi stencil, we decided to paint the background blue so it resembles water. We used two different tones of blue to give it a little more movement and dimension.

Stencil1_Puzzle_2

Stencil1_Puzzle_3

Stencil1_Puzzle_4

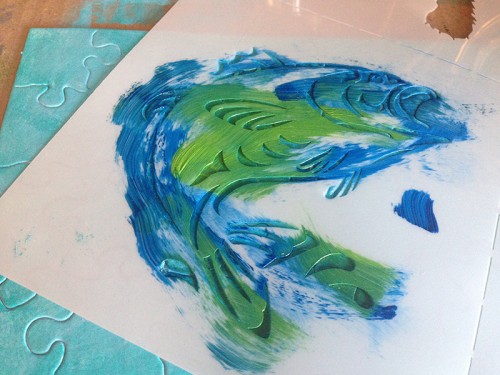
Step 2: Allow the paint to dry to touch. Pick the animal stencil you want to use and place it on top of the puzzle. Since this is a flat surface, holding down the stencil to paint is okay, but taping it down with painters tape will make stenciling a lot easier for younger kids. Remember that stenciling is a dry brush technique. This means using very little paint and applying multiple layers.

Stencil1_Puzzle_5


Stencil1_Puzzle_6

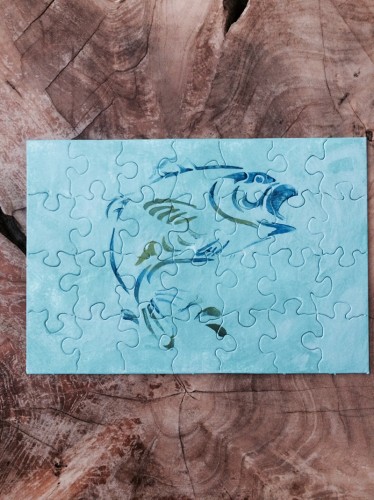
We wanted our fish to have a painterly look, so we didn’t fully stencil the image. Try  stenciling with different techniques for fun results!

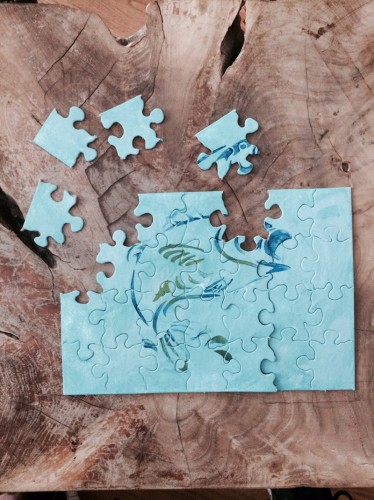
Step 3: Lift the stencil and allow the paint to dry. Take apart your puzzle and have fun putting it back together!
Stencil1_Puzzle_7

Stencil1_Puzzle_9

Stnecil1_Puzzle_8

Show us your puzzles @Stencil1.