With Halloween just days away, now is the perfect time to carve your pumpkins without them rotting before the big day. Using a Dremel, we’ll show you a non-traditional way of shallow carving your pumpkin.
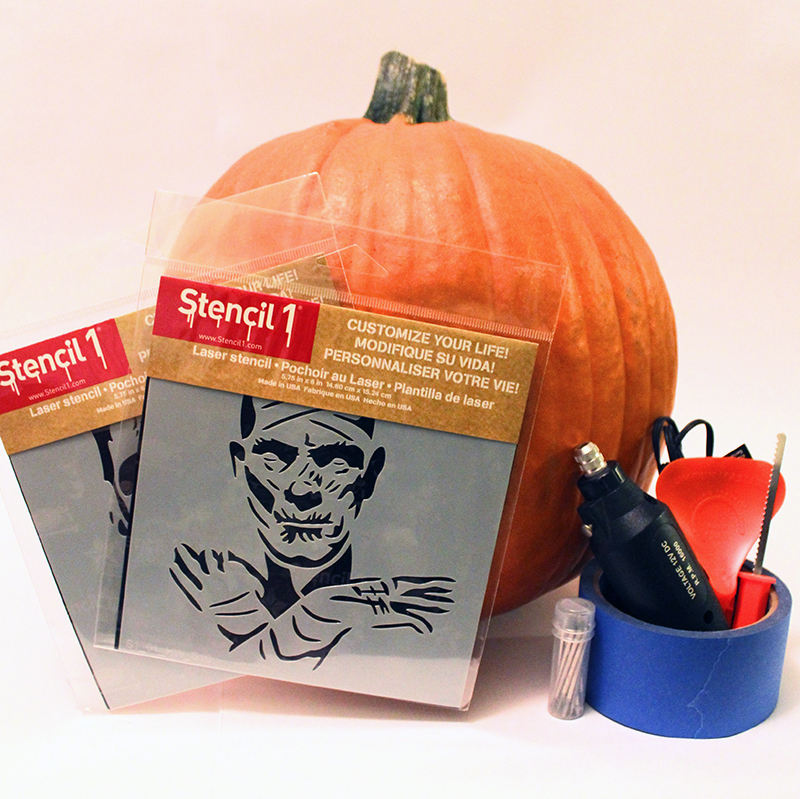
Here’s what you’ll need to get started: Mummy Stencil-Small (5.75″x6″), a fresh pumpkin, a Dremel and bits, pumpkin carving tools, painters tape, wax paper, fine point posca marker, disposable gloves, a light source for inside the pumpkin.
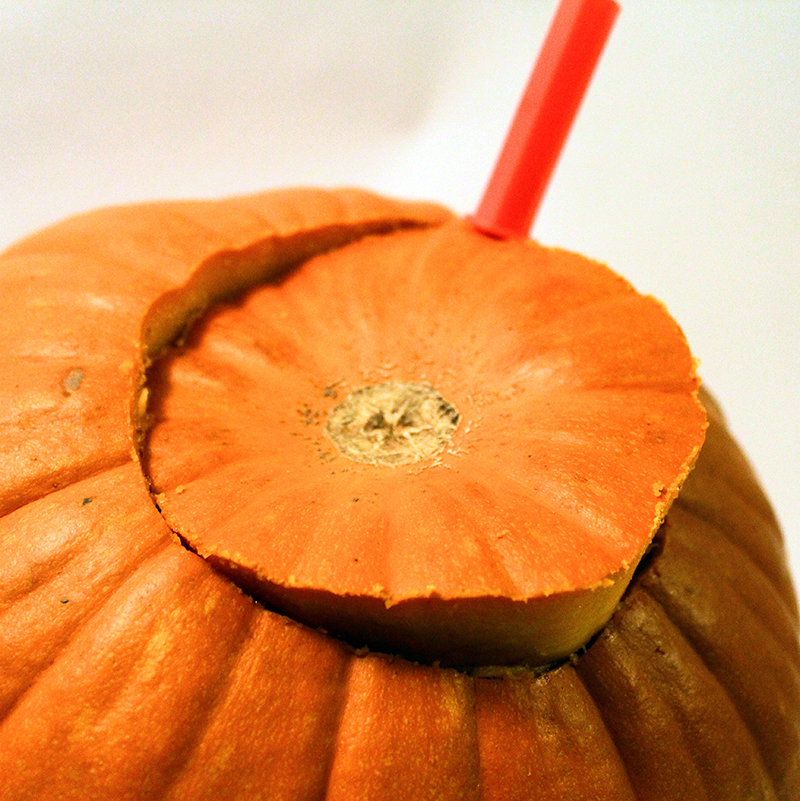
First, forget what you knew about carving a pumpkin, we’re gonna walk you through an easier way. Flip over your pumpkin and carve a circle using your pumpkin saw.
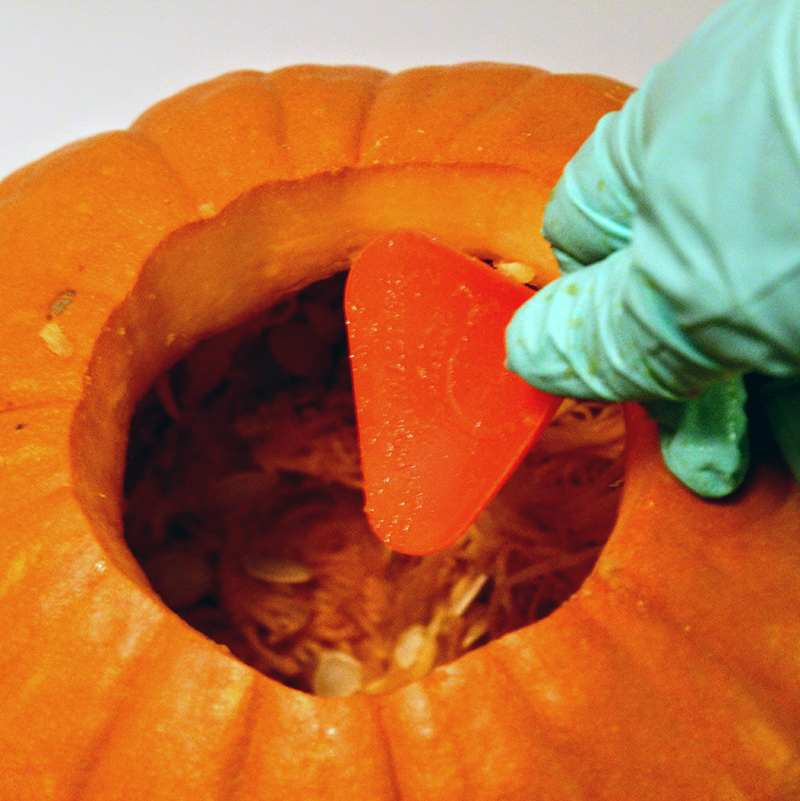
Glove up and remove the circular piece that you carved. Grab your scraping tool and scrape all the inner walls while not removing any pumpkin guts yet.
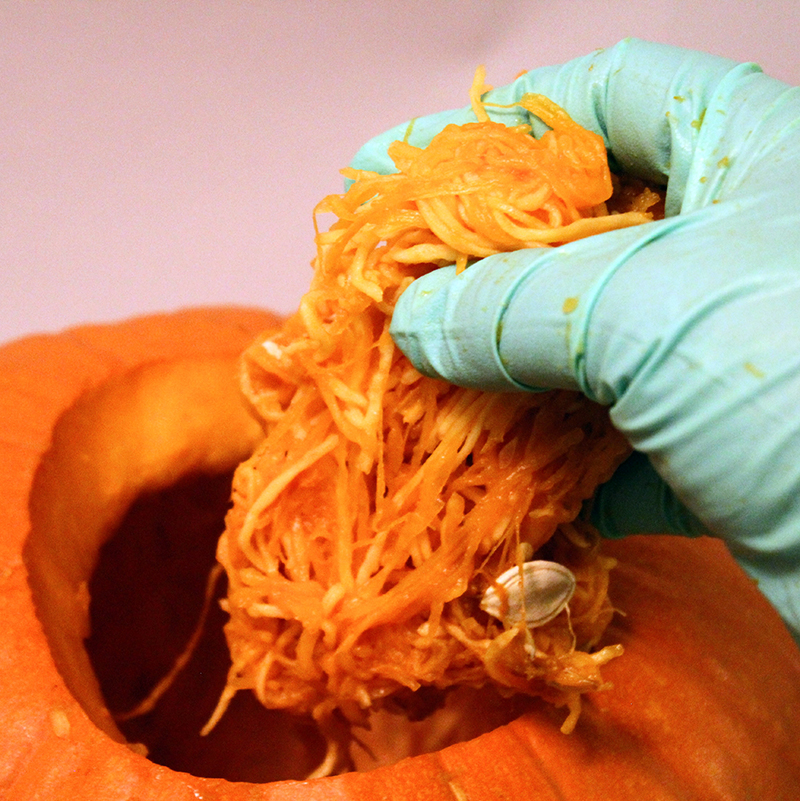
Once you’ve scraped the inside entirely, pull out the innards, it should all come out in one big clump. We like to separate and save the pumpkin seeds and oven-roast them with some sea salt.
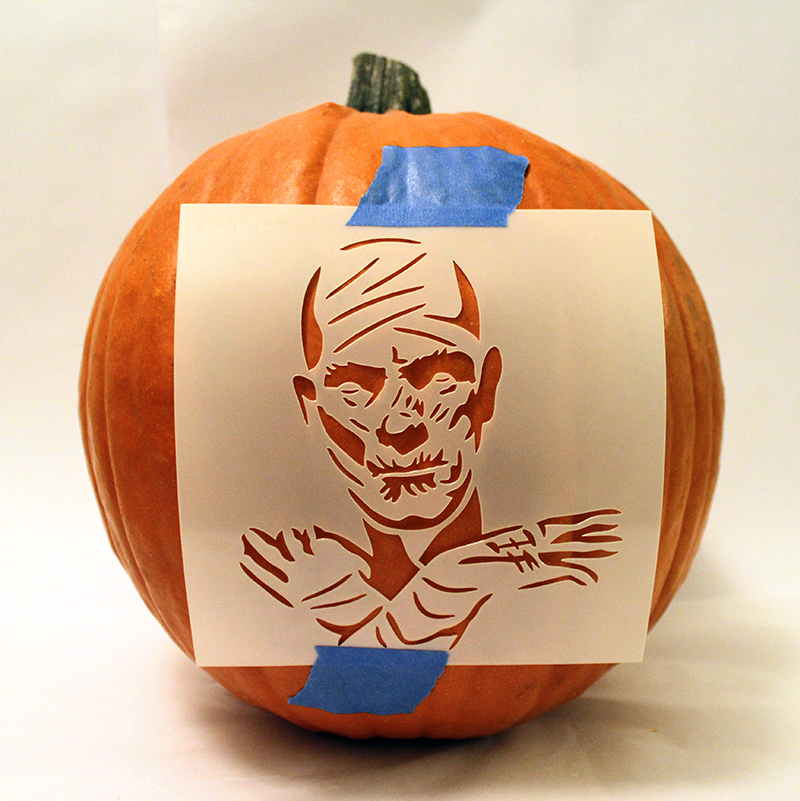
Remove your Stencil1 stencil from the packaging and tape it to your pumpkin.
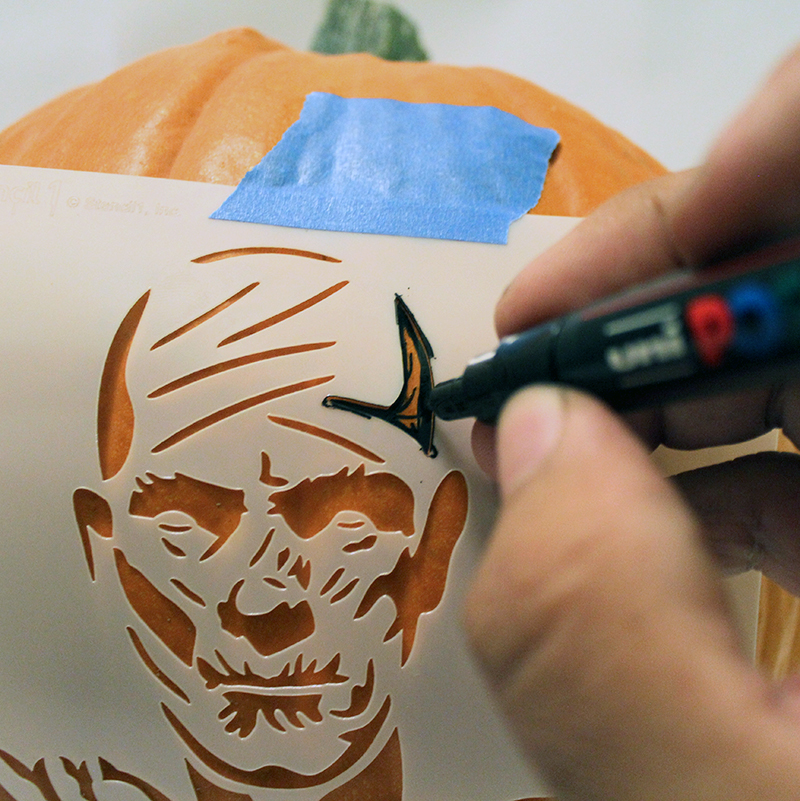
Grab your fine point Posca marker and outline your image.
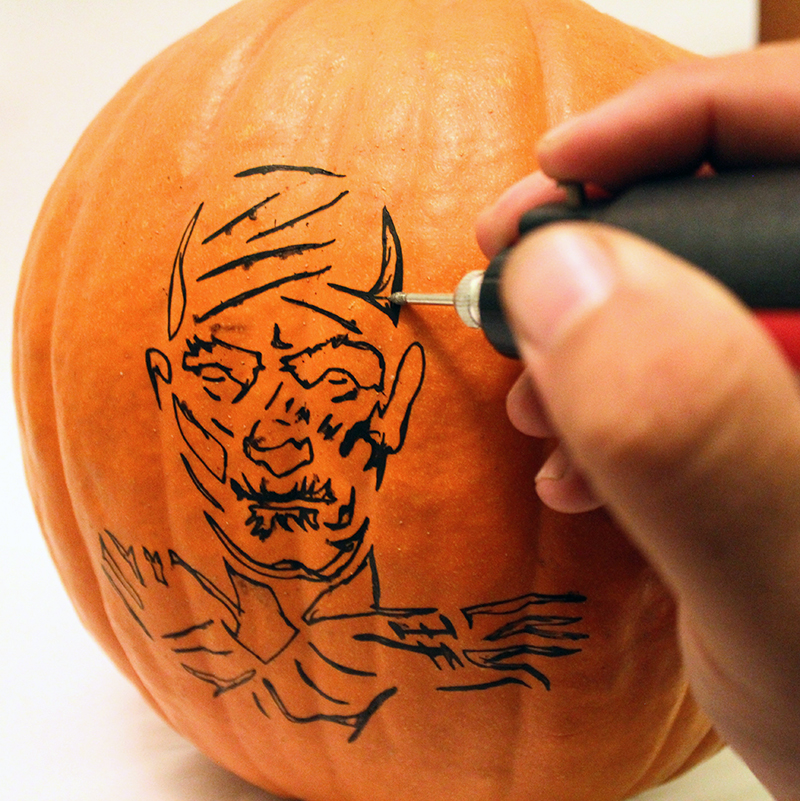
Plugin your Dremel and place a fine bit in it. Outline the edges of the image. Now replace your bit with a circular one and remove the larger areas.
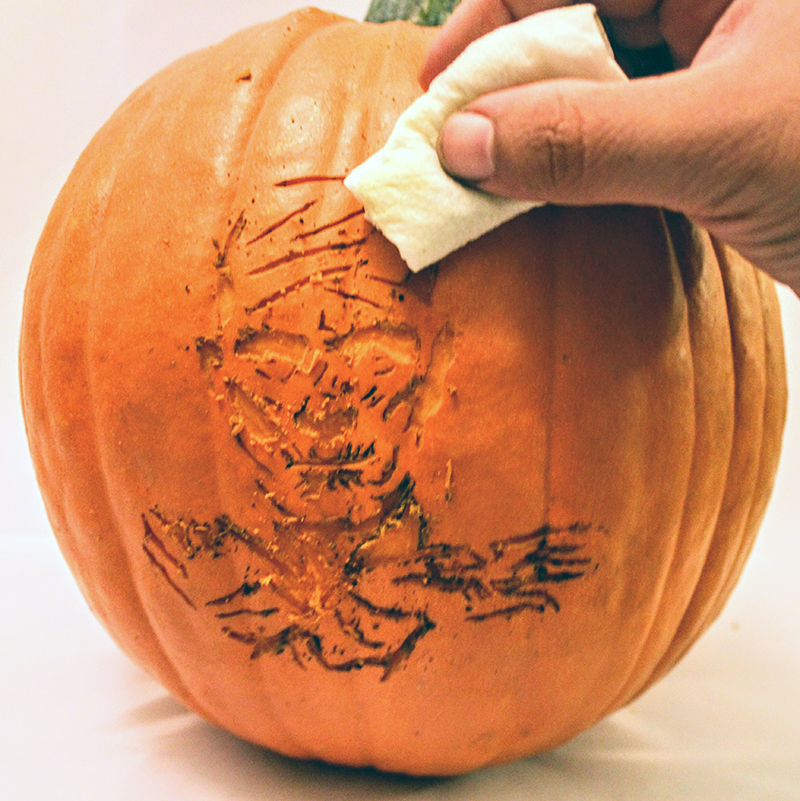
The good thing about using Poscas is that they’re water-soluble. Grab a damp paper towel and clean up the carving and any remaining ink.


just place your light source inside the pumpkin and you’re good to go. (We found that orange string lights work really well.)
This How-To was brought to you by ART one. Follow him at @art_o_n_e on Instagram.
Did you carve a pumpkin with Stencil1 stencils? Please share your creations with us using #stencil1 and @stencil1. HAPPY HALLOWEEN!