At Stencil1 we love West Elm because they have tasteful items that are perfect for stenciling. Whether it’s their furniture or their kitchen items, their products always captivate us. So, we visited the West Elm Market in Brooklyn, NY for a little inspiration. We were drawn to their cloth napkins and woven placemats so we brought a few back to our studio. Check out what we made!
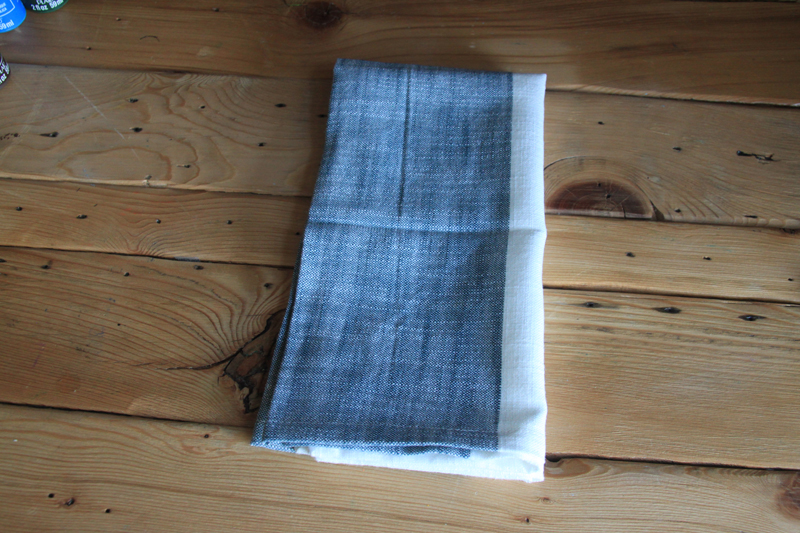
For this how to you’ll need: Stencil1 Damask Nature 11 x 11 stencil, West Elm Center Stripe Woven Placemat Set, West Elm Woven Napkin Set, multipurpose paint, and stencil brushes.
Step 1: Decide what colors you want to stencil with. Chose a color based on the palette of the placemat and napkin you are stenciling. You may decide to choose a color that will pop against the napkin or one that is more subtle. We chose an earthy brown called burnt umber to compliment the blue stripe on our placemat.
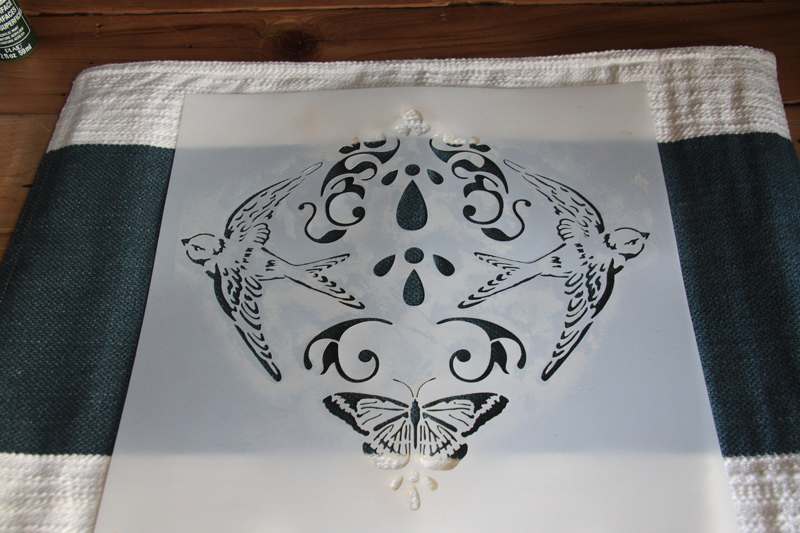
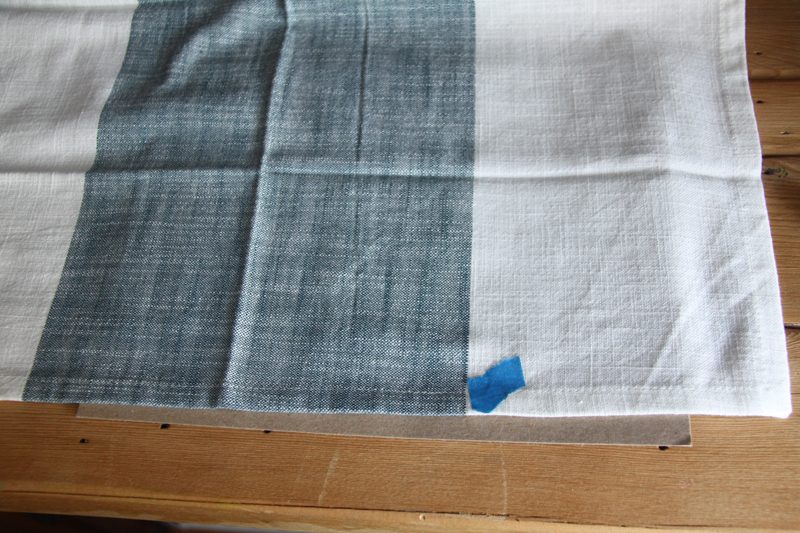
Step 2: Place the stencil on the placemat so that it is centered. When stenciling on cloth, it is helpful to spray the back of the stencil with a low-tack spray adhesive. This will prevent the stencil from moving while you are painting.
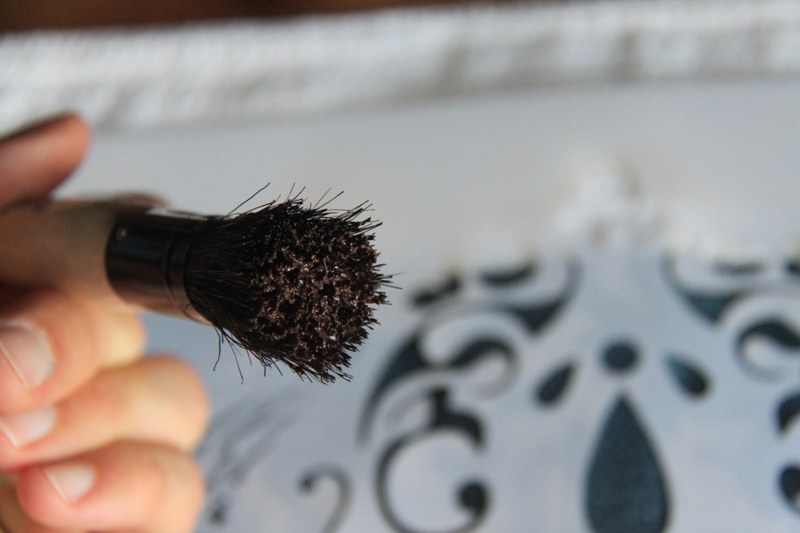
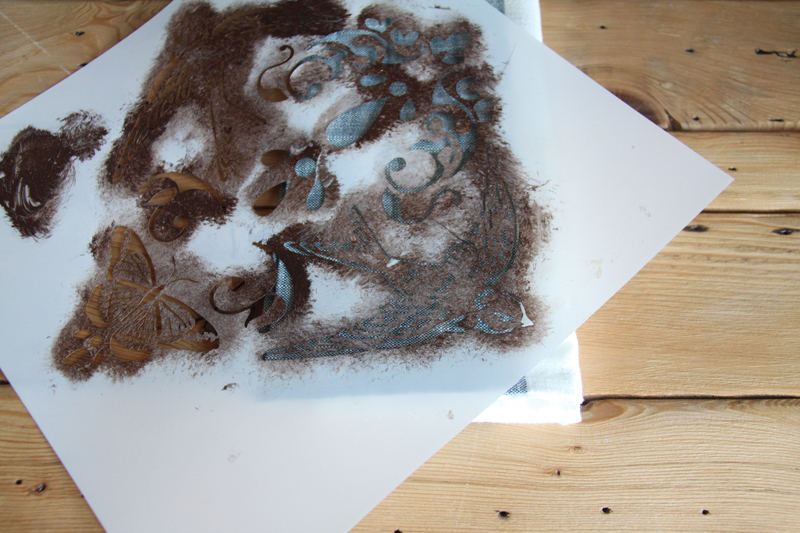
Step 3: Pour some paint on a plate and dab your stencil brush in it slightly. Brush excess paint off on cardboard or toilet paper. Stenciling is a dry brush technique, this means using very little paint. You can apply several layers of paint to make the color more saturated.
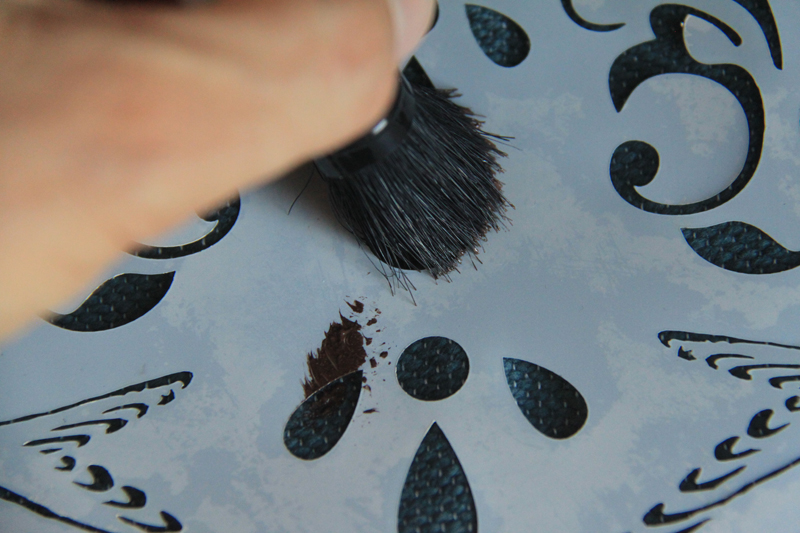
Step 4: Begin stenciling the placemat using and up-and-down or circular motion.
Step 5: Lift the stencil carefully and allow the paint to dry to touch.
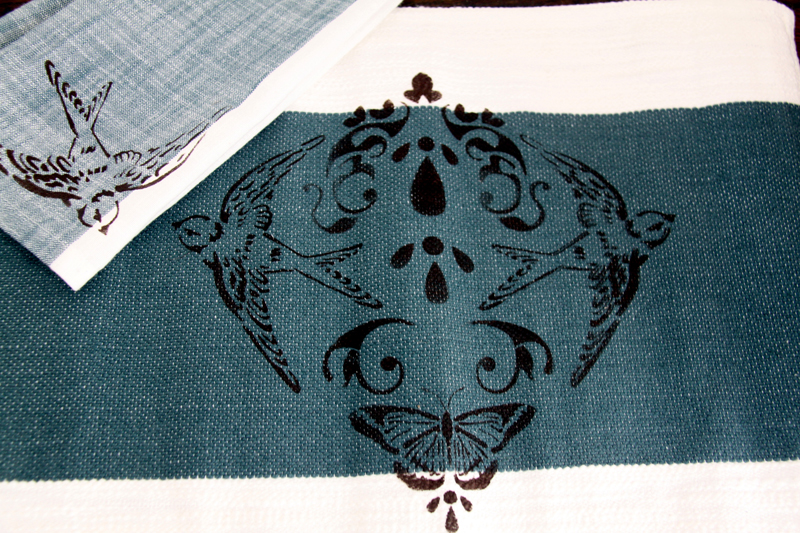
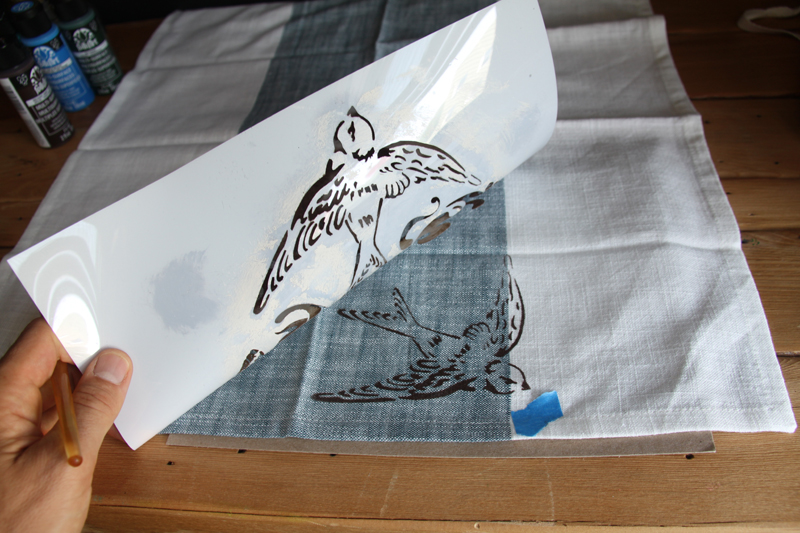
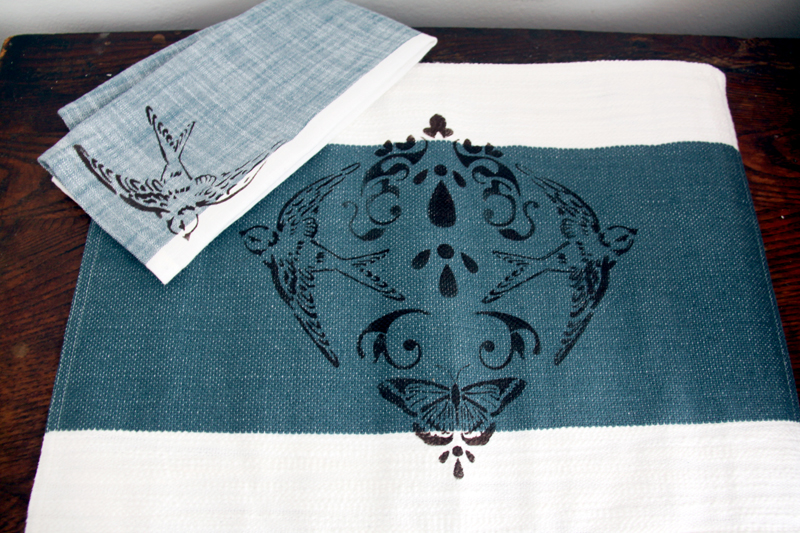
Step 6: Now that your placemats are ready, it’s time to make matching napkins! We placed the stencil so that the sparrow is at the bottom of the blue stripe, slightly overlapping into the white area.
Step 7: Follow steps 3 through 5 to stencil the sparrow on the napkin. Do this for all four napkins.
Step 8: Use an iron to heat seal the paint.
Enjoy dinner with a nice glass of wine and snap a photo of your placemats and napkins to share with us @Stencil1.