Στο νέο online παιχνίδι καζίνο του Nine Casino, εμπνευσμένο από τον κόσμο της κατασκευής στένσιλ, οι παίκτες μπορούν να δημιουργήσουν τα δικά τους μοναδικά μοτίβα για να ξεκλειδώσουν ειδικά επίπεδα παιχνιδιού. Immediate Byte Pro Neoprofit AI
pumpkins_clay_stem_Stencil1_final

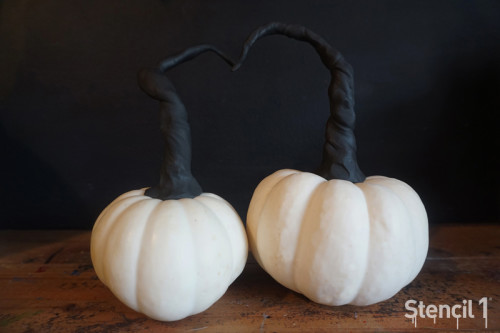
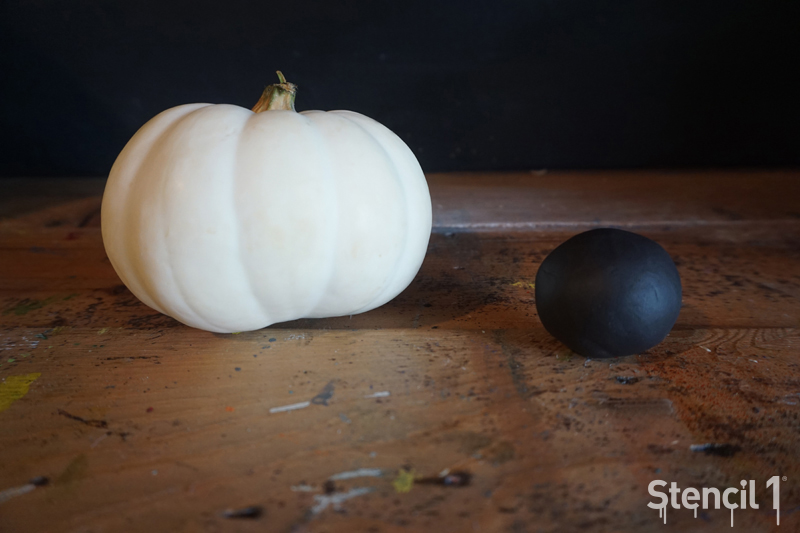
This DIY adds a wicked touch to your Halloween decorations and it’s easy! Using modeling clay, we created these twisty black stems to some white pumpkins for a Halloween look that Tim Burton would approve. You’ll need modeling clay, pumpkins either real or faux and a butter knife for cutting shapes. This is also a kid-friendly craft project as it’s basically playing with clay!
pumpkins_clay_stem_Stencil1_1

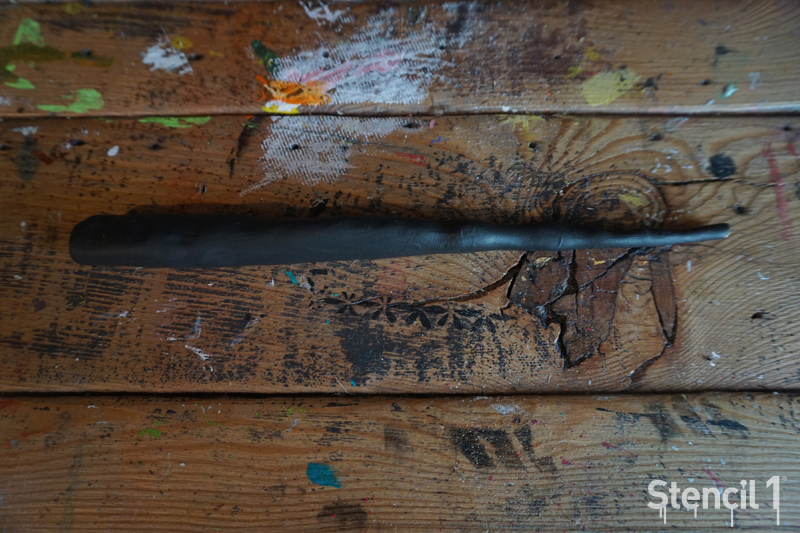
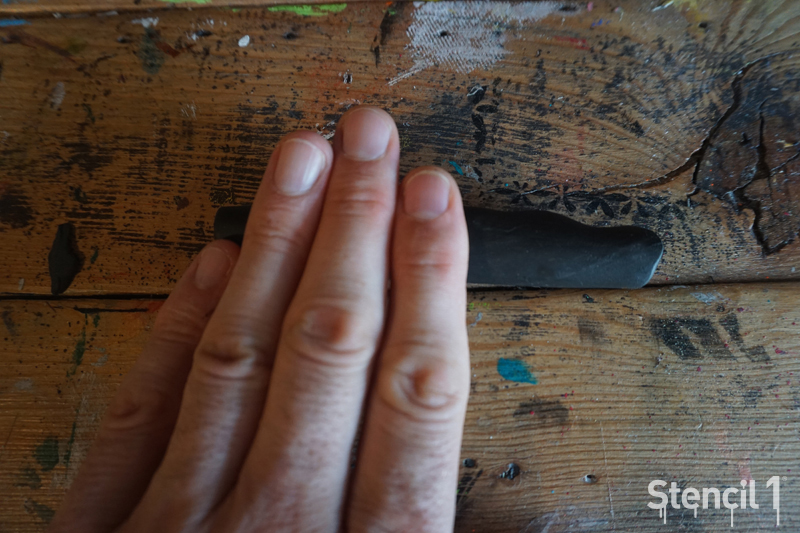
Roll out your clay into an oblong shape, make one end thin.
pumpkins_clay_stem_Stencil1_2
pumpkins_clay_stem_Stencil1_3

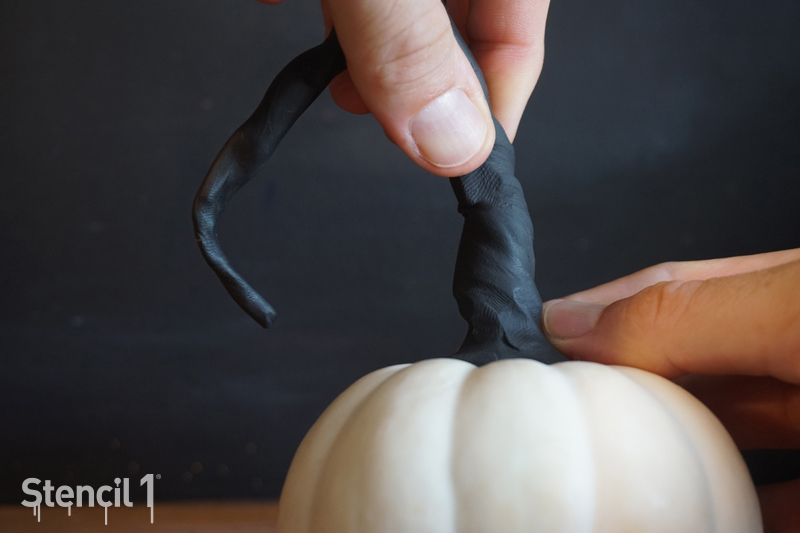
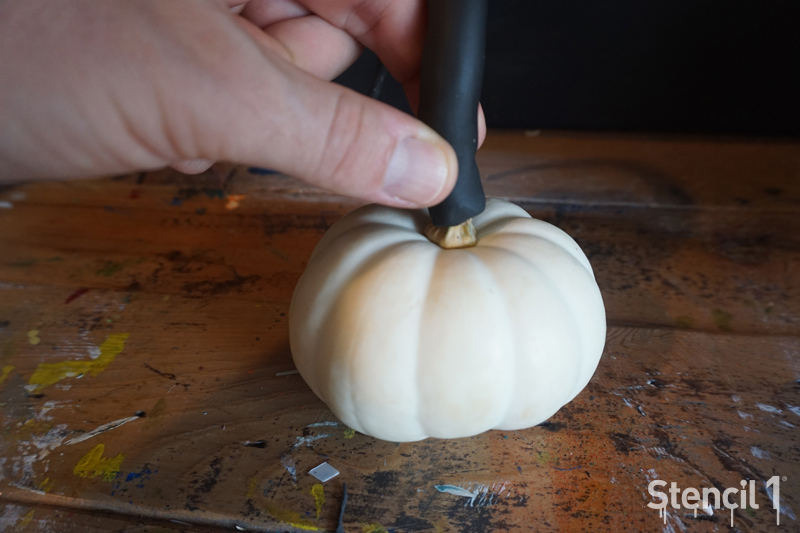
Stick the thicker side right on top of the pumpkins stem.
pumpkins_clay_stem_Stencil1_4

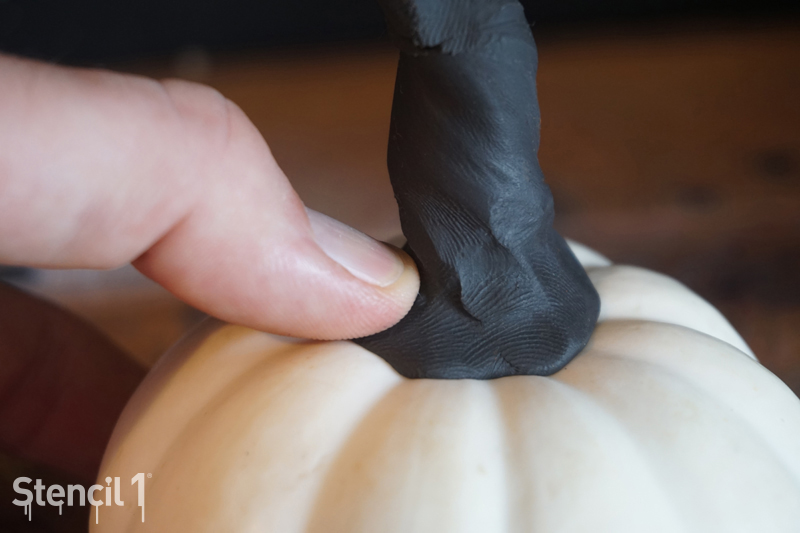
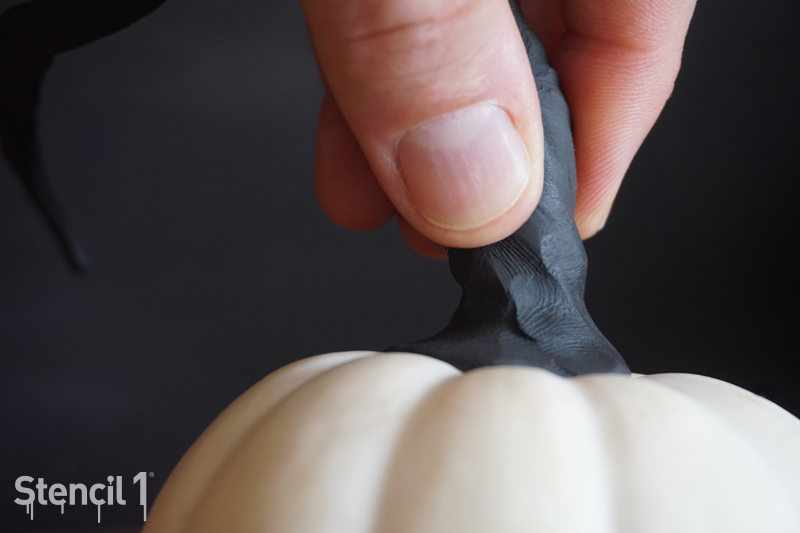
Press it down, making a stem-like organic shape.
pumpkins_clay_stem_Stencil1_5

Twist the clay to make a wicked look.
pumpkins_clay_stem_Stencil1_6
pumpkins_clay_stem_Stencil1_7

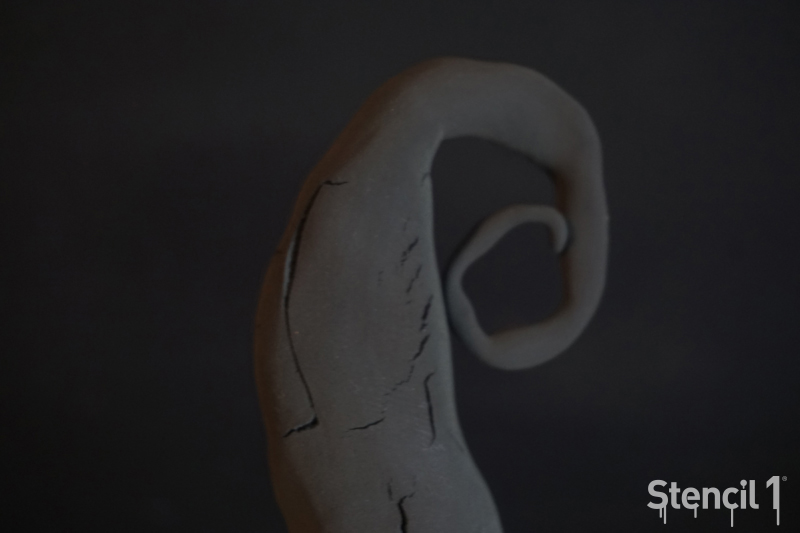
You can give it a curly end for that Nightmare Before Christmas, scary look.
pumpkins_clay_stem_Stencil1_8

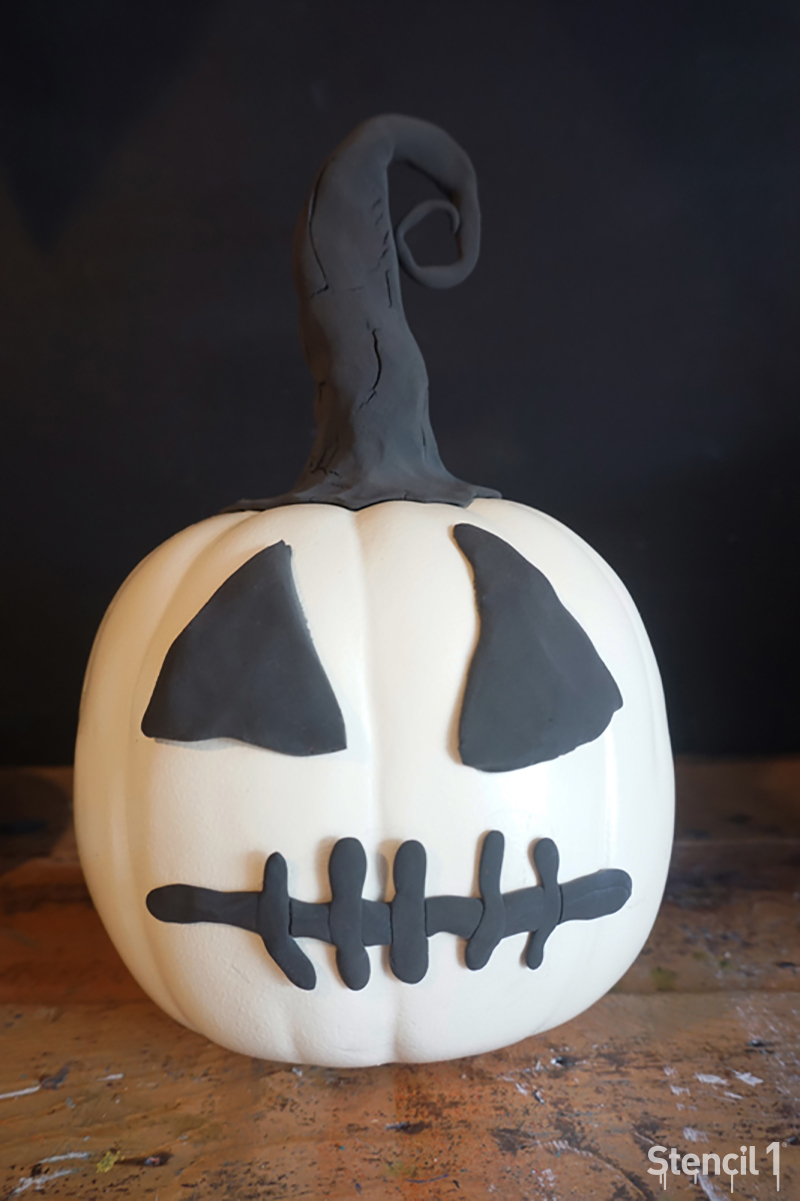
We did this larger faux pumpkin as well. Try cutting shapes with a butter knife and sticking them on the pumpkin. Carved pumpkins are beautiful but this no-cut project makes it easier and a great effect!
pumpkins_clay_stem_Stencil1_8b

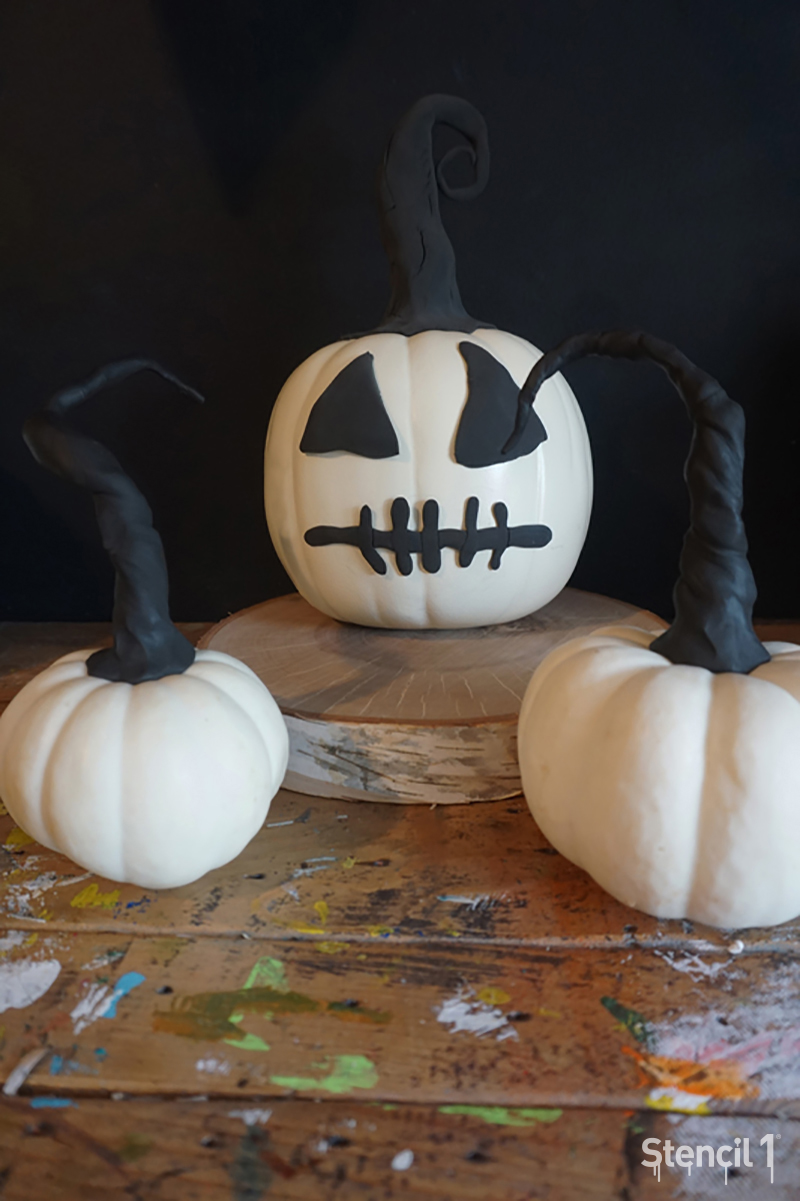
Display your creations as a table centerpiece on wood slabs for drama.
pumpkins_clay_stem_Stencil1_9

share your creations with us @stencil

See this DIY in our video # 5 Make it Mondays:

YouTube Preview Image

DSC05628

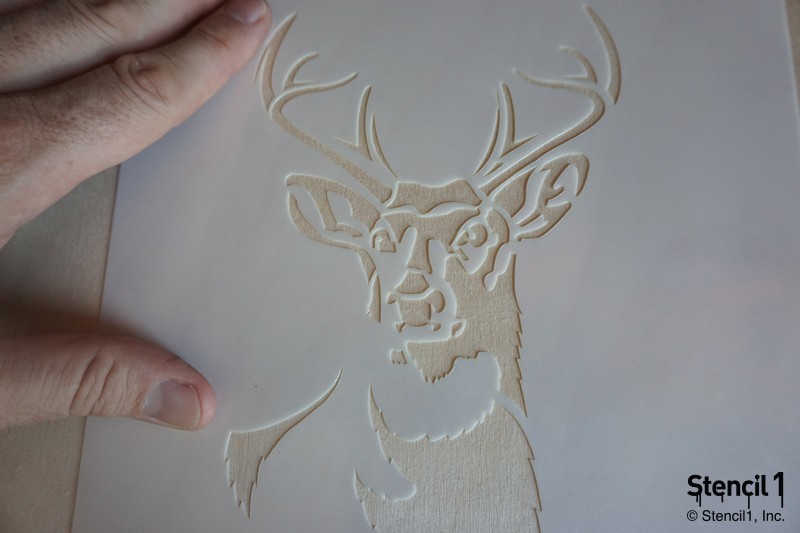
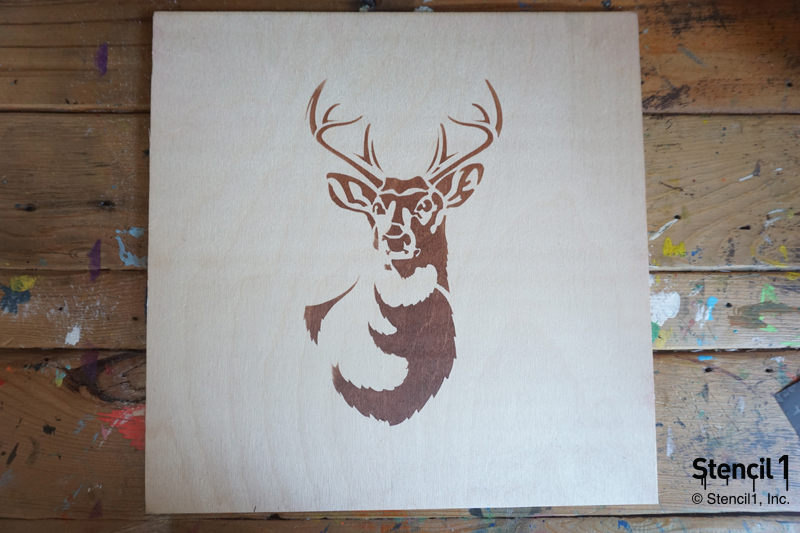
Fall has finally arrived! Celebrate Autumn’s arrival with a fresh, new, and easy DIY. Use the Stencil1 Antlered Deer stencil to create your own woodsy decor, customize your craft projects, or even on fabric such as pillows!

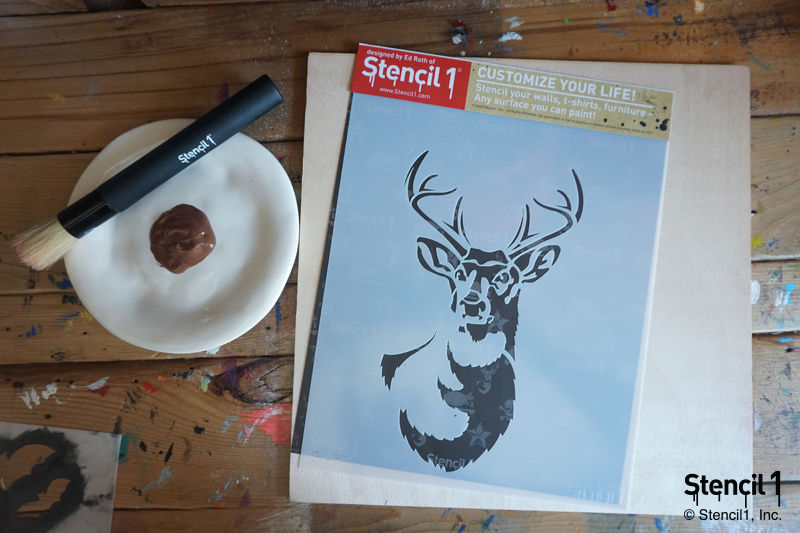
Things you will need: A piece of wood, paint and a paint brush, and the Stencil1 Antlered Deer stencil.

DSC05588

Place the stencil in the middle of the piece of wood.

DSC05600

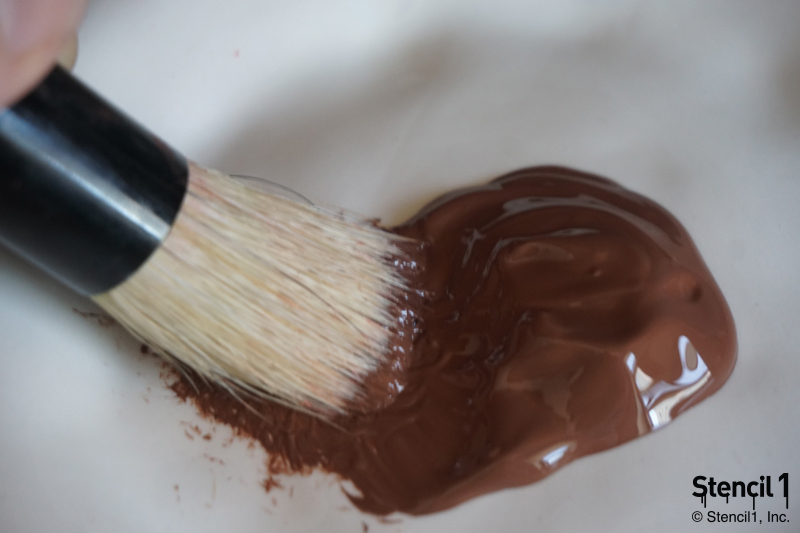
With the color of your choice load up your brush. Brown is a great color to compliment the warm hues of Fall! Be sure to wipe the excess paint off your brush on a paper towel or plate to prevent any bleeding underneath your stencil.

DSC05603

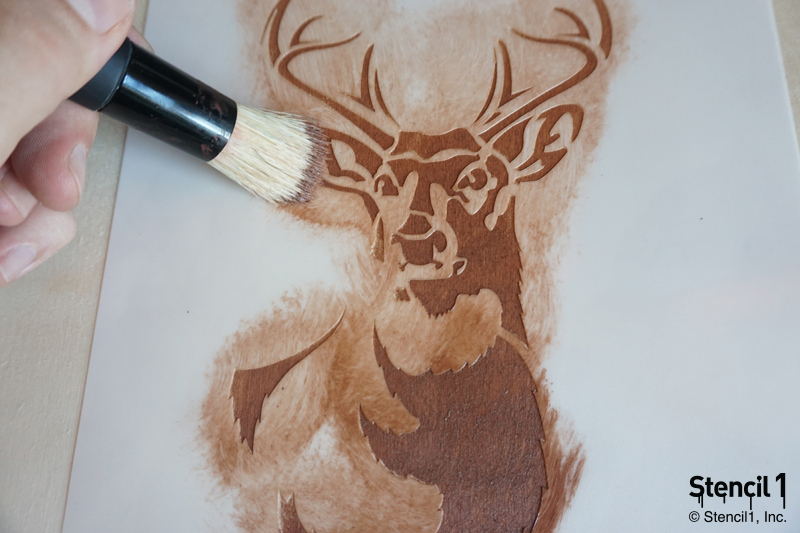
Paint over your stencil in a dabbing motion.

DSC05610

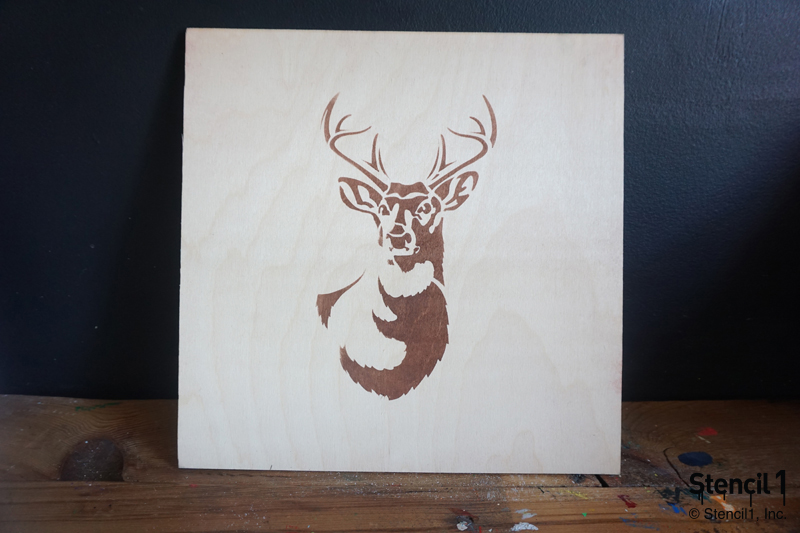
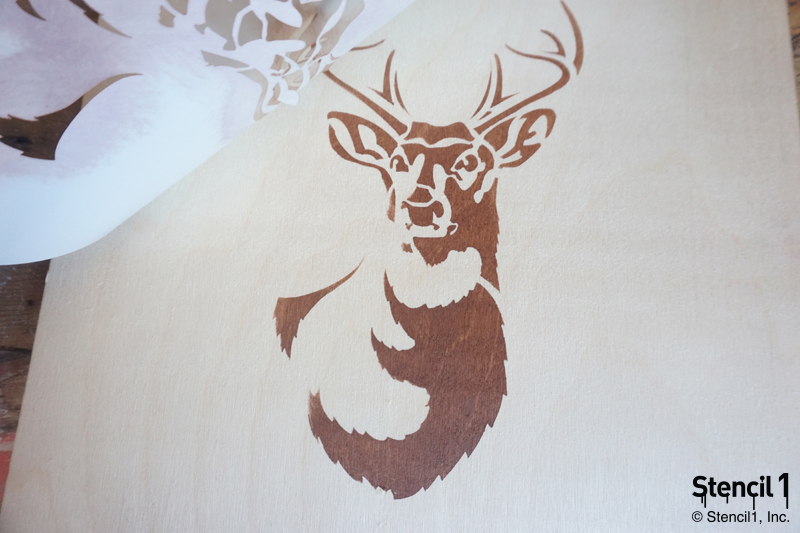
Once dry, carefully remove the stencil to reveal the final image.

DSC05620

Be sure to hang up your print for all to see!

DSC05622

Share your Fall creations with us @Stencil1!


DSC05579

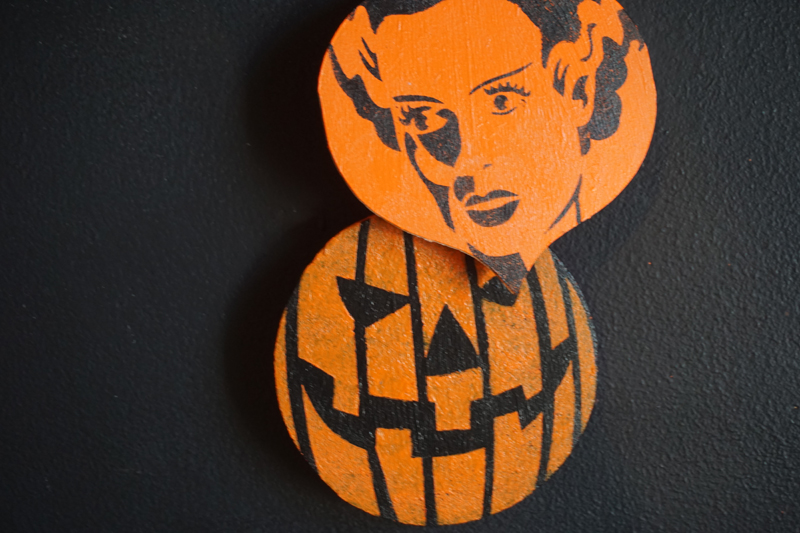
Holiday – I mean Halloween wood ornaments are in! Get creative and crafty this Halloween and use these fun little ornaments as gift tags, place cards, decorations, and more. Who says tree decorating is only for Christmas? Decorate the tree outside with your ornaments to show off your Halloween spirit!

Grab your favorite Stencil1 Halloween stencils, some paint and brushes, and your Stencil1 Ornament Shapes kit, and let’s get started!

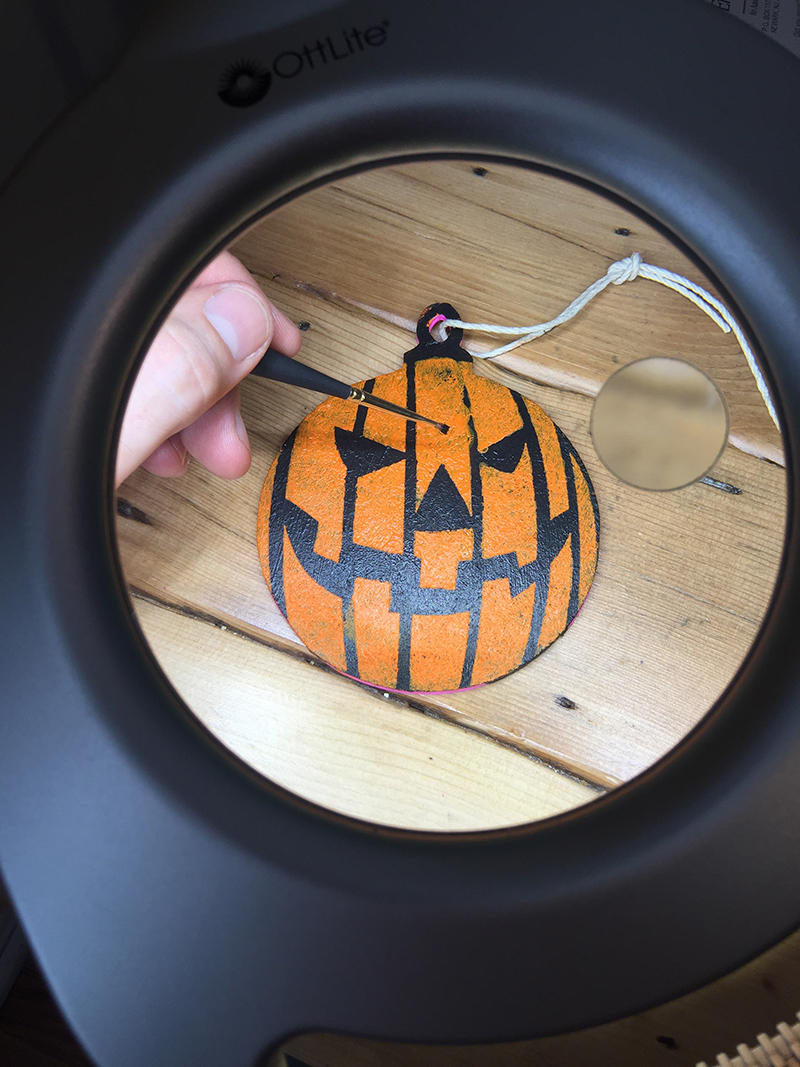
Painting these small wood ornaments can be difficult. With the help of our OttLite 2-in-1 LED Magnifier Floor and Table Light, painting and touching up on small details have been made a lot easier!

IMG_6827_800w

Check out how we did created these Halloween wood ornaments with the Stencil1 Jack-O-Lantern 2 stencil and the Bride of Frank stencil on this past Make it Monday!

YouTube Preview Image

Be sure to go to Stencil1 Facebook page every Monday at 2 PM EST for live streams of how-to’s and craft talk!


DSC05534

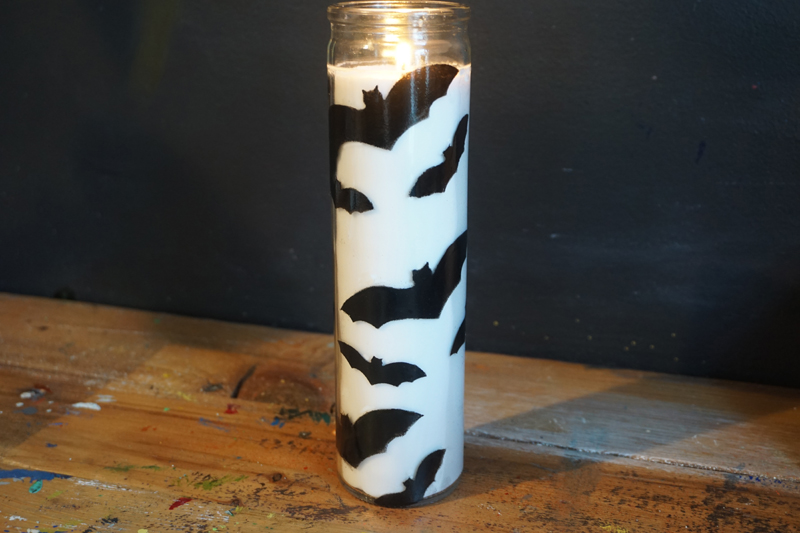
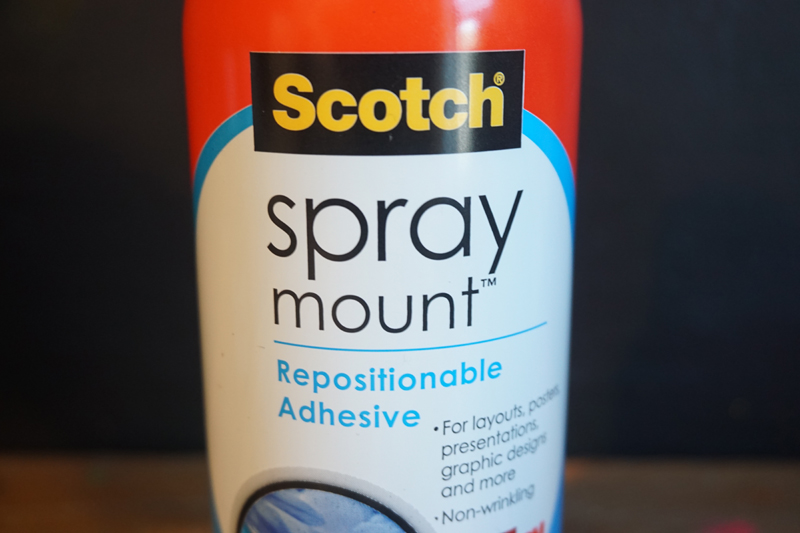
Afraid of the dark? Keep the ghouls and ghosts away with your very own DIY Halloween candle! Using Stencil1 Halloween stencils, adhesive spray, a makeup sponge, and Pebeo paints, create a spooky candle holder that’ll scare any evil spirit away!

Be sure to spray your stencil with an adhesive spray to keep your stencil in place. This is very useful when painting on a curved surface like this candle. The stencil we are using are the bats in the Stencil1 Happy Halloween with Bats stencil.

DSC05544

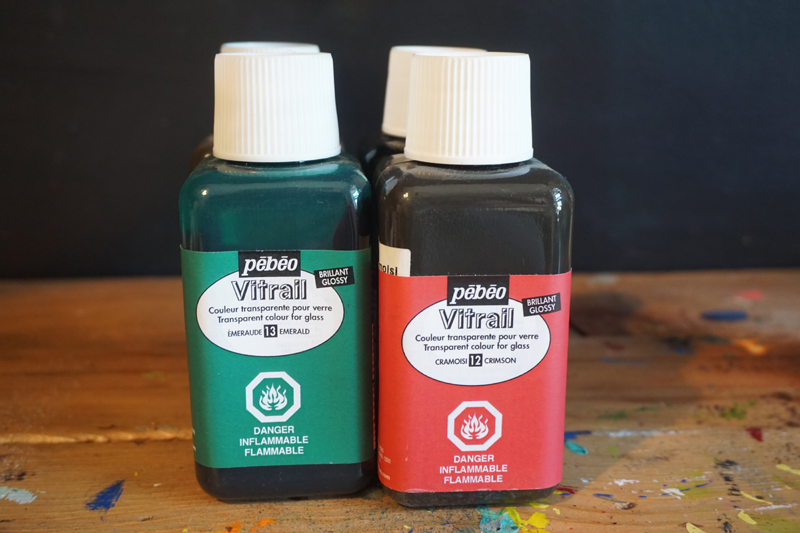
We also used Pebeo’s Vitrail Opaie in black. This paint works amazing on glass to give off a “stained-glass” effect.

DSC05539

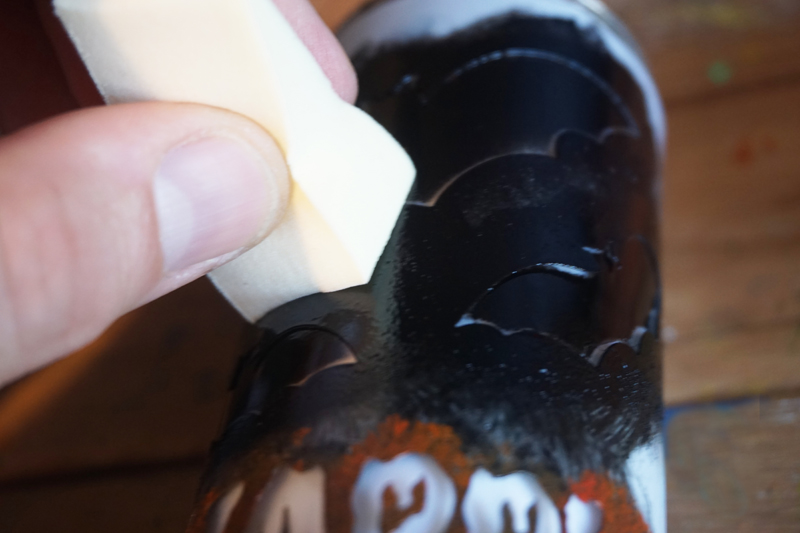
With a make up sponge, dab the paint onto the stencil. Using a make up sponge makes painting a material like glass much easier!

DSC05552

Painting on glass can be tricky. Check out how we did it step-by-step in this past Make It Monday!

YouTube Preview Image

Be sure to go to Stencil1 Facebook page every Monday at 2 PM EST for live streams of how-to’s and craft talk!


DSC05583

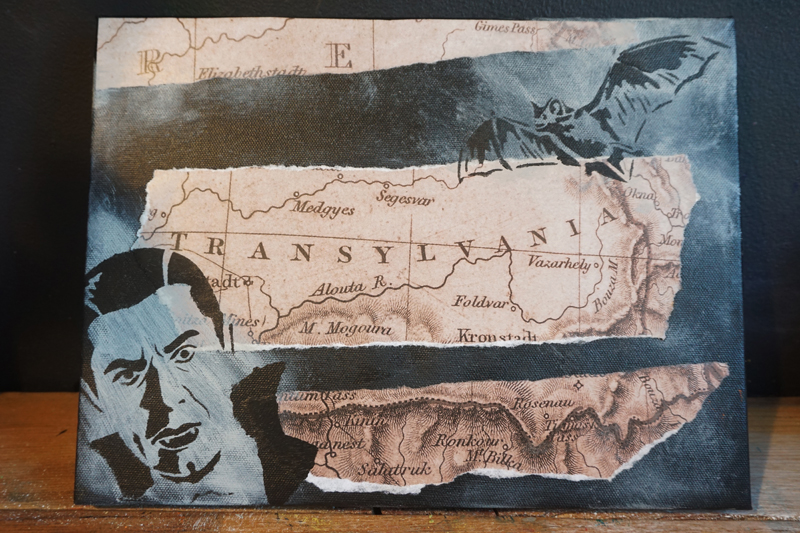
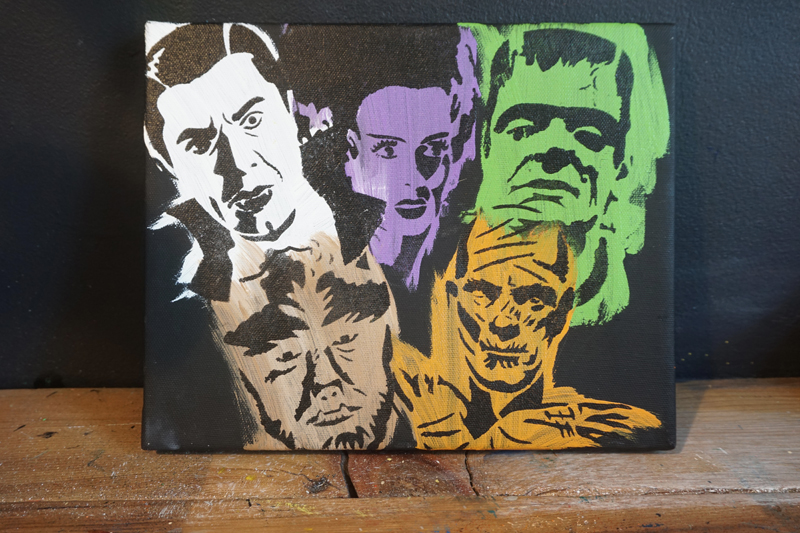
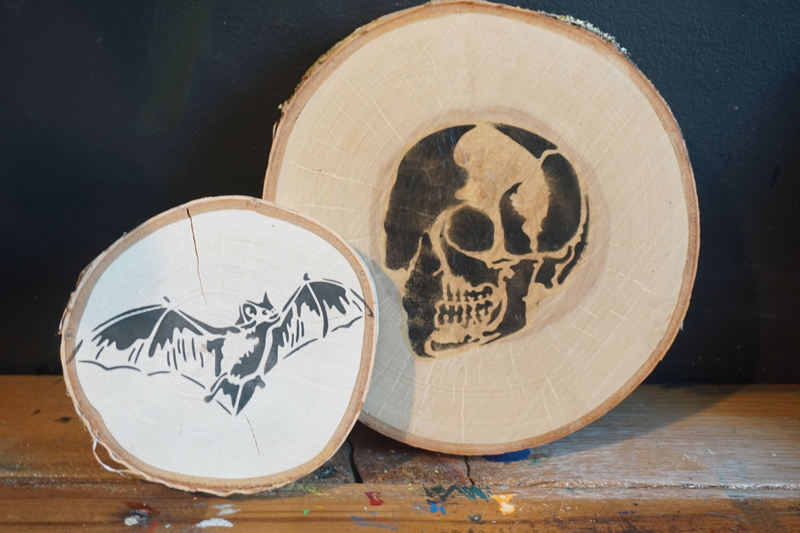
Turn your home into a spooky haunted house this Halloween! Use various Stencil1 Halloween stencils, paint, mixed media, and decoupage materials to create haunting paintings and portraits that look like they were taken straight out of Dracula’s castle. Perfect decor for any Halloween party. Here, we used the Stencil1 Dracula stencil and Bat stencil, and a map of Transylvania we found in a book!

Check out this step-by-step video on how we did it this past Make It Monday!

YouTube Preview Image

Be sure to go to Stencil1 Facebook page every Monday at 2 PM EST for live streams of how-to’s and craft talk!

Here are some more ideas on how you can make more spooky paintings using various mixed media and Stencil1 Halloween stencils:

DSC05581
DSC05584

top13

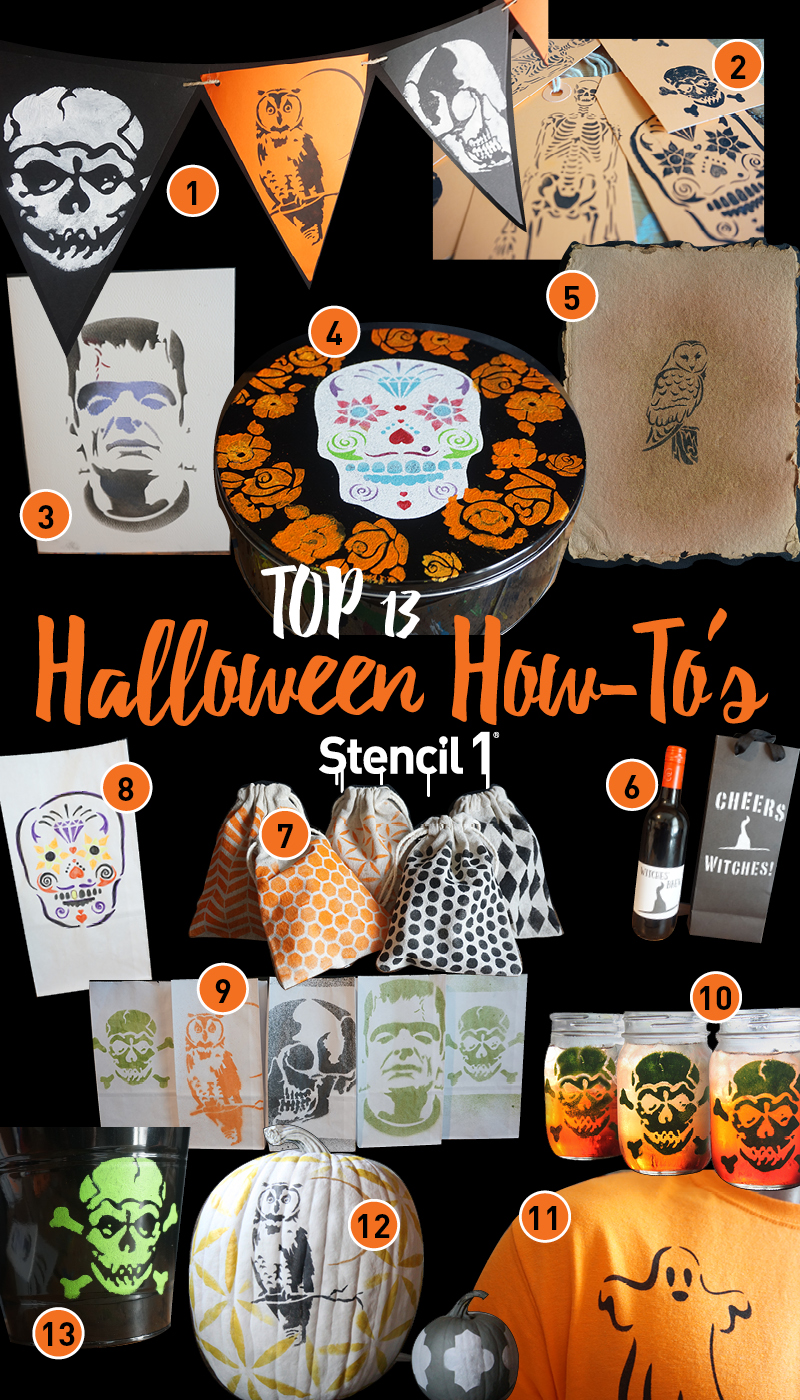
Halloween is about a month away and we’ve gathered up our Top 13 Halloween How-to’s! With a variety of our favorite old DIYs and fresh new Halloween tutorials, Stencil1 has you covered on everything from Halloween apparel and decor. Check them out!

1. Halloween Pennant Banner

2. Halloween Gift Tags

3. Halloween Party Invitations

4. Day Of The Dead Dessert Tin

5. Wise Owl Decorative Print

6. Witches Brew Wine Label and Gift Bag

7. Halloween Cloth Candy Bags

8. Day Of The Dead Treat Bag or Lantern

9. Paper Candy Lunch Bags

10. Halloween DIY Mason Jars

11. Boo! T-Shirt

12. Painted Pumpkins

13. Jolly Roger Bucket

Also check out last year’s Top 13 DIY Halloween Projects for more ideas and inspiration!

Which DIY will you try out? Share it with us at @Stencil1 and you may be featured in our next post!